
I received a text from my daughter, “Mom, you’ve completely ruined me for regular leggings! It’s so much more convenient to have pants with pockets.” Hahahaha, so true! I’ve made her Patterns for Pirates Peg Legs with the side panel, pockets and contoured waistband, as well as the SOS (skinny or straight) Pants which have pockets. While she likes the SOS skinnies, they are a bit too low rise for her comfort. But she does like the dressier look and convenience of four pockets.
I had ordered some Twill Polartec Powerstretch from Phee Fabrics because it sounded like an interesting fabric, and I thought I would make myself some cute pants or joggers. But since my daughter actually needed new pants (and I really don’t!) I knew the Twill Powerstretch would be perfect for SOS Pants.
I’ve seen comments on the P4P Facebook group page that the SOS Pants pattern is being updated, but it’s cold now, so I went ahead and cut out her pants. I decided that making a contoured waistband would be the simplest way to change the rise for her. It would be easier for me if she lived nearby so that I could measure her, make a waistband, have her try it on, and alter as necessary before attaching it to the pants. But since she and her family live in another state, I just went with her measurements and requests.
She wanted the pants three inches higher in front and one inch higher in back. The P4P Peg Legs add-on pattern has a contoured waistband, but are designed with much more negative ease than SOS Pants. It is a good reference though, to help visualize how to make a contoured waistband. I laid the pocket on the pants front, and the back yoke on the pants back pattern pieces to help me figure out my waistband shape.

That helped me get the bottom curved shape of my waistband pieces. The SOS Pants pattern calls for a 5″ high rectangular piece, which when folded over and sewn gives you a 2″ tall waistband. Note: I like to use a 3/8″ seam allowance on the waistband, rather than the 1/2″ the pattern calls for, so add 1/4″ to my measurements below if you want to stick to 1/2″ seams. Since my daughter wanted the front 3″ taller, I made the center front of the waistband 5-3/4″ tall. She wanted the back 1″ taller, so I made the center back 3-3/4″ tall. I tapered both pieces to 4-3/4″ tall at the side seams.
Since you are not folding over like a standard waistband you will need to cut out two front and two back waistband pieces on the fold. One set will be your main waistband and one will be your waistband lining. I sewed up the pants per the pattern directions, then sewed on the new contoured waistband and sent the pants off to my daughter.


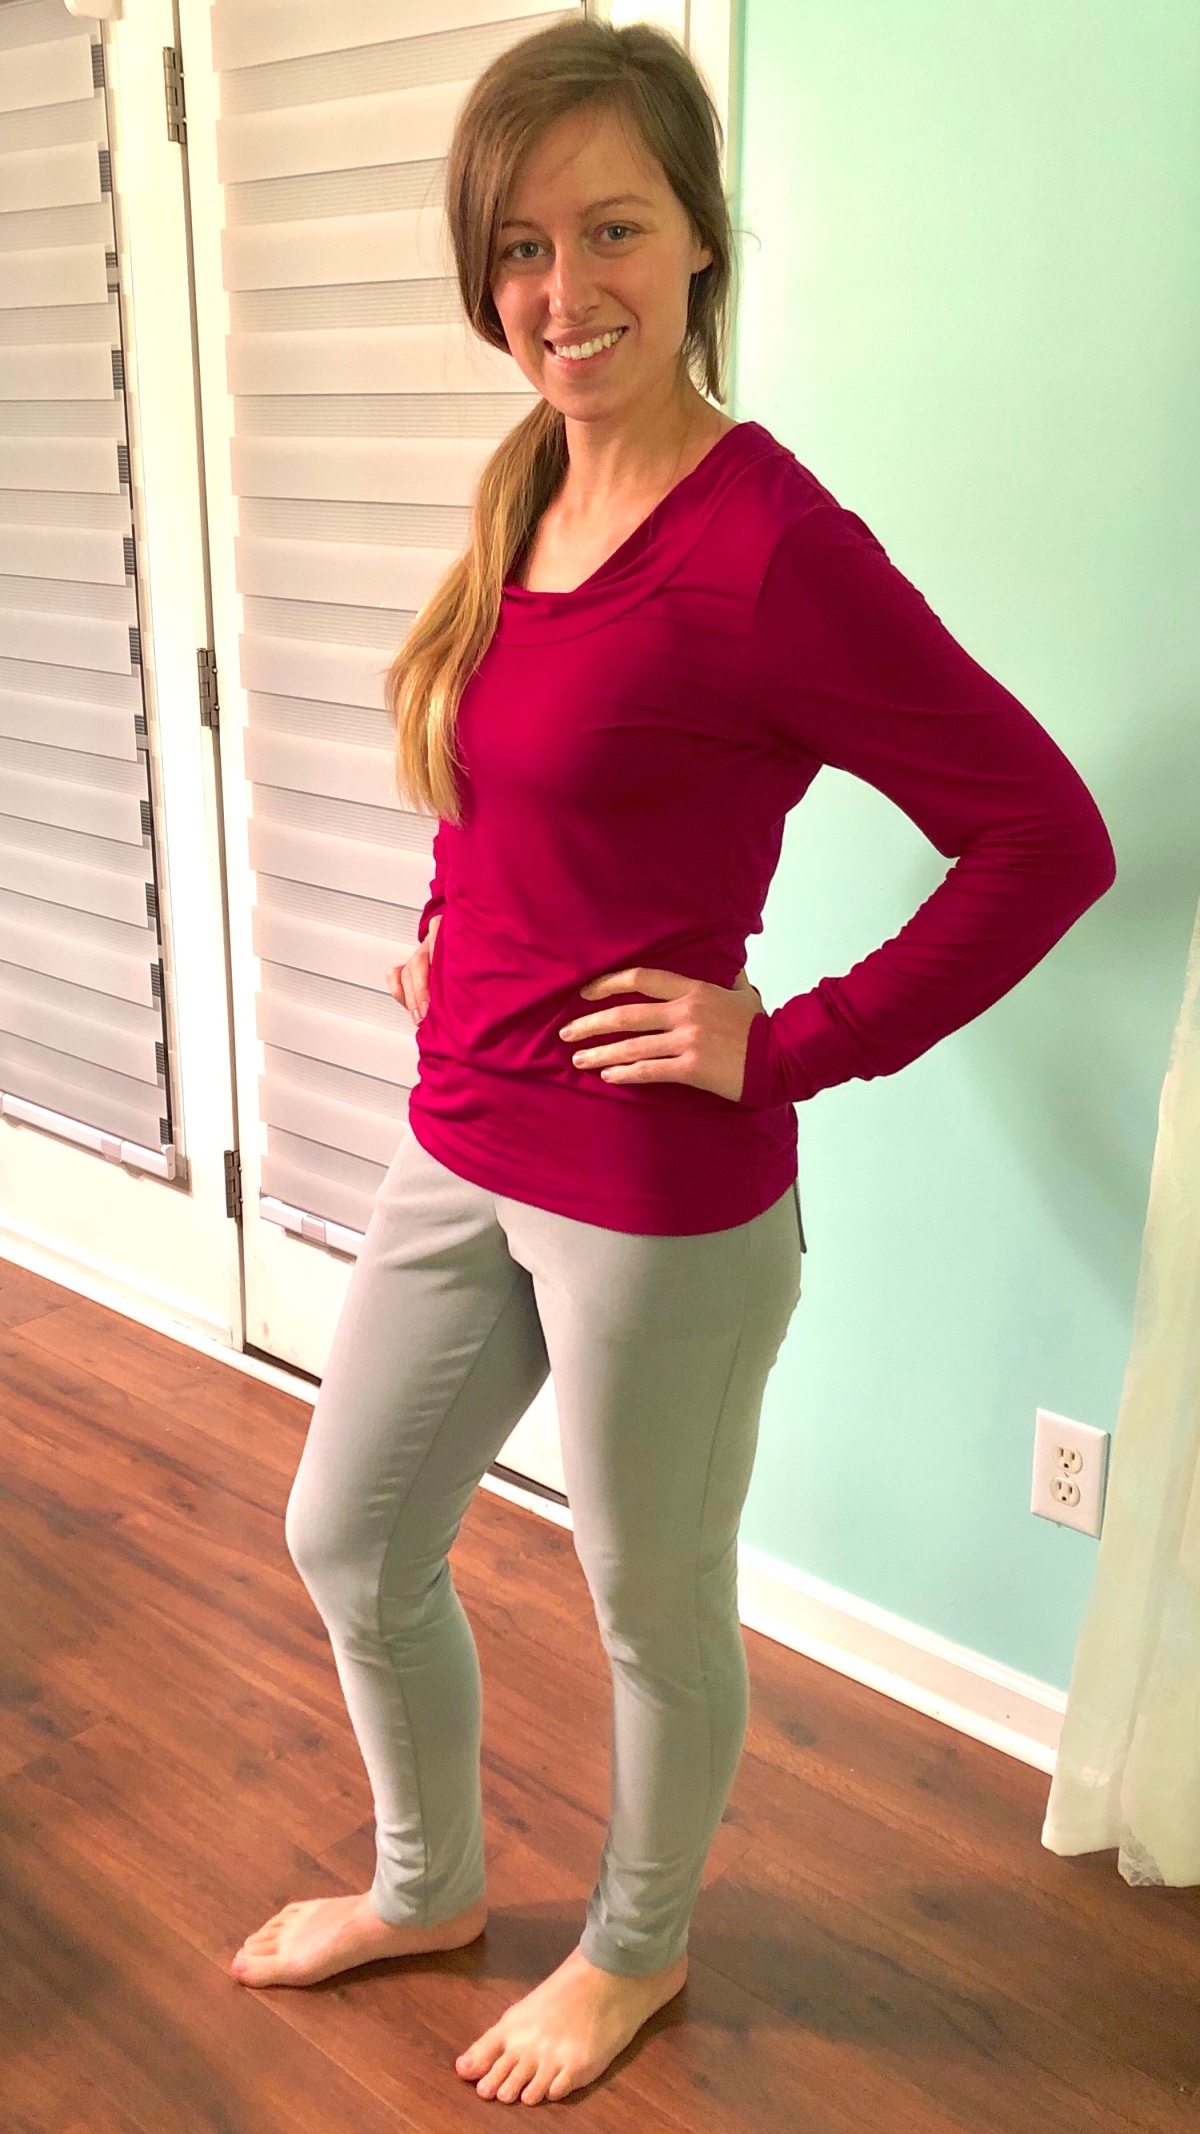
Ta Da! SOS skinny pants with a contoured waistband and pockets galore! It’s just what a busy wife and Mama needs. You can use this hack on other pants patterns as long as you use a quality knit fabric with appropriate stretch and recovery. I recommend trying your waistband on and making any tweaks before you sew it onto your pants. Unless of course you are mailing the pants to another state like I did! 🙂
Happy sewing and hacking!
*This post may contain affiliate links. This means that at no extra cost to you, I may receive a small commission if you purchase through my links. As always, I only give my honest opinion. After all, it is my blog, which represents me! Thank you for reading and supporting my love of sewing!

The pants look great on her. I’ve only made a couple things in stretch so far, but this is inspiring! I’ve come to appreciate stretchy pants and damnit why does no one make them with 4 real pockets! Seriously, why can’t women have pockets?!?!#@!!$?! It’s some kind of conspiracy to keep women down, I swear.
What kind of clear plastic are you using for your pattern pieces?
LikeLiked by 1 person
I trace my patterns onto waxed paper, it’s not plastic.
LikeLike
Ah ha. It looks like plastic in some of the pics. I’m checking out the p4p website now. 😃
LikeLiked by 1 person
They released the updated pattern this afternoon! 😀
LikeLike
I trace onto butcher paper! I buy it in bulk from amazon! I linked it in my blog…. much easier (and affordable) for all those hacks… this is great! 😘
LikeLiked by 1 person