Sewing For Men: Boxer Briefs Edition

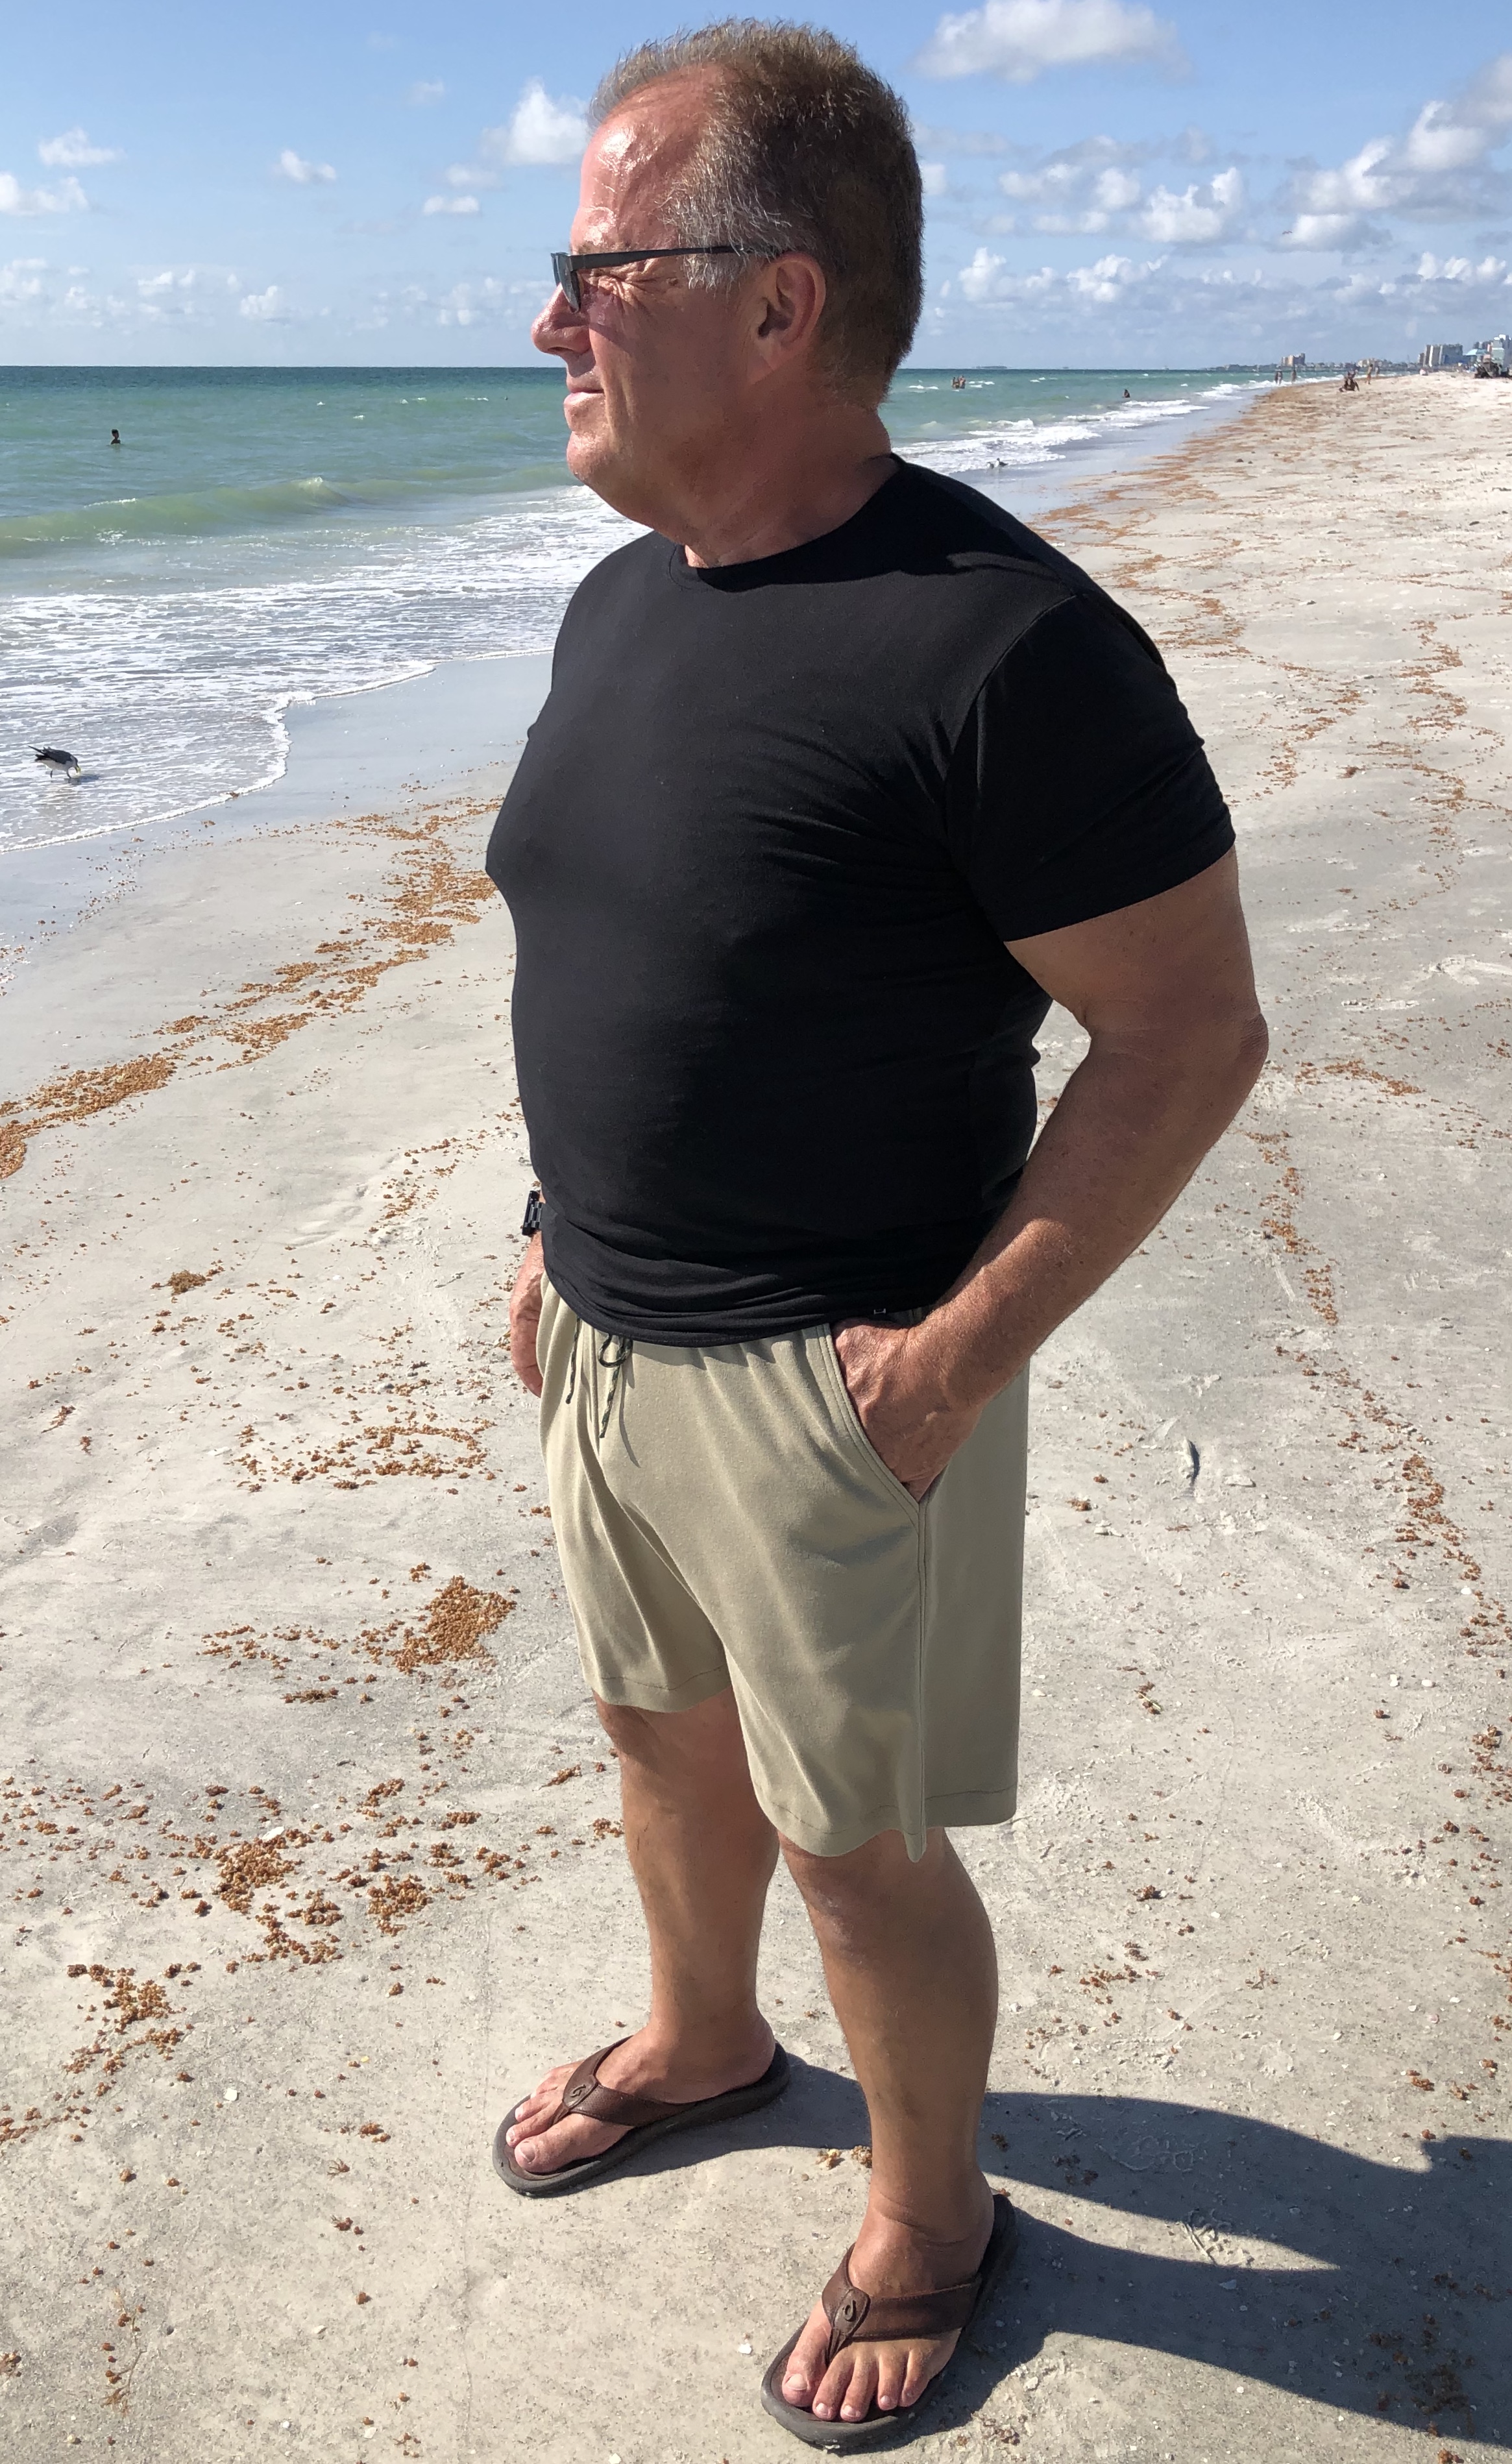
My husband is very supportive of my sewing, whether it be tolerating patterns and fabric spread across the dining table 🙂 or the time I spend in front of my machines. So the man definitely deserves some of my sewing love!

I was able to test the Ragamuffin Patterns Men’s Boxer Briefs and added quite a few pair to my husbands underwear wardrobe. My husband is easy going and relatively easy to please when it comes to gym shorts and workout shirts, (which is his normal daily outfit other than dress clothes for Mass on Sunday). But he is quite particular about comfortable and supportive underwear. I don’t blame him, because who would want to wear underwear that doesn’t fit properly? This made him a perfect candidate for pattern testing the Boxer Briefs!

That may sound weird, but truly, the whole point of testing a pattern is to perfect the fit, ensure that it’s comfortable across a range of sizes, offers enough style options to be appealing, and that the tutorial makes sense to sewists from beginner to advanced. So pattern testers need to be able to articulate what they like (or dislike), how it fits, and what could make it better.

I’ve tested enough patterns to understand the importance of clearly communicating with a designer. But it’s a little different when you aren’t testing the pattern on yourself. Luckily my husband was patient enough to try on multiple versions and explain what he liked and what changes or tweaks to the pattern he would prefer.

The Men’s Boxer Briefs pattern is loaded with options (in sizes XXS to 6XL) with four lengths from undies to thigh length; no fly; classic fly; and contoured fly with no, side, or horizontal opening; band, exposed, or hidden elastic waistband; leg finish options; and an optional internal hammock.

Long a fan of expensive Saxx and Tommy John underwear, my husbands preferred style was easy to pin down: briefs length (though he’ll wear trunks length), and horizontal contoured fly with an internal hammock.

He says the no back seam is very comfortable, although there is a back gusset option if you like color-blocking or want to use smaller scraps of fabric.

I’ve made side fly underwear for him before, but this was the first time I’ve sewn horizontal flys. Frankly, I think a horizontal fly is an easier sew. You still have that contoured pouch seam to stitch, but really, they are a pretty quick sewing project.

These aren’t the final version of the pattern so the fit has been refined a bit, but they are still always in rotation, and my label addition just cracks me up!

He loves his made with love underwear, and wears them as much as (if not more than!) his name brand ready-to-wear ones. As he’s a bit of a gym rat, he says that the internal hammock is important to “keep everything high and tight” for comfort during workouts.

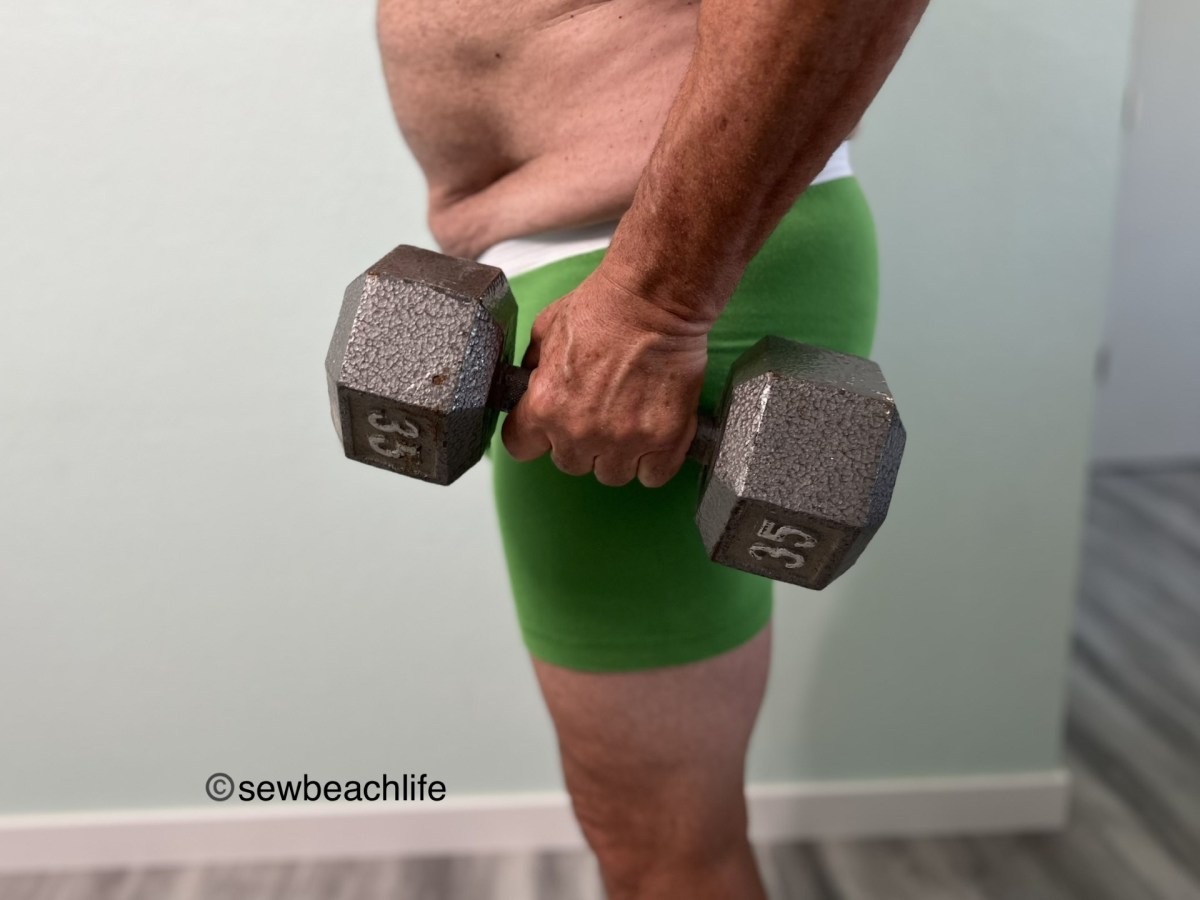
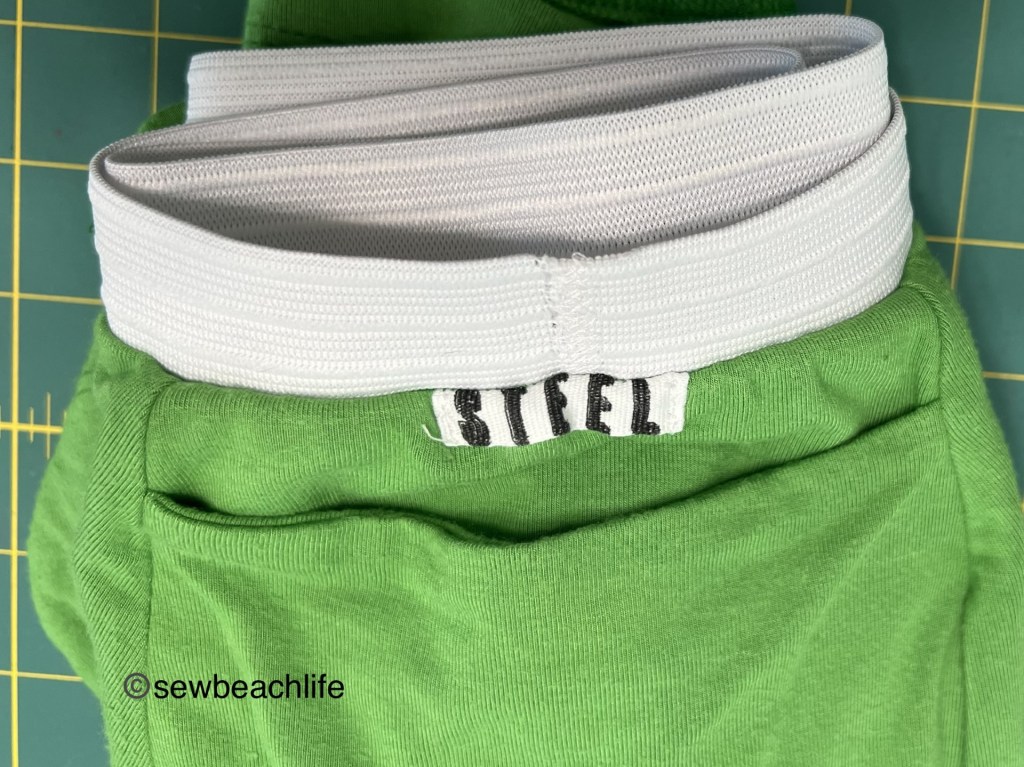
I like adding a personal touch to my makes, and used two different methods to do so. On the green pair, I added a little label centered at the top of the pouch and serged into the waistband. I like saving interesting selvedge pieces if I think they are cute or funny or may be useful for something. Knowing that I had a piece of selvedge that had the word steel on it, I thought it would be fun to use on my husbands underwear. Because hey, what guy doesn’t want to be a man of steel, right? 😉 It’s literally just folded under twice on the sides to hem the edges. The bottom is the finished edge of the fabric, and the top was serged in place when attaching the elastic for the waistband.

A fun tag adds personality!

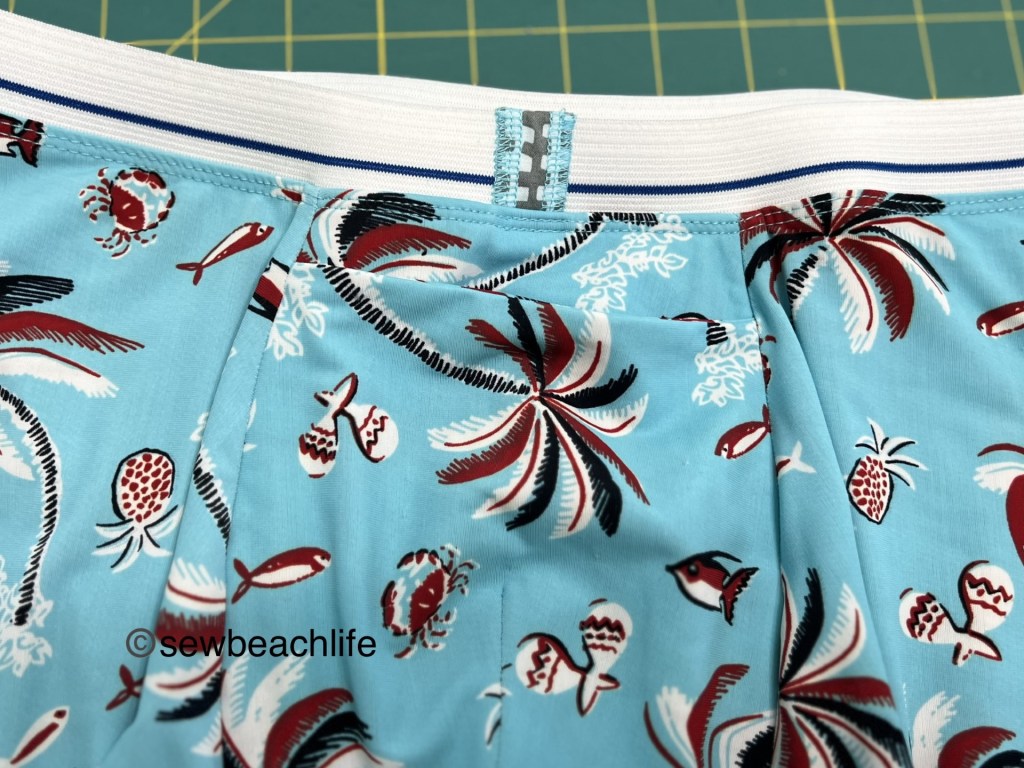
I also like giving a finished look to elastic waistbands by making a decorative seam cover. Simply cut a rectangle of fabric 1″ wide by two times the width of the elastic you are using (plus 1/4″ to give you some wiggle room). My underwear elastic was 1-1/4″ wide so I cut a piece of pretty fabric 1″w x 2-3/4″h using my rotary cutter and a ruler, to ensure that I stayed straight on the grain. Use a 4 thread overlock to serge the two long edges of the rectangle to keep it from fraying. I like overlapping elastic by 1/2″ and zigzagging all around the overlap when using elastic for waistbands. Then center the seam cover over the elastic join, pulling the raw ends to the bottom edge and pinning in place. Finish the seam cover by zigzagging the two long sides. The raw edges of the fabric will be enclosed in the seam when you attach the elastic waistband.

A pretty and practical seam cover.

When I was ordering fabric to make his underwear, I showed him the Patriotic Island Swim print from Ragamuffin Fabric and he thought it looked cool. When I pulled the freshly washed fabric out of the dryer to show him, he felt it and said, “Oh that’s too nice to use for underwear!” 🙂 Baby, you deserve nice fabric. And nice custom made underwear!

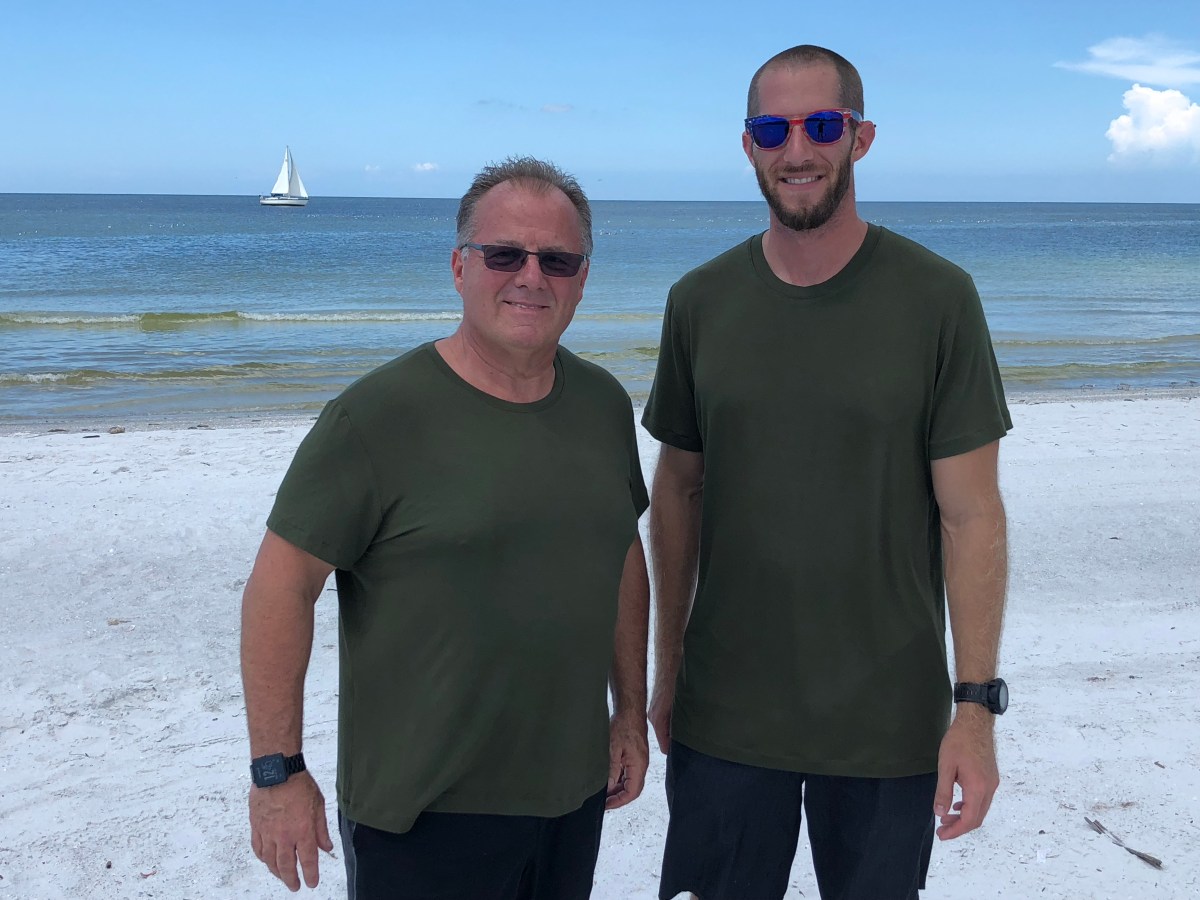
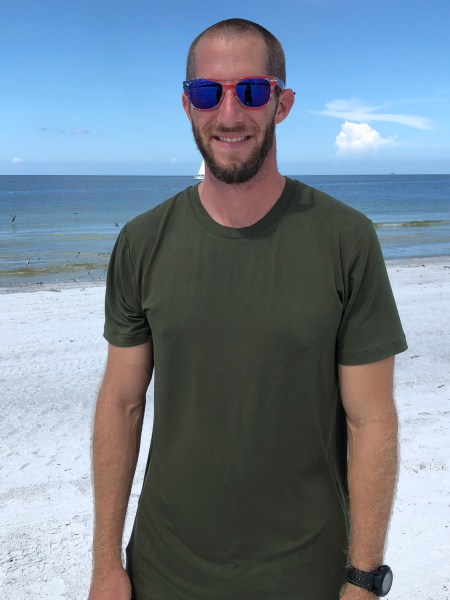
After all, he is a pattern cover model!

The details: using the coupon code SewBeachLife will give you 5% off your entire purchase of Ragamuffin patterns and/or fabric and supplies! The coupon code is sort of an affiliate link, and I’ll earn a few pennies if you use it.

I only took photos of two pairs of the Ragamuffin Patterns Chillaxin’ Men’s Boxer Briefs made.

The green pair are rayon spandex from Phee Fabrics with 1″ wide knit elastic from Wawak for the waistband.

The printed nylon spandex swim fabric and 1-1/4″ wide knit underwear elastic are from Ragamuffin Fabrics.

He loves them so much that I took apart an earlier test version made in this fabric and cut the updated pattern pieces out of my fabric scraps and sewed him up a second pair in the exact same fabric! Which I guess tells you that they are an economical sew, since I was able to make two pairs in size 2XL out of one yard of fabric.

I received the pattern for free in exchange for testing, but feel that it is well worth buying as it has so many options and an extensive size range. The test was a long one, but totally worth it for the final product!

Thank you for reading and sharing my love of patterns, sewing, creating, serging, fabric, and making practical, useful garments! ❤

Sewing For Men, Episode 2

GreenStyle Men’s Hampton Shorts

I don’t often sew for my husband, and that’s unfortunate.  Like most sewists, there are so many projects on my never-ending list, and so many patterns I’d like to try, that I don’t seem to get around to sewing for him very often.  When I showed him the GreenStyle Hampton Shorts pattern, he said, “I’ve been thinking about buying a couple pairs of shorts like that!”  So I knew that it was something that he wanted and would wear.  Then came the more challenging part- convincing him to let me photograph him wearing the shorts.  He knows that that is part of the deal.  He’s taken enough photos of me in my makes to know that I like to share what I sew, whether in a Facebook sewing group or on my blog.  Surprisingly, he agreed pretty quickly, so I knew he really wanted the shorts!

He wanted the shorts to fit like his favorite pair of RTW gym shorts.  So I measured his waist to choose a pattern size, and grabbed the shorts to compare to the pattern.  I noticed something interesting about the gym shorts- the back of the shorts was much larger than the front.  Unlike some men with a flat butt, my husband has a booty.  Hmmm… so perhaps that explains why he likes the fit of that particular pair of shorts.  (That, and the fact that they are a little bit shorter than the rest of his workout shorts.)  He also isn’t a fan of low rise pants or shorts.

Armed with this information, I traced out the pattern, with a few modifications.  His measurements put him in a size Large.  So I traced the back pattern piece in a size XL.  I traced the front pattern piece in a size Medium, but used the rise of the XL to keep them from being too low in the front.  Since this was an experiment, I used some old 2-way stretch cotton jersey that’s been in my stash forever.  Since most knit patterns nowadays call for 4-way stretch, my old 2-way stretch fabric has just been stashed in a drawer.

The pattern is easy, a front, a back, a waistband and pockets.  What makes it look nice is the top-stitching.  It always gives a garment a nice finished look.  Since the old jersey fabric had questionable recovery, I wanted to make sure that the pocket openings didn’t get stretched out and floppy.  So I cut a 1″ wide strip of interfacing and ironed it on to the edge of the pocket lining where the lining attaches to the shorts front.  To avoid any stretching, I made sure to stitch with the interfaced pocket linings up when sewing them to the pants fronts.  It worked perfectly, so I did a double row of topstitching to accent the pockets.  As per pattern directions, I also topstitched the side seams, which gives them a stylish, finished look.

Hampton tan pocket

The shorts sewed up pretty quickly.  I made buttonholes for the drawstring, sewed the elastic casing, and attached the waistband to the shorts.  My husband picked out the fun camouflage looking paracord to use as the drawstring.  I enlisted his help to melt the cut ends to keep them from fraying.

Hampton tan sideHampton tan back

Since my husband is not tall, I had taken an inch off the length when cutting out my pattern pieces.  They still ended up too long for his liking, so I cut off another inch and a half and hemmed them up.  The shorts were a success and looked good from every angle, so I knew I was good to go on making another pair.

I had some Twill Polartec Powerstretch left over from the Patterns for Pirates SOS pants I made for our daughter, blogpost here.  I knew it would give the shorts a dressier look, making them even more versatile.  The fabric is thicker, with a nice 4-way stretch.  To keep the pockets trim, I used a scrap piece of woven cotton for the pocket linings.  The blue coordinates well with the gray twill.  It is also my husbands favorite color, because, as he says, “It matches my eyes.” 😉

Hampton pocket lining

Since the cotton woven also stabilized the pocket, I didn’t bother with the interfacing at the pocket lining edge this time.  The shorts sewed up just as quickly, and obviously my husband loves them and had fun modeling for me. 🙂

Hampton gray muscles

Having used two completely different fabric types and weights, with stretch at the opposite ends of the spectrum, and getting great results each time, this pattern is a winner.  Having added to the rise, I would feel comfortable making it in a board short type fabric with only minimal stretch.

I really need to order some more Stretch Twill from Phee Fabrics and make him more Hampton Shorts.   Should I get charcoal, black, or more of the navy like I used for my tunic dress?  Father’s Day is right around the corner, and since he is a great Dad, he deserves some more cute and comfortable shorts!

*This post may contain affiliate links.  This means that at no extra cost to you, I may receive a small commission if you purchase through my links.  As always, I only give my honest opinion.  After all, it is my blog, which represents me!  Thank you for reading and sharing my love of sewing, patterns, and fabric. 🙂

Sewing for Men

Man Up!

Do you sew for the men in your life?  I used to sew cute shirts, shorts, and pants for my son when he was little, but haven’t made him a thing in over 25 years.  I made my husband a bathrobe a good 15 years ago, but that’s it.  I sew for myself and my baby granddaughter all the time, and have made quite a few things for my daughter.  But the men in my life seem to get left out, until now.

I decided it was time to let them be the beneficiaries of my makes.  Since my husband now funds my fabric and pattern budget 🙂 and tolerates all the time I spend sewing, he deserves something nice.  My son was kind enough to help me finish setting up my website (as I am definitely not a technogeek) and deserved a reward for his help and patience.

So I decided to make my husband and son Sinclair Patterns Men’s Kai Tee Shirts out of Phee Fabrics rayon spandex.  Wow!  Normally I am not a fan of rayon spandex.  It’s not that I don’t love the softness of rayon spandex, but generally speaking it is not a fun fabric to work with.  It’s thin and flimsy.  It gets all wrinkly.  It stretches and gets bagged out of shape.  It’s slippery and a pain to sew.

Since I really like Phee Fabrics and have always been impressed with their quality, I decided to give their rayon spandex a try.  Wow!  It is so much nicer than your typical rayon spandex.  It’s way more substantial (13 oz.), has beautiful recovery, doesn’t come out of the dryer as a wrinkly mess, and even makes great bands on your tees.  I am using their rayon spandex for all kinds of makes now!

My next question was what pattern to use?  Some of my favorite “go-to” pdf pattern companies have shirt patterns, but most of them seem to be raglan sleeve styles.  Also, my son is tall, and my husband is not.  It’s not that I’m not used to having to lengthen patterns, since I am tall, but really, who wants to use their precious sewing time having to adjust their pattern?  Enter Sinclair Patterns.  Their patterns come with height options!  Regular, Tall and Short.  How amazing is that?  So I bought, downloaded and printed off the Men’s Kai in Tall and Regular.  Traced off my husband and son’s sizes and got to sewing.

J KaiD Kai

The shirts came together quickly and easily, and the neckband lengths in the pattern were perfect.  I don’t know about you, but I always wait until I have my shoulder seams sewn together to cut my neckbands.  I measure the opening and calculate the appropriate length, and frequently have to make longer bands than a pattern suggests.  It drives me crazy, but I have been burned too many times by a tight, gathered looking neckband to trust most patterns.  The Kai pattern neckband was perfect on both sizes.  It makes me confident that I will have the same success with their other patterns.

Kai biceps Kai side


All that was left to do was photograph my makes.  Getting my guys to agree to be photographed took a minute, but they had fun at my quick photo session.  And I snuck into a selfie, since who wouldn’t want to be photographed with these two cuties?  So give new patterns and fabrics a try, I don’t think you’ll be disappointed!  Happy sewing!

Kai group