I’ve been waiting for these shorts for over a year! Volunteering to pre-test them last year, and loving them even back then. The pattern was put on hold until this year, when shorts season rolled around again. One of the things that makes GreenStyle patterns fit so well, is the fact that they are truly put through the test. Comments and fit photos submitted by the testers are taken into consideration, and the pattern gets tweaked again and again to perfect the fit.
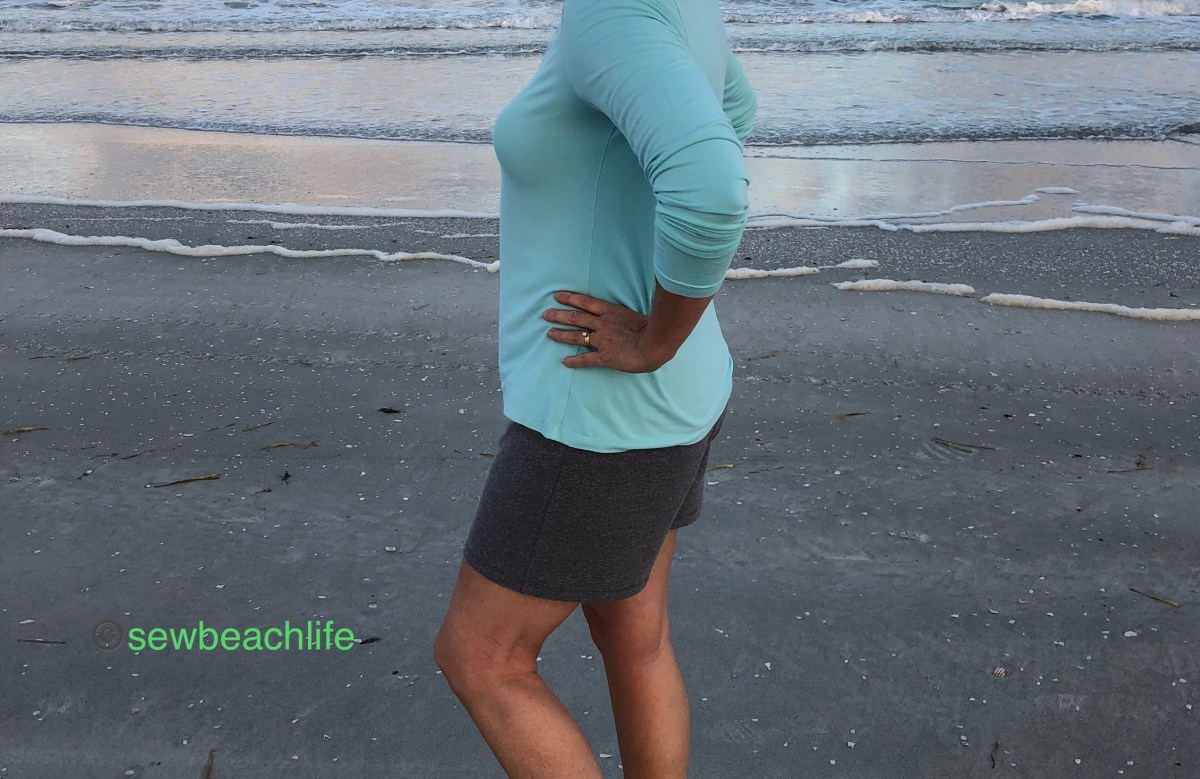
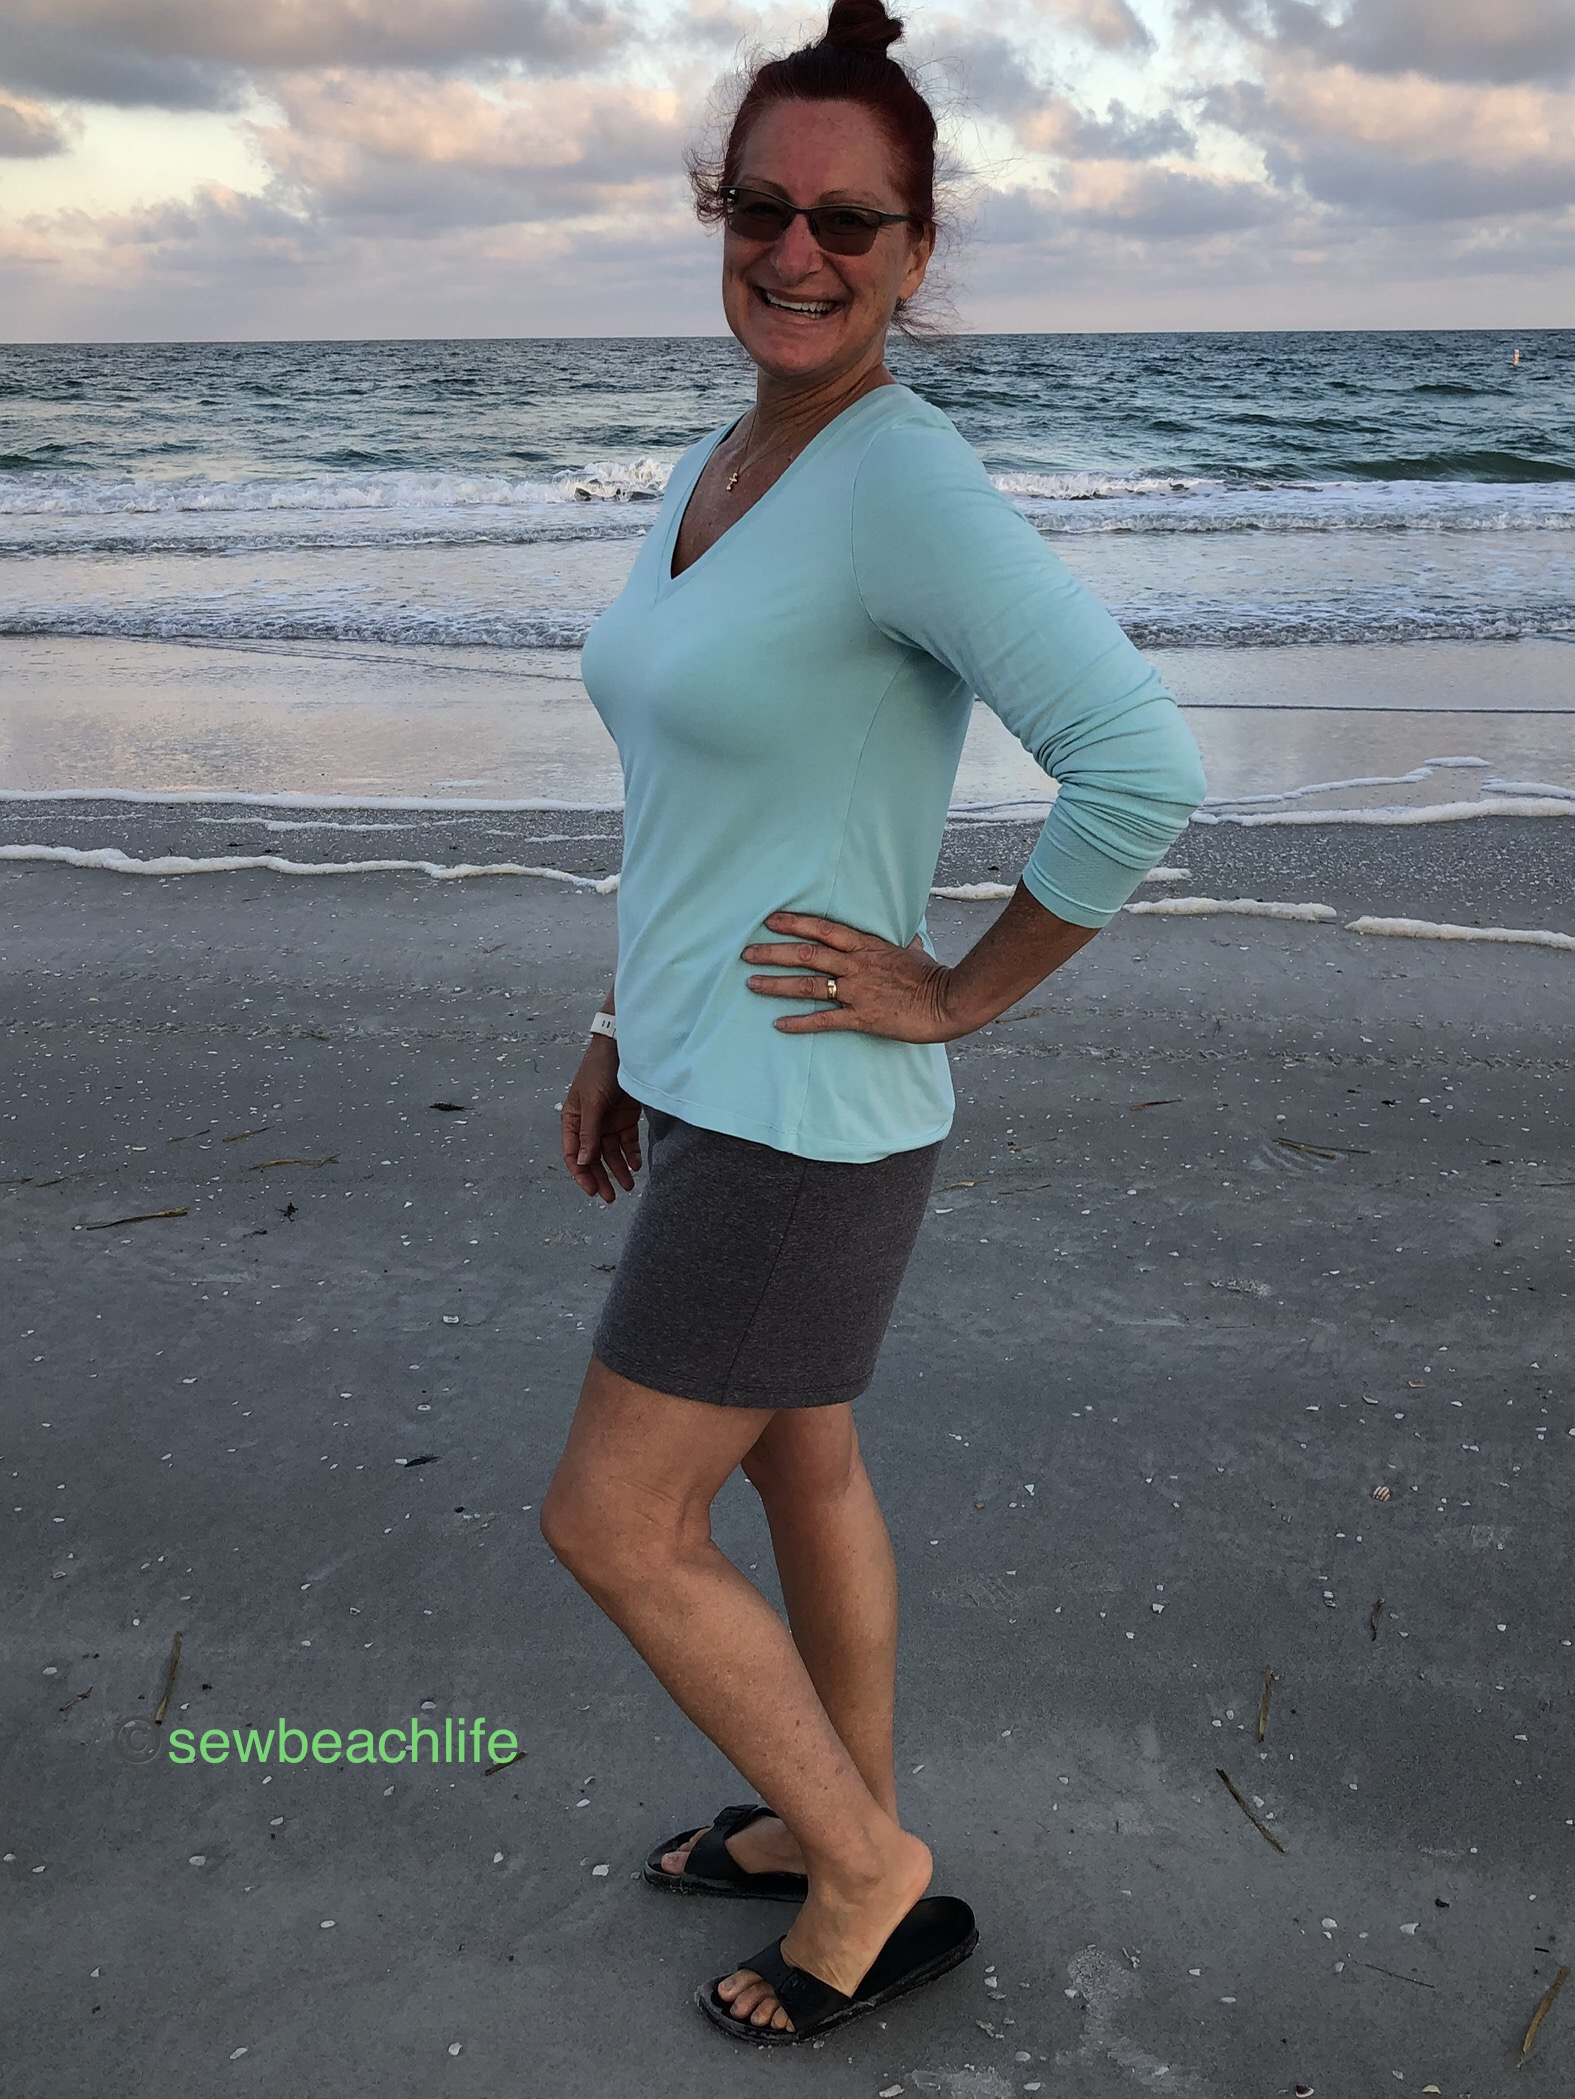
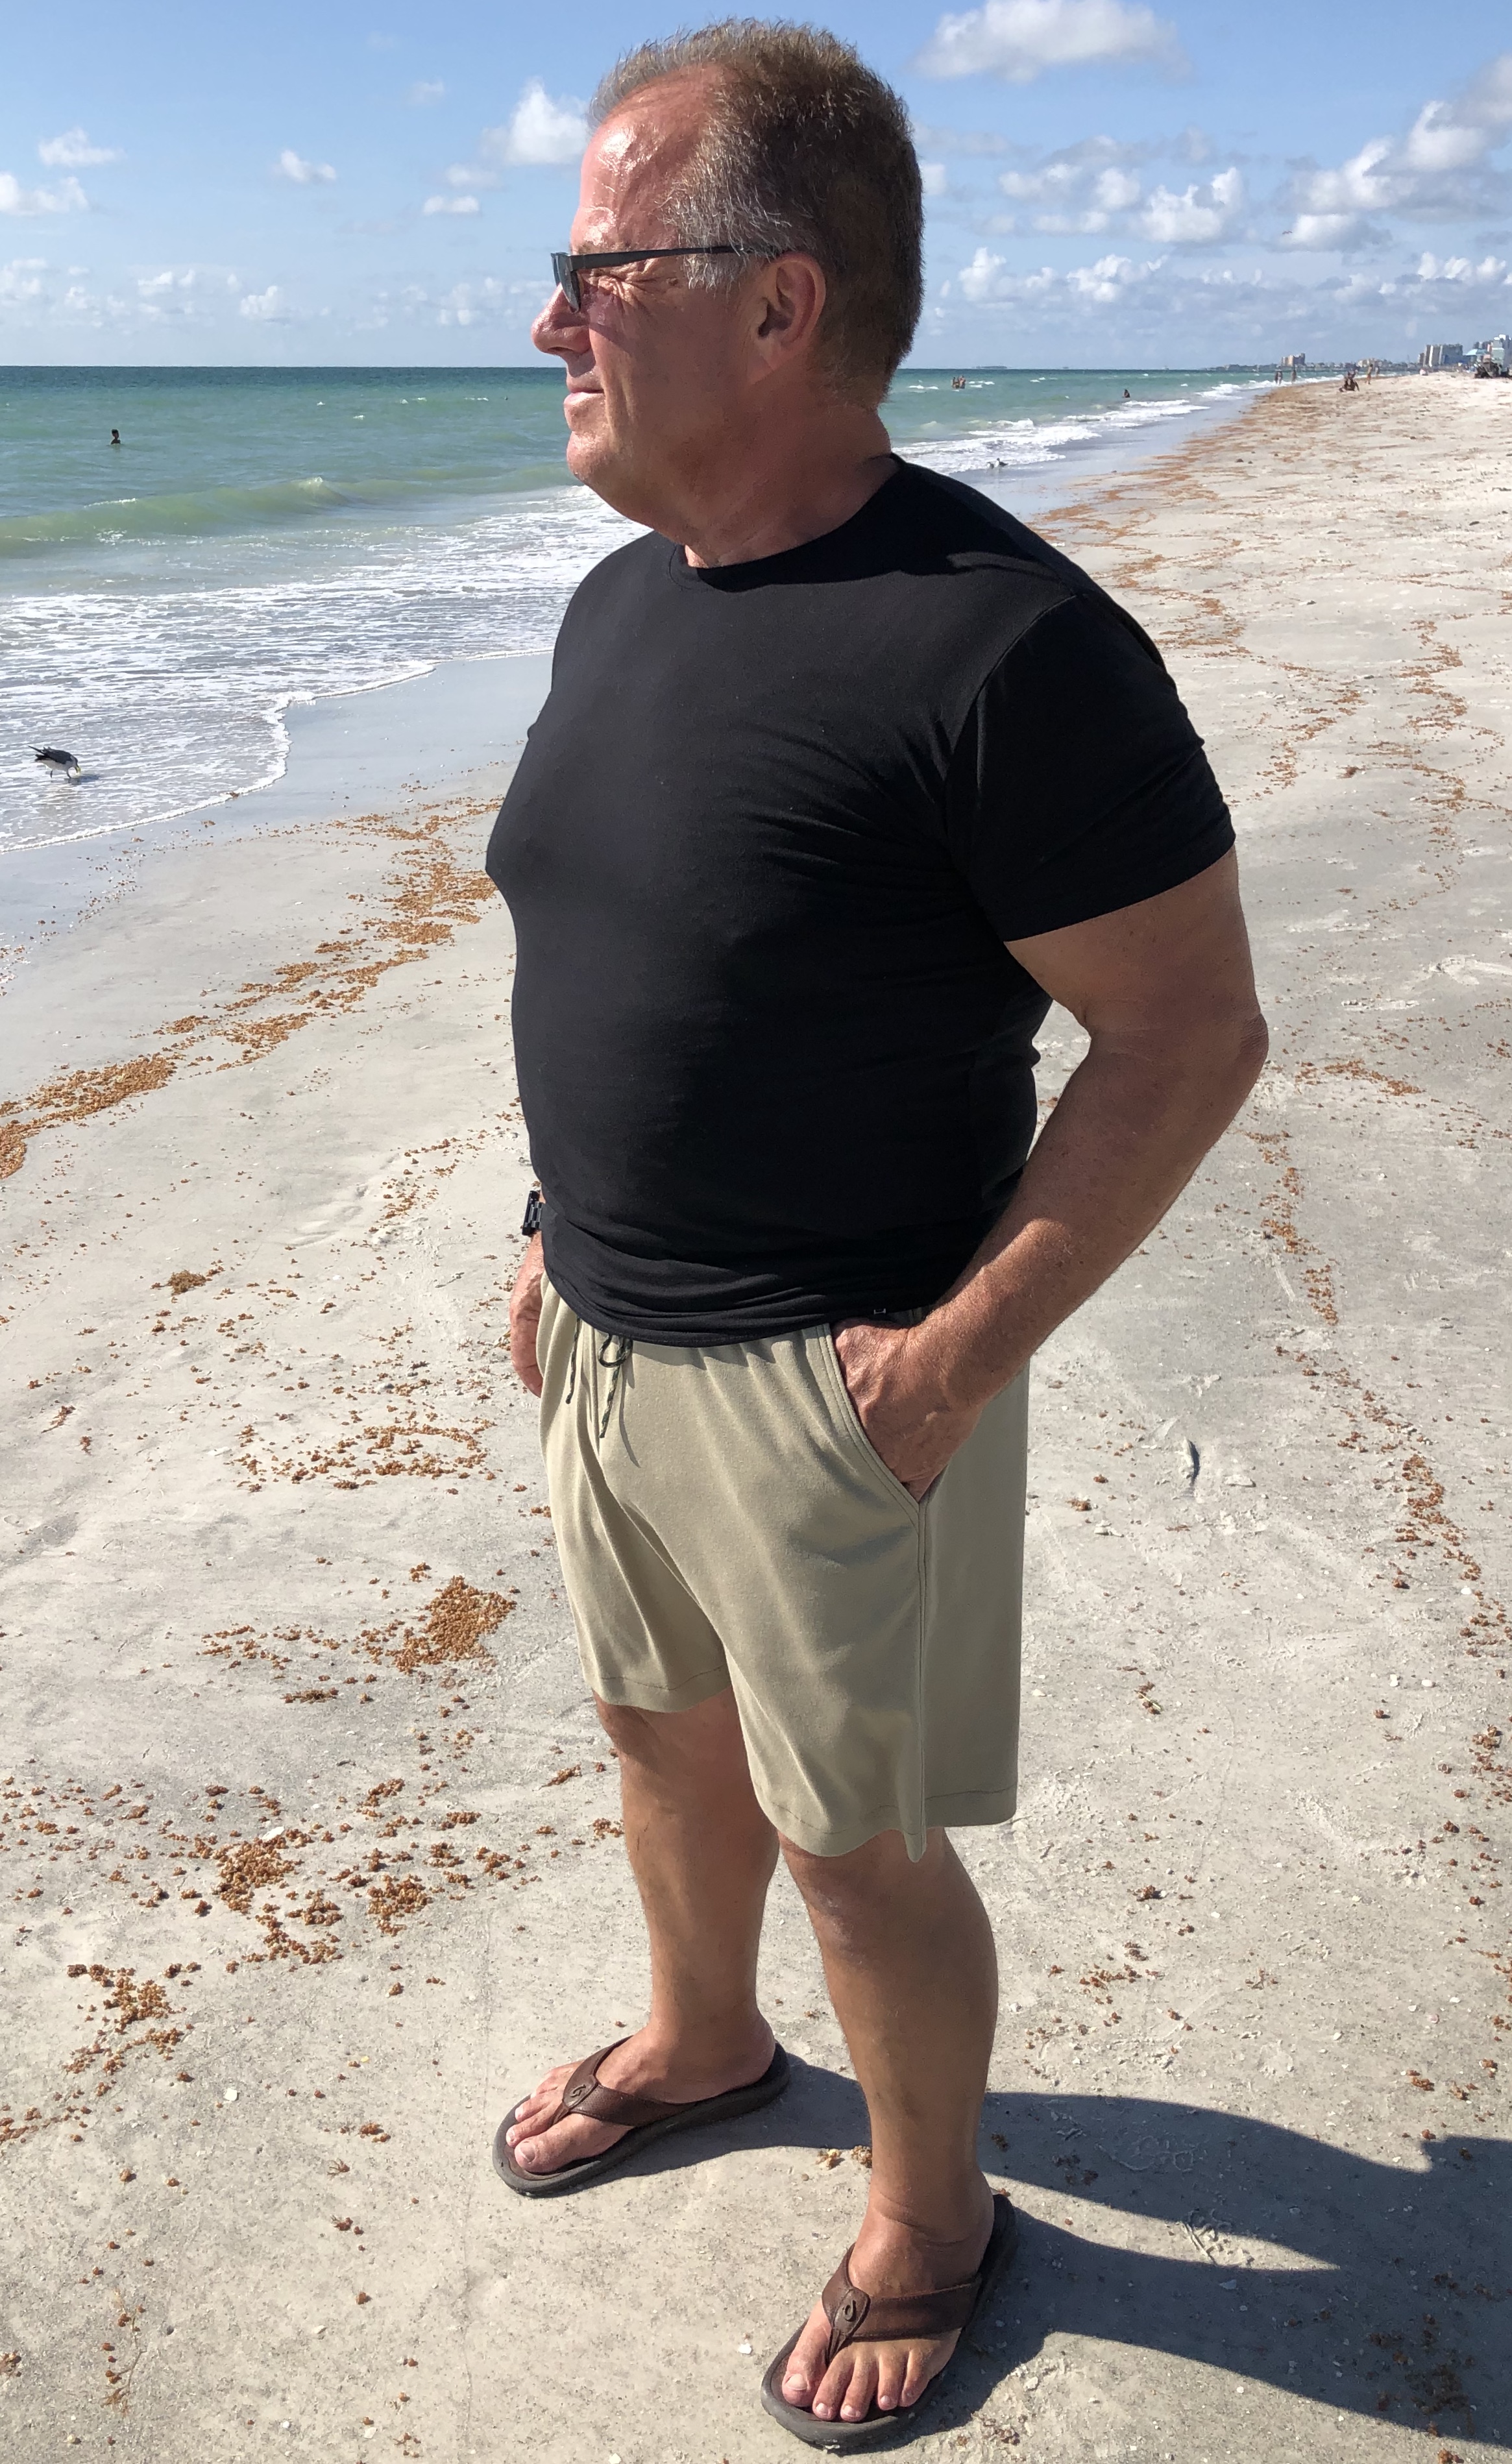
With curved back seams to fit smoothly over the bum (with an optional fuller bum cut line), and welt pockets (with optional zipper) the Windward Shorts are flattering and practical. I tend to wear a lot of athletic wear style of shorts. I probably have seven pair of Moxi compression layer shorts that I wear all the time. But my dress shorts options are severely limited. As in I didn’t have any until the Windward Shorts came along!
I love being able to add another category of clothing into my life. There are occasions that require a slightly dressier look, and now I’ve got something that fits the bill.
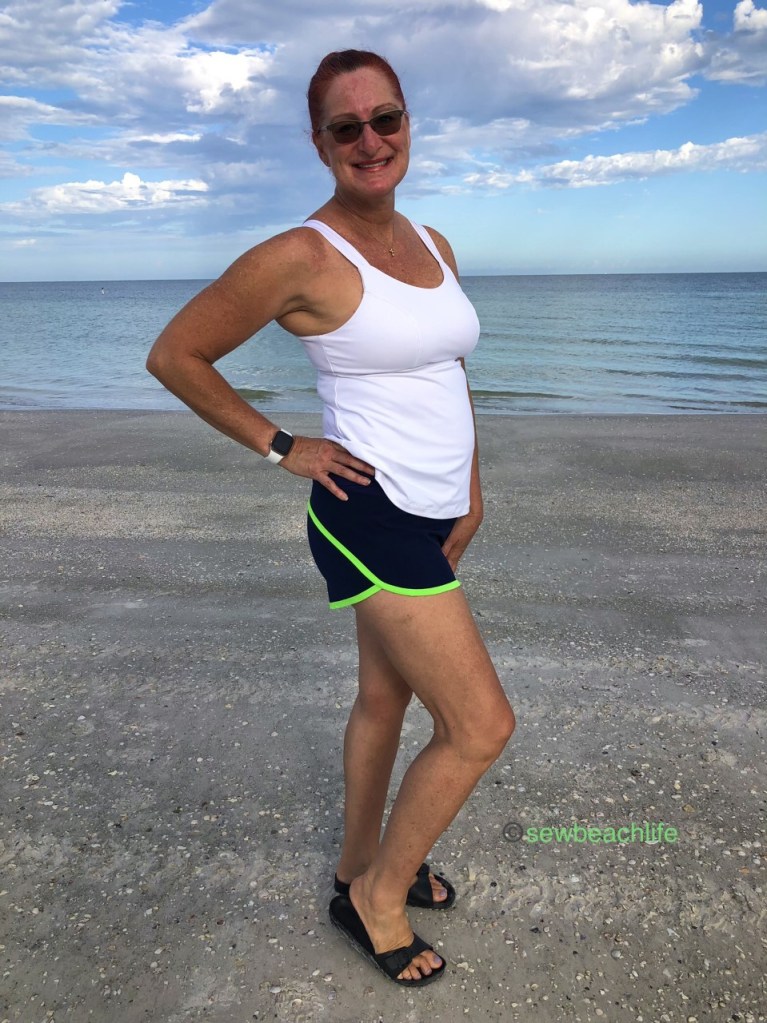
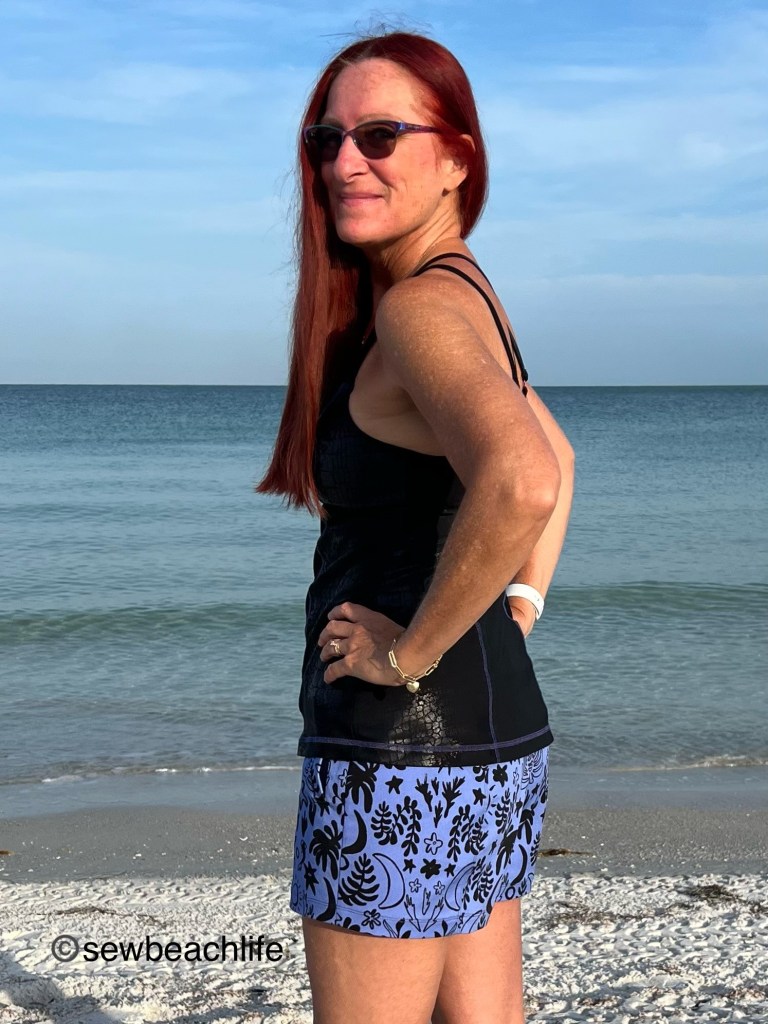
The pattern is designed for stretch woven fabrics, so that inherently leads to a dressier look. Stretch wovens can be made of different materials (all of which contain a small percentage of spandex, which is what gives them that little bit of stretch.) The periwinkle stretch cotton twill from Mood Fabrics is a heavier, crisper fabric, which gives a different look than say a polyester blend that is thinner and a bit drapier.
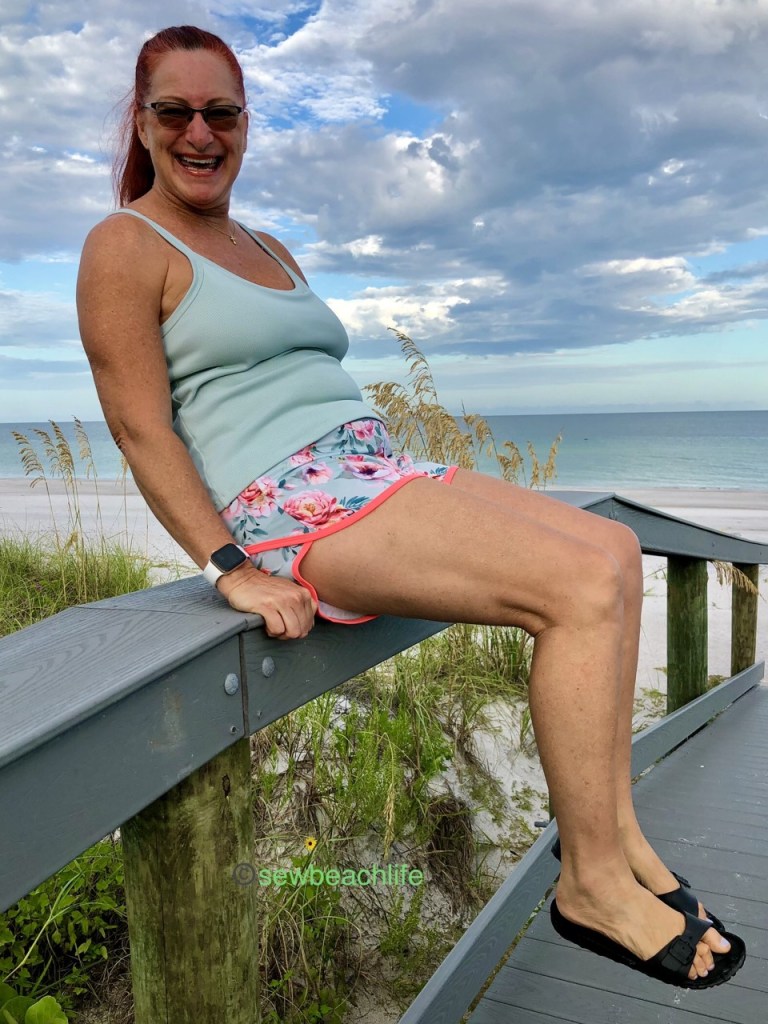
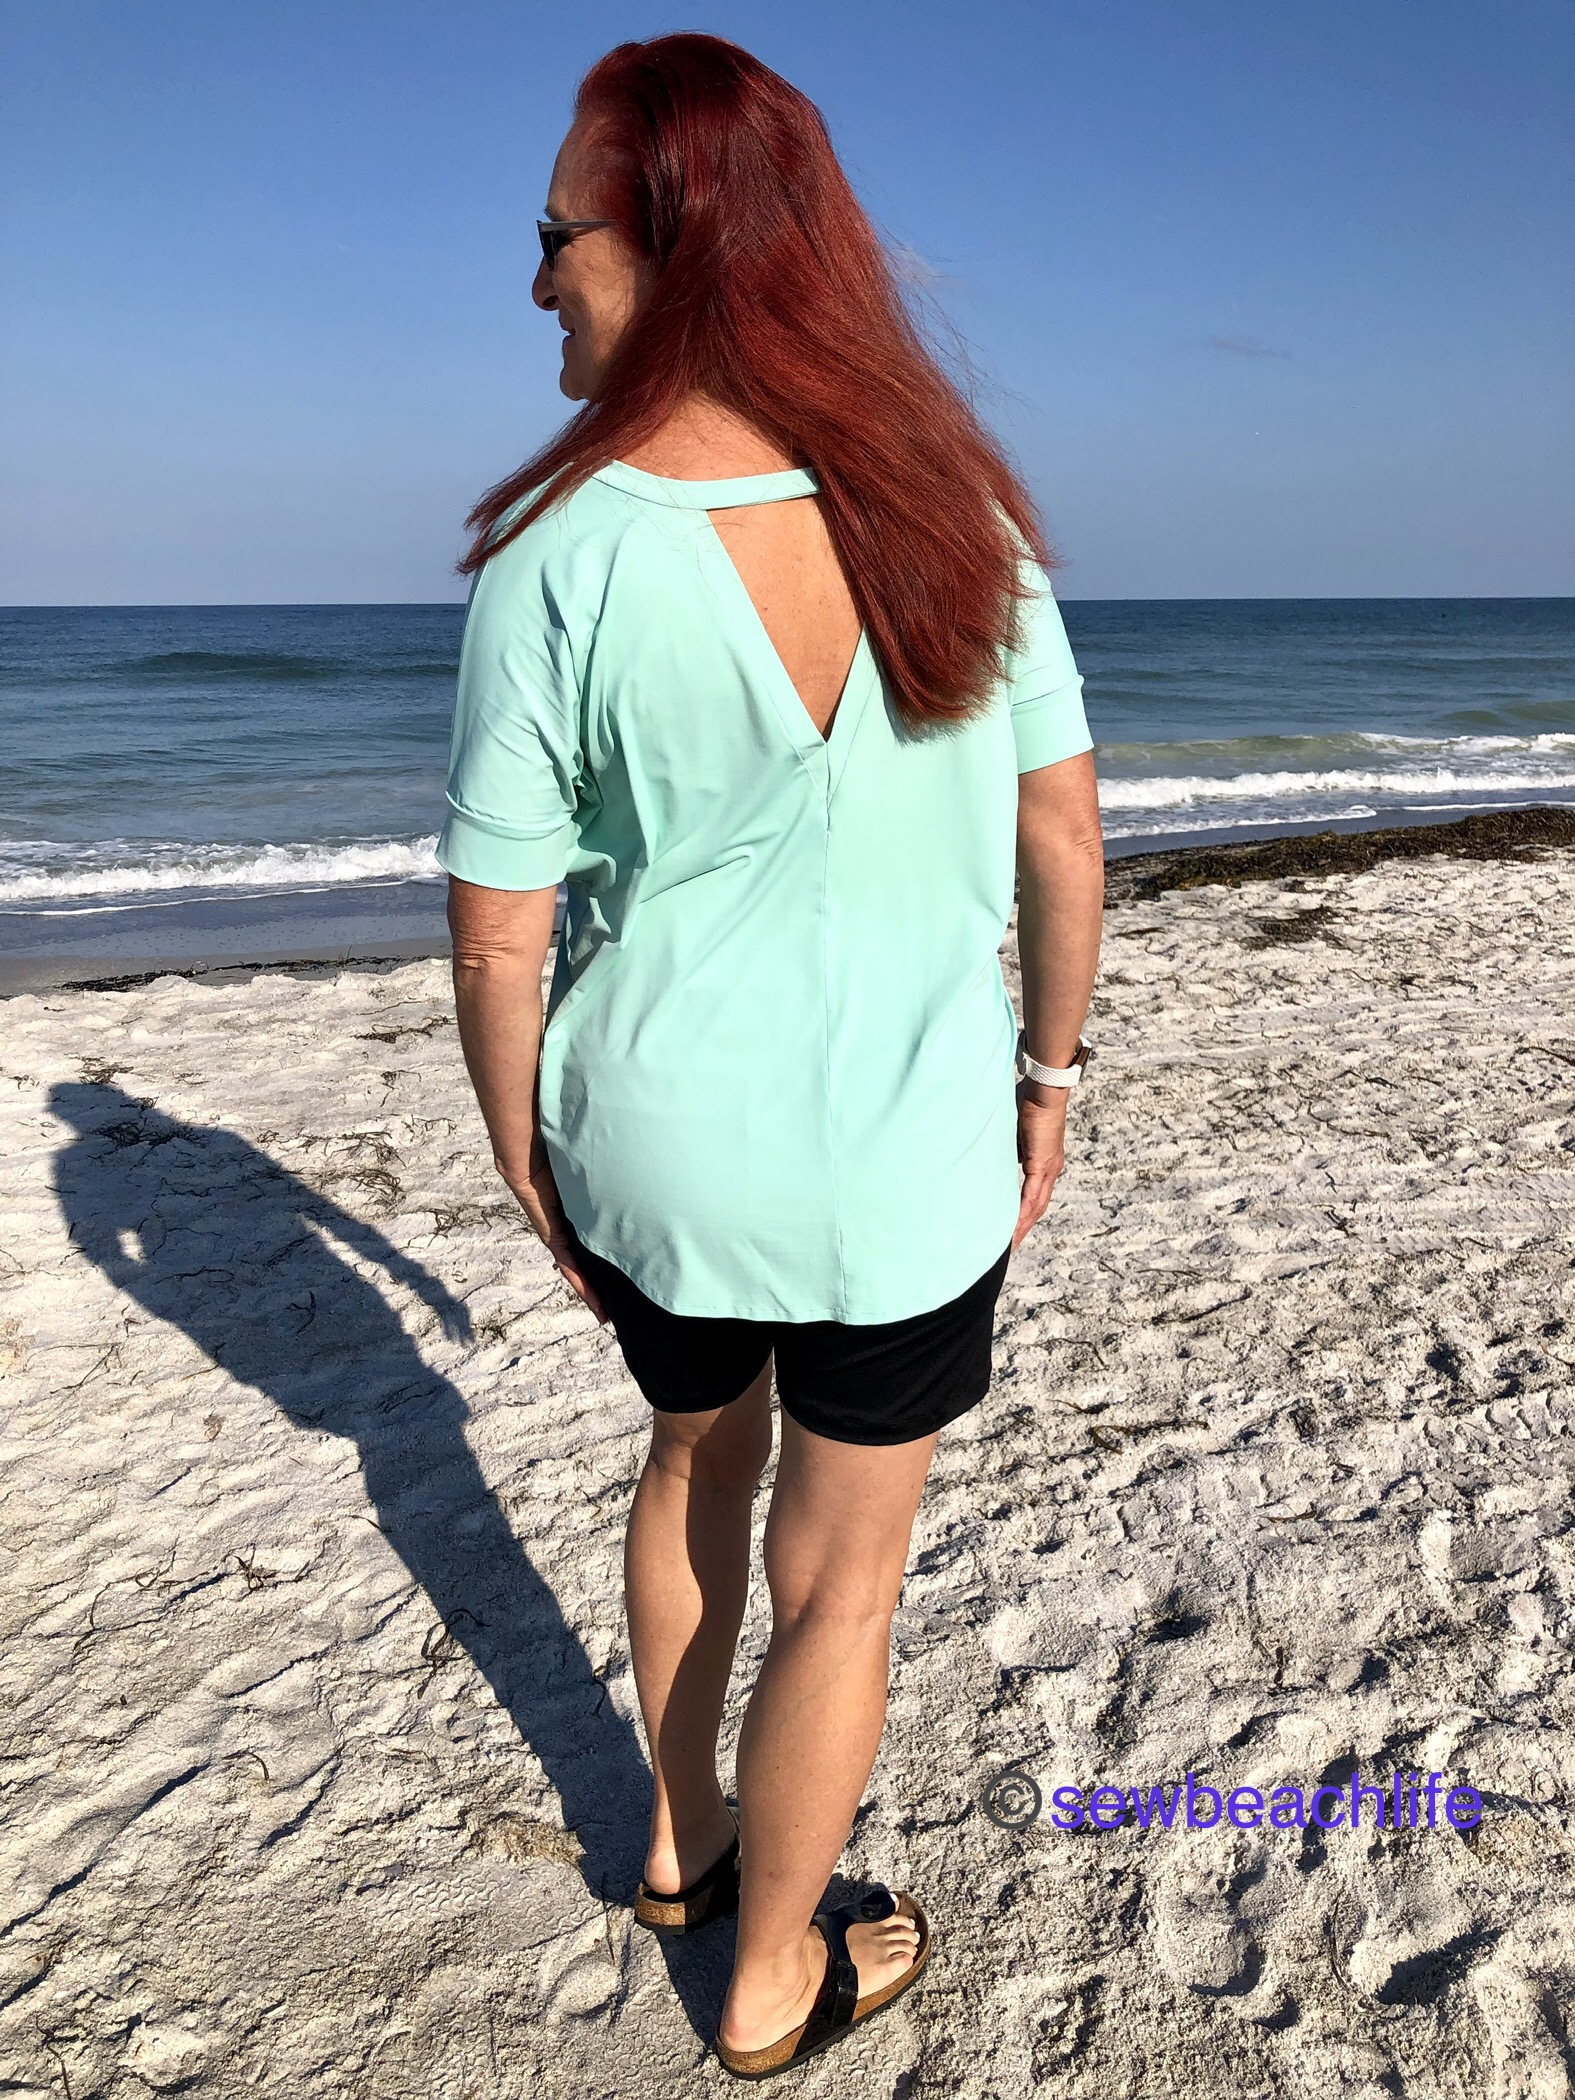
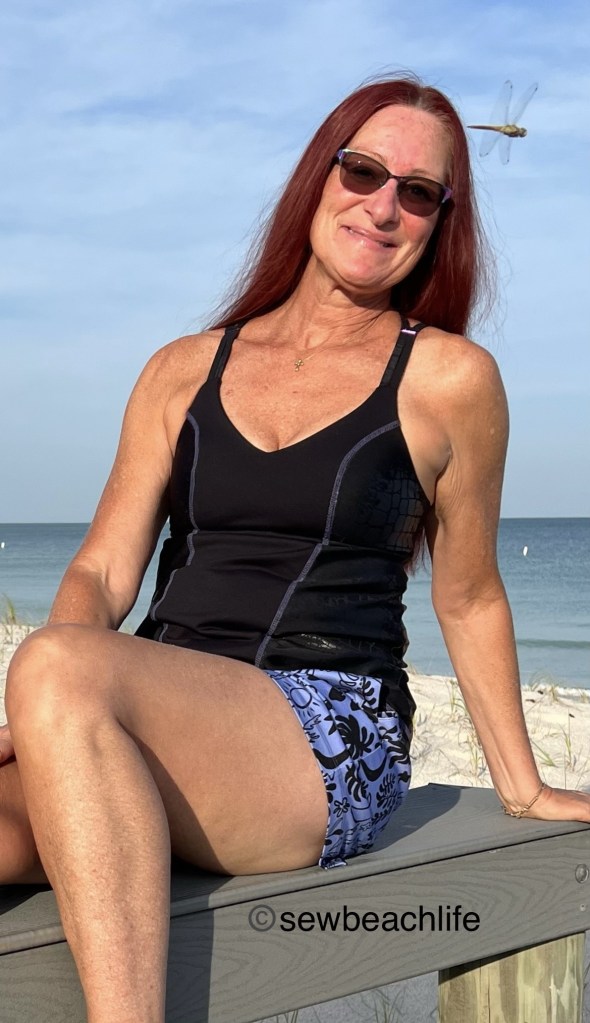
I also made a pair out of stretch charmeuse from JoAnn Fabrics. The softer drape makes them look a bit more form fitting.

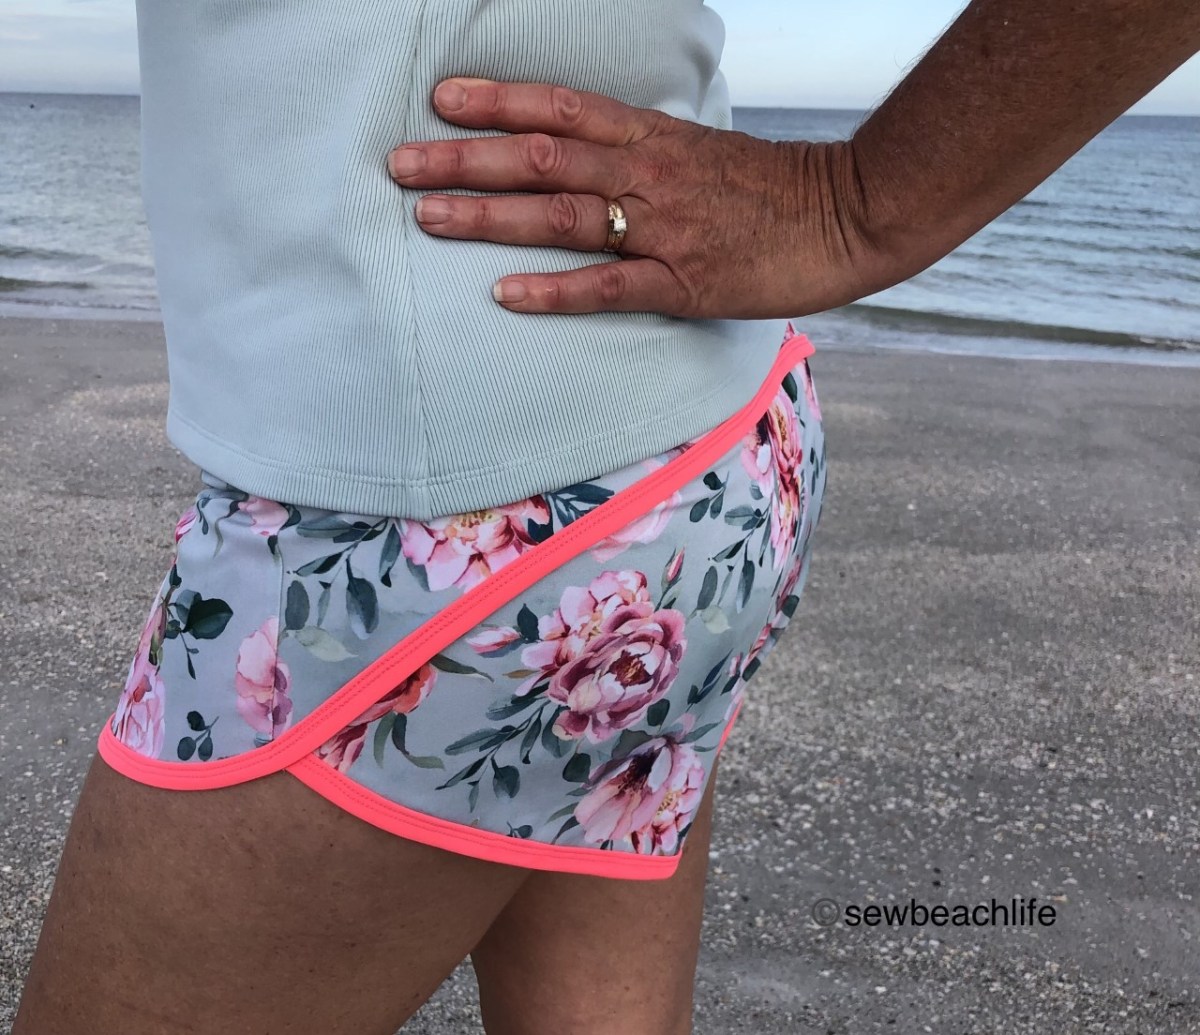
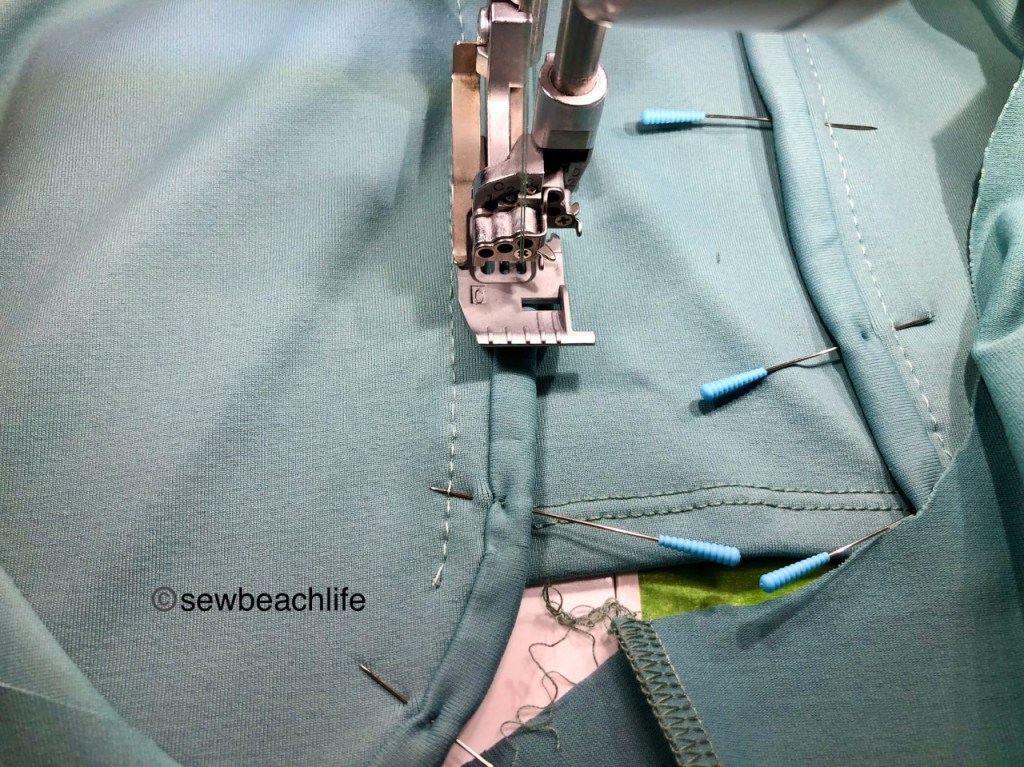
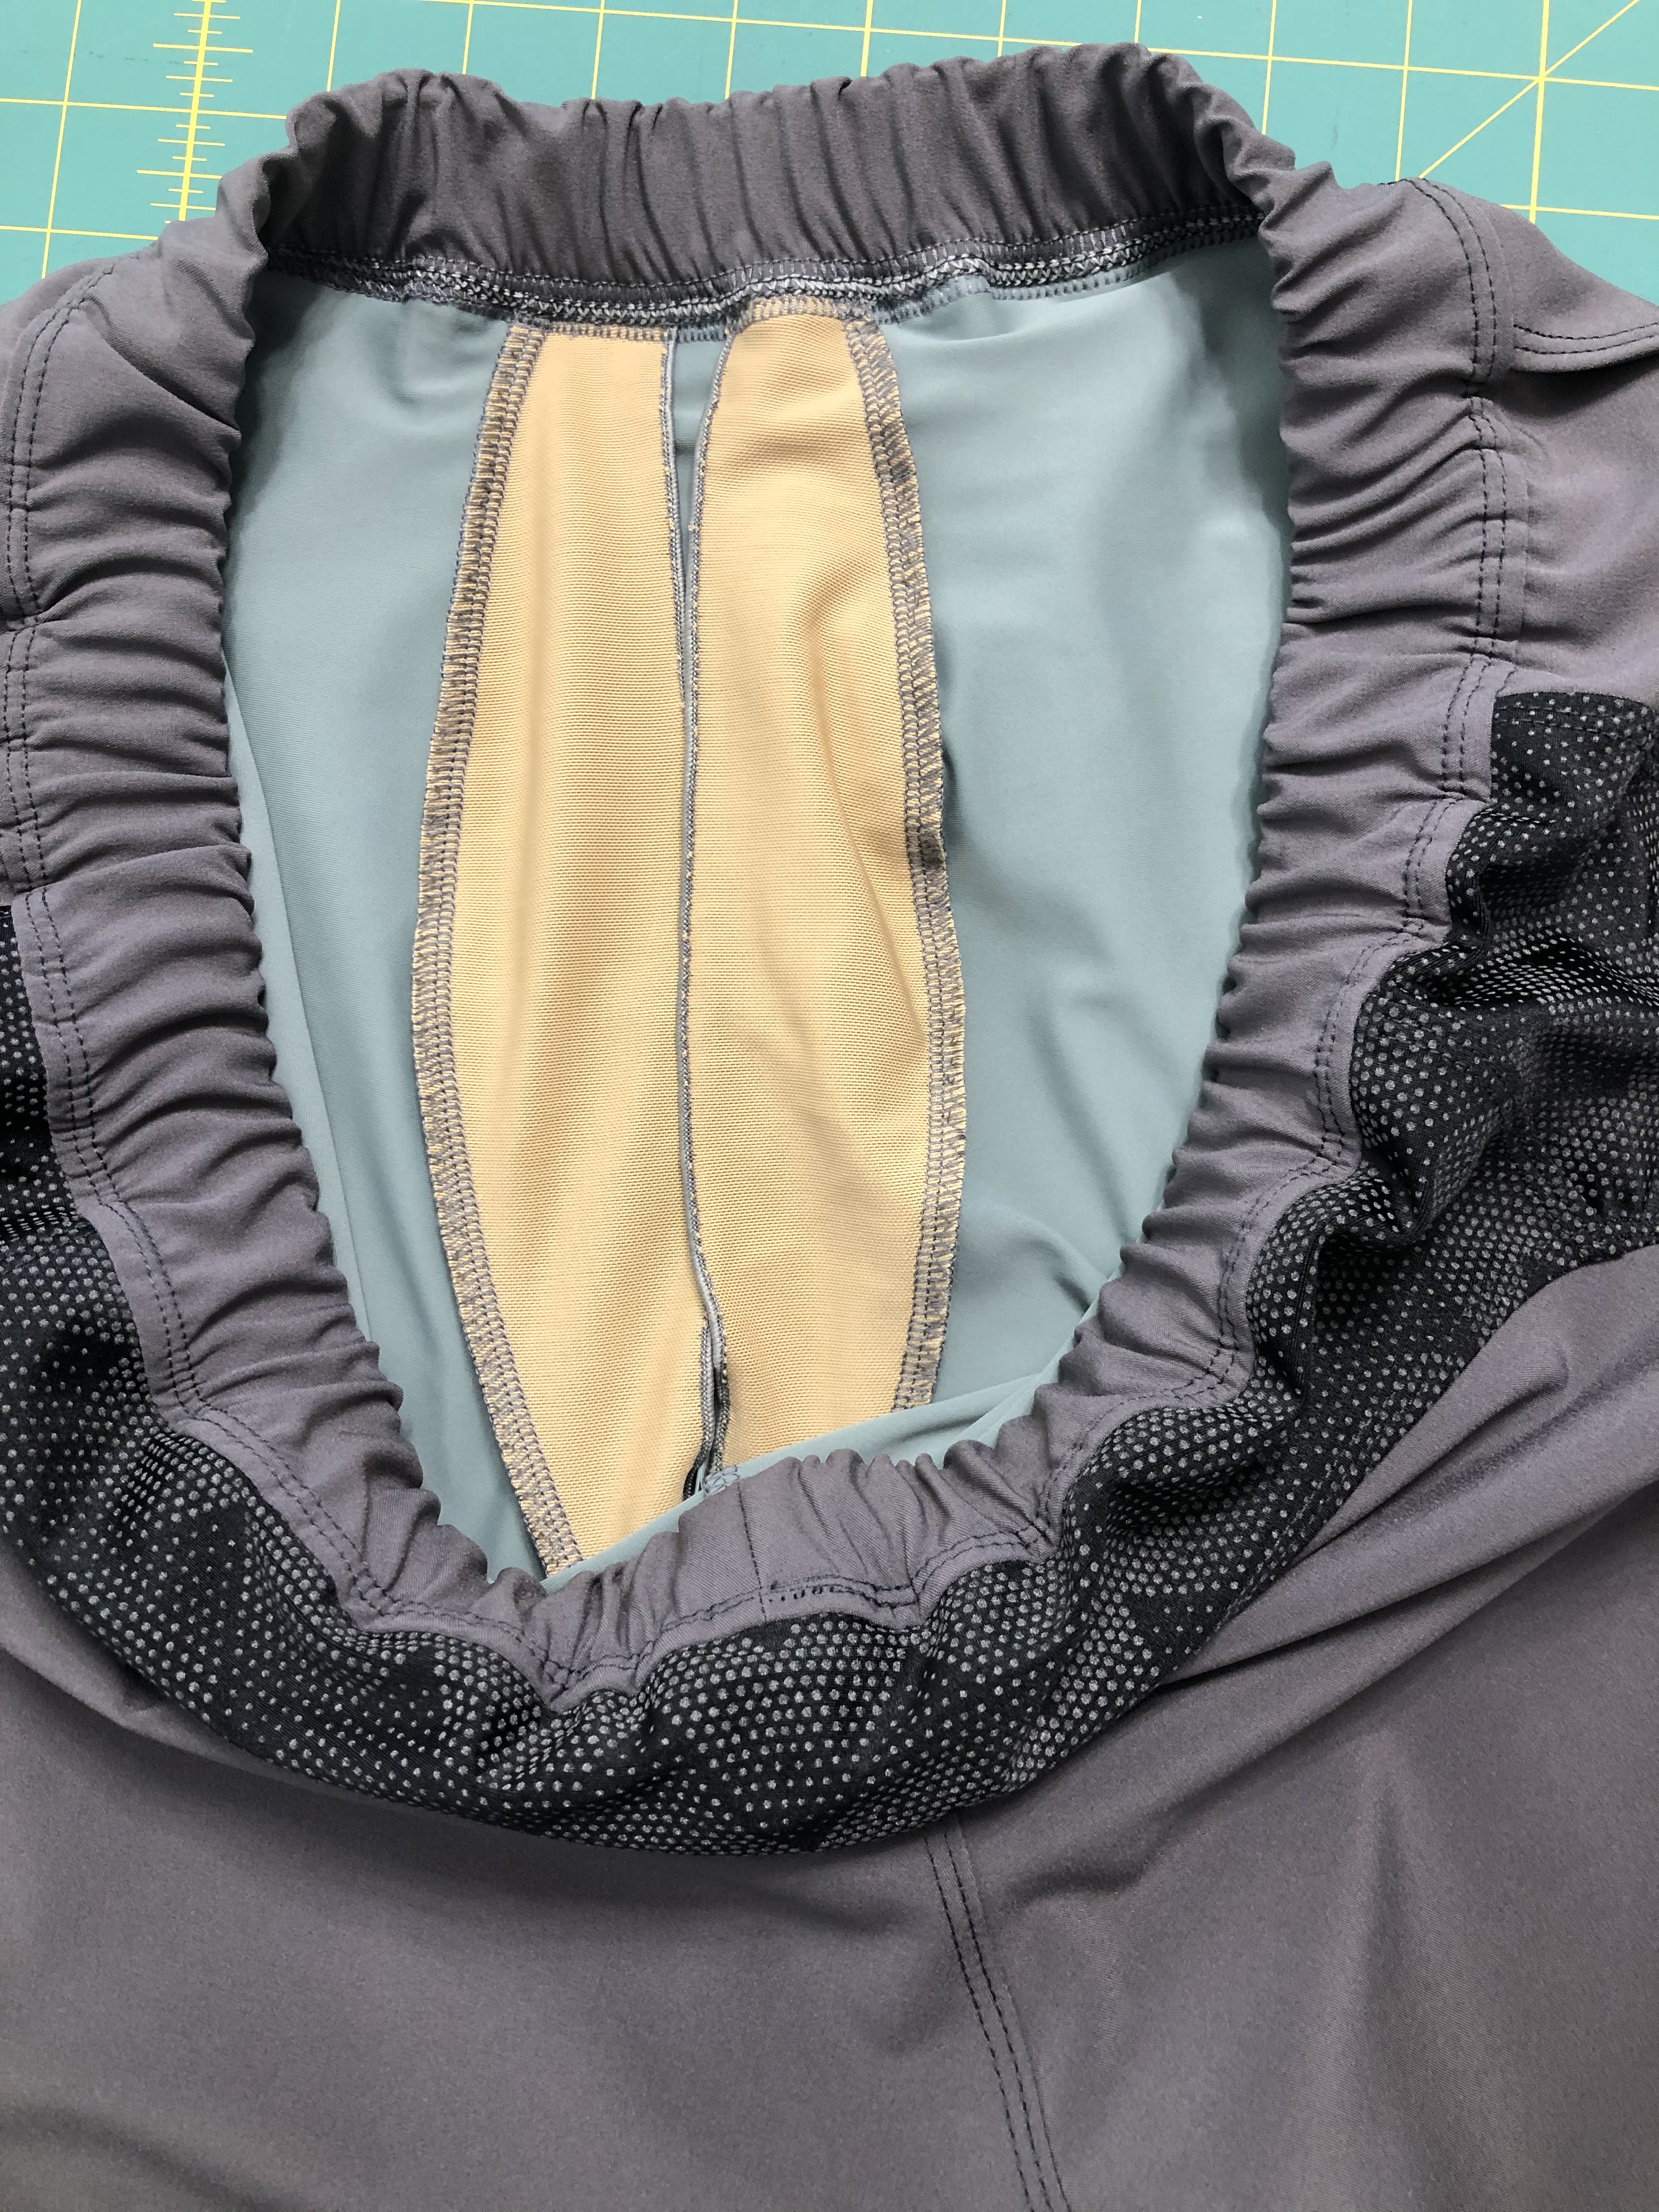
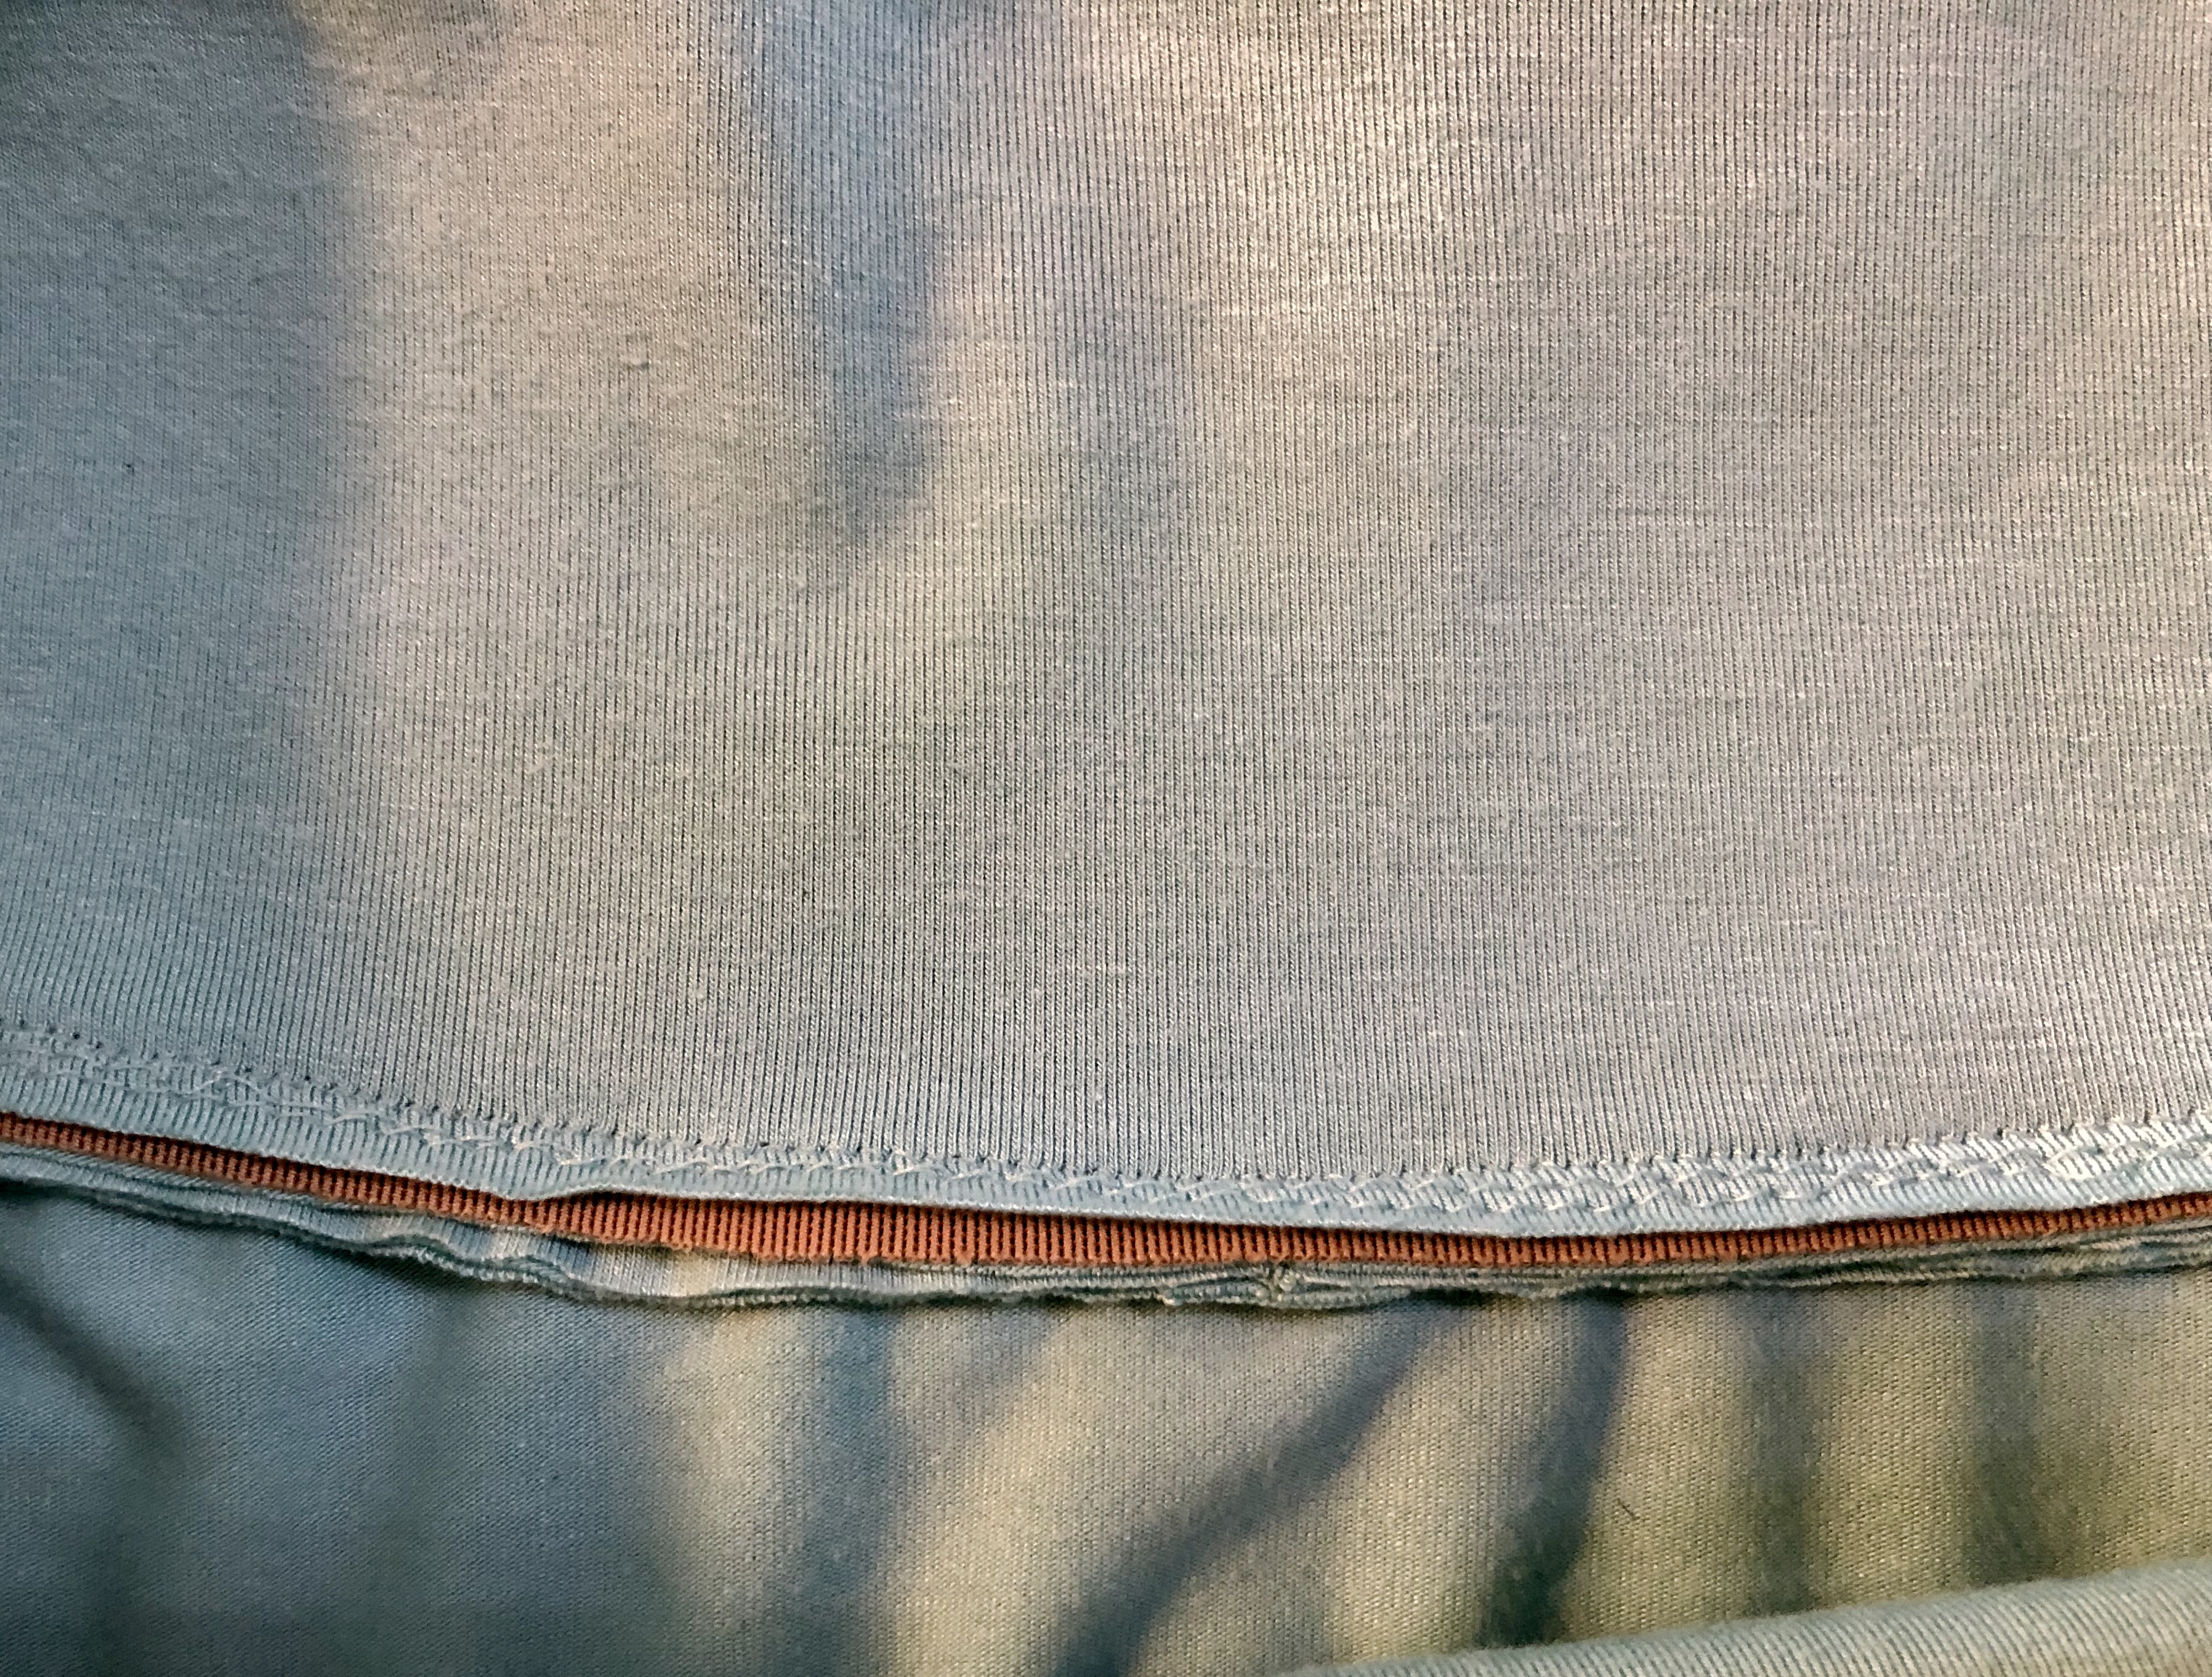
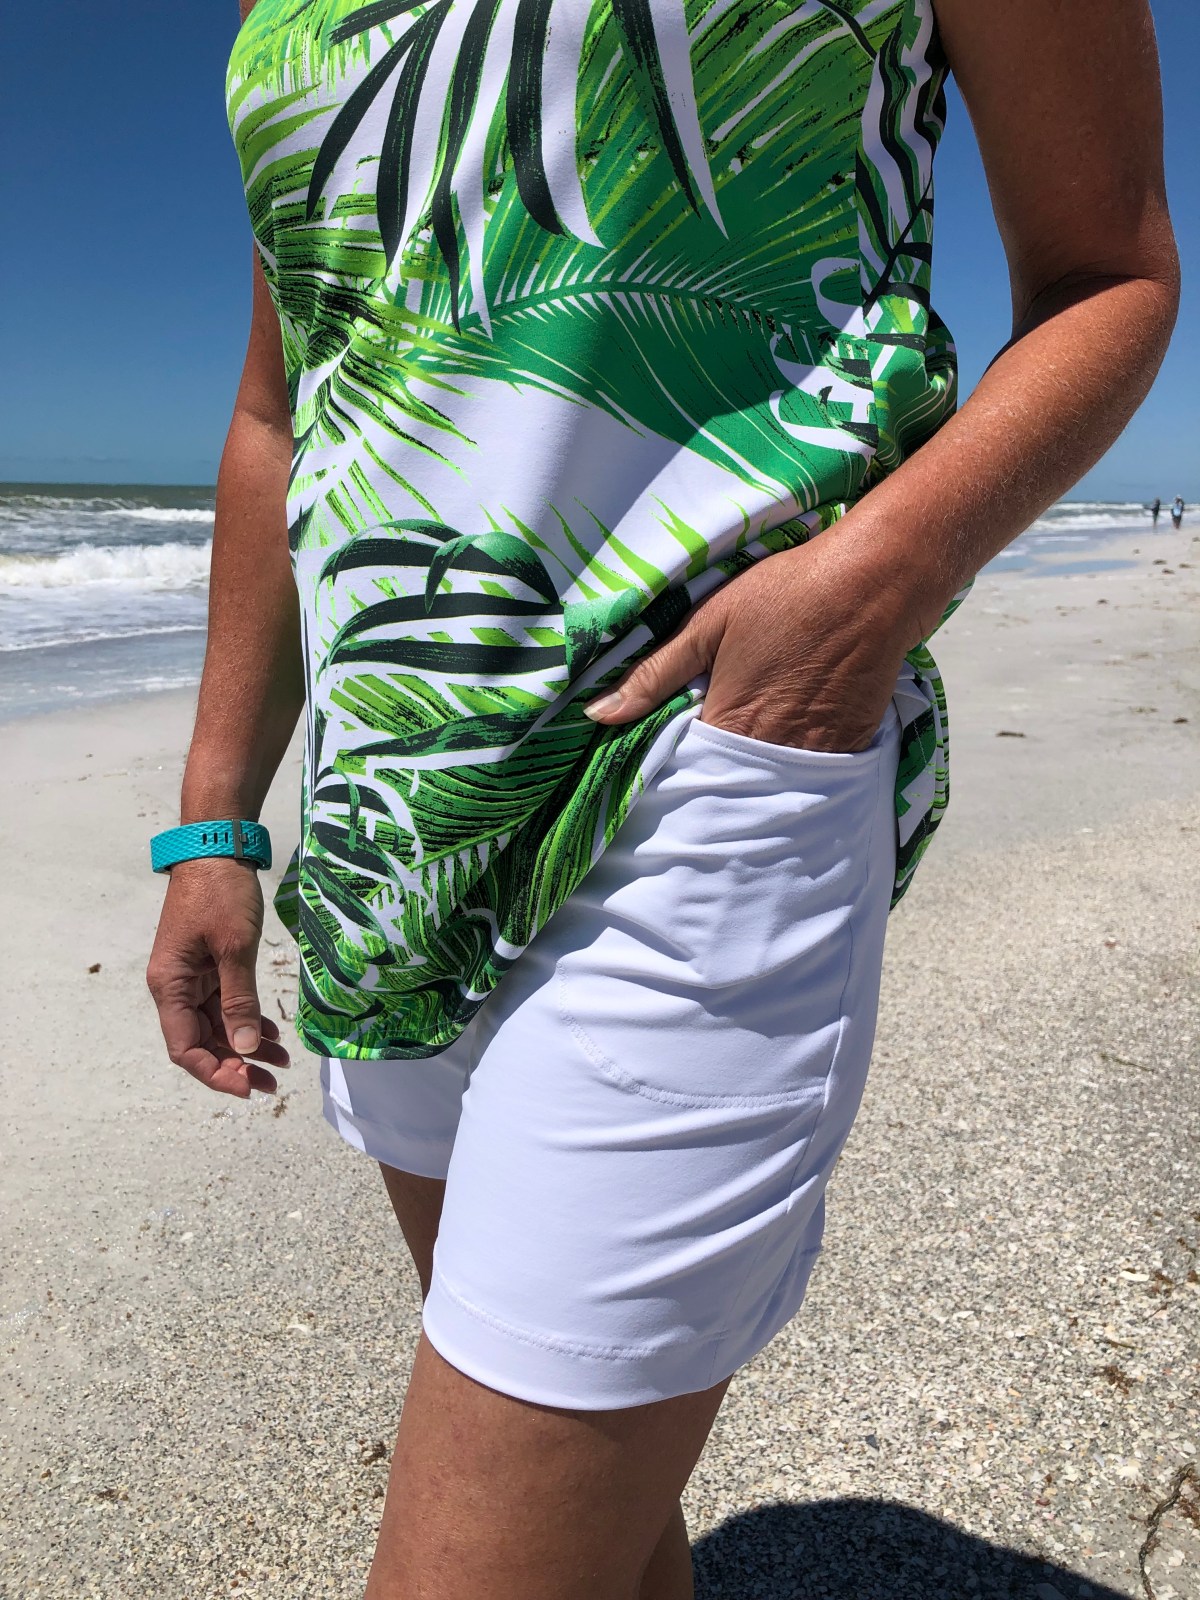
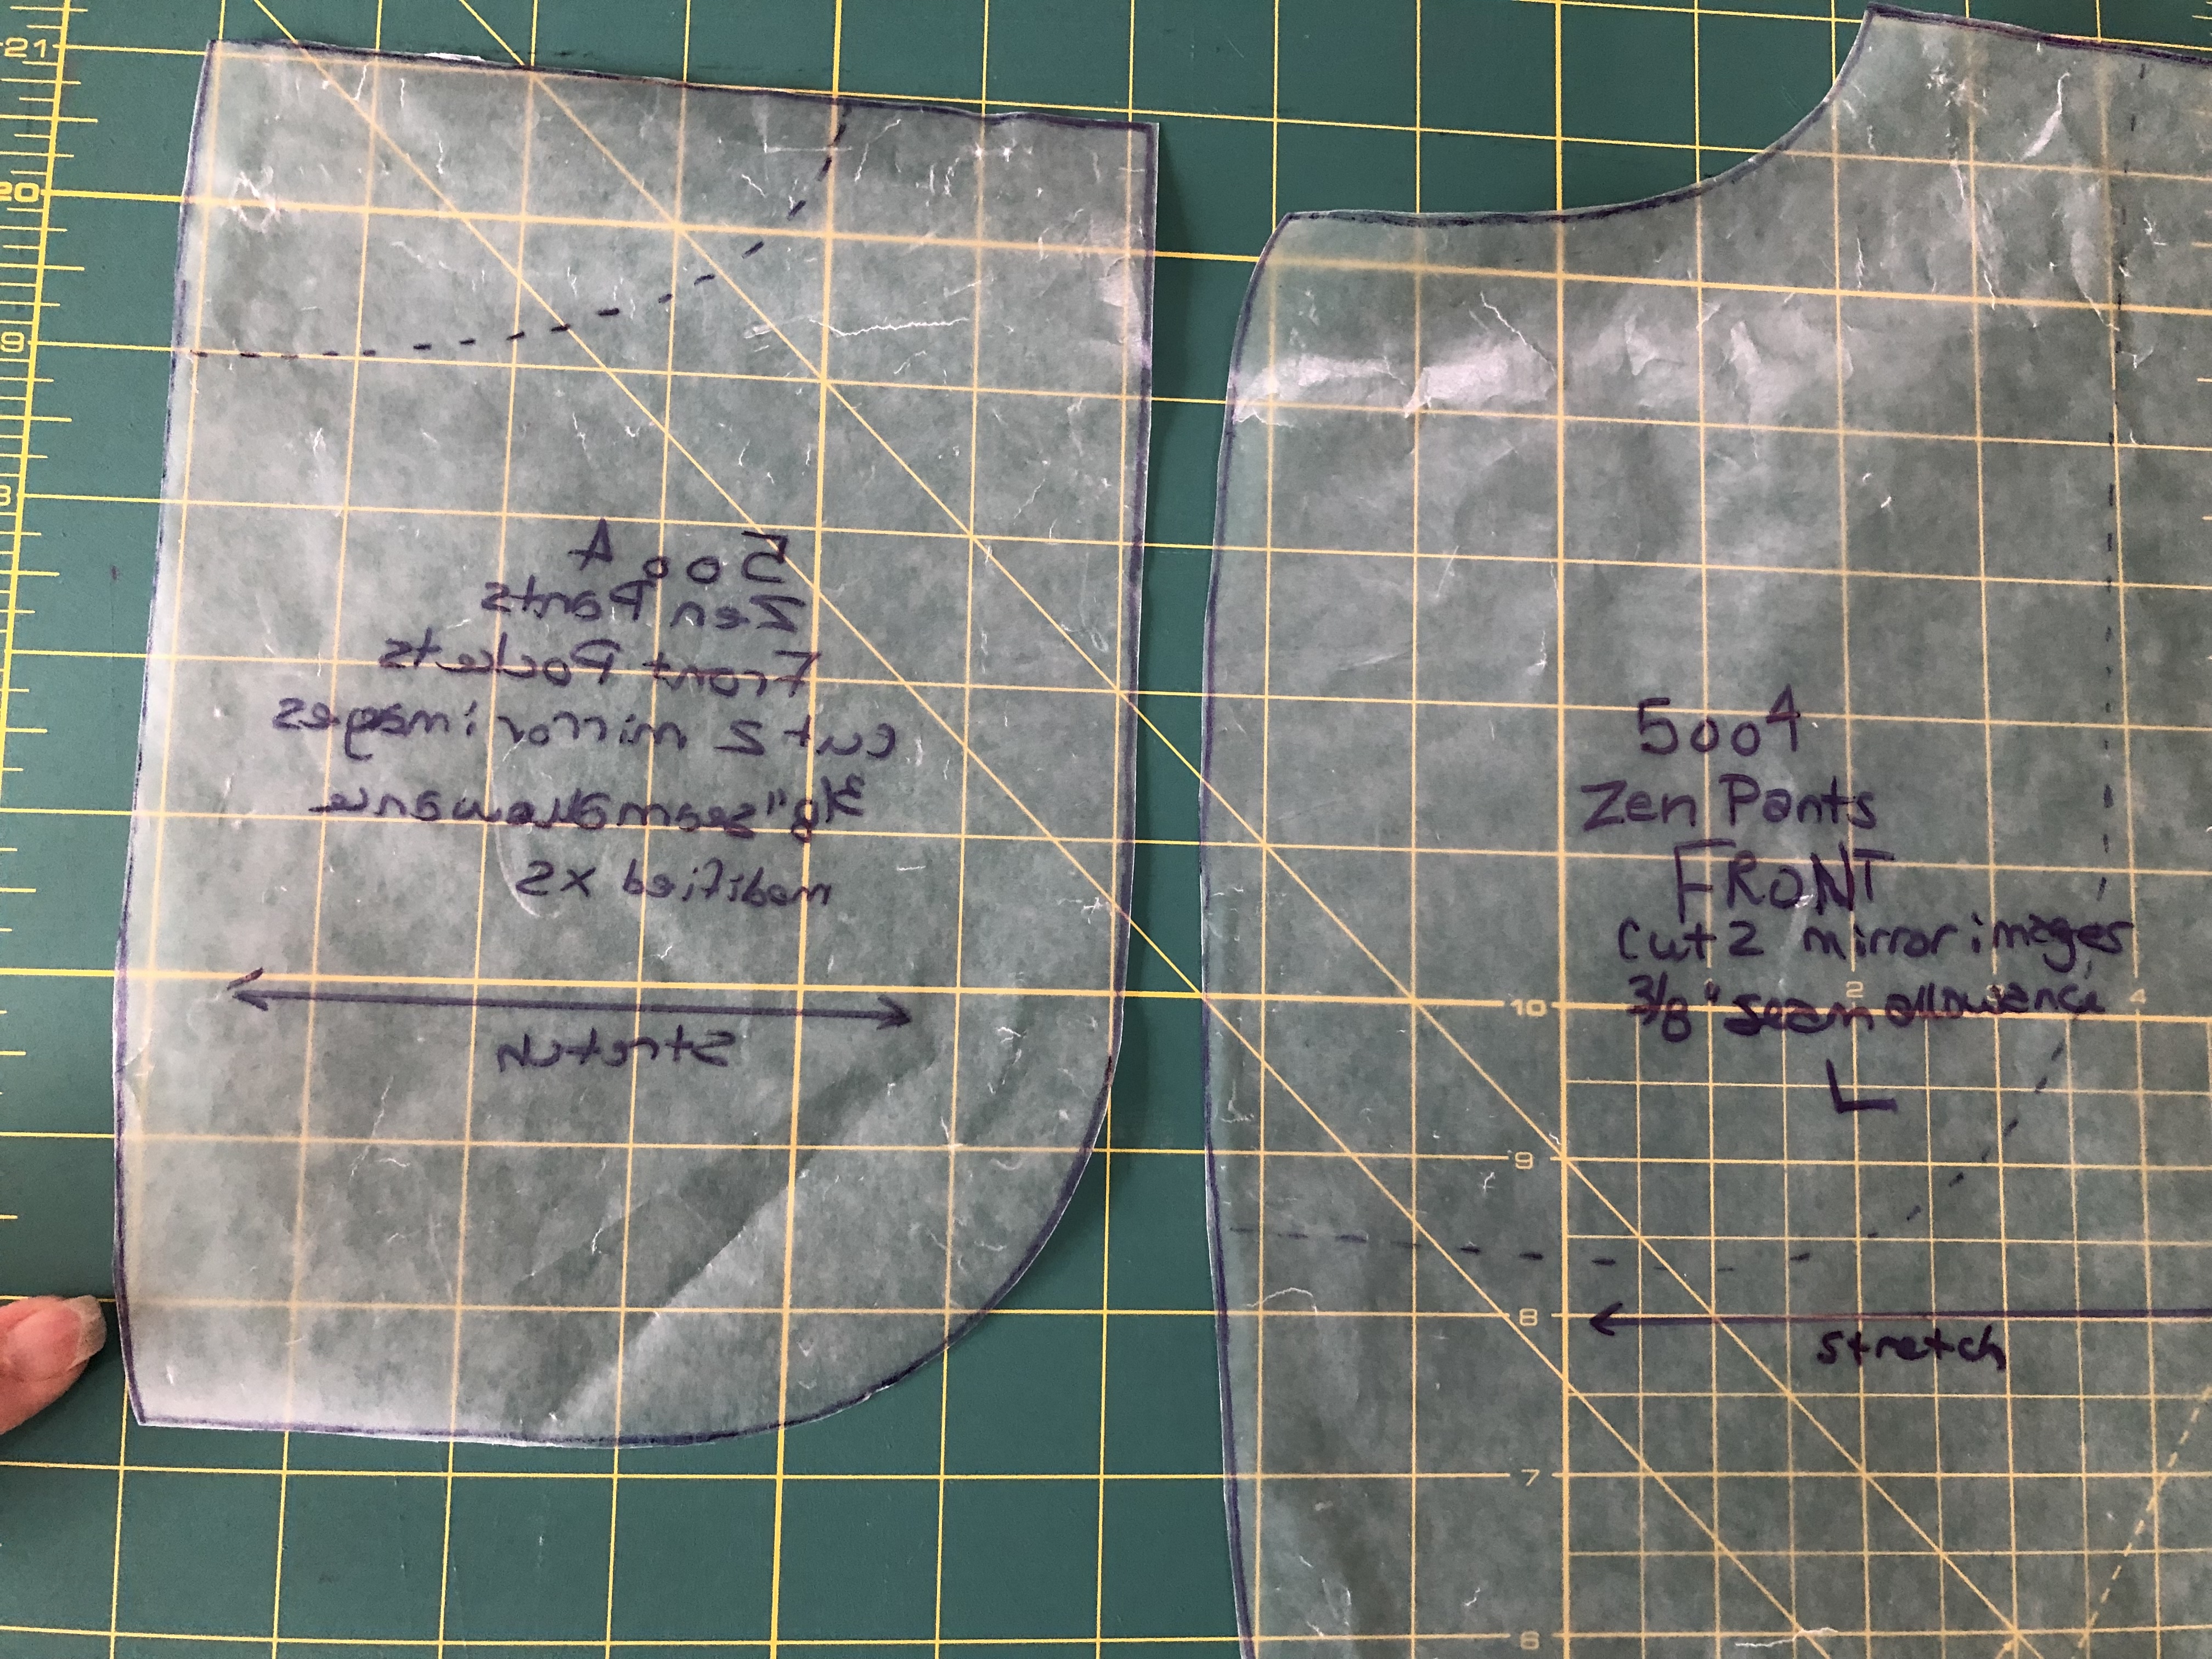
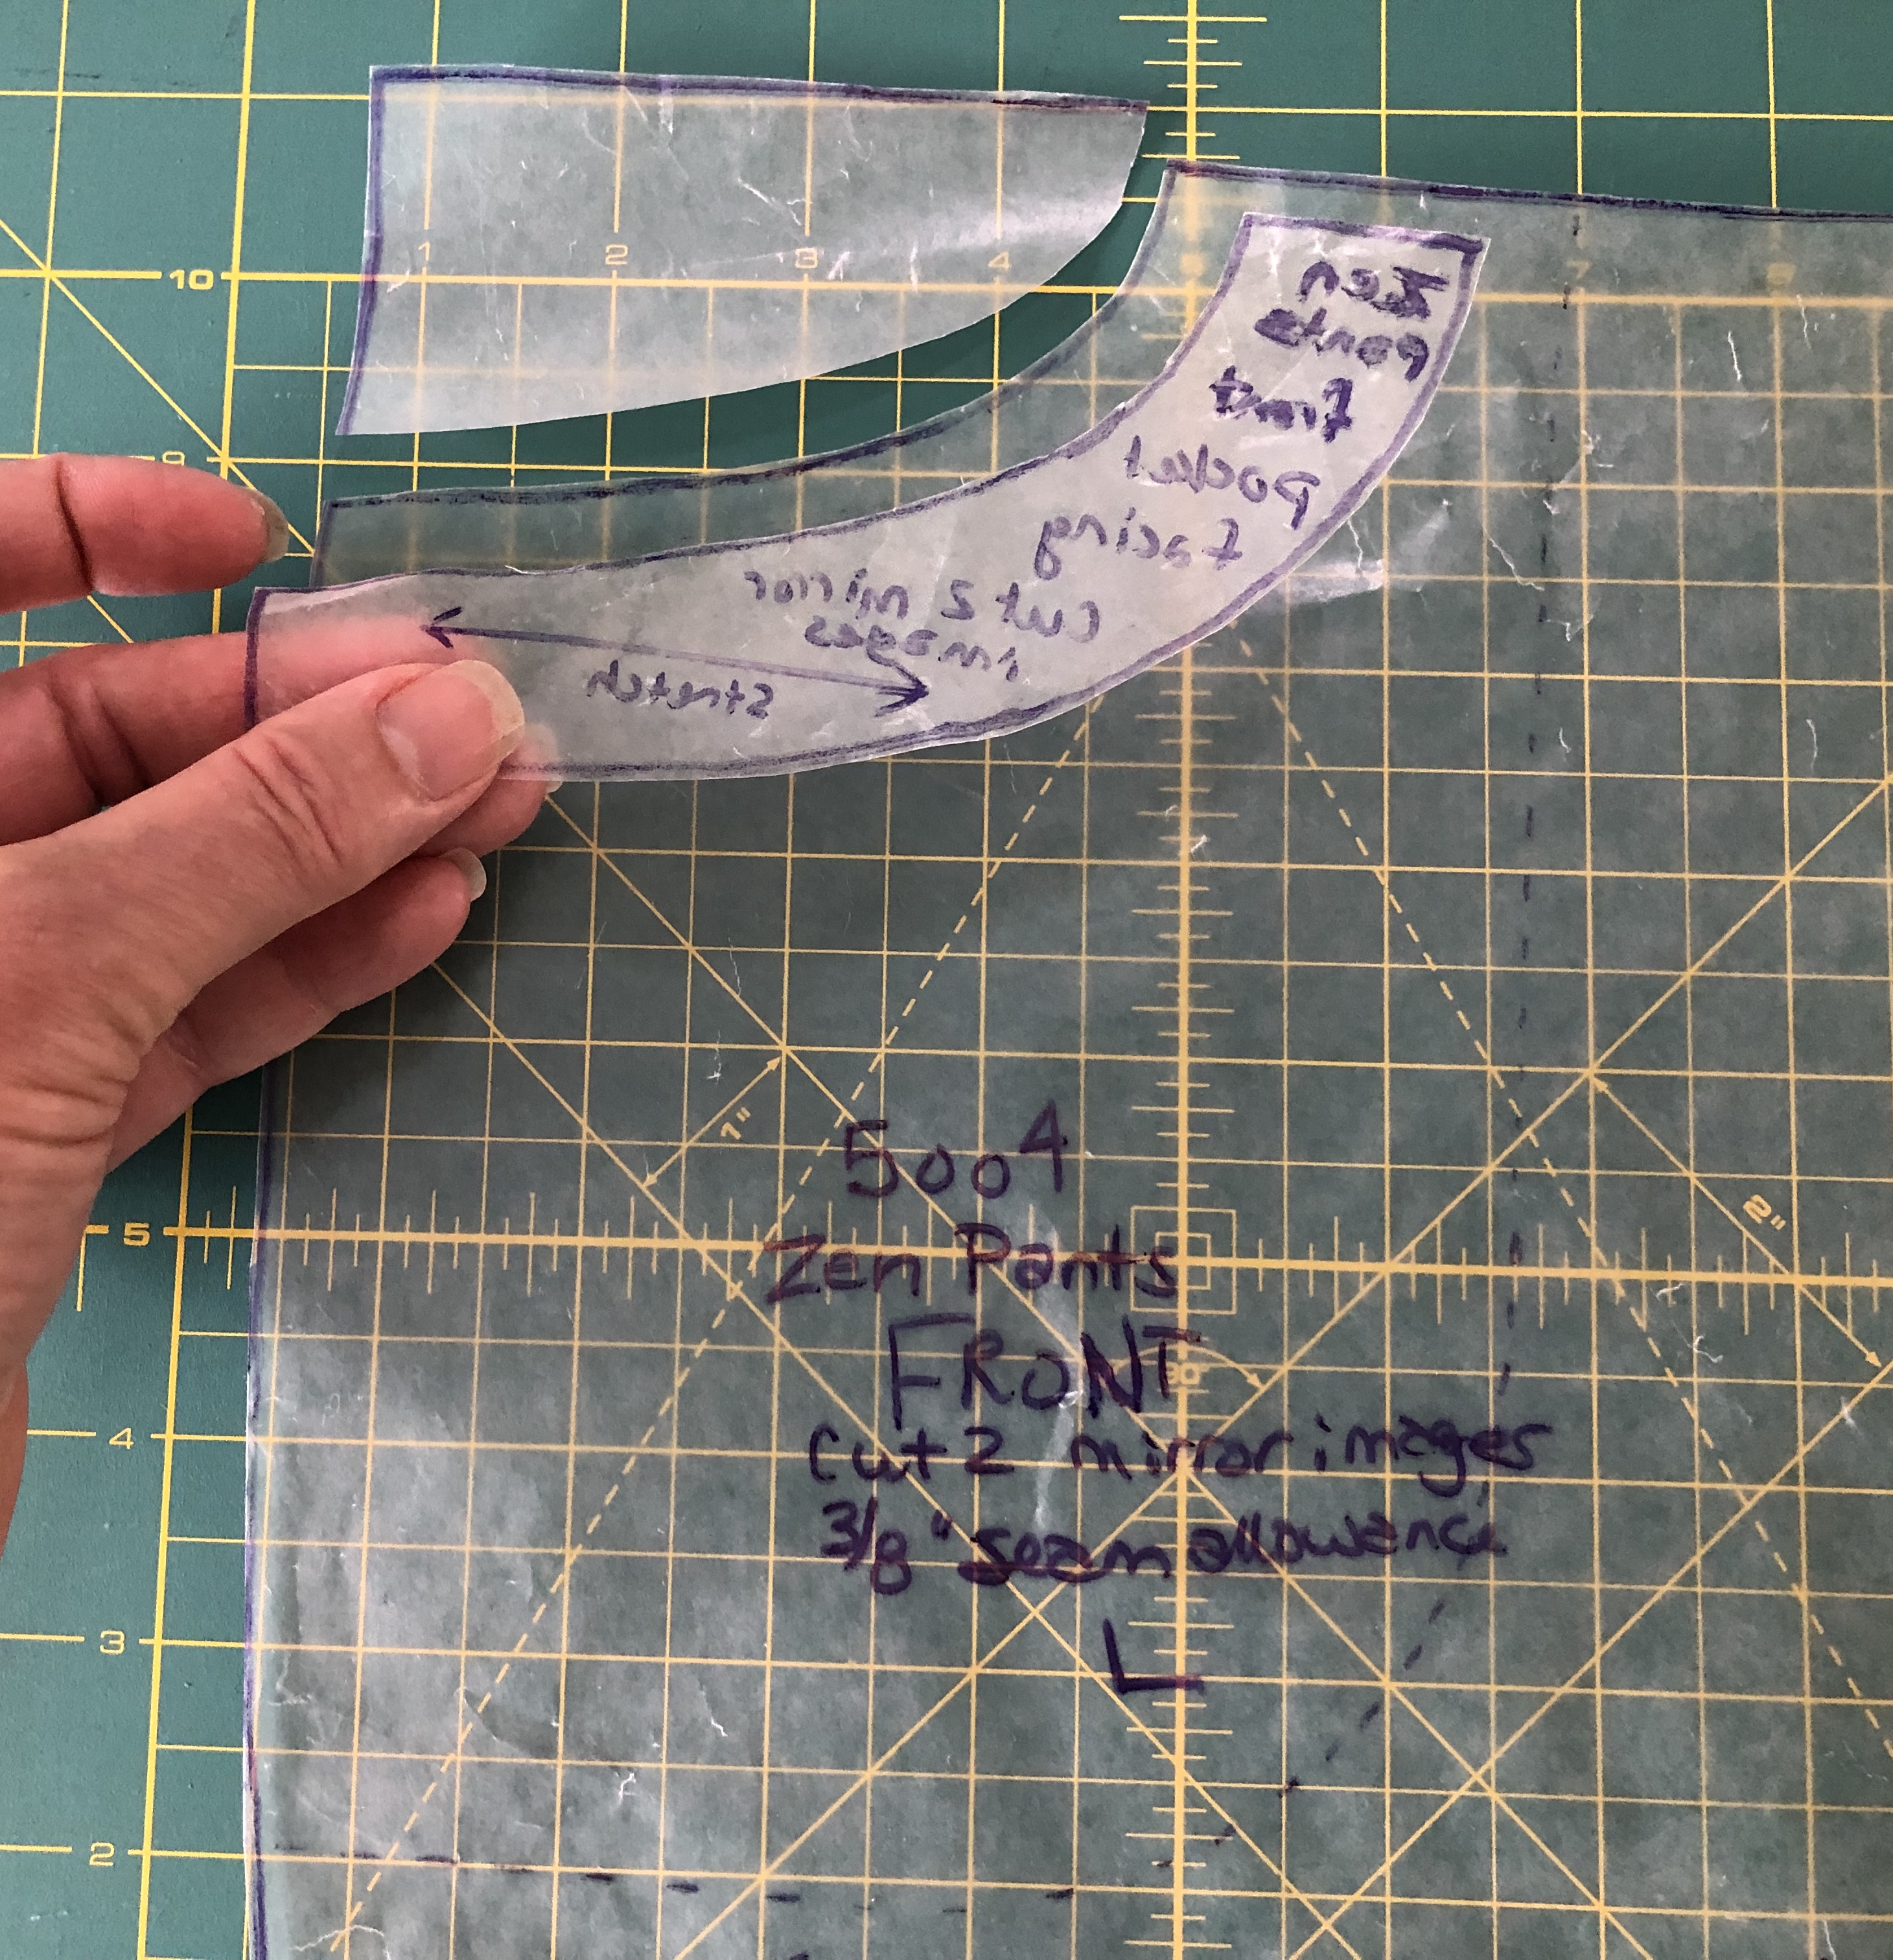
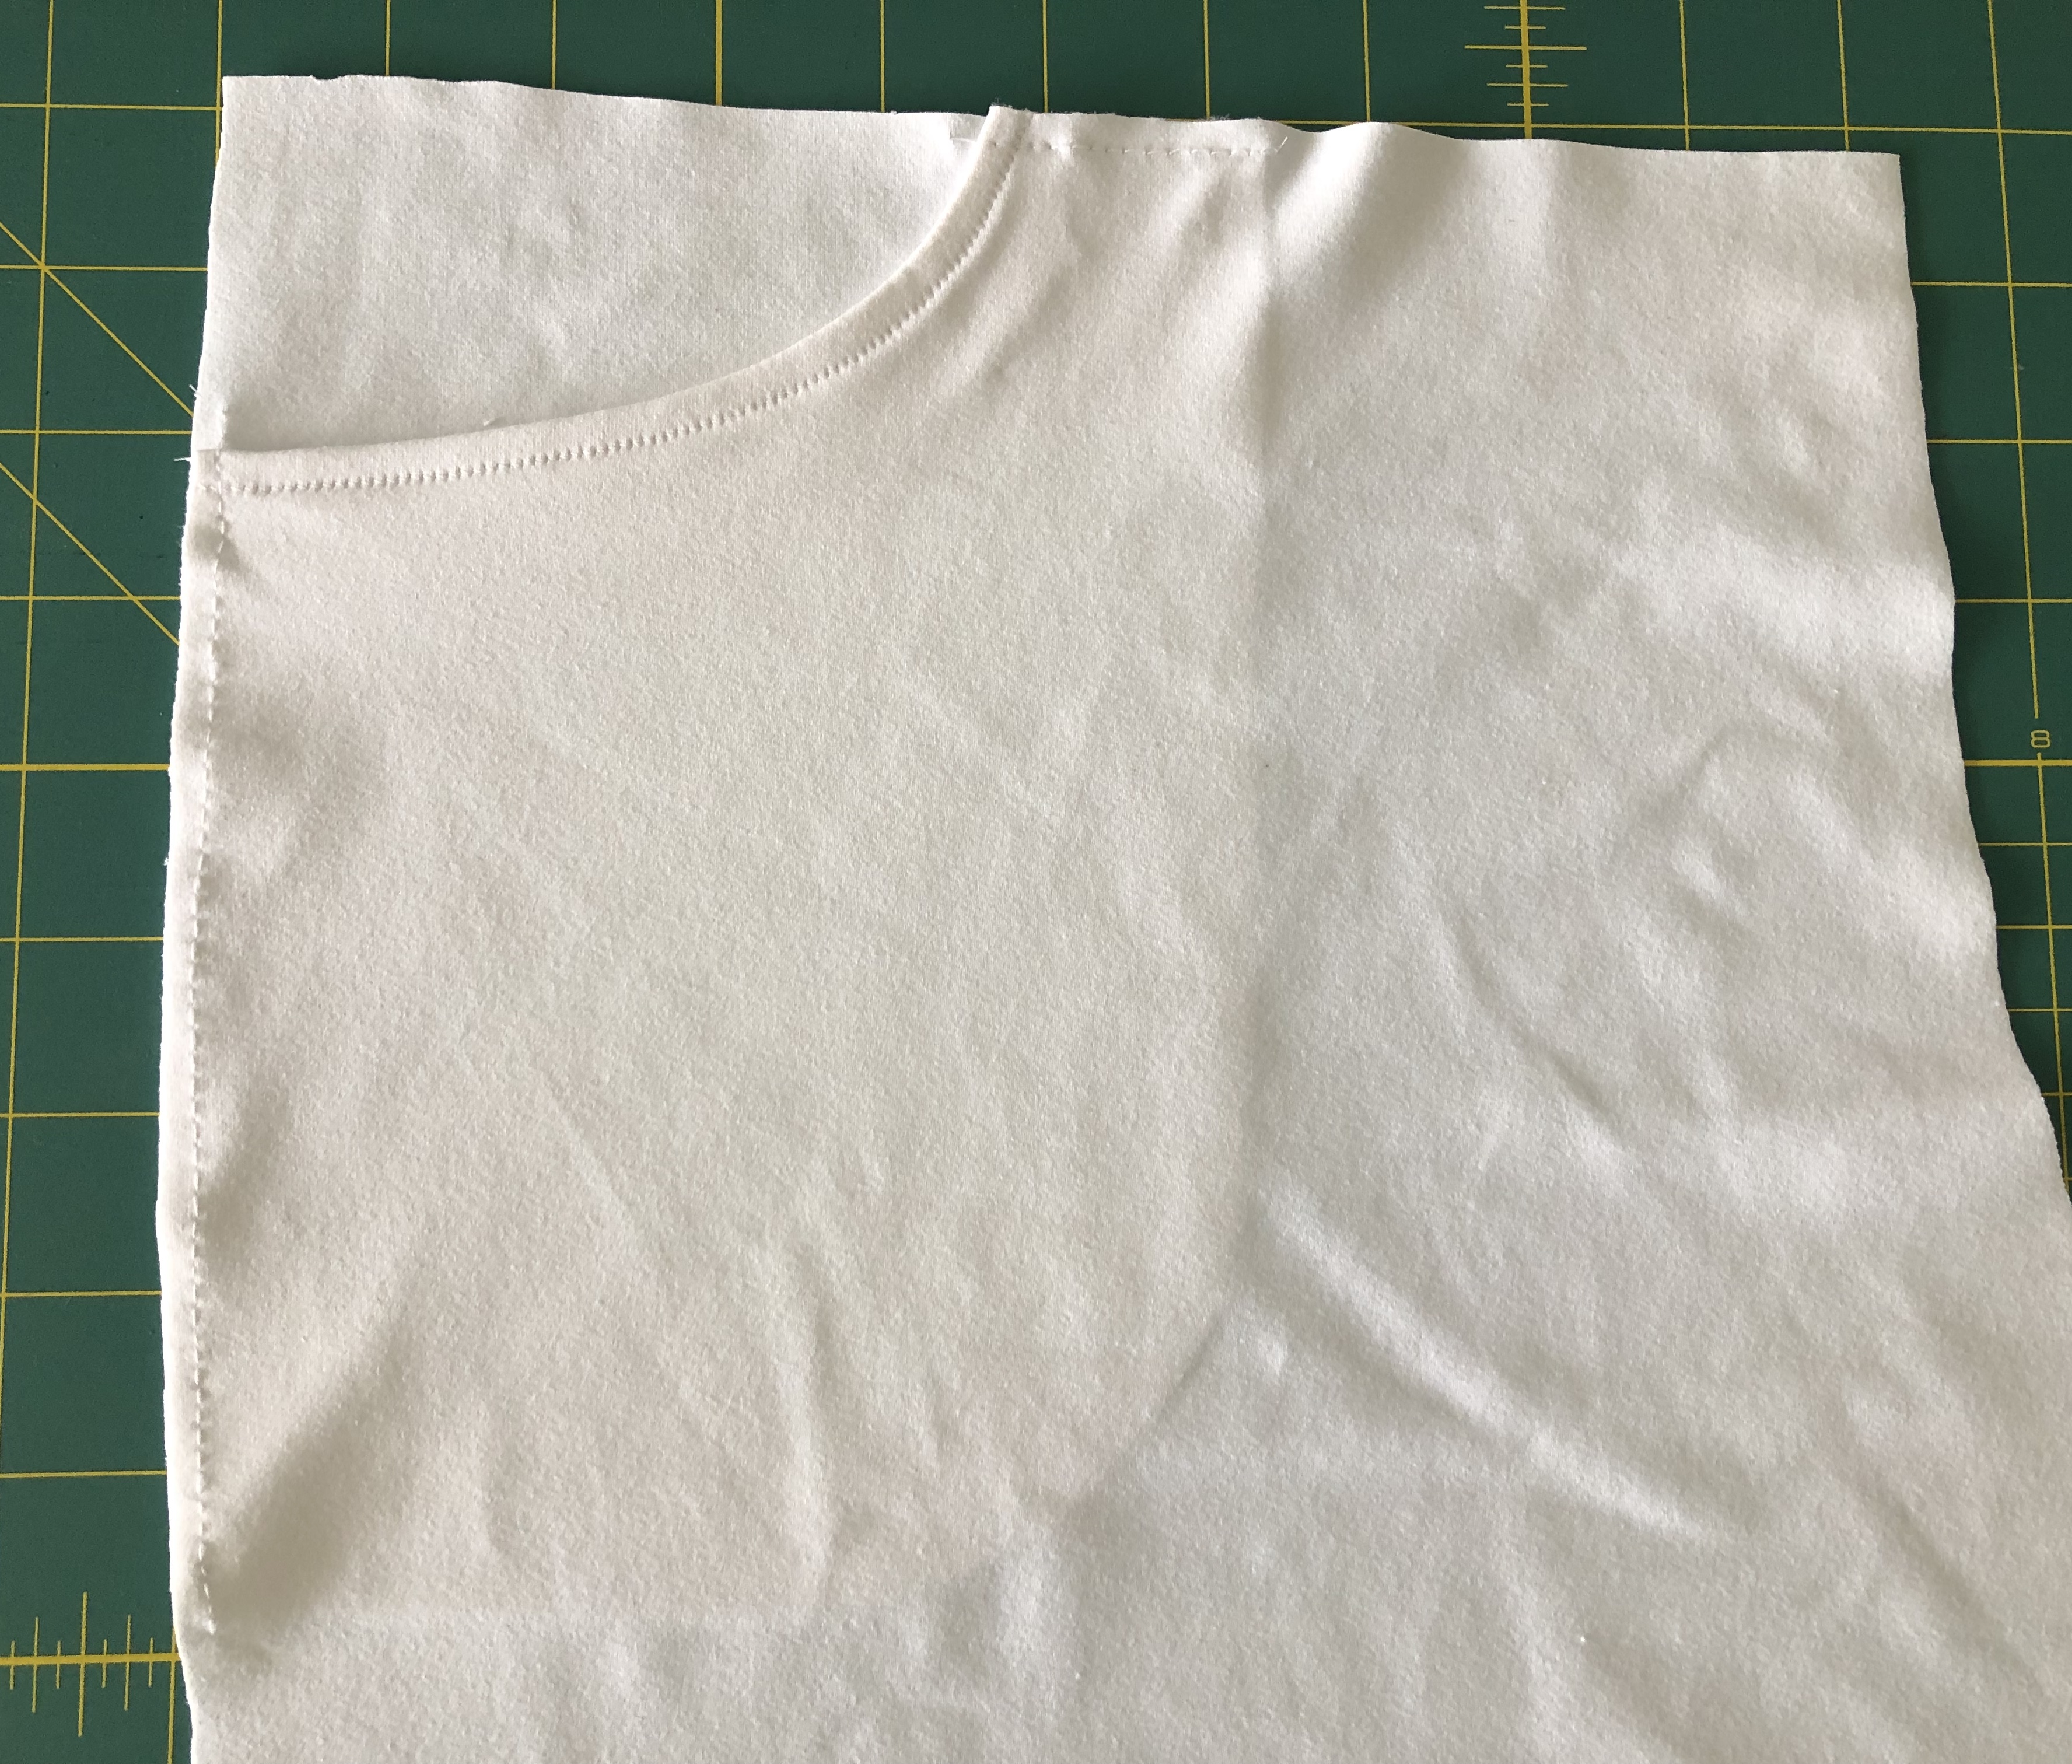
I love that the pattern accommodates a wide variety of stretch woven fabrics and looks great in all of them. A unique design feature is that there is no inseam, which makes the shorts very comfortable for people bothered by inner leg seams. The welt pockets are generously sized, so even my large phone fits perfectly. Since it’s anchored in the top and side seams, the pocket lays smoothly, and stays in place.
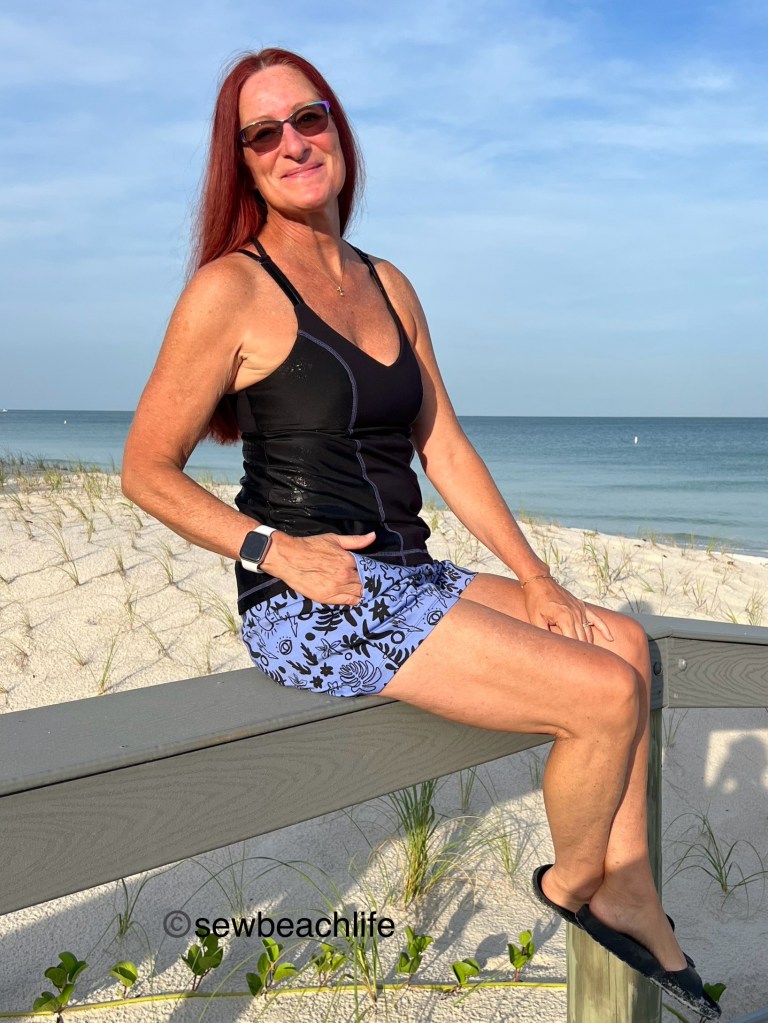
As a tall girl, I chose the high rise with the 2″ elastic waistband for both my makes. (I actually made a third pair, but didn’t photograph them.) There is a mid rise, and an options for 3″ wide elastic too. With 2″, 3″, and 4″ inseams, you’ve definitely got choices!

I love that there are no zippers or buttons to deal with (other than the optional zipper on the welt pockets) so the shorts are a quick sew and easy to wear.
I hope you’ll flip for these shorts like I did!

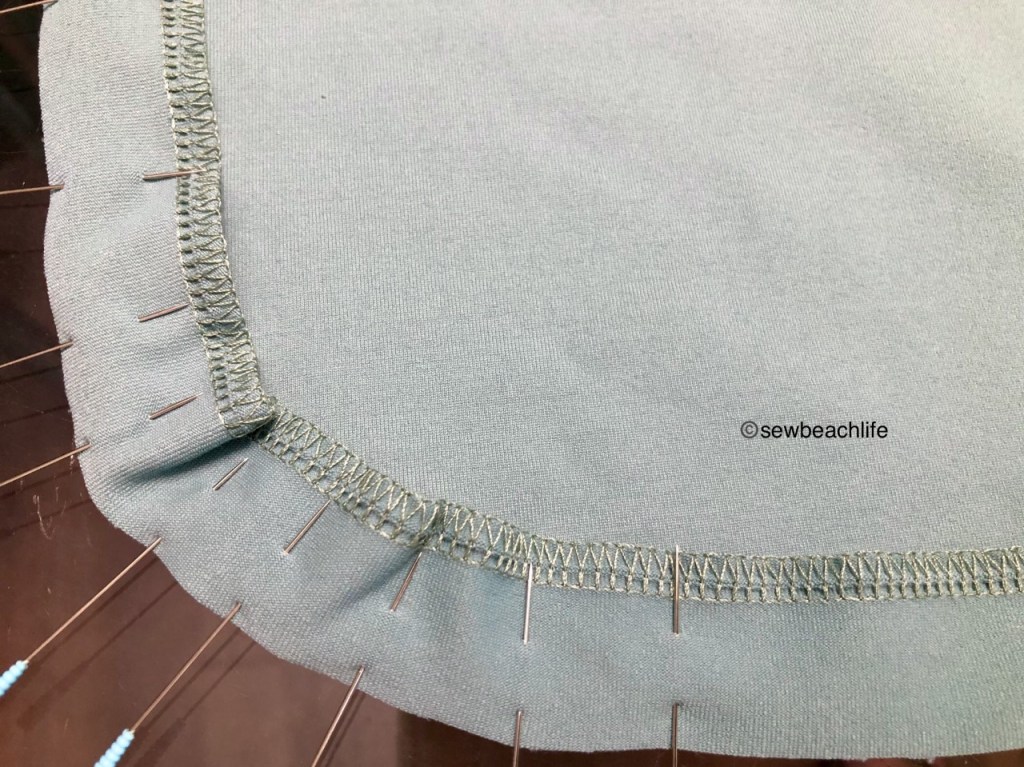
As a note of encouragement, don’t let the idea of welt pockets scare you. The tutorial is easy to follow and makes a fancy detail simple to accomplish. And face it, all shorts need pockets!

The details:
The GreenStyle Windward Shorts pattern includes sizes B-M, which covers hip measurements from 32″ to 62″.
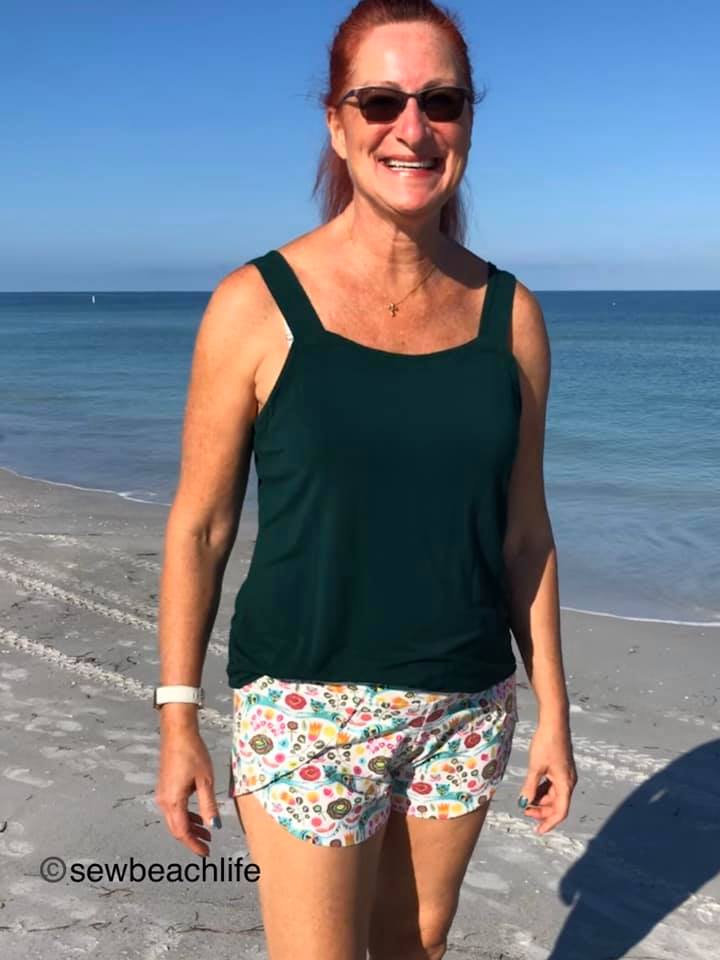
The periwinkle fabric is stretch cotton twill from Mood Fabrics. I wore it with a Power Sports Bra that I hacked into a workout top made of black spandex and black snakeskin yogi fabric from GreenStyle. You can read more about the hack here.
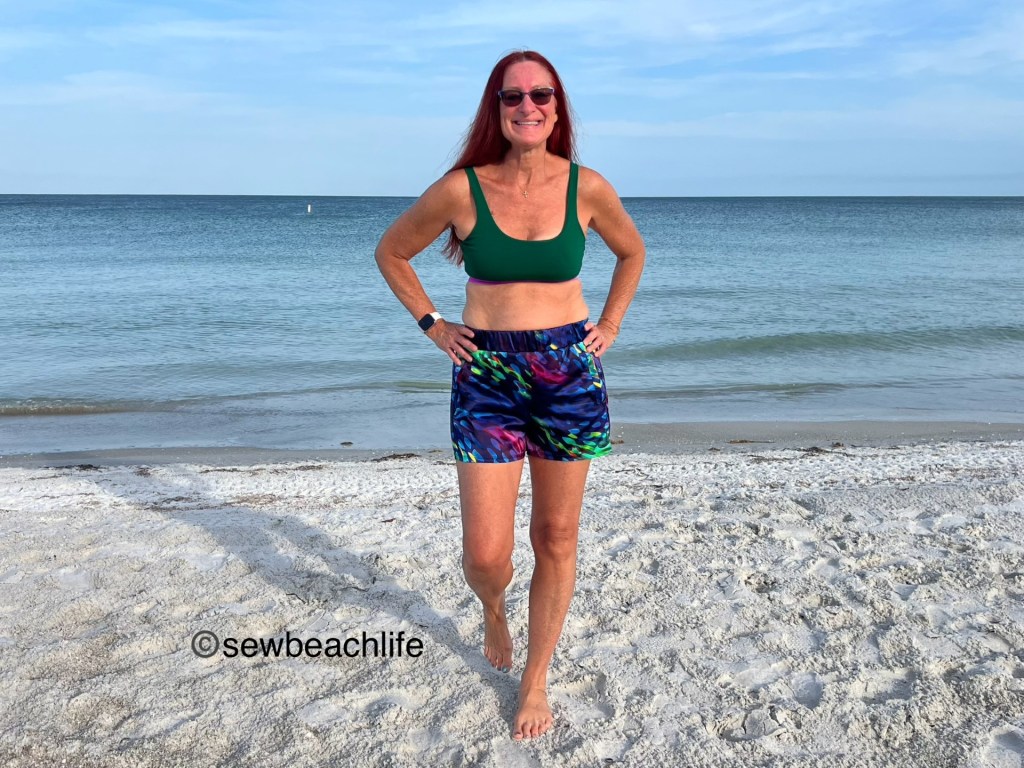
The brushstroke print is a stretch charmeuse from JoAnn Fabrics. They were worn with one of my Tangled Swim Tops, blogged here.
Thank you for reading and sharing my love of patterns, sewing, fabric, and cute shorts with large pockets! ❤
The links to GreenStyle may be affiliate links (if I did them properly!) which means that I may earn a few pennies if you use my links without it costing you anything extra. Since this is my blog and represents me, I always give my honest opinion about any patterns, fabric, or supplies that I talk about. I do like knowing whether the time I spend writing posts actually interests people enough that they take a look at the patterns I review, but I write for me. It’s one more creative pursuit that I hope is helpful or interesting to others. I write to share my love of sewing and to encourage others to love it as much as I do! 🙂