
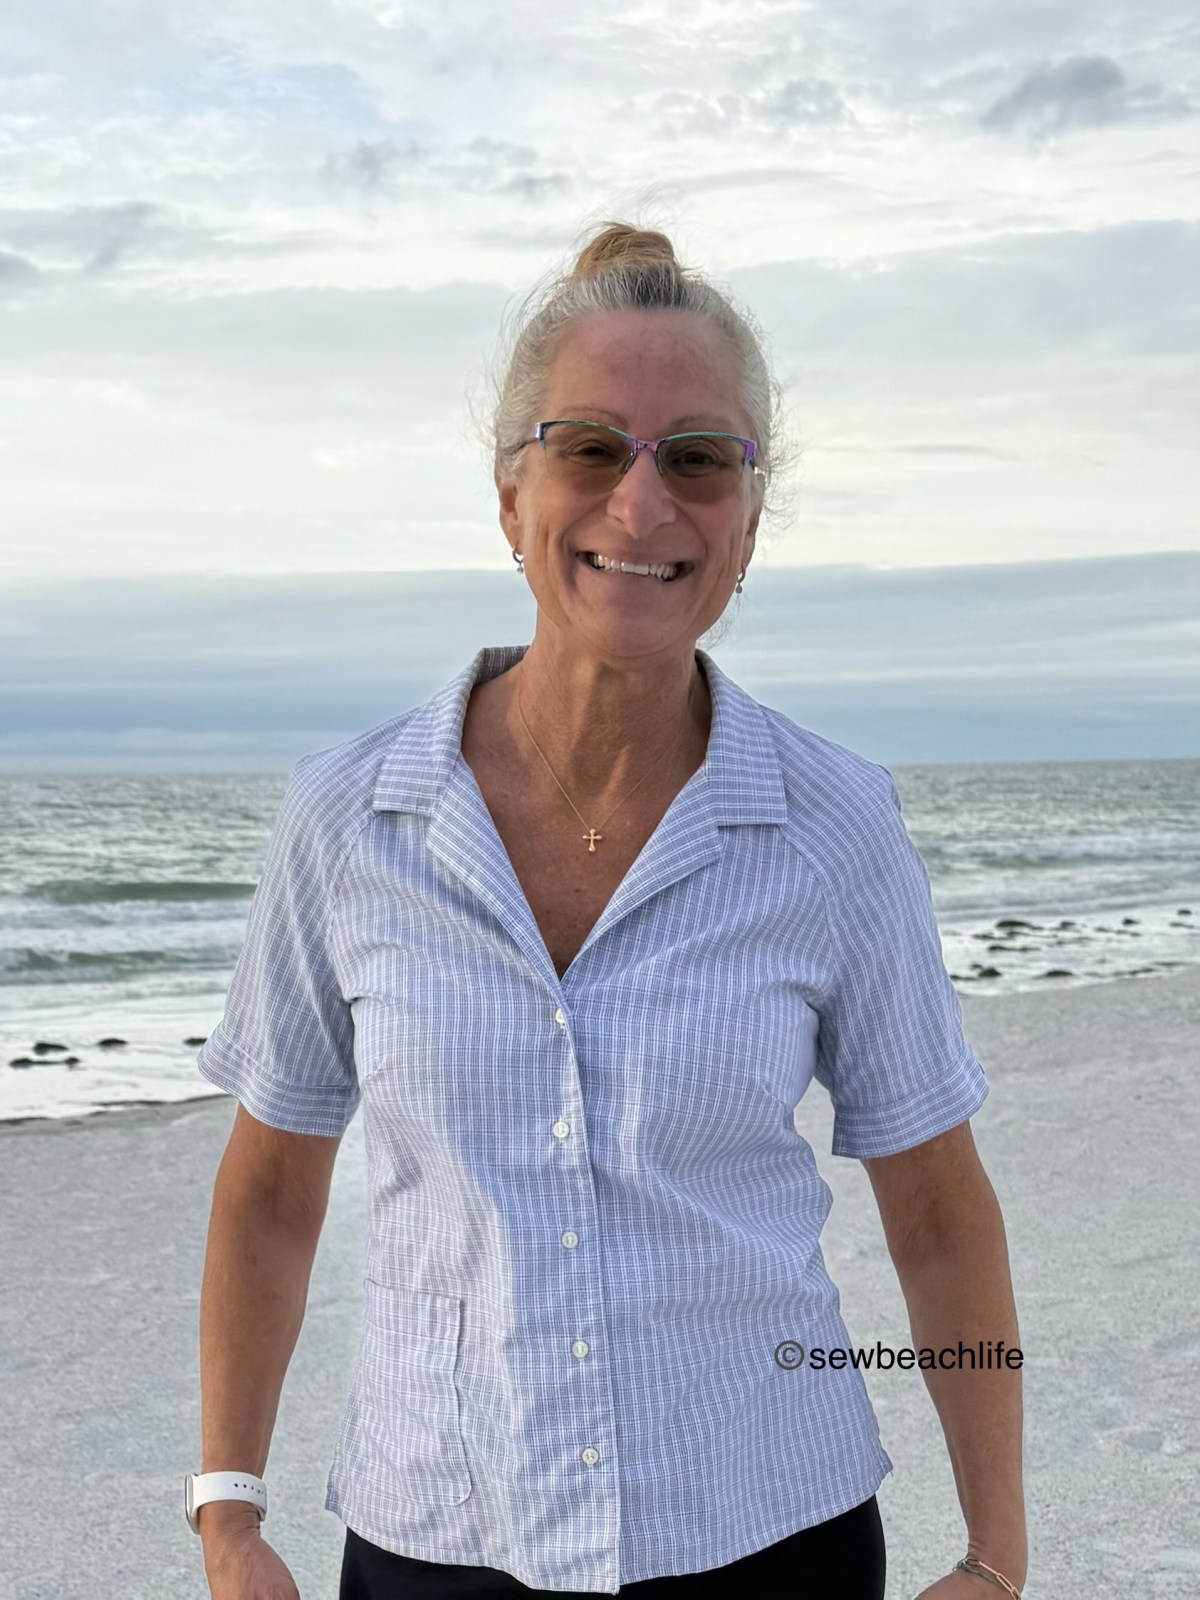
Since winter has arrived in Florida, I figured it was time to make some shirts with sleeves. I’ve made a couple of blouse patterns by a new to me pattern company- Wardrobe By Me, but they’ve all been sleeveless options, and the patterns both had set-in sleeves. This time I wanted to really challenge myself by making a woven raglan shirt. So I went with the Tropicana Shirt pattern.
Raglan styles can be tough, because the sleeve has to fit up over your shoulders. I started by making a muslin, but made a fatal area choosing my base size. In the previous two WBM patterns I’ve sewn, I used a size 4 or 6 at the shoulders, because my upper bust measurement is narrower than my full bust would indicate. Then I’d grade out at the bust (under the armscye), down to the waist and hips. That method works well for a set-in sleeve, or sleeveless shirt. It does NOT work for a raglan style, especially if you have muscular arms. Lesson learned: use your waist and hip measurements to choose a size with this pattern!
Generally speaking, I have to lower bust darts by about an inch, because I am longer than average from shoulder to bust point, and I did that here. I also added an inch to the length because I am tall. These are normal alterations that I make to pretty much any woven pattern. Patterns are designed to an “average”, but most bodies aren’t a perfect “average” size and shape. As you gain experience sewing, you learn to automatically check these things on a pattern, adjust accordingly, and grade to fit your body. It is worth the effort to get a nice fit.
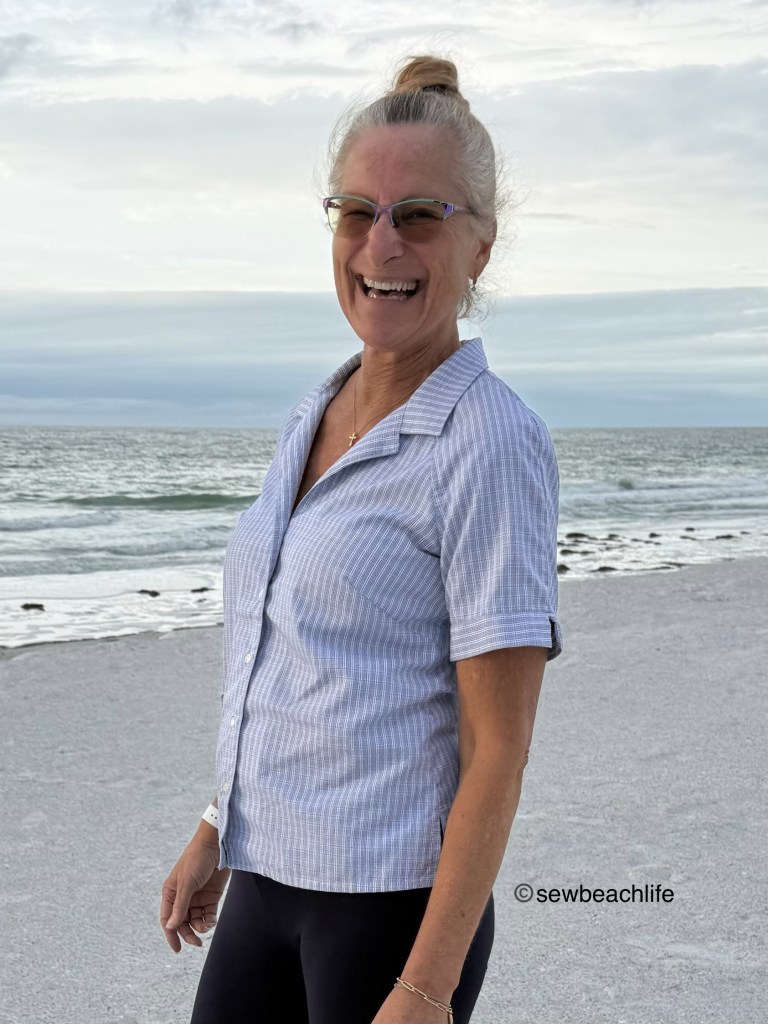
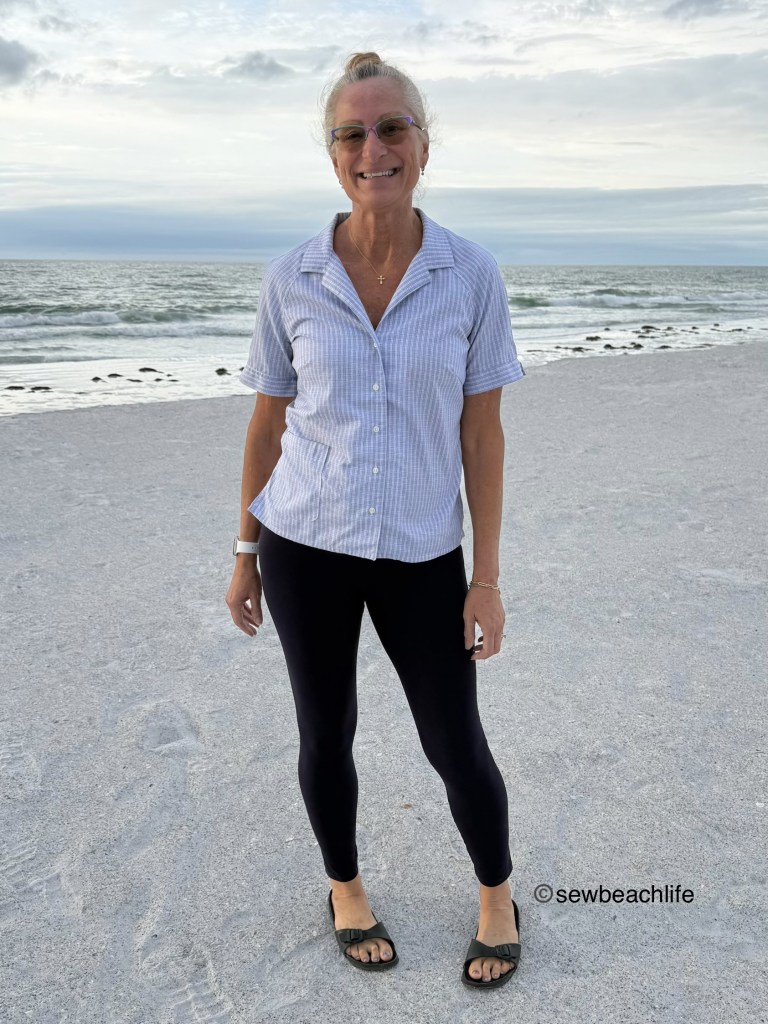
Since I upcycled one of my husbands old shirts to salvage the fabric (and buttons!), there was limited fabric left when it came time to cut out the sleeves. Short sleeves were the solution, and I hacked them to have a contrast split sleeve band. I think it works well with the split hem on the shirt.
The sleeves, or more precisely, the shoulders were the biggest challenge for me. Like many, many people, my shoulders slope. As I’ve gotten older, I think the sloping angle has increased. 😉
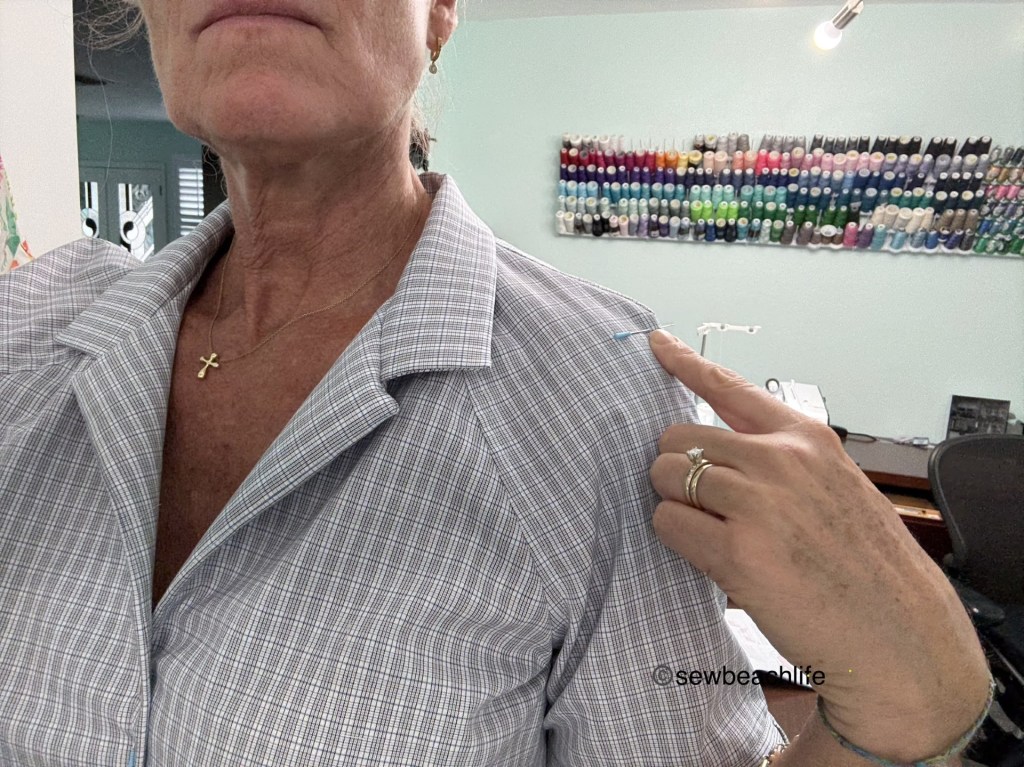
See the pin I’m pointing to in the photo above? That’s where a set-in sleeve seam would be. That is not where the slope of the pattern ended, which is why you can see that puffed up section on the shoulder. Because there isn’t adequate length there, the sleeve couldn’t settle down onto my shoulder. I adjusted the angle of that seam to gain the needed length.
Although the pattern has button and button hole markings, because I lowered the bust dart and added an inch to the length of the pattern, I always wait until I can try a shirt on to mark the buttonhole placement.
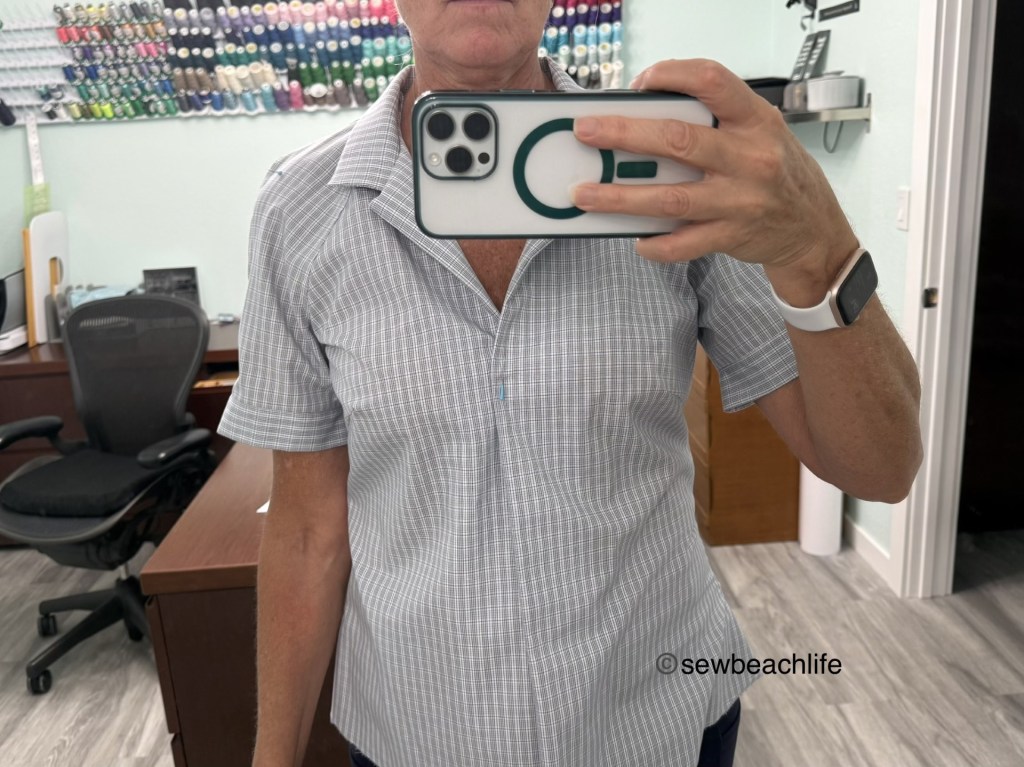
I like the top button to sit at the center of the bust, so a pin marks the point for me. Once the shoulder seam adjustment was made and the buttons and buttonholes were done, I figured that there was no reason to waste the pocket from my husbands shirt, but I didn’t want a chest pocket. So the pocket was added to the lower right hand side of the shirt, in case I want to carry my phone, etc. I took the time to carefully match the plaid, and the pocket blends in nicely.
I’m pretty happy with how the Tropicana Shirt turned out. I made it a couple months ago, even though I’m just now writing about it. The tutorial gave good directions for sewing the collar, which is nice, because collars can be intimidating. I’ve worn this shirt numerous times and it is comfortable even under a cardigan. Is it perfect?
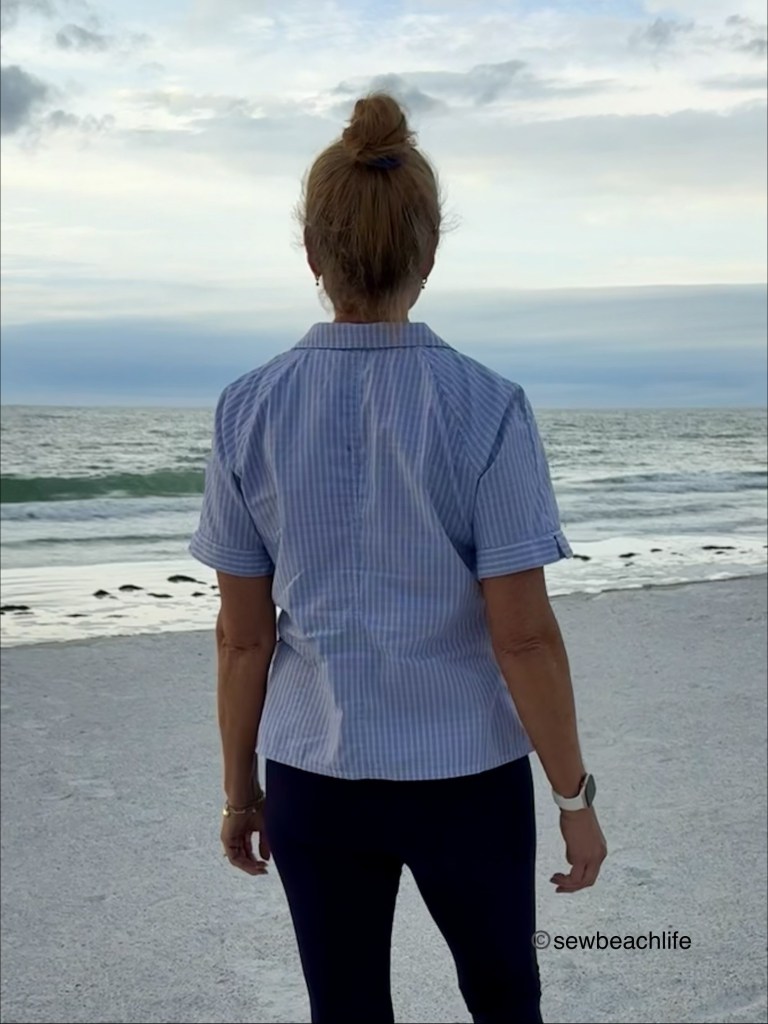
Well, the back could use some work. I’m sure it has something to do with the slope of my shoulders, the depth of the armscye, and my muscular upper back. The perfectionist in me wants to fix it, but frankly, I’m not quite sure how to go about it with the raglan style. If you’ve got ideas on how to improve it, or tips for working with this style, I’d love to hear it!
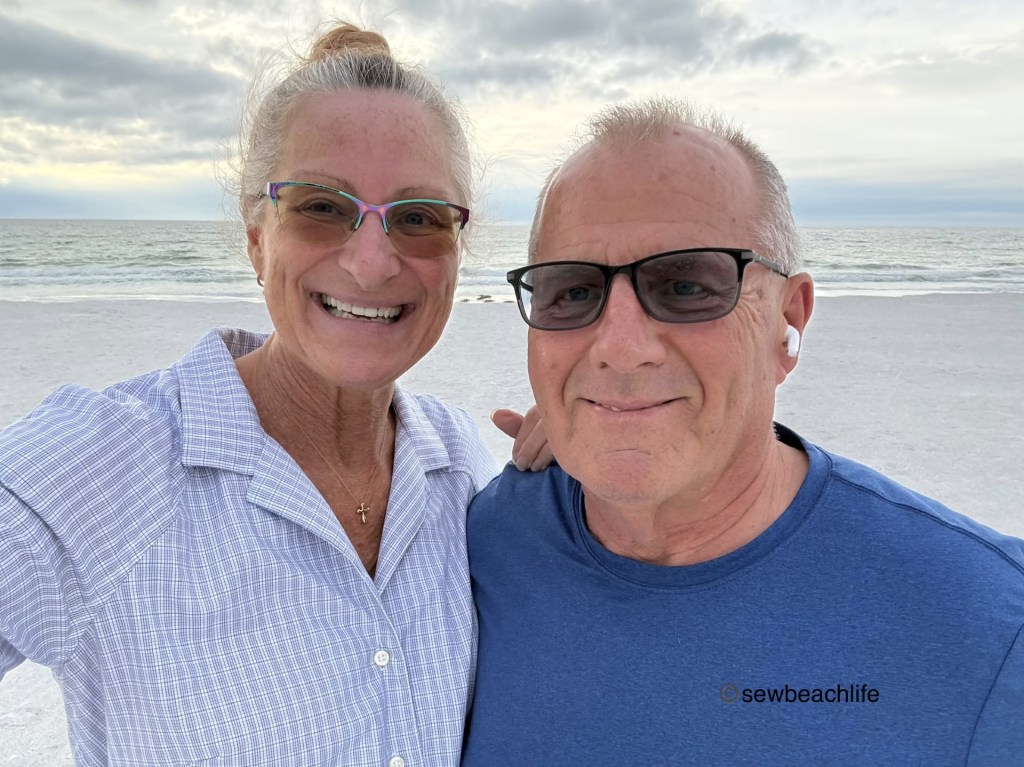
Would I make this pattern again? Yes, but only when I have the time to dedicate to improving the fit of the back. In the meantime, I’ll just enjoy wearing it, and spending time with my true love.
Details: This is the Tropicana Shirt pattern from Wardrobe By Me. I really like the aesthetic of their patterns. I started out by buying three of their patterns. Then I bought two more. 🙂
The fabric was upcycled by completely seam-ripping apart one of my husbands old dress shirts. It was sewn on my Bernina, which does such a great job of sewing perfect buttonholes. I also love the fact that I can move the needle up to five spaces left or right, which really helps when you make a pattern with lots of topstitching!
Thank you for reading and sharing my love of patterns, sewing, fabric, upcycling, and sewing machines! Since this is my blog and represents me, I always give my honest opinion about any patterns, fabric, or supplies that I talk about. I do like knowing whether the time I spend writing posts actually interests people enough that they take a look at the patterns I review, but I write for me. It’s one more creative pursuit that I hope is helpful or interesting to others. I write to share my love of sewing and to encourage others to love it as much as I do! ❤
