

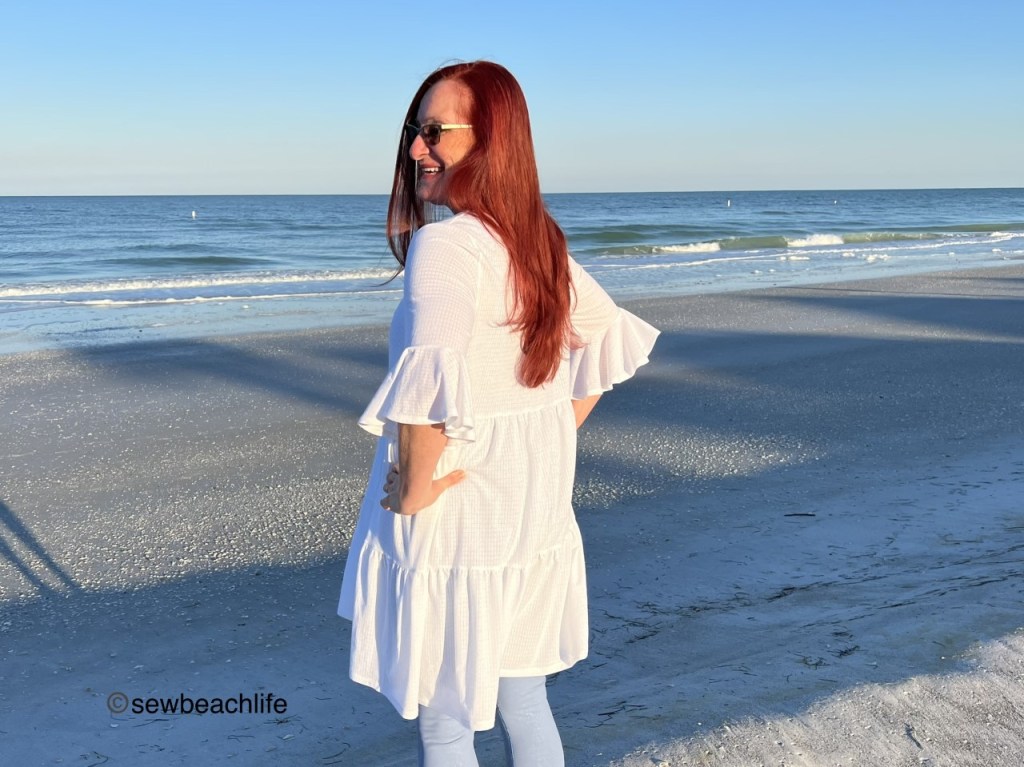
This idea for hacking the GreenStyle Sunday Cardigan has been floating around in my mind for a while. Finally, I took the time to make a plan, get it done, and I love it! It’s exactly what I wanted. It’s fun and flouncy, lightweight and flowy, and super comfortable. It looks cute with a dress, is easy to toss on when I need a layer, and elevates a simple outfit.

I suppose I should start with my sketch. Obviously, I’m a sewist, not an artist! 🙂 But sketching out my ideas helps me clarify exactly what I want to do, and it’s helpful to note how I plan to do it! A well-fitting pattern with the basic shape you want is always a great place to start. Set-in sleeves are a must, since dropped shoulders and boxy shapes are not particularly flattering on my body. Clean edges, rather than bands were also important. The GreenStyle Sunday Cardigan met all my requirements, and, I know it fits well since I’ve made several. See here and here.

The tiers needed to start below the bust, because it’s much more attractive than having a seam slice through the bustline. A bit higher than my natural waistline, almost an empire look was the plan. Since the average side waist is 8″, I figured 6″ would work well. Keep in mind that if you have a very large or full bust, or a longer than average side waist, you may want the top section of your cardigan to be a bit longer. I marked my pattern pieces 6″ down from the armscye on the side seam, and folded the excess pattern under. The sleeves were also shortened to 6″ below the armscye.

Since I was looking for a knee length cardigan, I measured down to the knee length mark on the pattern, and figured I needed another 23″ or so from my 6″ mark on the side seam. Since I wanted two tiers, I made them each 12″ high to give me a seam and hem allowance. To figure out the width of the first tier, multiply the bottom of the bodice (where you folded or cut off the bottom of the pattern) by 1.5, and multiply that number by 1.5 to give you the width of the second tier. My first tiers ended up being 12″ high by 20″ wide for the front, and 40″ wide for the back. My second tiers are 12″ high by 30″ wide for the front, and 60″ wide for the back. Since my fabric was only 58″ wide, this was a case of “close enough is good enough”!
Cutting the tiers was pretty easy using my quilting ruler and rotary cutter. I use a ruler and rotary cutter all the time when cutting out bands, bindings, cuffs, or any other rectangular piece. It’s so much faster and easier, and much more precise than cutting around a pattern piece. Making the sleeve flounce was much less precise! 😉
My fancy method of making the flounce pattern piece involved tracing around the largest bowl in my cupboard. You know the big bowl you use when hosting a large backyard party and you make a huge taco/pasta/(insert your favorite) salad? Yeah, that bowl. That’s the outside of your circle. Then measure across the bottom of the (folded under or cut off) sleeve piece, and subtract the seam allowance. That’s how big you want the seam line of the circle to be. Since I used a 1/4″ seam allowance to attach the flounce to the bottom of the sleeve, the cutting line needs to be 1/4″ inside the seam line. I’m sure there is a math whiz who could tell me how to arrive at the proper inner circle circumference, but I just found a mug in the cupboard that was the same circumference as my seam line circle, and used a compass to make my cutting line circle 1/4″ inside the seam line circle.

With all the pieces cut out, it was time to sew everything together. Gather each first tier piece and attach the front tiers to the bodice fronts, and the back tier to the bodice back. Gather the second tier pieces and attach the front tiers to the bottom of the front top tiers. Attach the back tier to the bottom of the back top tier.

With right sides together, sew the shoulder seams and side seams. Sew the sleeves together, and mark the quarter points on the sleeve bottom and the quarter points of the flounces. Match up the quarter points and serge the flounce onto the sleeve. Set in the sleeves and get ready to hem. My best hemming tip for circle sleeves, skirts, or anything with a steeply curved bottom is to four-thread overlock the hem using a stitch length of 2, stitch width of M, and up the differential to 1.5. This will slightly gather the hem so that when you fold it under it will lay nice and flat for you. Pin up your sleeve hems and cover or top-stitch.

Now it’s time to finish the front edges of the cardigan. I do this little trick on every Sunday Cardigan I make. Cut 3/8″ wide strips of feather-weight fusible interfacing. Press the strips along the wrong side of the entire front edge of the cardigan. Snip the interfacing strips almost all the way through to help it curve when going around the neckline. Then press the edges under 3/8″ and cover-stitch.

All that’s left to do is hem the bottom edge. I use the same four-thread overlock settings as above, except I only up the differential to 1.3. Then pin the hem up and coverstitch. You can leave the cardigan with an open front, add buttons and loops at the top bodice, or go as far down the front as you want. I decided on 4 buttons and loops to hold the bodice closed when desired.
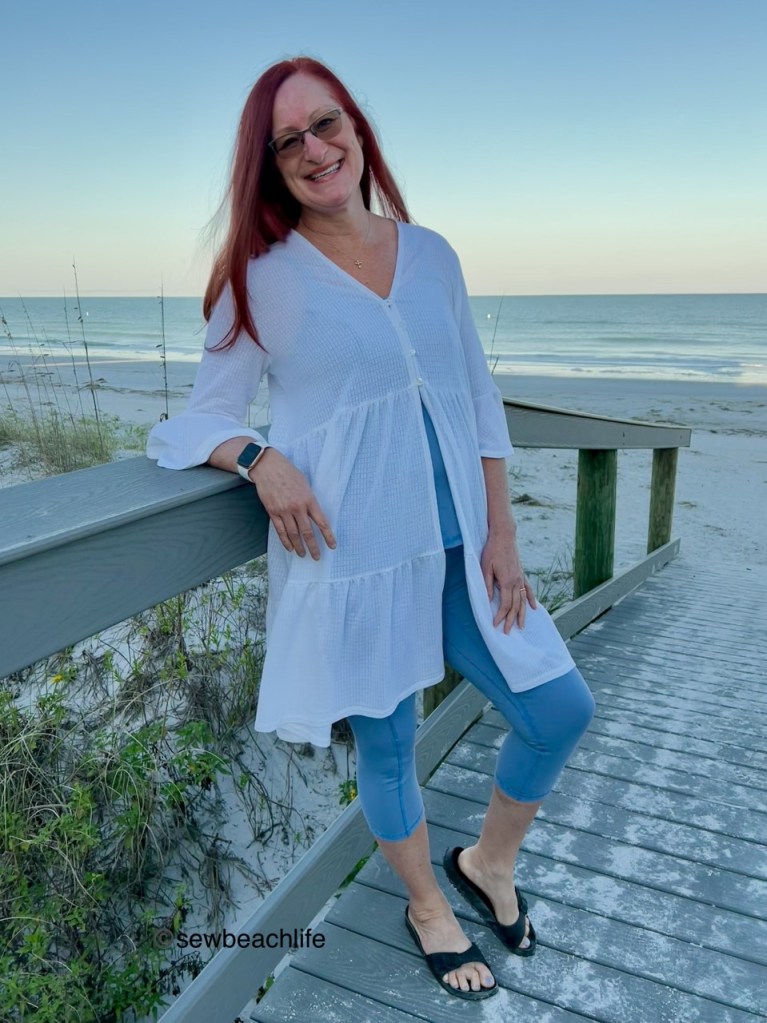
This is a super fun and super useful cardigan. It’s pretty over a dress when you want a fancier look, and simple enough to throw on over workout wear. It’s a lightweight cover-up at the beach, and would work as a bathrobe too. I could see it made in a stretch mesh or a soft rayon spandex. My version is made from a pointelle knit that I’ve had in my stash since the ’90s. The store it was purchased from has been out of business for decades, so who knows the exact fabric content. I’m usually pretty good at identifying fabric content by look and feel, and my best guess is that it’s a cotton/maybe a bit of rayon?/spandex blend. I just know that I’m super happy with my pattern hack, and am dreaming about another one!

The details: the Sunday Cardigan is one of the older patterns that hasn’t been updated to the extended size chart yet. It includes sizes XXS-3XL, and has an optional hood and pockets.
My cardigan is shown over a Valerie Dress (hacked to be sleeveless), made of rayon spandex purchased at Phee Fabrics; and over a Power Sports Bra and Spark Tights, made of a nylon/spandex athletic fabric from JoAnn Fabrics.
Thank you for reading and sharing my love of creating, sewing, patterns, pattern hacking, fabric, and making beautiful, well-fitting garments! ❤
Links to GreenStyle may be affiliate links, which means that at no extra cost to you, I may receive a few pennies if you purchase through my links.


One thought on “A Fun And Flouncy Cardigan Hack”