My First Quilt

As a garment sewist, I’ve had little interest in quilting, except to admire the work that goes into them, and admiring all the pretty quilting cottons. I always thought, “I’ll never be quilter, that’s just not me.” Hah! Famous last words… 🙂

I’ve been working towards remove toxins from my life, which I guess got kicked into high gear four or five years ago when it was found that I have food allergies. Eliminating all wheat, dairy, and soy products in my life felt kind of overwhelming at first. Reading labels on everything can be rather eye opening. They put wheat in chicken salad? In vitamins, shampoo, and body care products? I knew it was in obvious places like bread, baked goods, pancake mix, and tortillas, but the other ones kind of surprised me. And don’t even get me started on all the things that they add soy, soy protein, and soybean oil to. Let’s just say that there are very, very few condiments that I’ll buy. Let me know if you’re interested in a post or two about food allergies, what I eat, recipes, what brands I trust, etc., and I’ll be happy to oblige.

There is a point to me talking about food allergies, in that it has led me to cleaning up many things in life, not just food. I’ve switched over to natural and toxin-free skin care products and deodorant. I’ve started making some more clothing out of cotton wovens. So I decided it was time to ditch my favorite fuzzy blanket, and use cotton. I bought a cotton waffle weave blanket, but honestly, it wasn’t soft at all, and felt rather scratchy. Then I remembered the quilts my Great Grandmother used to make, how soft and cozy they were, and decided to make a quilt.

See the pale purple ditsy floral? That is the scrap fabric from my daughter’s first birthday dress and bloomers. Note that my daughter is in her mid-thirties, and I now have granddaughters!

My hold up with quilts is that I don’t care for traditional design. At all. My taste leans contemporary, yet comfortable. So this was definitely not going to be a traditional patchwork, hexie, or english paper piecing sort of thing. I wanted something simple, with clean lines. So I dove into my stash and pulled out all the solids.

Peep the two Tula Pink prints: “Forbidden Fruit Snacks” and I can’t recall the name of the tiny scrap of the dragonfly print. I used those fabrics (at different times) to make matching dresses for my granddaughters. The girls loved the fruit snack dresses, and literally squeezed themselves into them until they were snug and far too short. Not a big deal really since they wear shorts under their dresses.

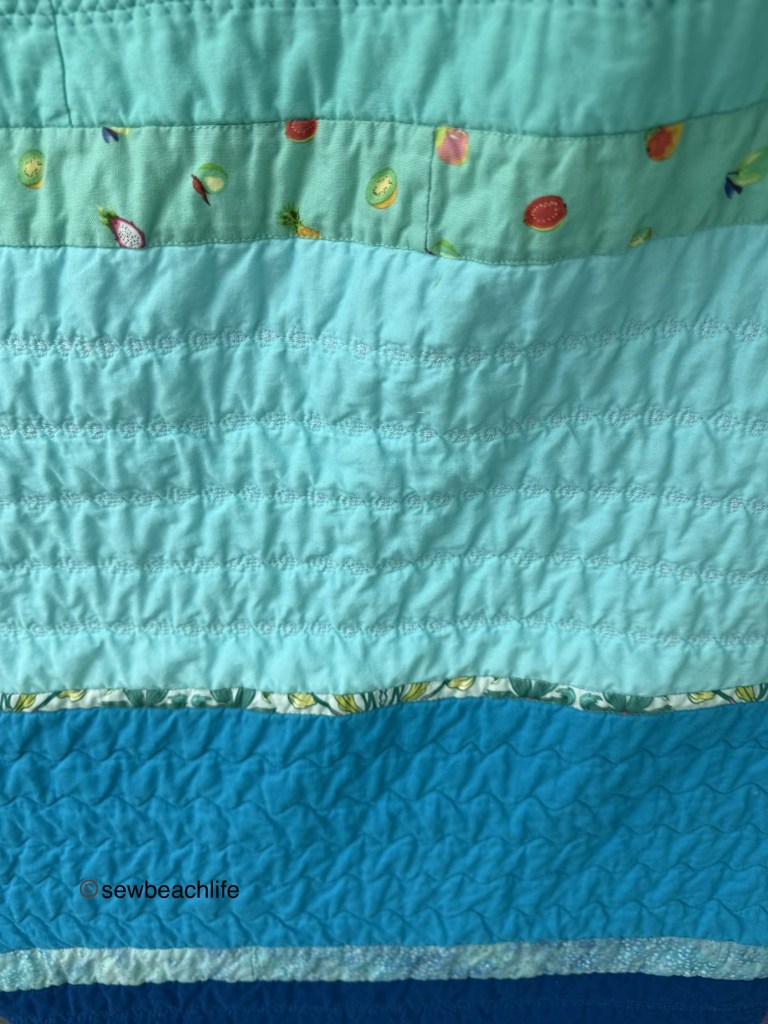
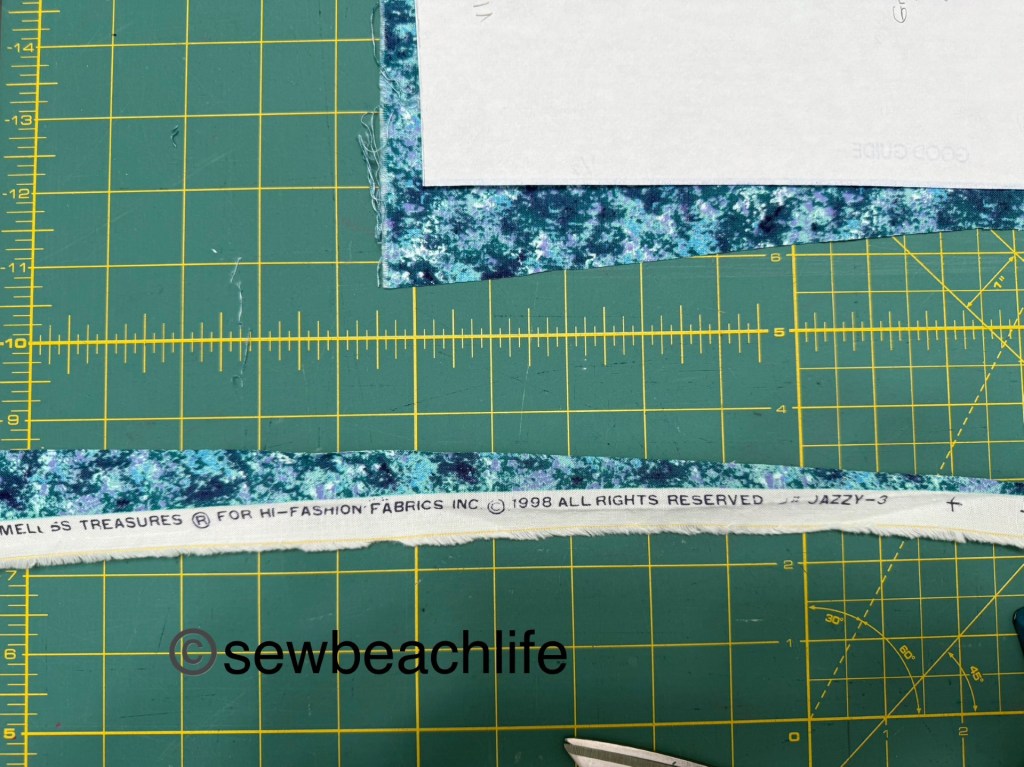
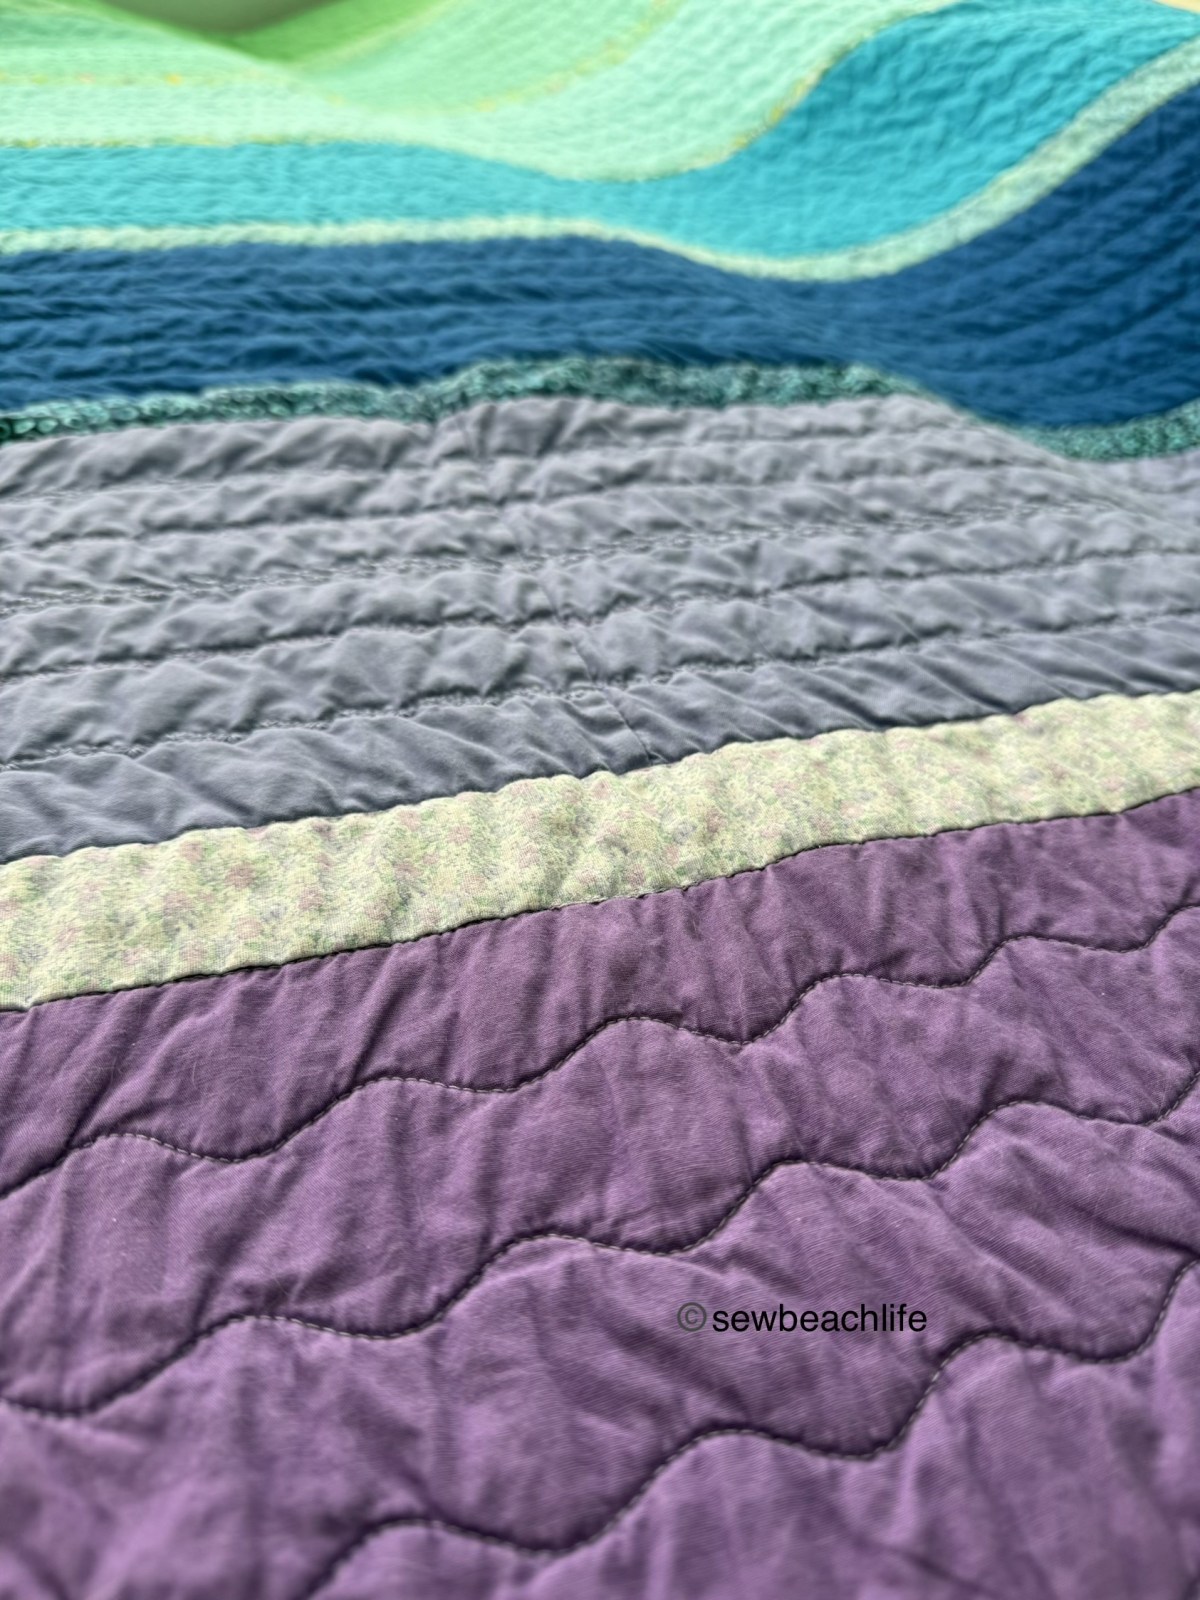
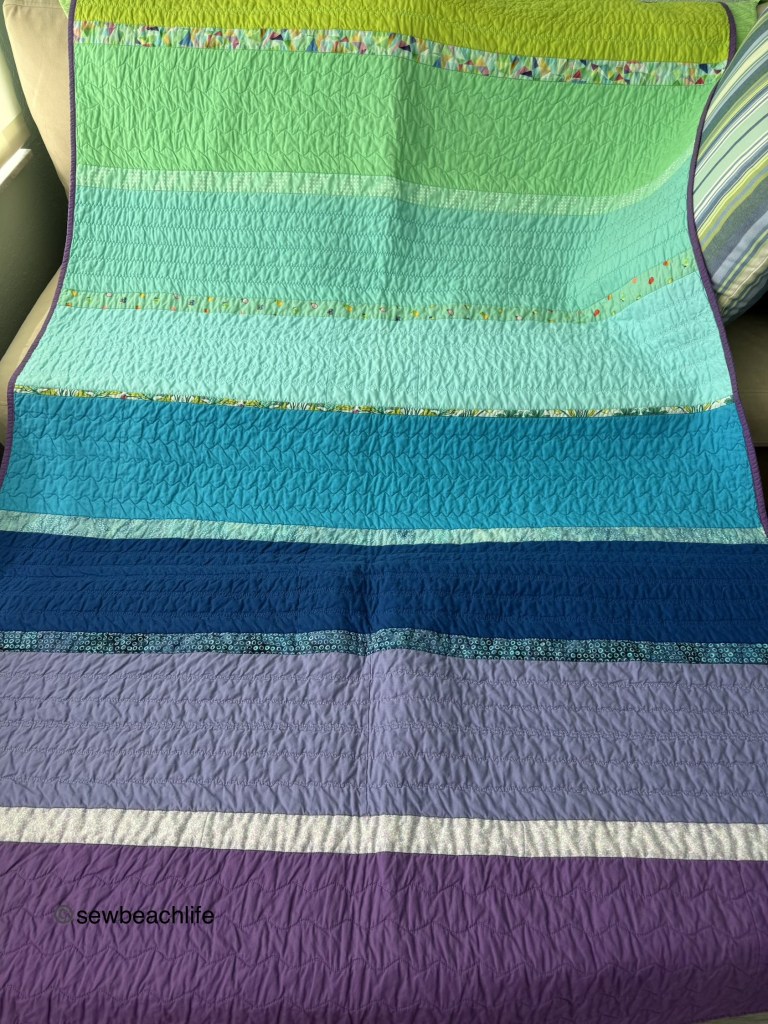
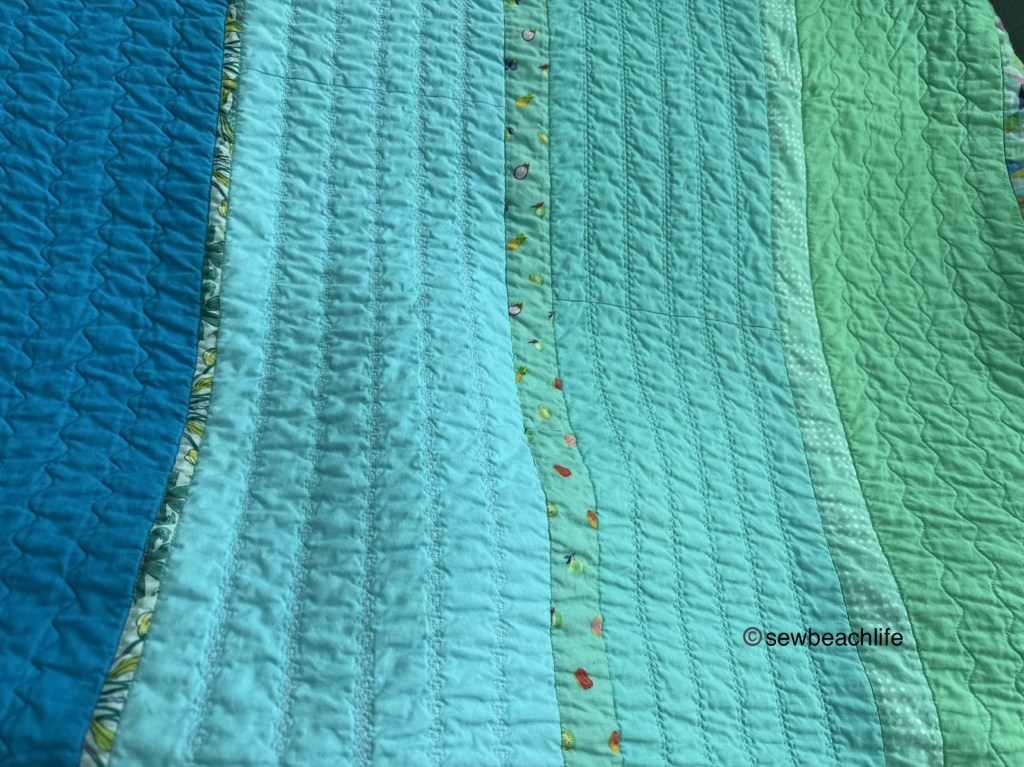
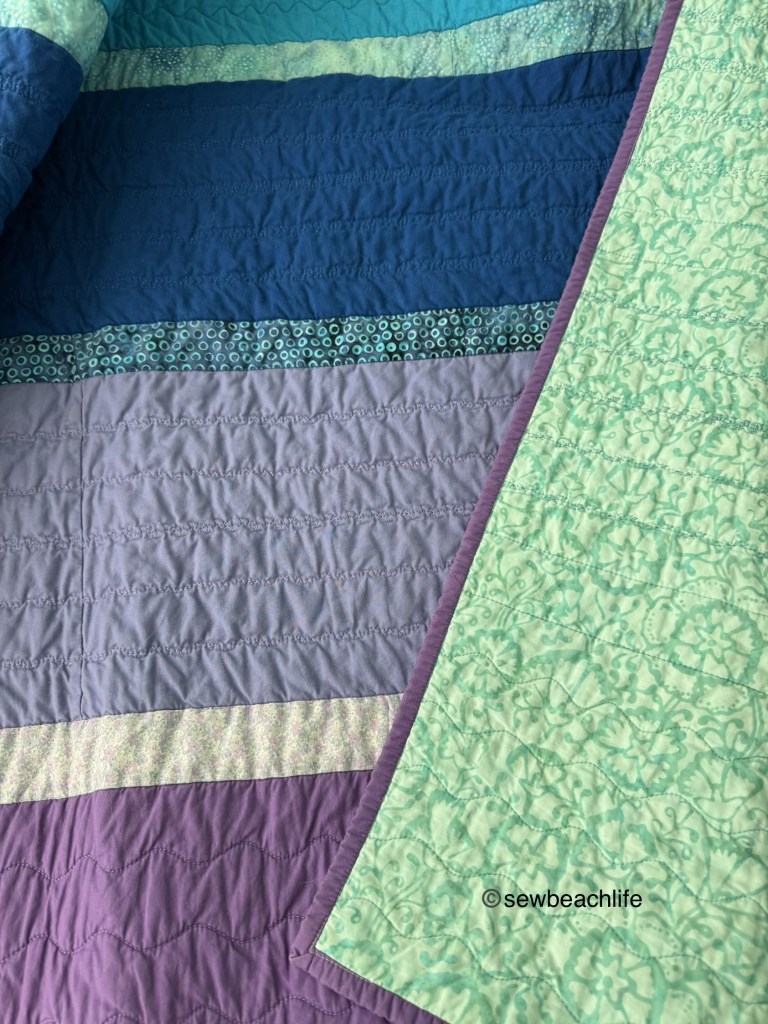
I decided to piece the solids together to make simple rectangles, and used narrow strips of printed fabrics in between the solids. I think the strips were 2″ high. Except for the Tula Pink dragonfly print, because I had such tiny scraps of that to work with. The solids were arranged in somewhat of a rainbow of the colors in my little chunk of the color wheel, ranging from green, through turquoise and blue, and down to purple. I used prints to tie the colors above and below it together.

The light blue batik with the silvery dots (between the two blues) is made of scraps from my eldest granddaughters second birthday dress. The darker blue batik with circles was from the handwarmer scarves I made for my Mom, sisters, and sister-in-law a few years back. The greenish turquoise with white dots was from the pillowcases I made for the microwavable rice pillows I made them the year after that.

Lest you think that only the prints hold memories of things I’ve made for the people I love, about half of the solids were from the matching rainbow dresses I made the girls for Lila’s fifth birthday.

I’m not into traditional quilt labels, but I did want to “sign my work”. I used the lettering capabilities of my Bernina to add my name and the year to the bottom right hand corner of the quilt. I used matching (or rather, only slightly darker than the fabric) thread for a subtle look. If it’s a bit too subtle to read on the wrinkly quilted surface, it says Debora 2025, since I made it at the end of last year.

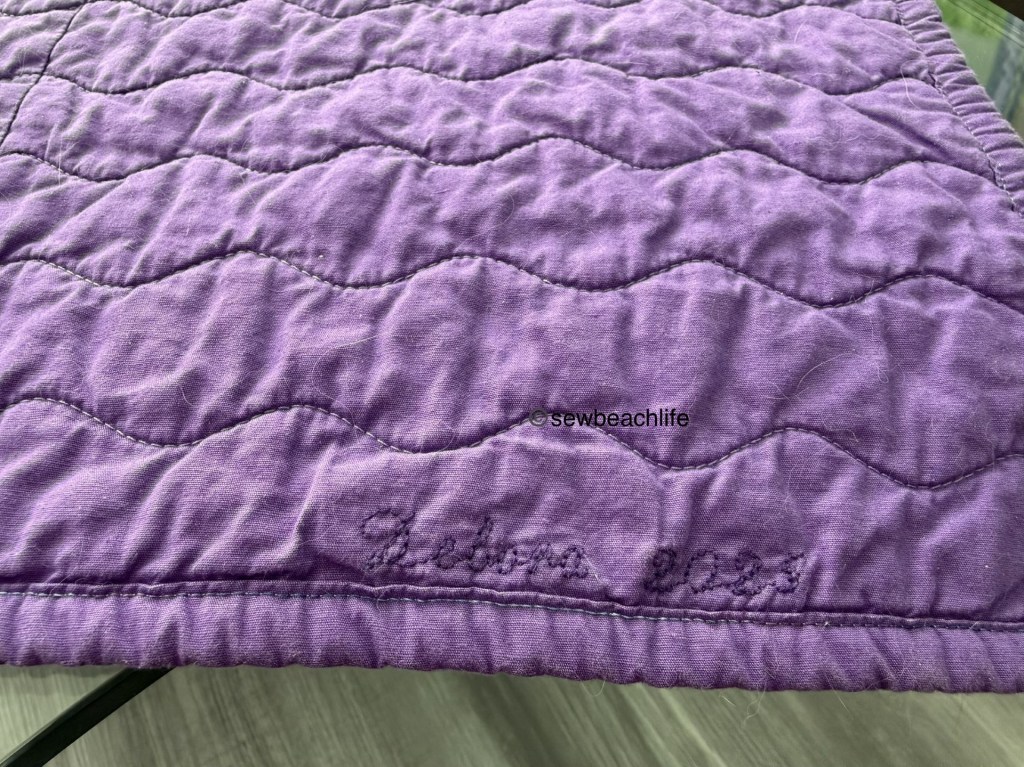
Piecing and quilting was done on my Bernina 790 Plus. The large throat space made it more than easy enough to wrangle the quilt through. I didn’t feel like hooping and using the embroidery module to quilt it. That just seemed like too much for something that was supposed to be a simple quilt. So I just used a bunch of different decorative stitches to straight line quilt it, with the lines spaced 2″ apart.

Each printed strip was “stitched in the ditch”, and each solid color section has a different decorative stitch.

I used the dark purple for the binding, which was made from 2-1/2″ strips. Since I literally knew nothing about making quilts other than that you pieced with a 1/4″ seam allowance, and needed batting and a backing for your quilt, and that you needed to do some sort of quilting to hold everything together, I watched a couple of videos on making a quilt sandwich, straight or serpentine line quilting, and attaching binding.

I bought this pretty batik when my local quilt shop was going out of business. I was sad to see them go, as it was the store (at their old location) that I bought both my Babylock serger and Bernina sewing machine from. It was also were I had purchased all the pretty Tula Pink fabrics I’ve used to make dresses for myself and the girls.

I used Warm and Natural 100% cotton batting, and various colors of Guttermann thread, as I tried to match the thread to each of the solid colors, using turquoise in the bobbin, to match the backing. The finished quilt is around 50″ wide (though it started out at 52″). I lost a bit of width when I “squared up” the quilt before binding, by 76″ long. It is the perfect size to wrap up in while drinking my morning coffee and snuggling the cat.

I’m an early riser, so it’s generally still dark when I’m drinking my coffee. But my husband managed to catch a photo of me when it was light enough outside.

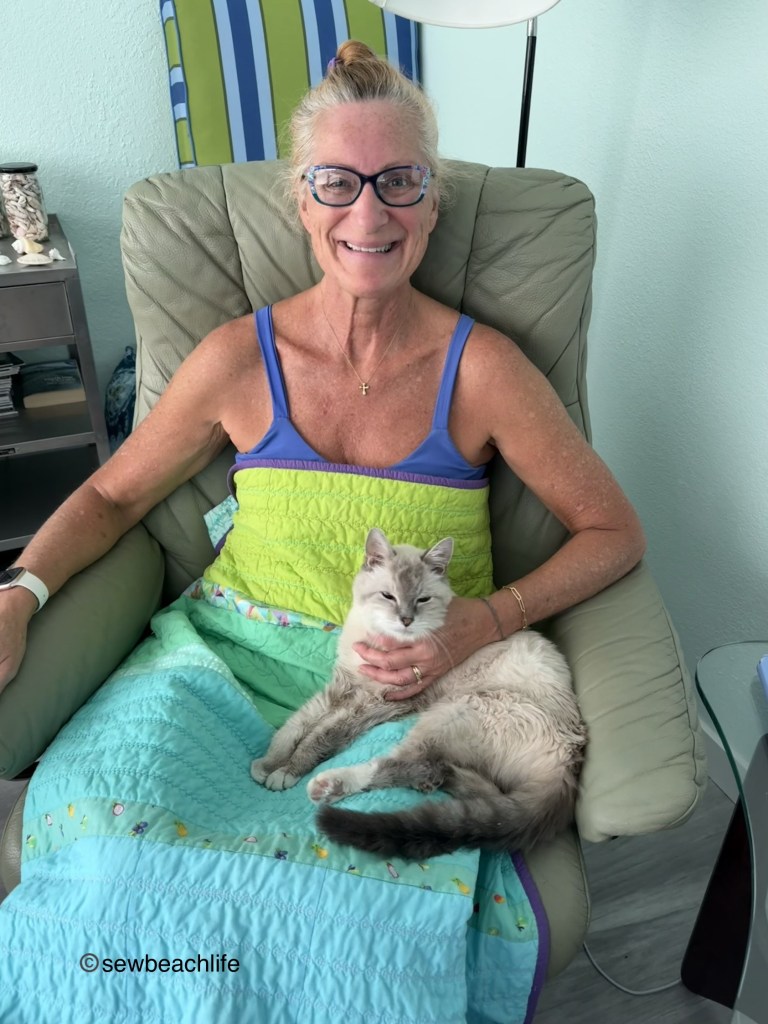
The cat loves the quilt as much as I do. It’s soft and cozy, and has only grown softer with each washing. It’s not a fancy quilt, just a very simple basic design that serves its purpose. The colors make me happy, and the scraps of fabrics used remind me of the people I love and previously made things for.

You know what else it did? It opened my mind to giving quilting a try. Am I going to turn into someone who makes quilts using EPP, or a flying geese design? Extremely unlikely! However, there are plenty of modern quilt designs out there if I don’t want to just make up my own. And as you may have guessed by the fun tertiary colors and scraps I used, I’m a big fan of Tula Pink designed fabric. So much so that I’ll share the secret that I’ve already completed my second quilt, and purchased fabric for a third!

I’ll have to figure out a system to get some photos of the second quilt, as it is larger than this one. But I look forward to sharing it in the next month or so, because it’s much fancier than this one!

So, don’t be afraid to try something new. Even if you think it’ll never be for you, trying it in a simple or different way, in colors that you love, may be the start of a new passion! Thank you for reading and sharing my love of sewing, fabric, color, and trying new things.

Tidal Skirt Love

Who doesn’t love a pattern with multiple uses and lots of options? While originally designed as a swim cover up (like the Ripskirt Hawaii), I wear my Tidal skirts for daily use. With 14″, 16″ or 18″ length options, you can go as short as you dare! The pockets are deep enough to safely hold your phone or stash your cards, ID, or a house key.

It’s a fun wrap skirt with godets in the back and a contoured waistband for a perfect fit. The pattern tutorial calls for Velcro closures, but you could use buttons or snaps if you prefer. I chose Velcro, and found Sleek & Thin sew on low profile fastener at Michael’s. It truly is sleek and thin, and is so soft that you could use it for children’s clothing. Even the “hook” side of this variety of hook and loop fastener isn’t scratchy at all. I was surprised and impressed at how different it is from the industrial version.

It’s easy to put on or take off the skirt:

And just like that, you’re ready to lounge in the sun, or go for a swim! You’ve got modesty for walking to the beach or pool, and can quickly prep for beach time. It’s simple to slip back on if you’re going out to dinner or walking the neighborhood.

I love the clean finish on the inside of these woven skirts, which is achieved by serging the raw edges of the seams, and top-stitching with a coverstitch. I chose to sew each 3/8″ seam with my sewing machine, then serge the raw edge with a stitch length of 2-2.25 and a stitch width of M without cutting off any of the seam allowance. The seams were pressed in the appropriate directions as per the pattern tutorial, and top-stitched with a wide coverstitch.

I generally use a narrow coverstitch with the needles in C2 and C3 when hemming or wanting a subtle look. But with the fun angles and seams of the Tidal Skirt, I wanted to try the bolder look of a wide coverstitch (with needles in C1 and C3) and accented every single seam!

See how carefully I mirrored each pattern piece on the ombre fabric? I love how the wide coverstitch really pops on all of the seams!

Here are a few tips to make sewing the Tidal Skirt even easier:

When attaching the inner pocket to the outer pocket, I find it helpful to slide my quilting ruler between the pocket pieces and the skirt so that when pinning the curved section of the pocket pieces I can’t accidentally pin into the skirt front.

Ignore the glare of the overhead light fixture reflecting in my ruler, but smile with me at the knowledge that I have a nice bright light fixture to help me see to sew.

To help “tame” the curves when pressing up the hem of the skirt or the bottom of the inner waistband, turn the differential on your serger up to 1.3 (or even 1.5 depending on how deep the curve) and serge the raw edge of the fabric. This will slightly gather it so that when it’s pressed up, the fabric will lay smoothly.

See how smoothly the pressed up hem lays?

The pattern tutorial has you attach the Velcro by sewing through both layers of the waistband. It’s the simplest way to do so. But the perfectionist in me didn’t want to see those stitch lines on the outer waistband. I wanted the Velcro completely hidden. As per the tutorial I attached the outer waistband to the skirt. Then I attached the inner waistband to the outer waistband along the top seam, but I did not sew the short sides at that time. I tried the skirt on, and carefully marked where the Velcro needed to go with pins. (The pattern piece has markings, but it’s always good to try on and adjust placement if needed.) I folded the waistband open so that I could attach the Velcro through the single layer of either the inner or outer waistband. At that point I folded the waistband back down right sides together and stitched the two short edges. Then it’s back to the tutorial and turning right sides out, pressing, and stitching in the ditch.

*Note: it is very important that you top-stitch or coverstitch all the way around your waistband if you use my method to attach the Velcro as it adds the needed stability.

The Tidal Skirt pattern by Greenstyle uses their new, updated size chart that includes sizes A1 through M3 with waist measurements from 24″-53″ and hips from 33″-62″ so it’s very size inclusive.

The details:

I made size D1 and love that the Tidal Skirt can be made with quilting cotton. I don’t own many woven garment patterns that recommend quilting cotton, so this is a great way to use a fun print or some fabric that’s been languishing in your stash for far, far too long…

This teal print may be 27 years old, but it worked perfectly for this pattern!

There is a bit of purple in the teal print, so I chose to accent it by coverstitching with MaxiLock thread from Wawak in orchid. I wore my teal skirt with a Bobby Brami, which you can read more about here.

The purple ombre cotton print came from my local(ish) quilt and sewing machine shop in Tampa a couple of years ago. I used Sergin’ General from Superior Threads in periwinkle to serge and coverstitch it. I wore my purple skirt with a slightly hacked Endurance Sports Bra (made with Greenstyle fabric), which you can read more about here. I’ve also worn it with an Azure Tank, shared here.

The links to GreenStyle may be affiliate links (if I did them properly!) which means that I may earn a few pennies if you use my links to purchase, without it costing you anything extra. Since this is my blog and represents me, I always give my honest opinion about any patterns, fabric, or supplies that I talk about. I hope that the time I spend writing posts and sharing sewing tips interests people enough that they take a look at the patterns I review. I write to share my love of sewing, patterns, and fabric, and hope that it encourages others to love sewing as much as I do! ❤