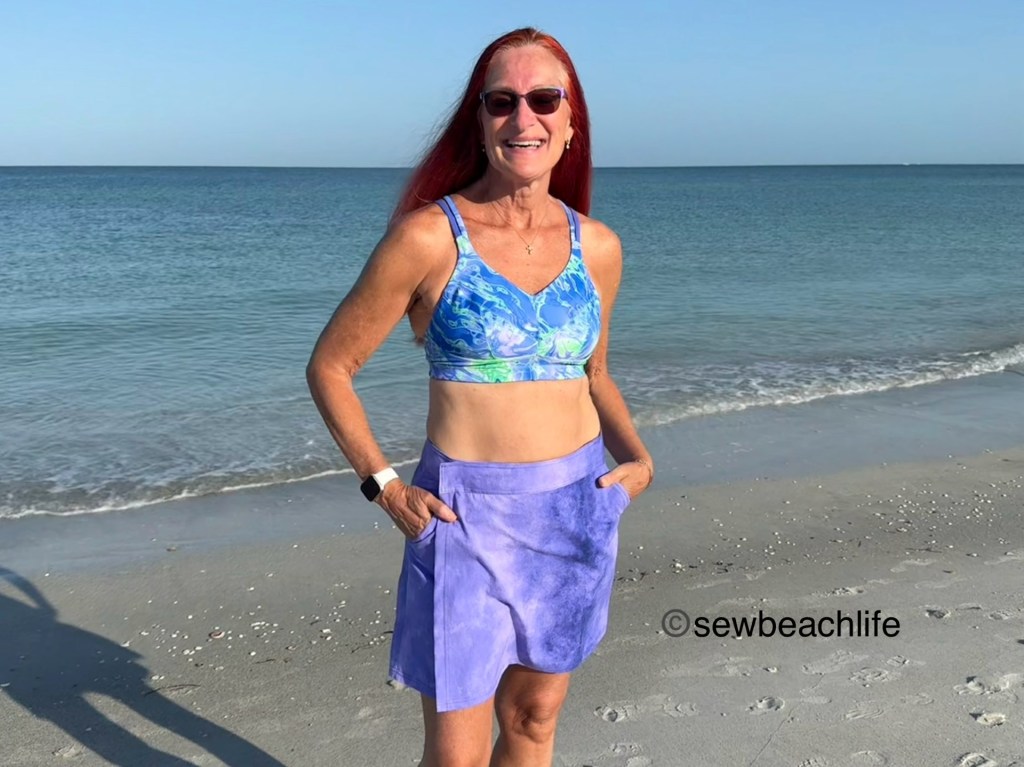
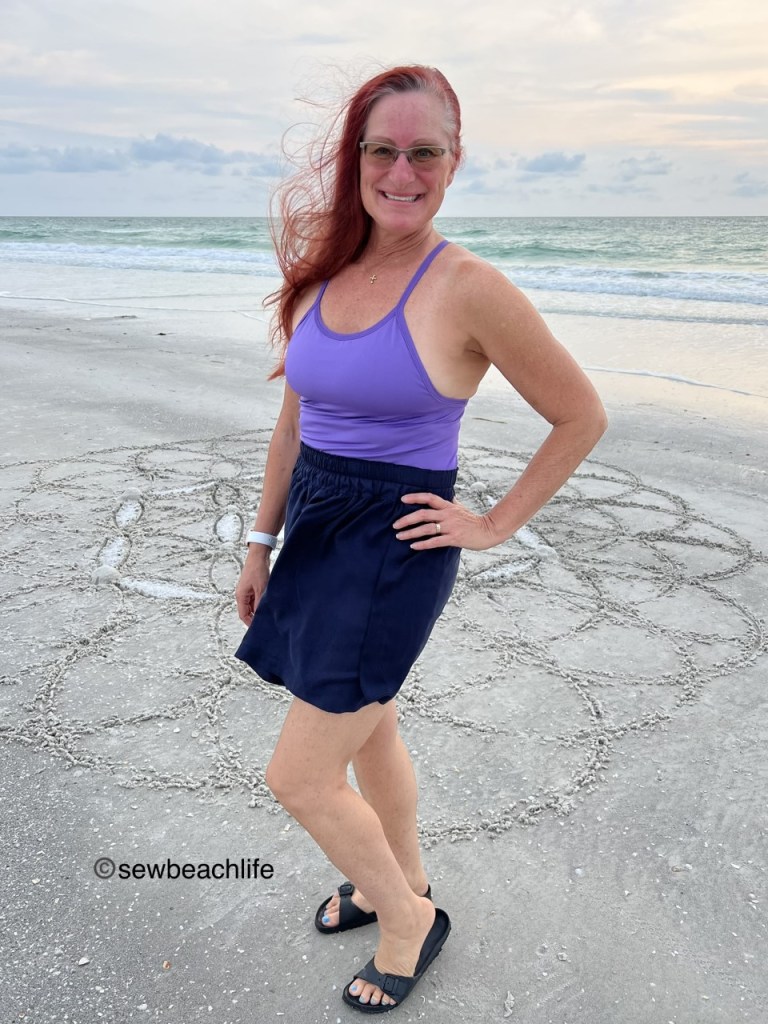
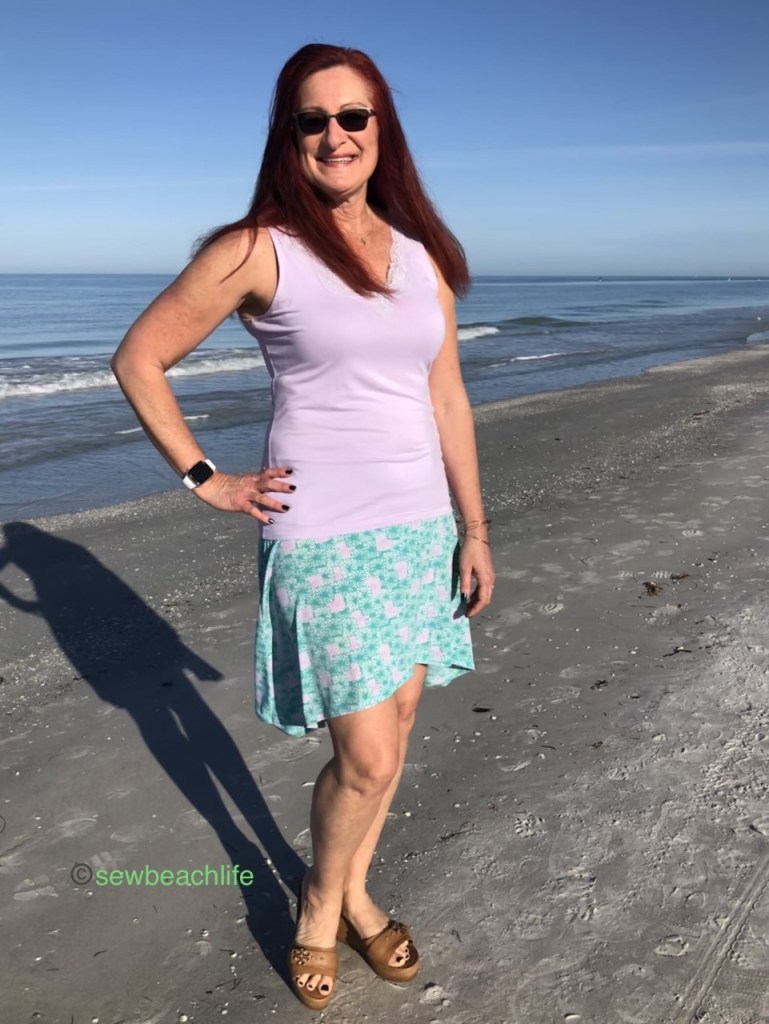
Who doesn’t love a pattern with multiple uses and lots of options? While originally designed as a swim cover up (like the Ripskirt Hawaii), I wear my Tidal skirts for daily use. With 14″, 16″ or 18″ length options, you can go as short as you dare! The pockets are deep enough to safely hold your phone or stash your cards, ID, or a house key.

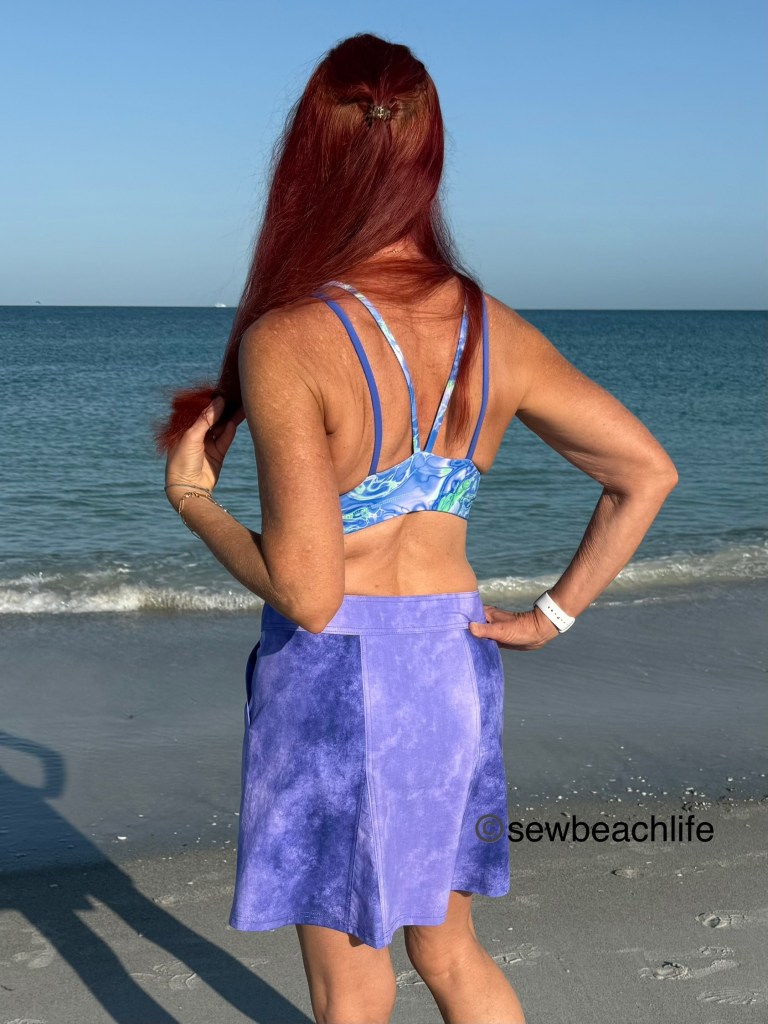
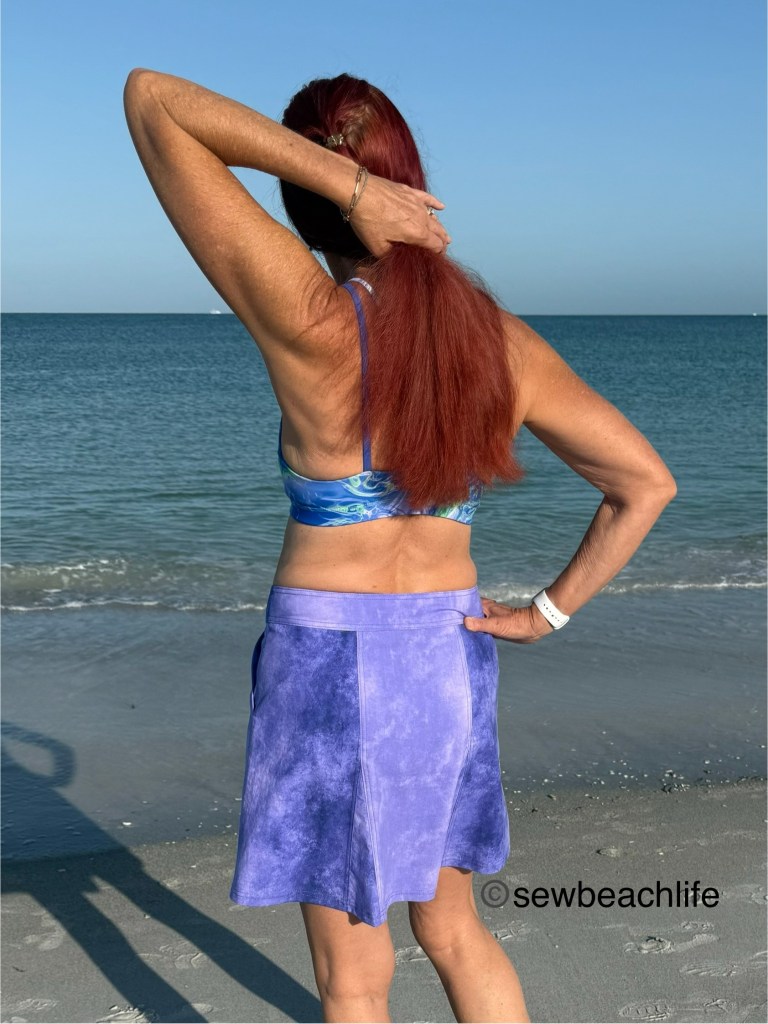
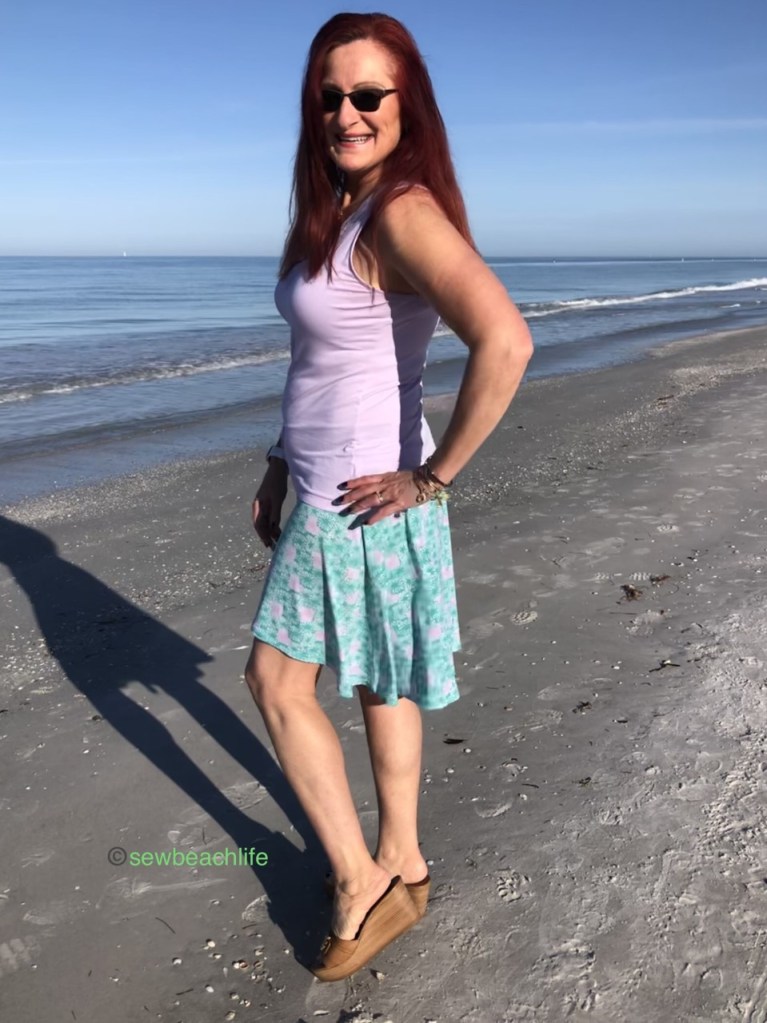
It’s a fun wrap skirt with godets in the back and a contoured waistband for a perfect fit. The pattern tutorial calls for Velcro closures, but you could use buttons or snaps if you prefer. I chose Velcro, and found Sleek & Thin sew on low profile fastener at Michael’s. It truly is sleek and thin, and is so soft that you could use it for children’s clothing. Even the “hook” side of this variety of hook and loop fastener isn’t scratchy at all. I was surprised and impressed at how different it is from the industrial version.
It’s easy to put on or take off the skirt:

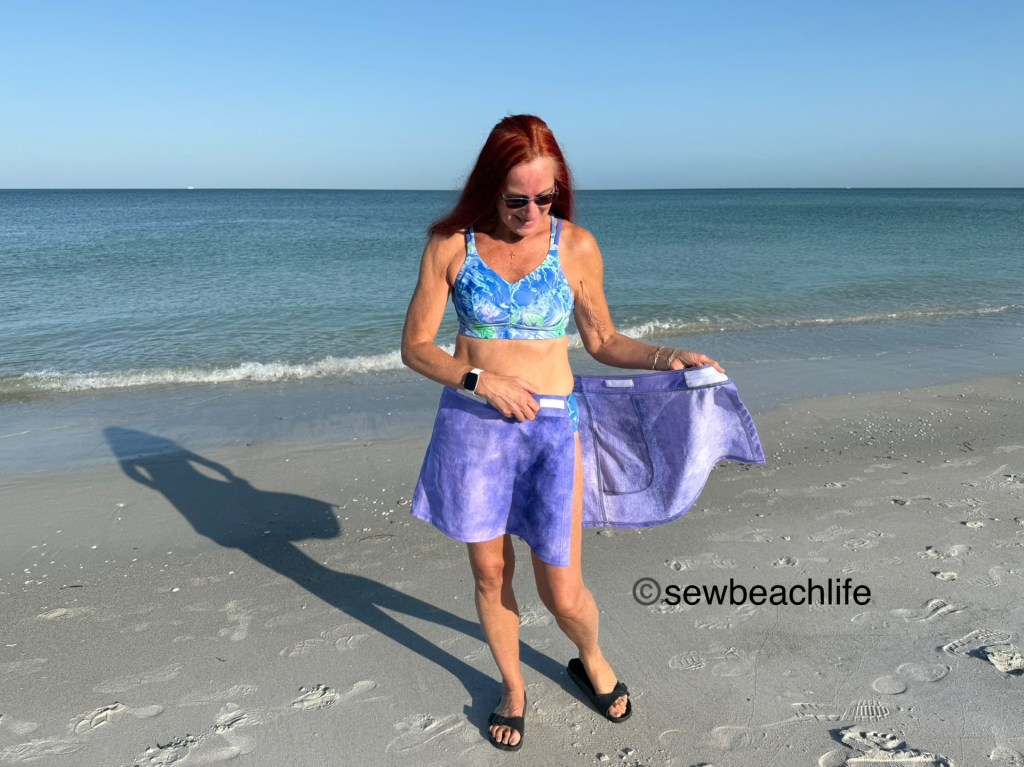

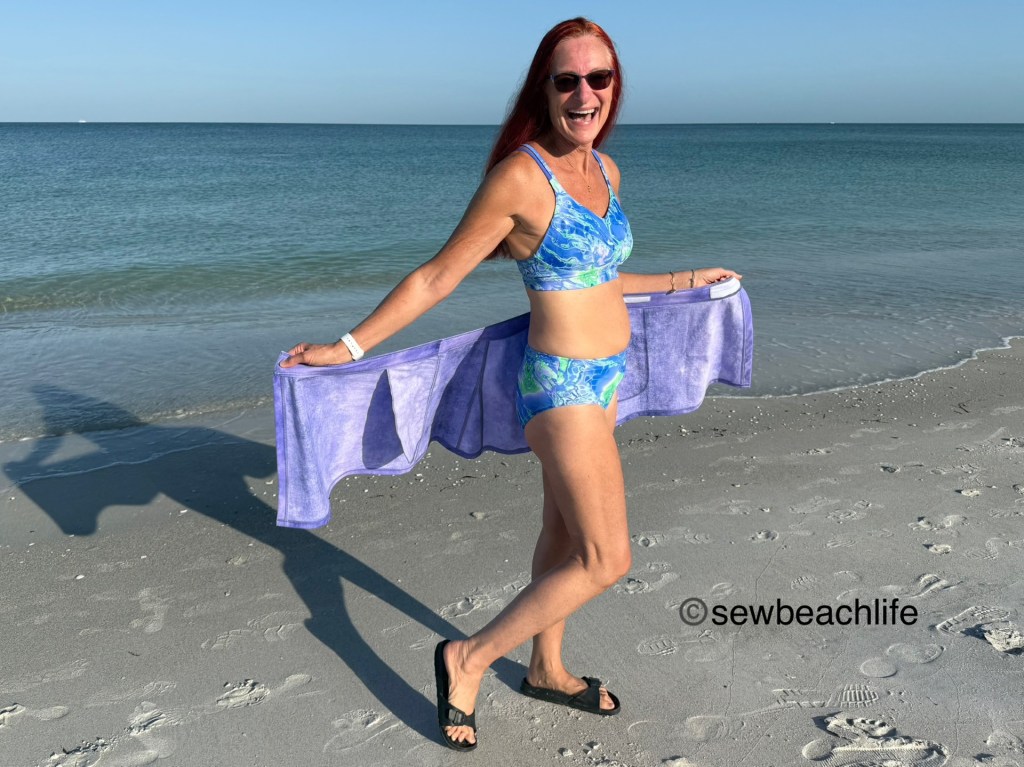
And just like that, you’re ready to lounge in the sun, or go for a swim! You’ve got modesty for walking to the beach or pool, and can quickly prep for beach time. It’s simple to slip back on if you’re going out to dinner or walking the neighborhood.
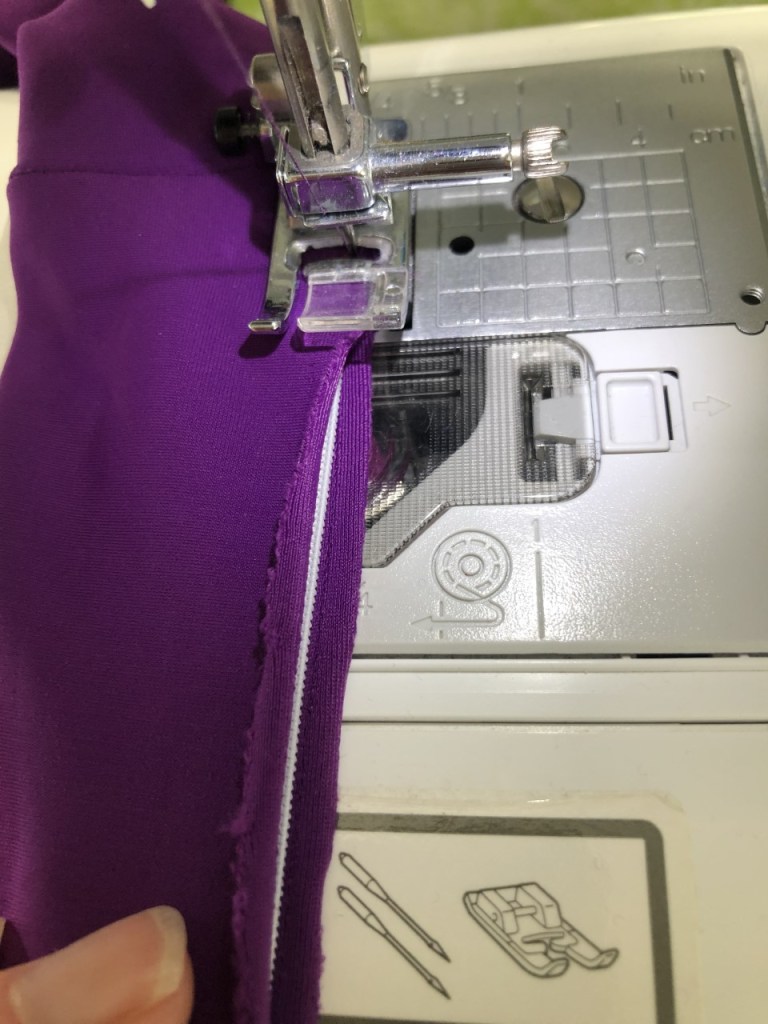
I love the clean finish on the inside of these woven skirts, which is achieved by serging the raw edges of the seams, and top-stitching with a coverstitch. I chose to sew each 3/8″ seam with my sewing machine, then serge the raw edge with a stitch length of 2-2.25 and a stitch width of M without cutting off any of the seam allowance. The seams were pressed in the appropriate directions as per the pattern tutorial, and top-stitched with a wide coverstitch.
I generally use a narrow coverstitch with the needles in C2 and C3 when hemming or wanting a subtle look. But with the fun angles and seams of the Tidal Skirt, I wanted to try the bolder look of a wide coverstitch (with needles in C1 and C3) and accented every single seam!
Here are a few tips to make sewing the Tidal Skirt even easier:
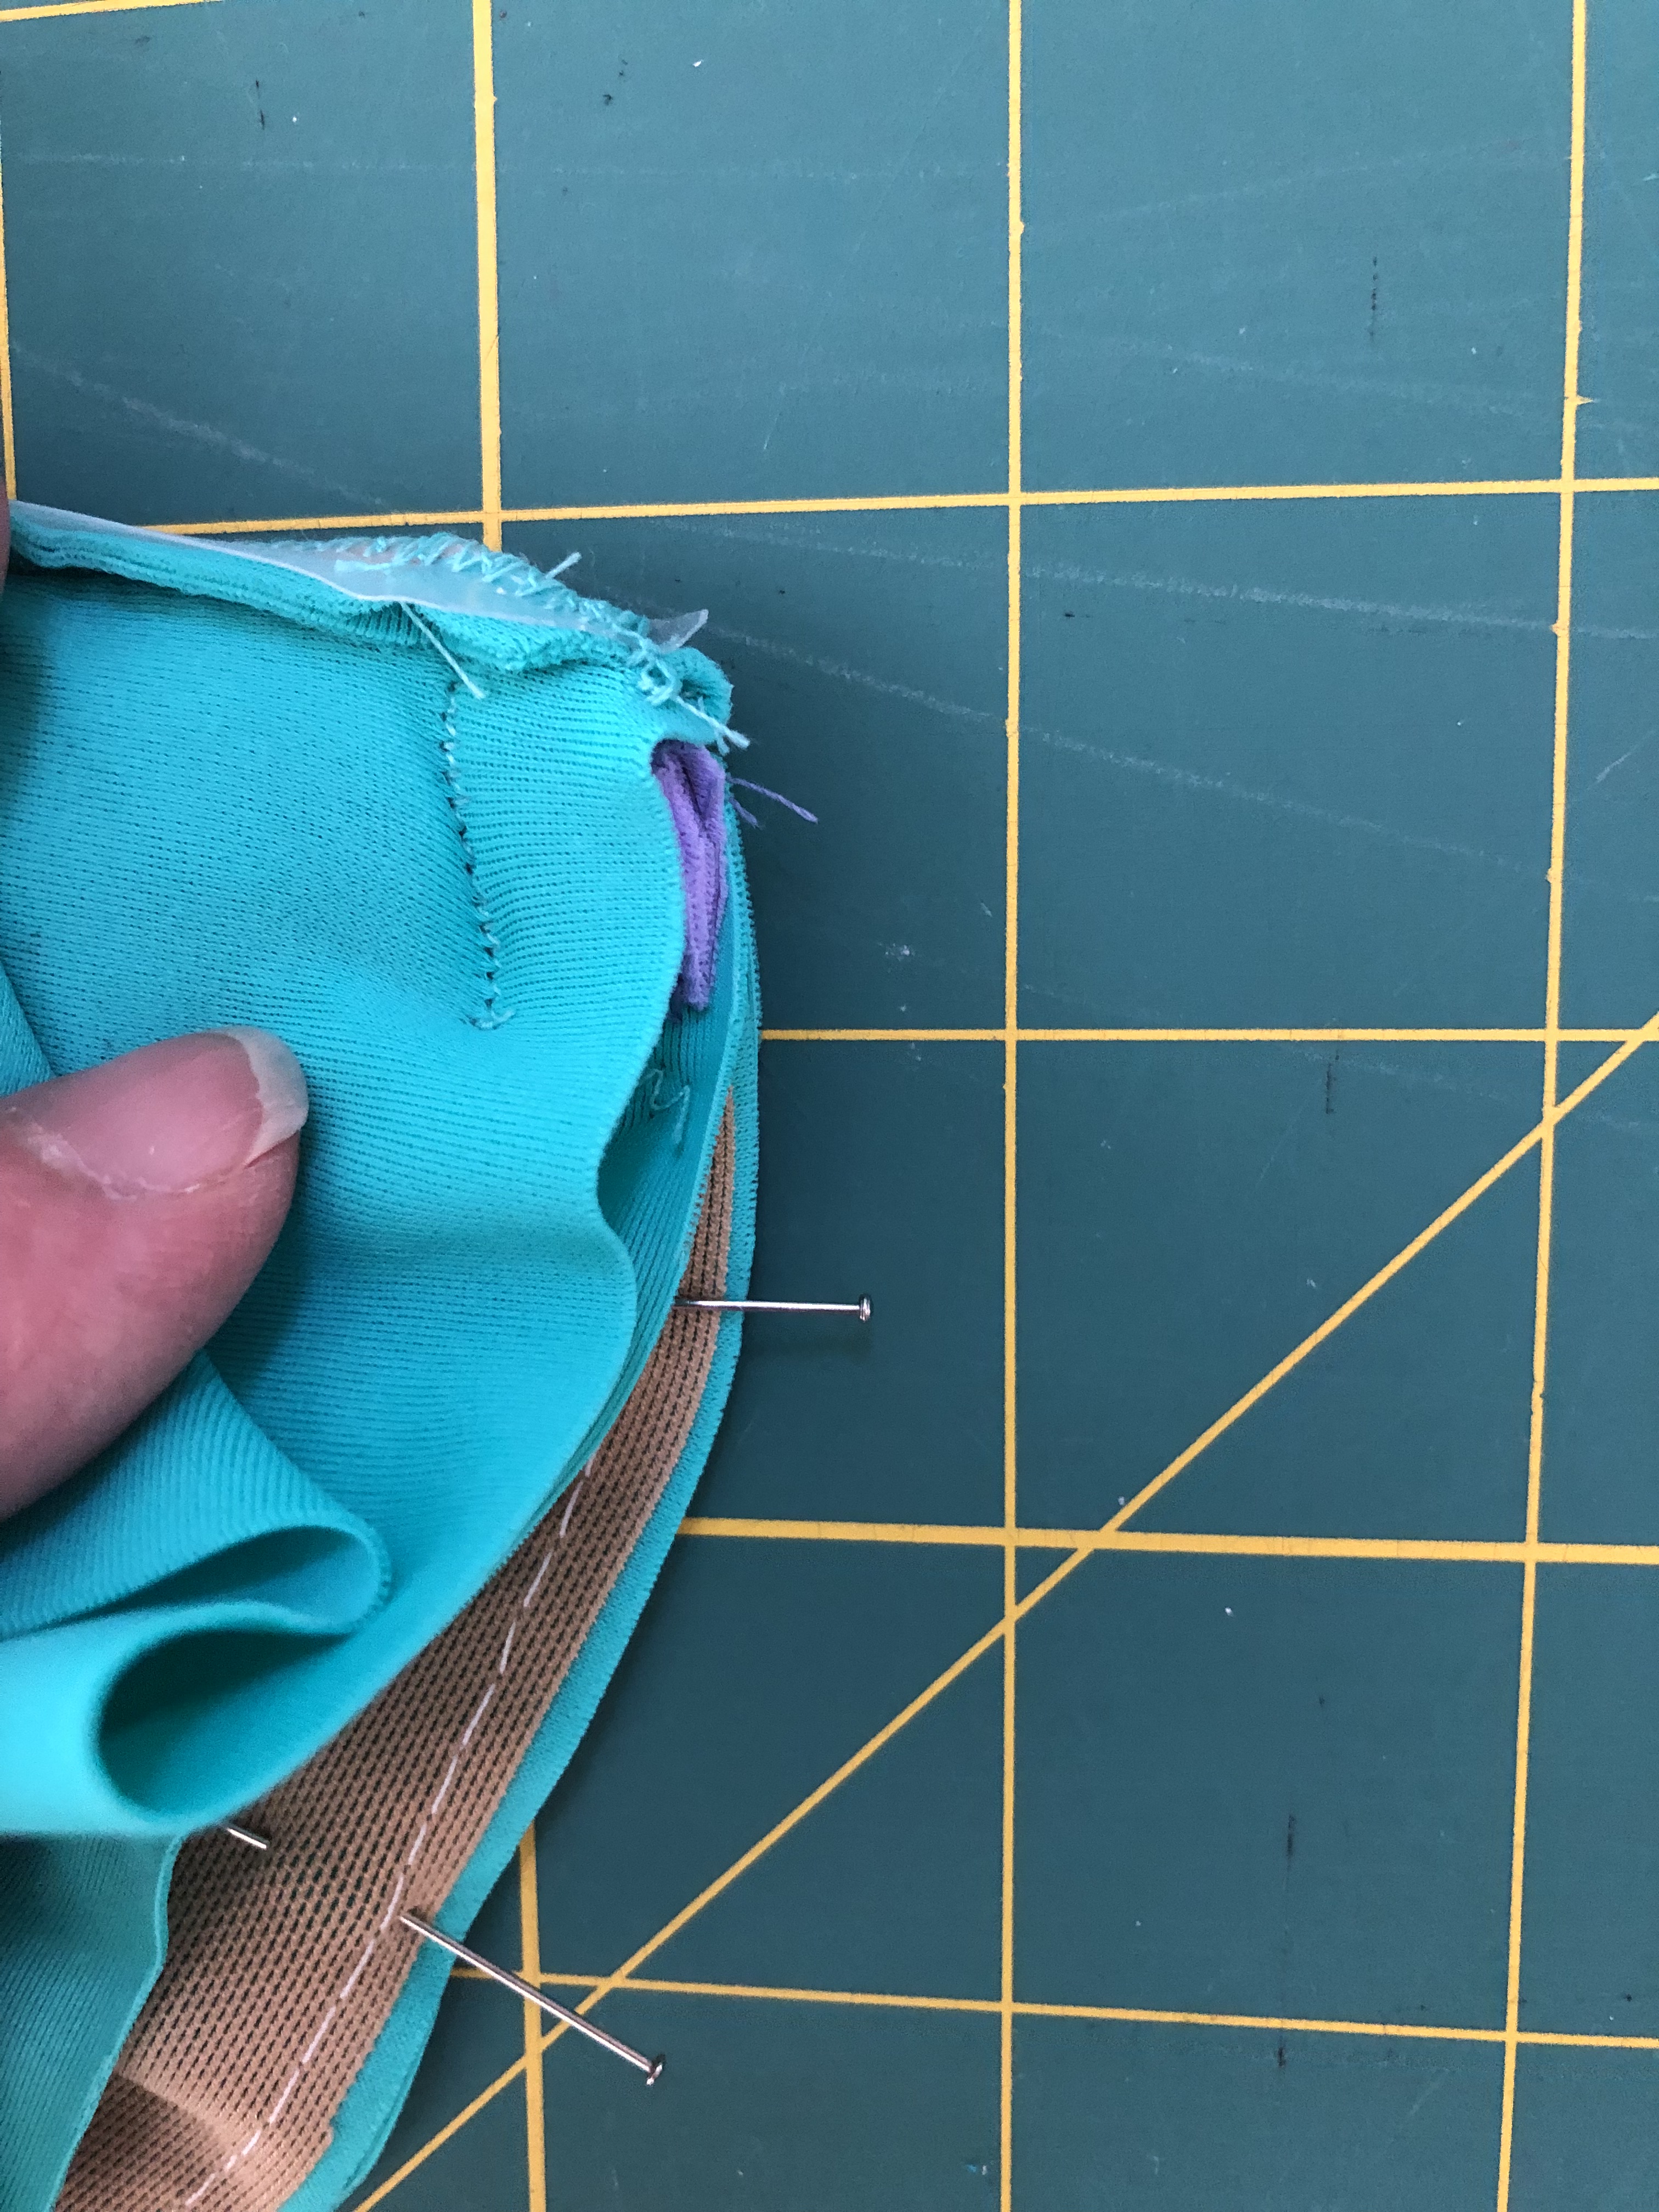
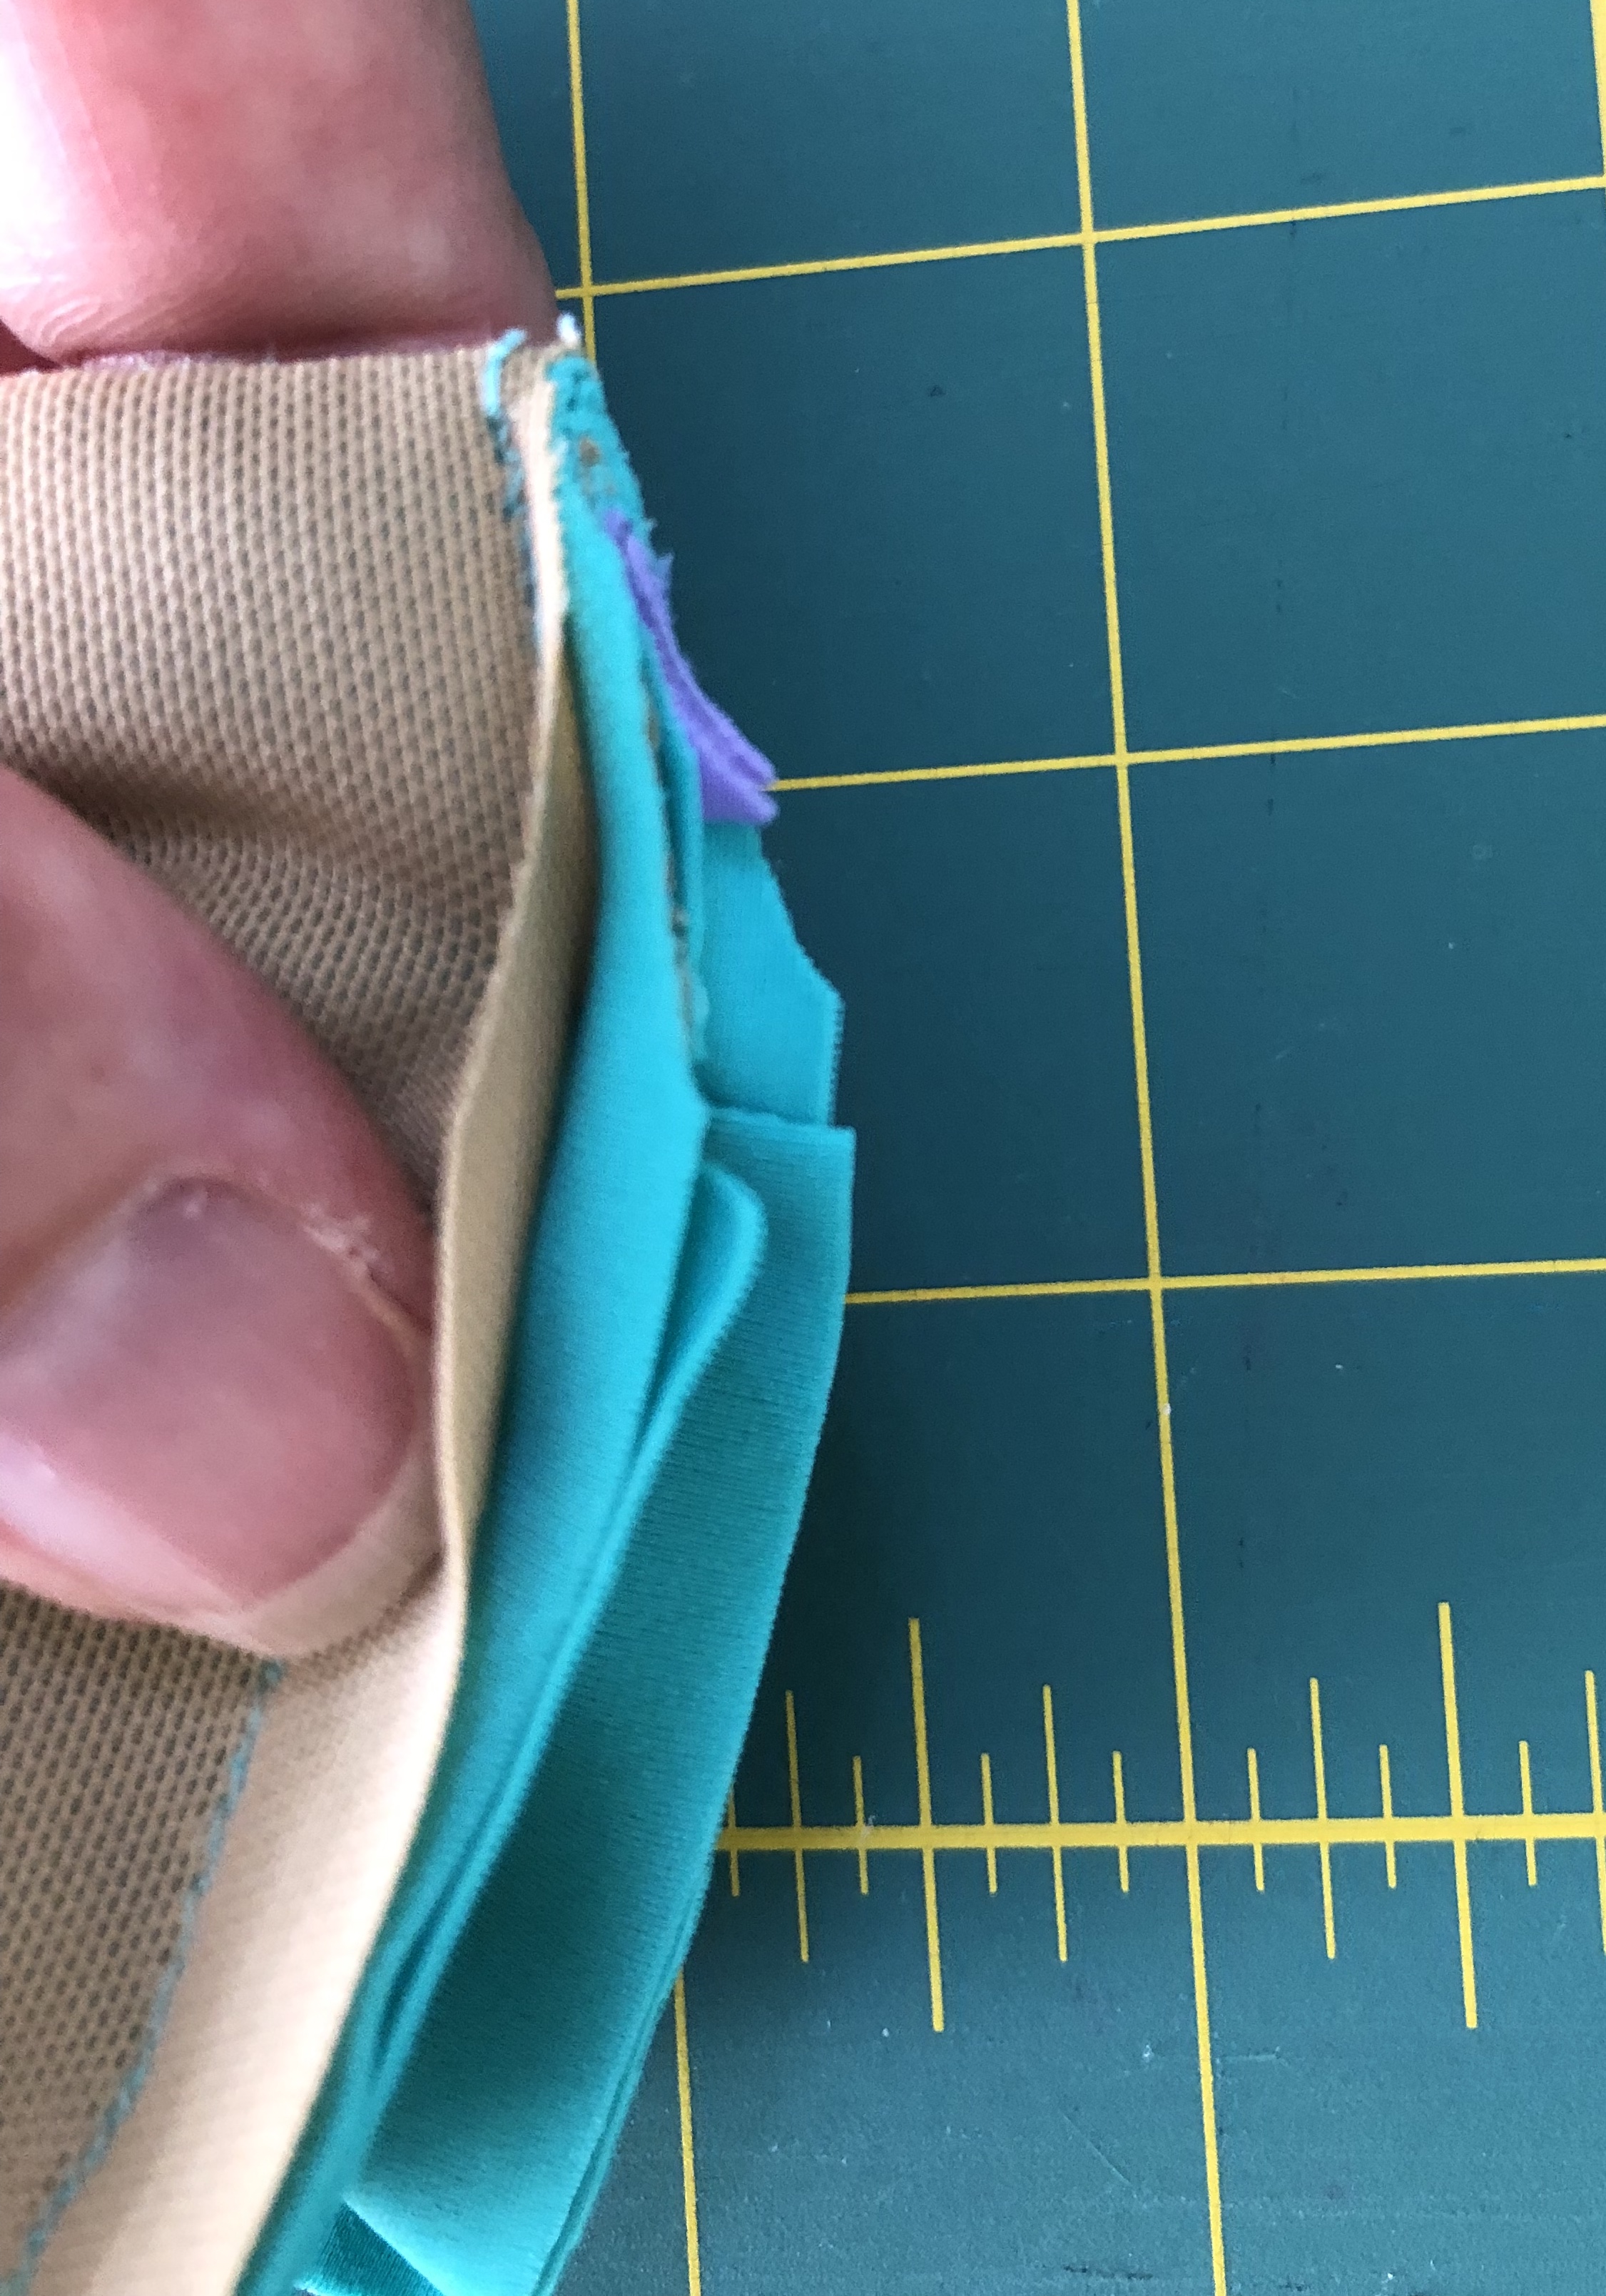
When attaching the inner pocket to the outer pocket, I find it helpful to slide my quilting ruler between the pocket pieces and the skirt so that when pinning the curved section of the pocket pieces I can’t accidentally pin into the skirt front.

To help “tame” the curves when pressing up the hem of the skirt or the bottom of the inner waistband, turn the differential on your serger up to 1.3 (or even 1.5 depending on how deep the curve) and serge the raw edge of the fabric. This will slightly gather it so that when it’s pressed up, the fabric will lay smoothly.

The pattern tutorial has you attach the Velcro by sewing through both layers of the waistband. It’s the simplest way to do so. But the perfectionist in me didn’t want to see those stitch lines on the outer waistband. I wanted the Velcro completely hidden. As per the tutorial I attached the outer waistband to the skirt. Then I attached the inner waistband to the outer waistband along the top seam, but I did not sew the short sides at that time. I tried the skirt on, and carefully marked where the Velcro needed to go with pins. (The pattern piece has markings, but it’s always good to try on and adjust placement if needed.) I folded the waistband open so that I could attach the Velcro through the single layer of either the inner or outer waistband. At that point I folded the waistband back down right sides together and stitched the two short edges. Then it’s back to the tutorial and turning right sides out, pressing, and stitching in the ditch.
*Note: it is very important that you top-stitch or coverstitch all the way around your waistband if you use my method to attach the Velcro as it adds the needed stability.
The Tidal Skirt pattern by Greenstyle uses their new, updated size chart that includes sizes A1 through M3 with waist measurements from 24″-53″ and hips from 33″-62″ so it’s very size inclusive.
The details:
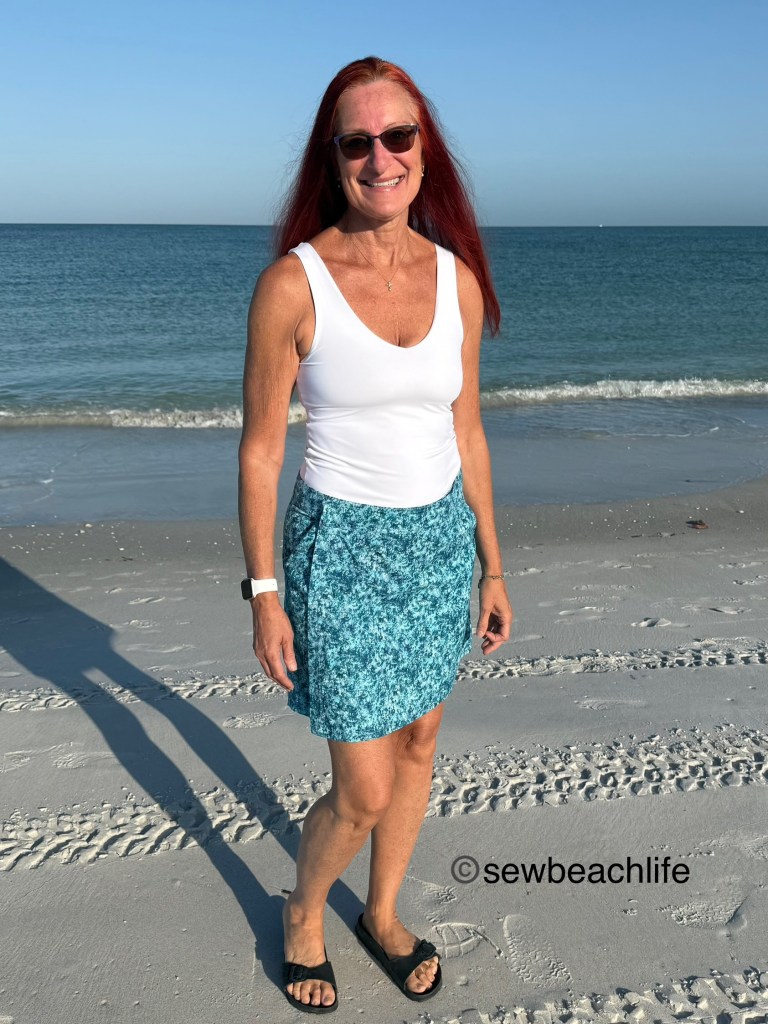
I made size D1 and love that the Tidal Skirt can be made with quilting cotton. I don’t own many woven garment patterns that recommend quilting cotton, so this is a great way to use a fun print or some fabric that’s been languishing in your stash for far, far too long…
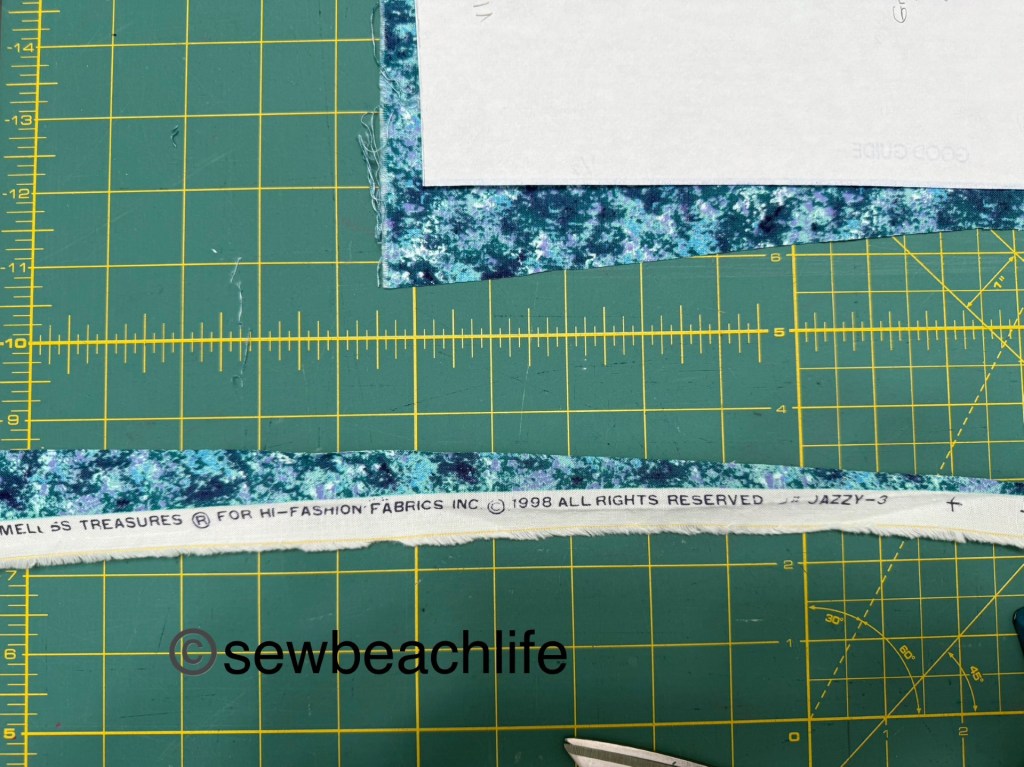
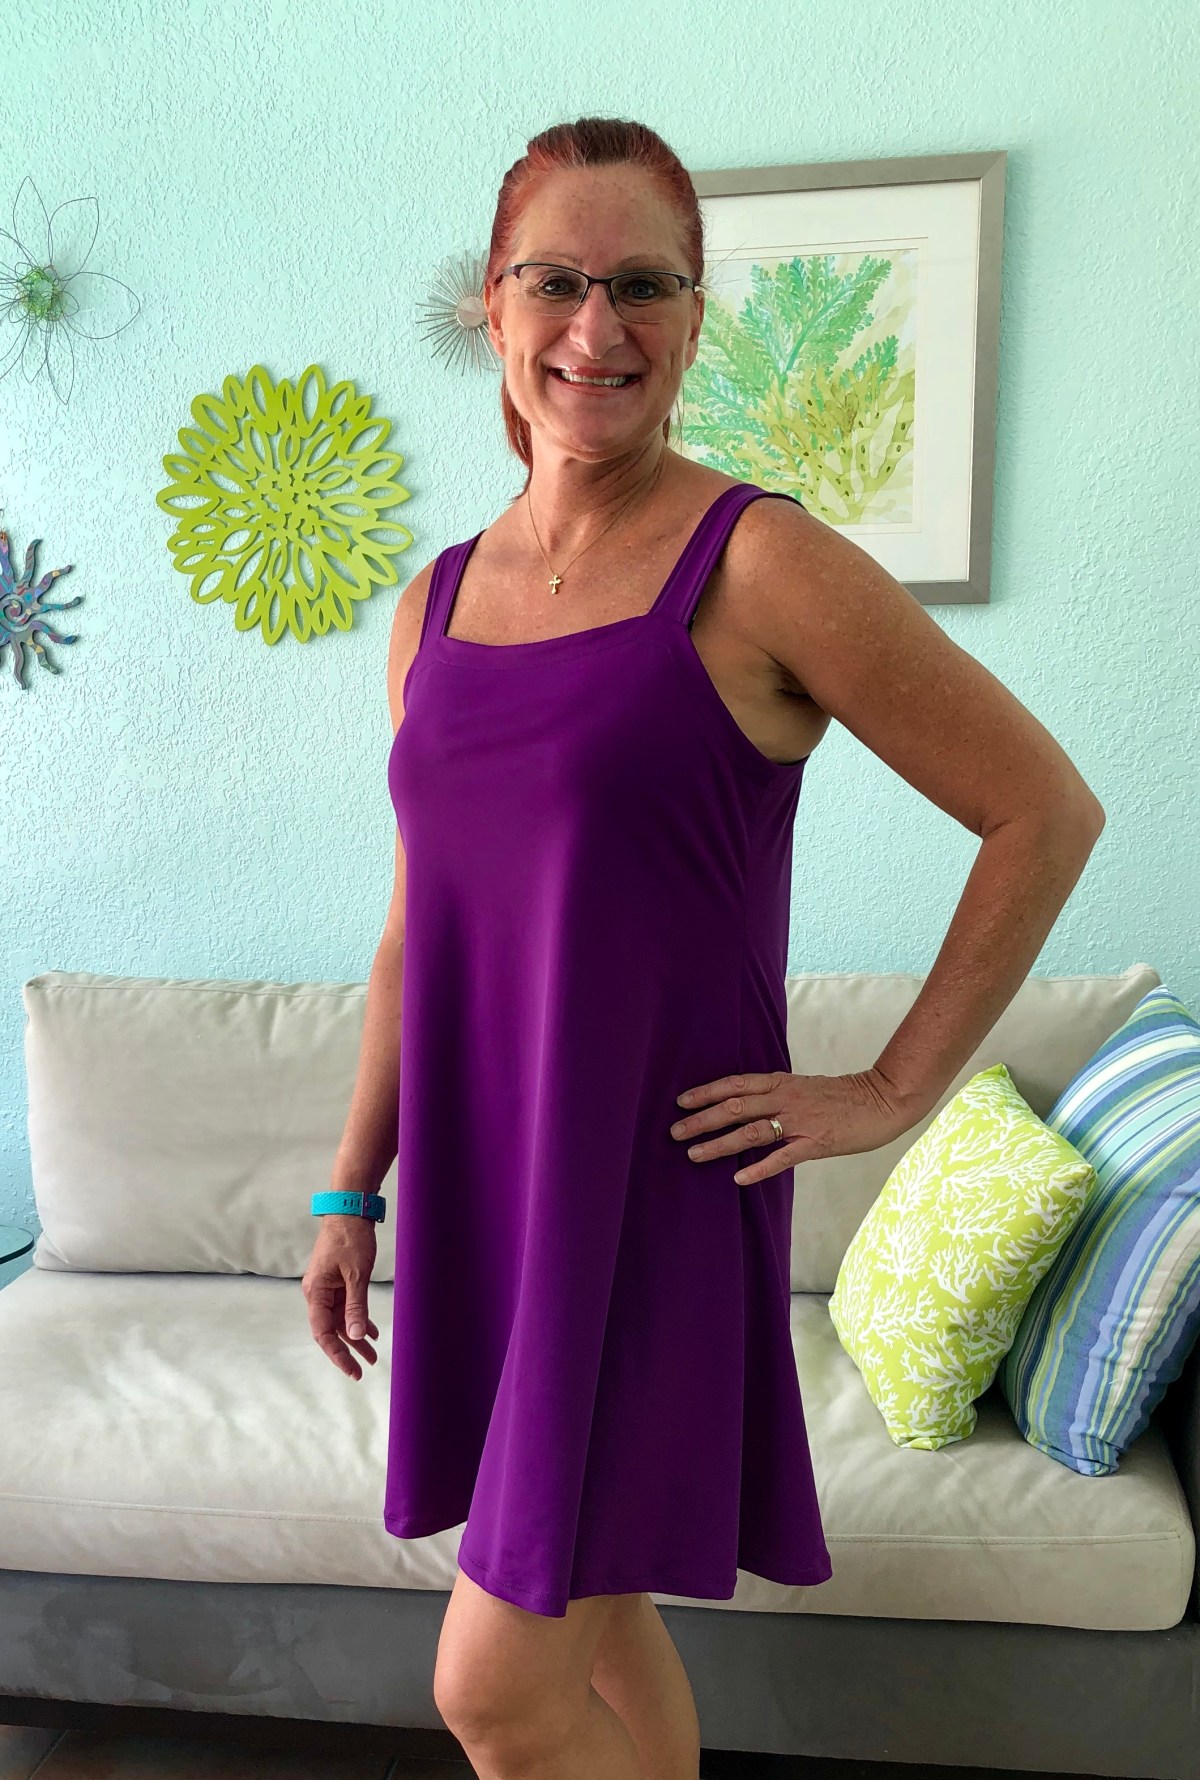
There is a bit of purple in the teal print, so I chose to accent it by coverstitching with MaxiLock thread from Wawak in orchid. I wore my teal skirt with a Bobby Brami, which you can read more about here.
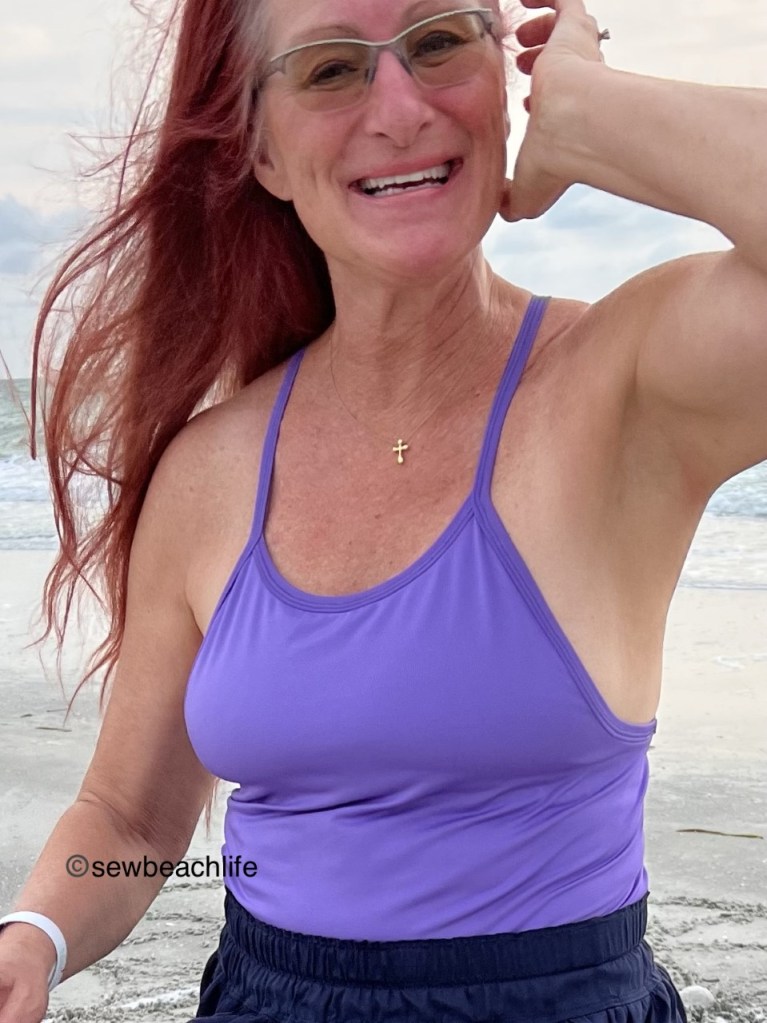
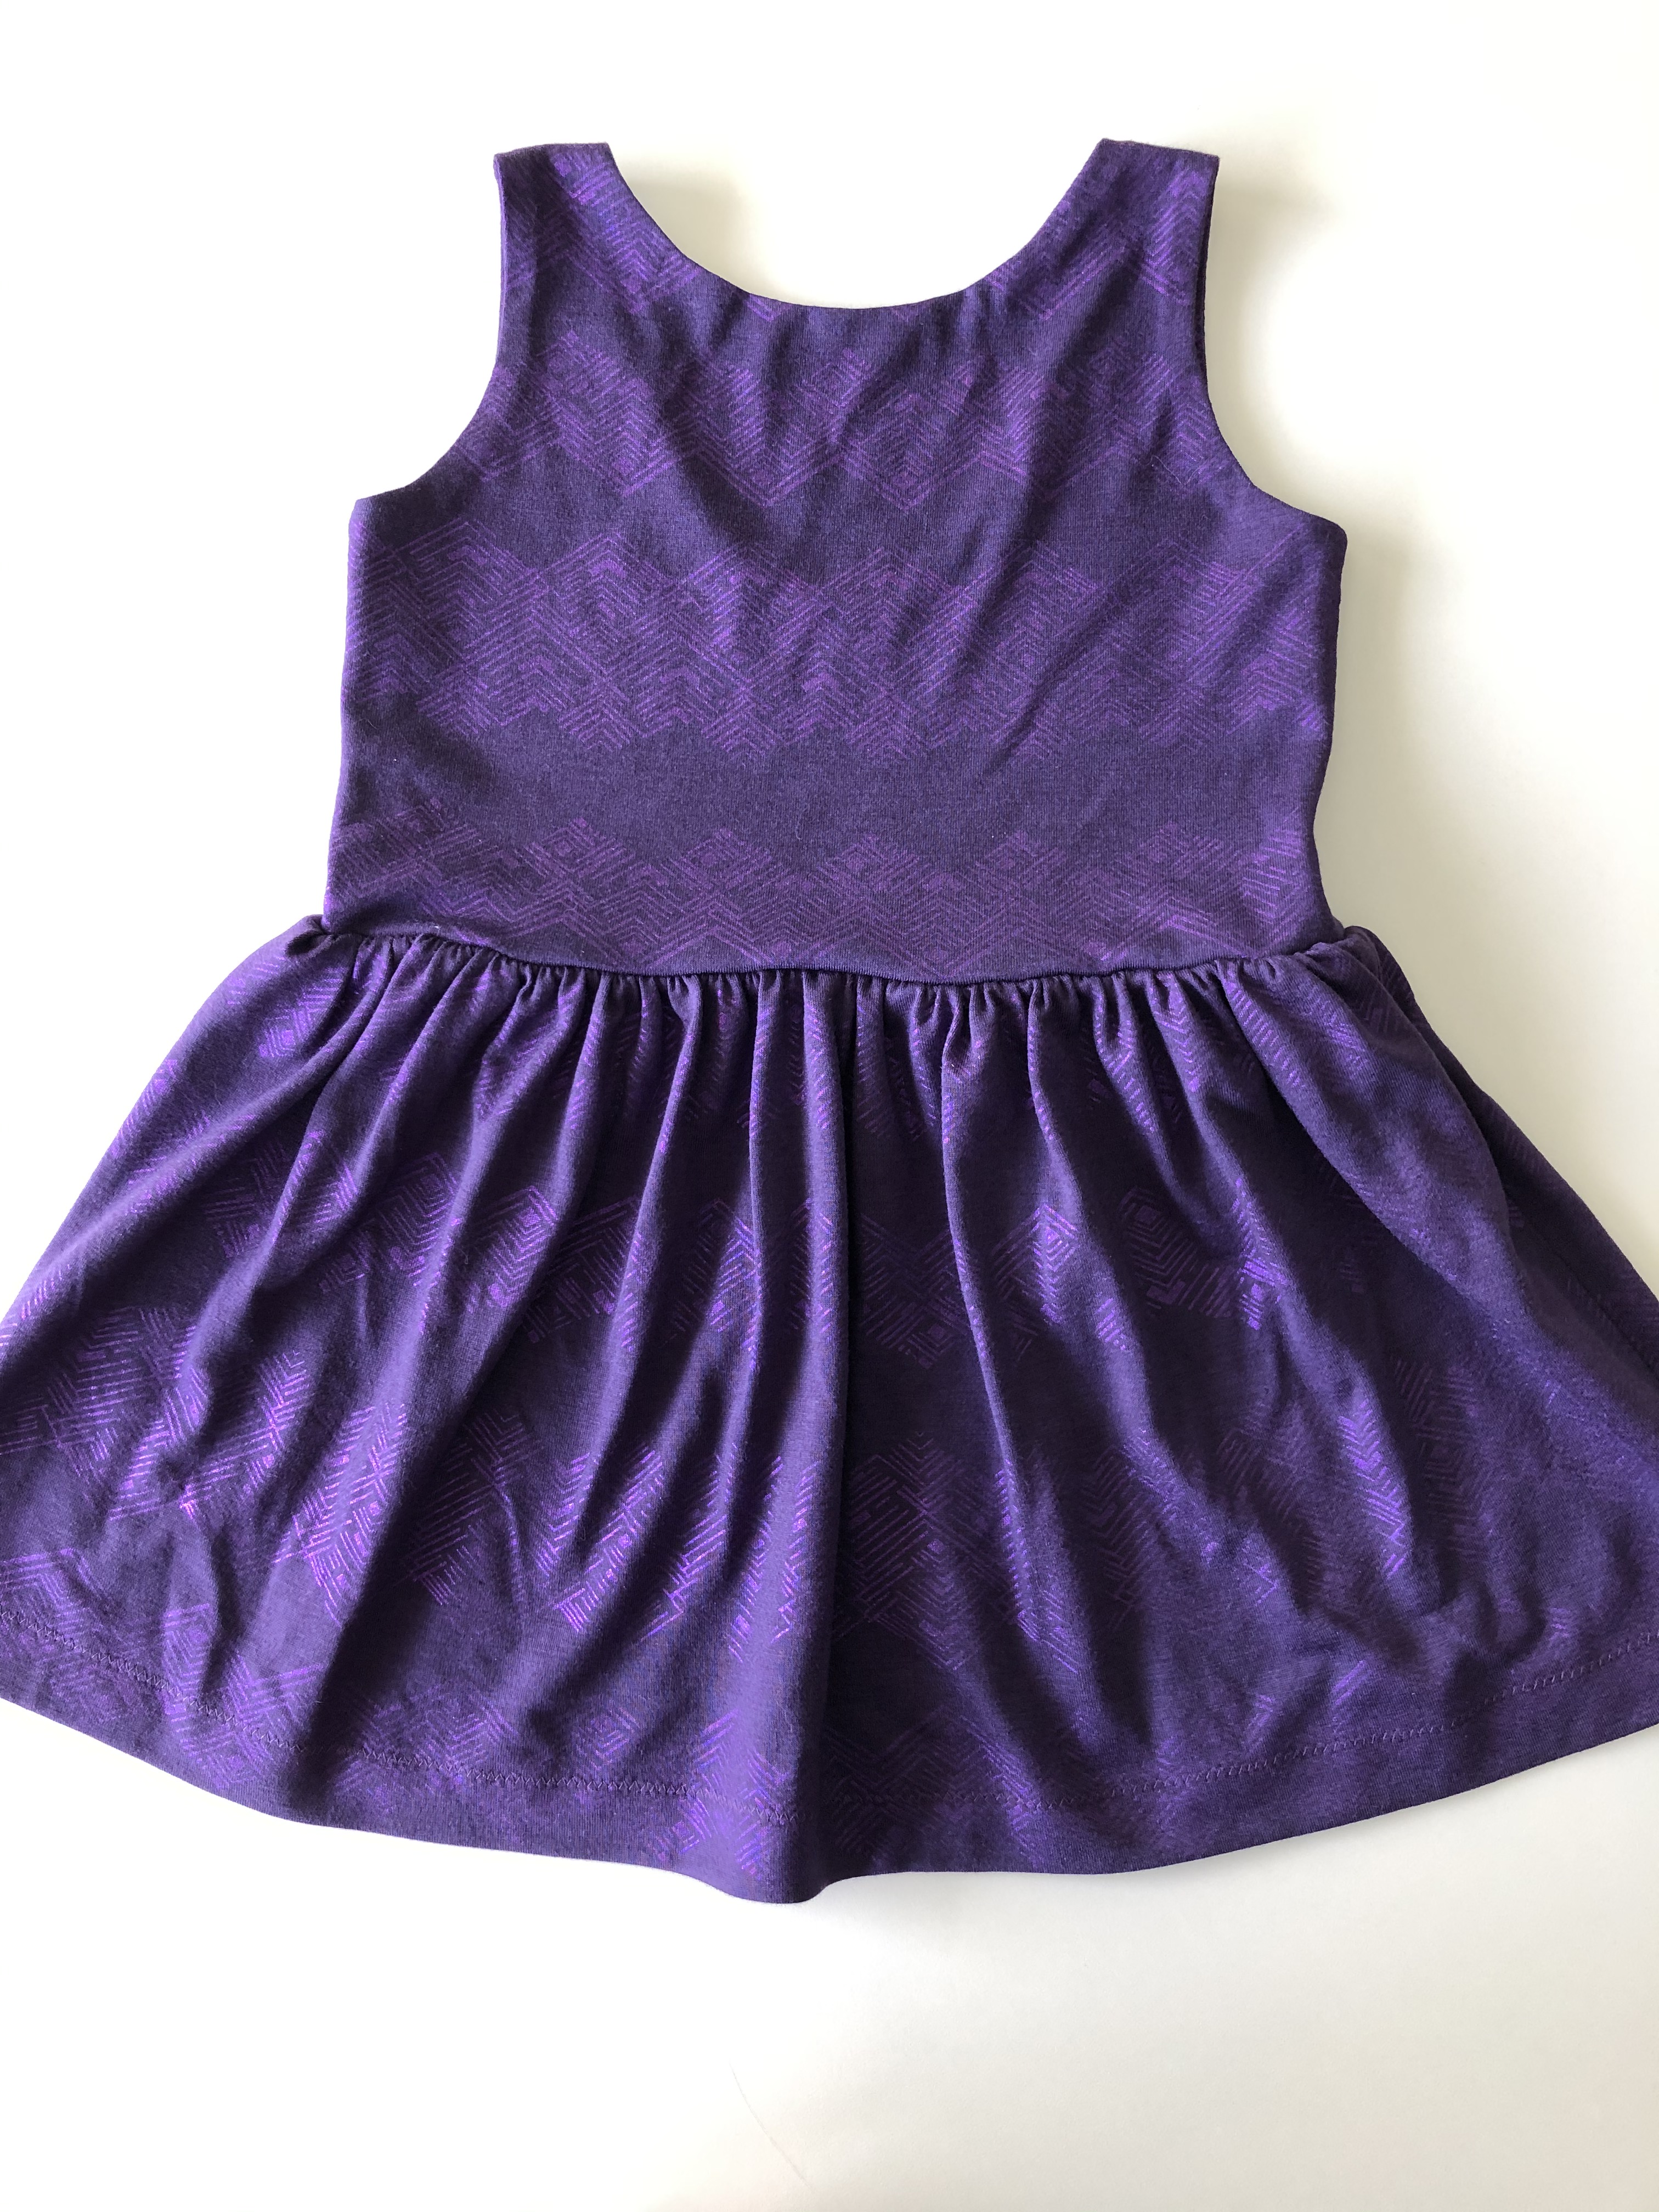
The purple ombre cotton print came from my local(ish) quilt and sewing machine shop in Tampa a couple of years ago. I used Sergin’ General from Superior Threads in periwinkle to serge and coverstitch it. I wore my purple skirt with a slightly hacked Endurance Sports Bra (made with Greenstyle fabric), which you can read more about here. I’ve also worn it with an Azure Tank, shared here.
The links to GreenStyle may be affiliate links (if I did them properly!) which means that I may earn a few pennies if you use my links to purchase, without it costing you anything extra. Since this is my blog and represents me, I always give my honest opinion about any patterns, fabric, or supplies that I talk about. I hope that the time I spend writing posts and sharing sewing tips interests people enough that they take a look at the patterns I review. I write to share my love of sewing, patterns, and fabric, and hope that it encourages others to love sewing as much as I do! ❤


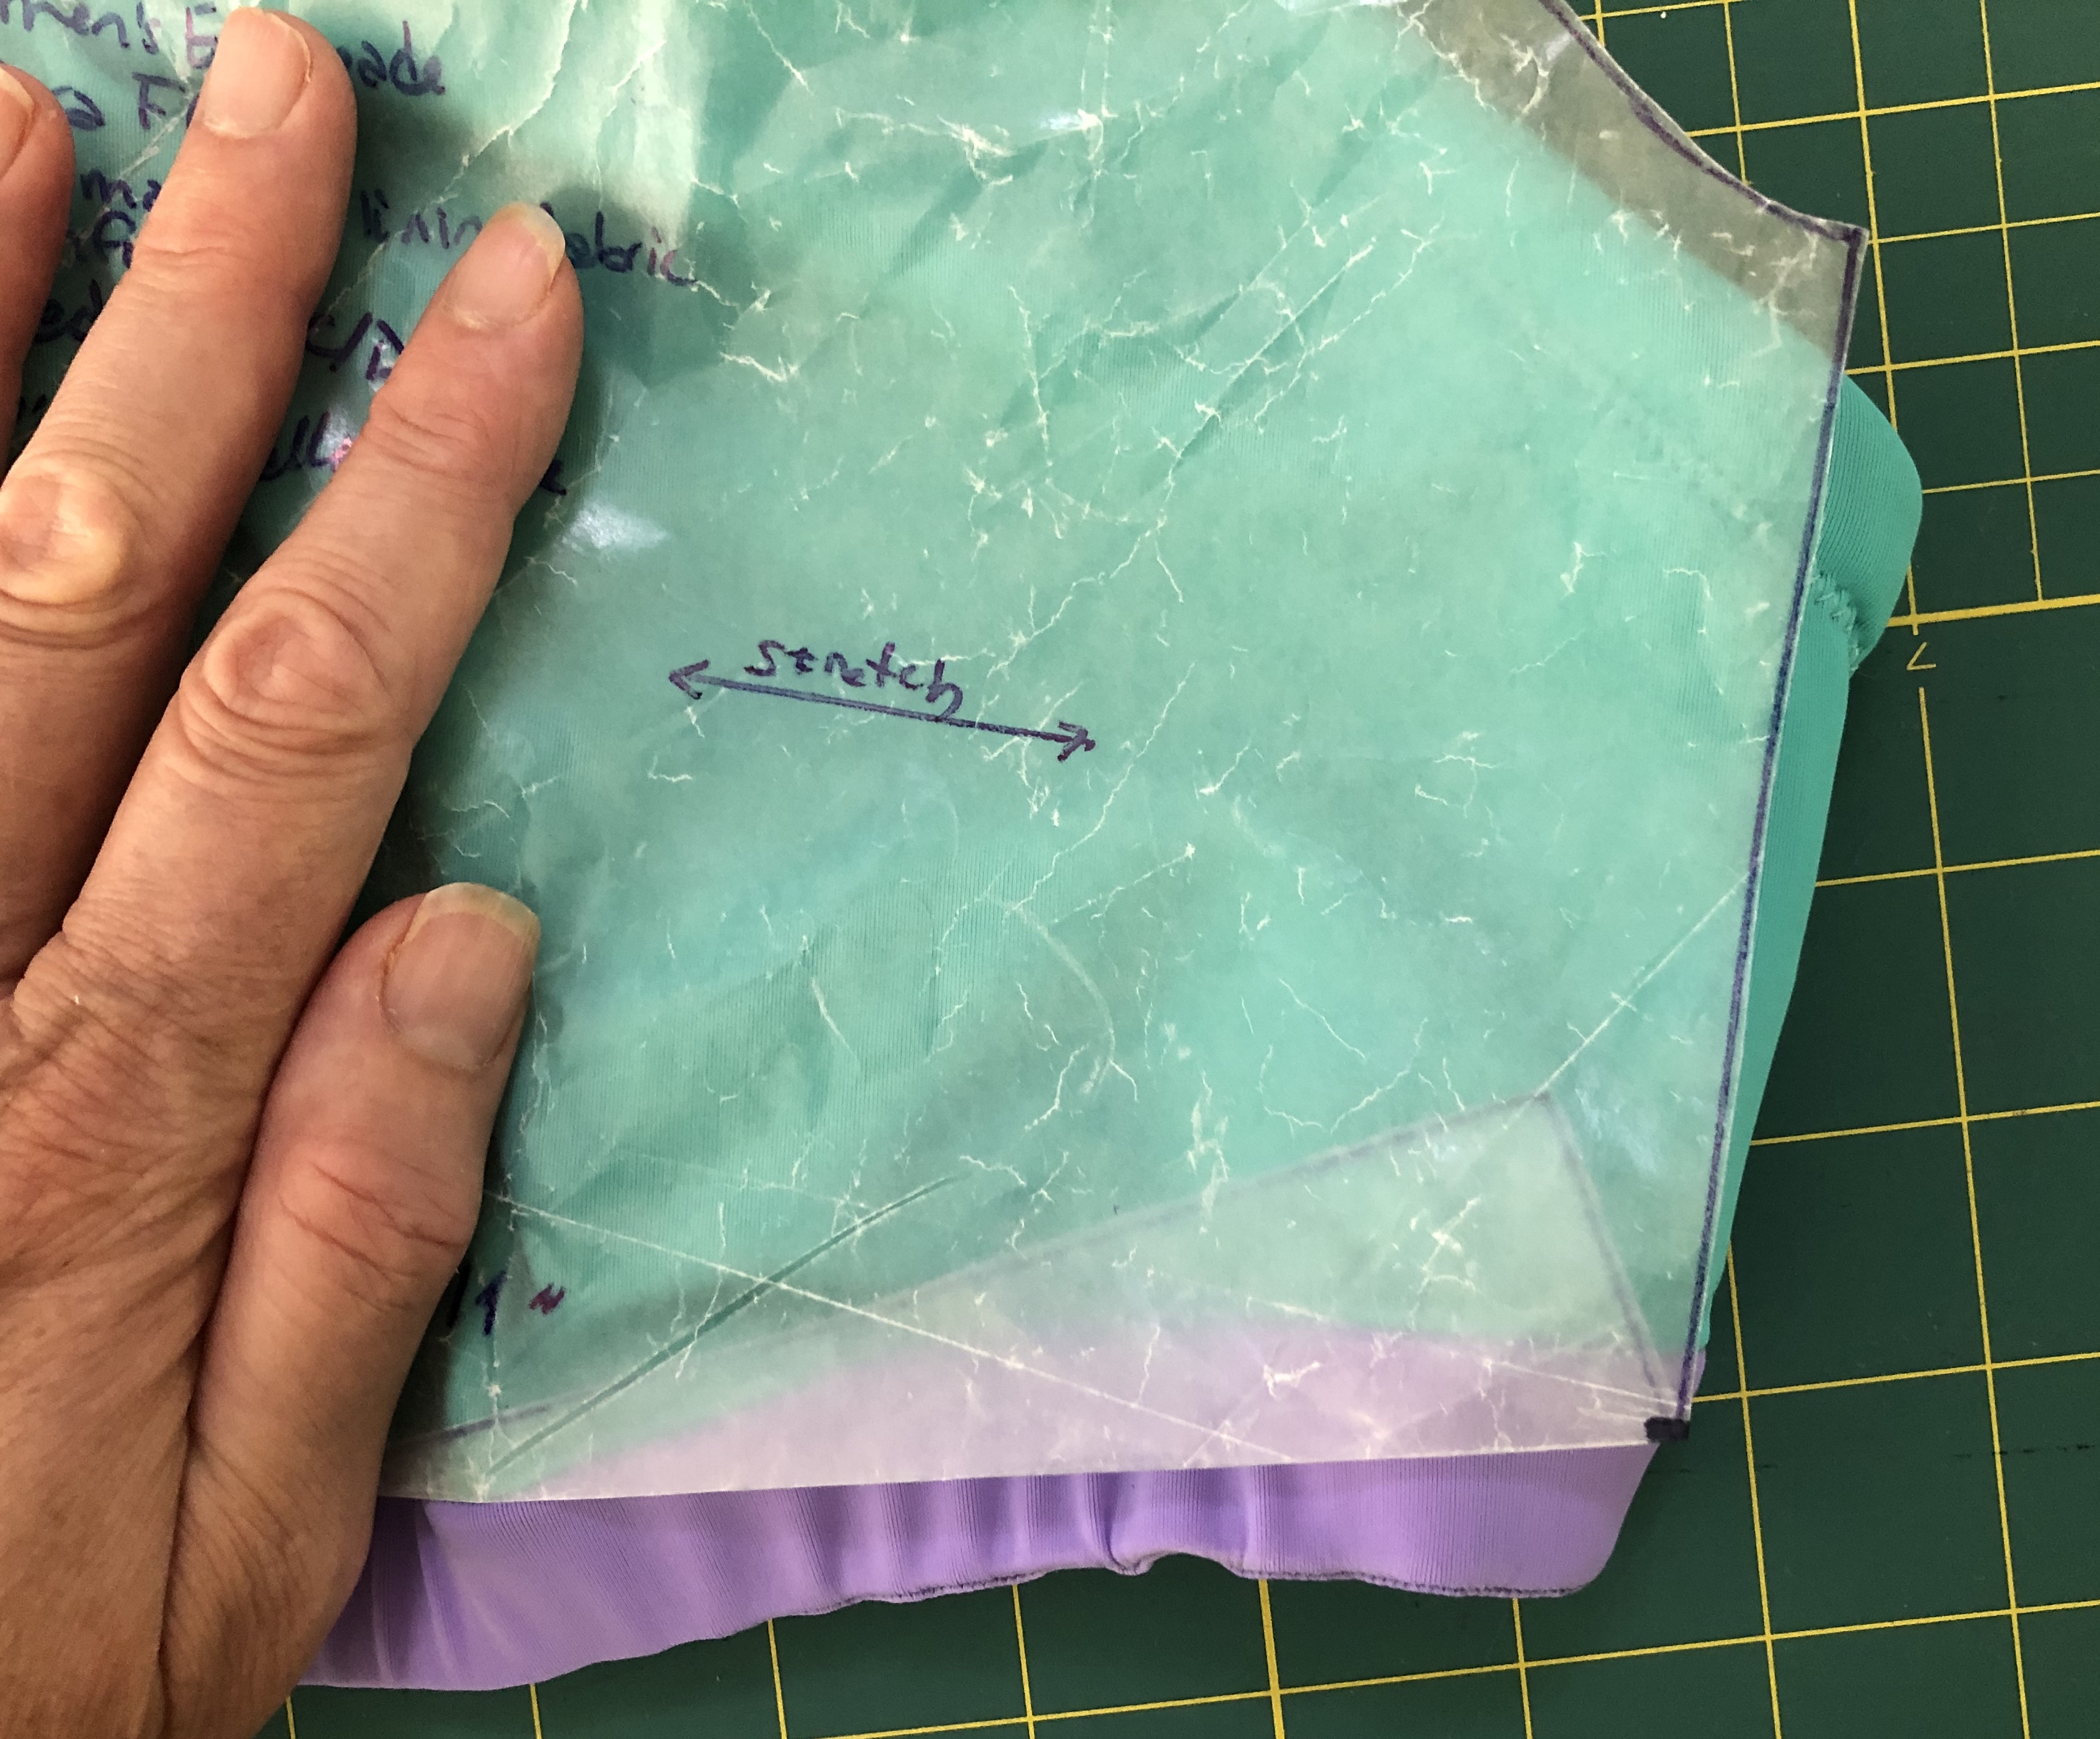
 You need that extra width to make your drawstring casing, and for your skirt to have a little bit of ease. The skirt back should also match the curve of your briefs and have the same extra width. Because I’m tall and have a booty, I added a little extra length to the center back of my skirt, tapering up to the side length. It’s just enough to cover my bum when the skirt isn’t gathered up on the sides. Sew the skirt front and back right sides together with a 1″ seam. Make drawstrings by cutting four 1-1/2″ wide strips of fabric twice as long as the side seam of your skirt. Fold each strip right sides together and using a stretch stitch sew with a 3/8″ seam allowance. Use a safety pin or bodkin to turn the strips right side out.
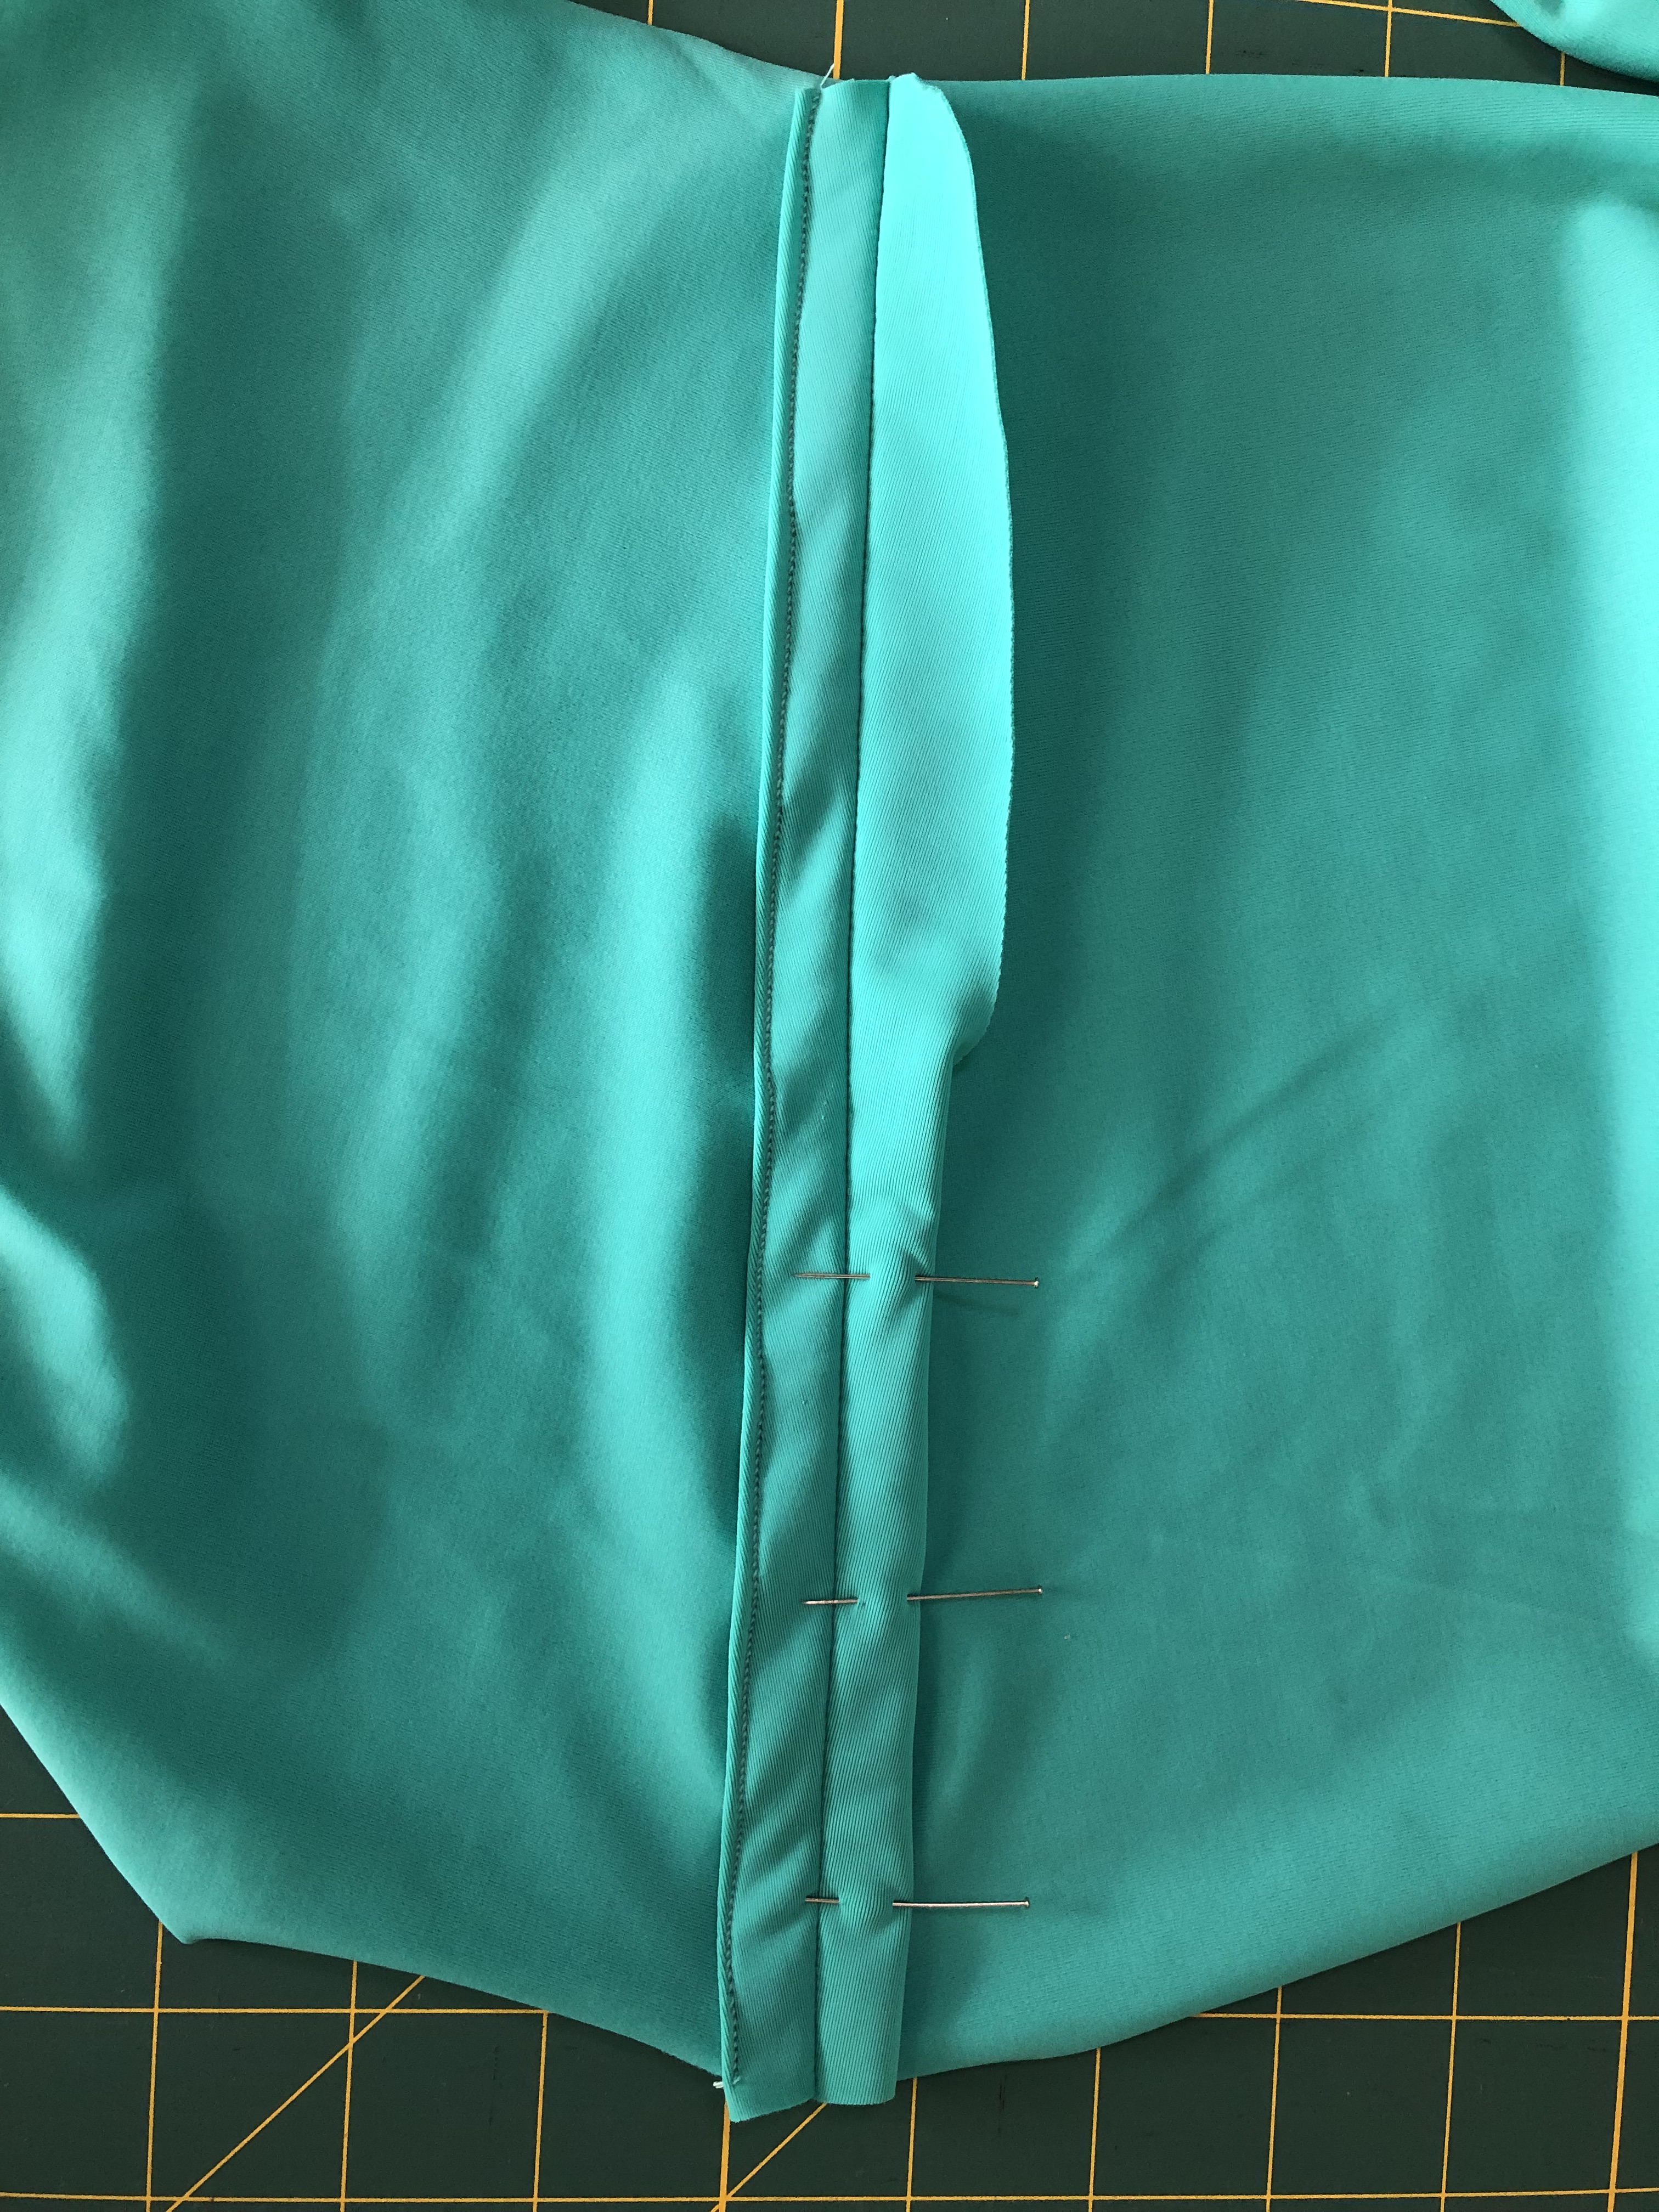 Fold the bottom hem under 1/2″ and use a zig zig or other stretch stitch to hem. On the right side of your skirt, make a small horizontal slit in each casing, about 3/8″ above the hem. Thread a drawstring in each casing and tack the drawstring in place at the top.
 Align the center front, center back, and side seams of your brief and skirt and pin or clip in place. Try it on to ensure everything feels comfortable and lines up nicely. This is your opportunity to trim the rise a little bit if needed for better alignment. Easing the skirt to fit the brief, baste them together. Then sew on your waistband and elastic and you’ve got a new swim skirt!


 You’ll need to poke one side of the back through the narrow space at center back to turn the back right sides out. Then it’s time to sew your side seams. I hate bulky side seams, and with the straps, and elastic, and layers of fabric and powernet the seam could get bulky! So I do it a little differently than you may have seen. Since the front strap casing is folded down at the top front, my normal method of sewing the main front to main back, and lining front to lining back, lining up the top seam isn’t going to work.