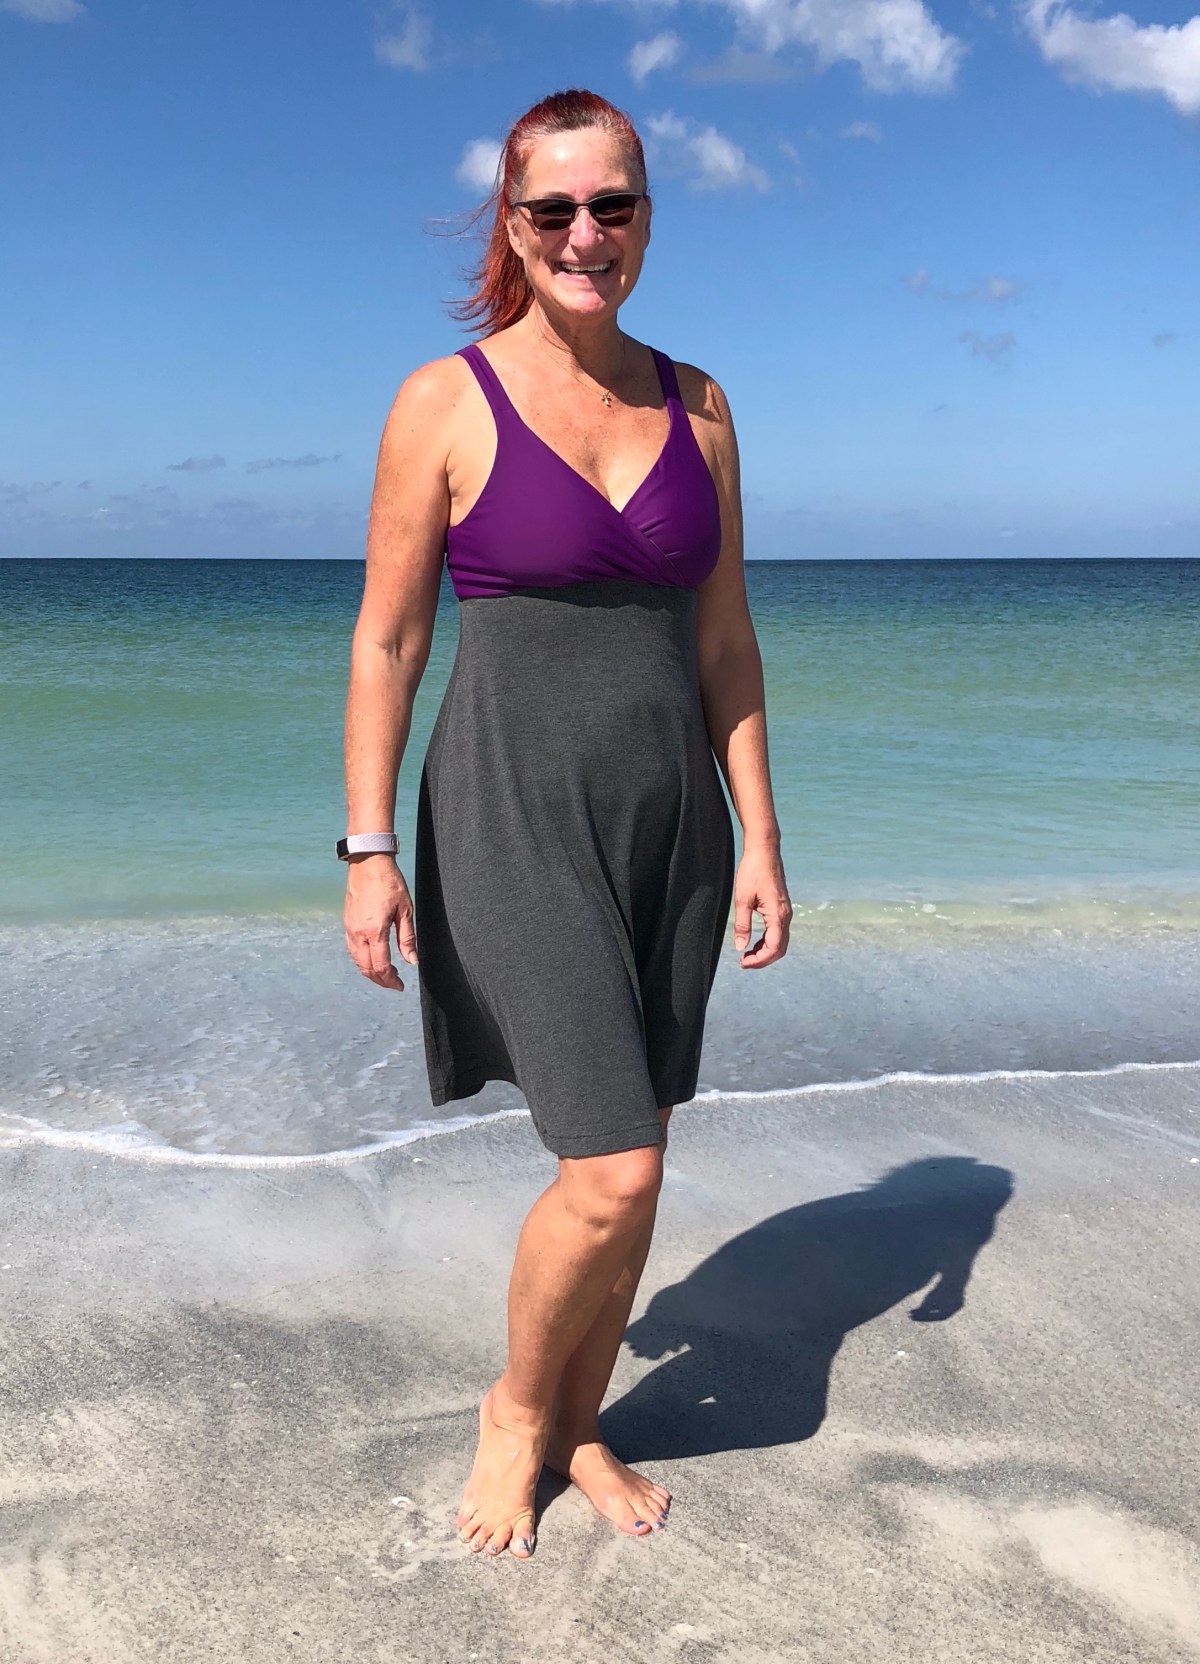
I love the Stitch Upon A Time Brazi pattern. I was so intimidated to try making my own bra that I eyed it for a month before I finally bought the pattern! Since then I’ve made several workout bras for myself, a nursing bra for my daughter and a Brazi dress that I wear all the time. I’ve hacked it for straight straps and removable bra cups and decided, why not mash it with the S.U.A.T. Calista? Once you feel comfortable with a pattern and know the best fabrics to make it with, it is easy to branch out and try something new with it.
 Please note that out of respect for the designers, and protection of their intellectual property, I will not show full pattern pieces. I bought the cross-front add-on when I bought the Brazi pattern because I love the look and knew that it would be the most flattering for my body type. But you can do the straight strap hack on the original pattern. I simply marked my pattern where it curves from cup to strap, and folded it under 1/2″ above that. I folded the back straps under and cut out my modified pattern pieces. I cut four 2″x13″ rectangles out of my fabric as my strap and strap lining pieces.
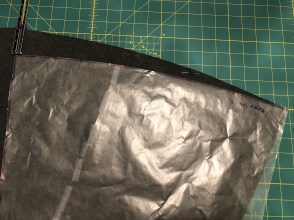
Choosing the perfect fabric is always the fun part of sewing. And using high quality fabric is key when making a supportive and functional bra. I love using Phee Fabrics circular knit, nylon/spandex, and rayon/spandex for my Brazi’s. But the not-so-secret part to  being successful at supporting “the girls” is powernet. And I’m not talking the decorative looking mesh stuff I’ve seen at a national fabric and crafts store. Phee Fabrics powernet is legit! It holds everything where it belongs.
I cut out my pattern pieces using the same fabric for the main and lining pieces and also cut all my pieces out of powernet. I trim the powernet 1/8″ to 1/4″ smaller on all sides except the side seams.

 Pin the trimmed powernet pieces to your lining pieces and baste in place. Do not baste along the side seams! To make the pocket for your bra cups, lay your cups on top of the bra front and mark the height. Sewing a horizontal line across the height mark will keep your cups from shifting out of place.
 Sew your main and lining front pieces right side together. The pattern tutorial recommends using elastic along the front edge of the cups. Using the elastic adds another layer of security if you are concerned about anything showing when you lean forward.

I marked and pinned my back pieces together and left the center 4″ open when I sewed the top seam so that I would have room to insert the straps later.


Open up your front main and lining piece and match it up with your back main and lining. Here’s the tricky part: sew the outer main fabric together, sewing down about an inch into the lining and then sew the bottom inch together. Pull the lining fabric of the bra front out of the seam line and tuck it out of the way as you pin the powernet and back lining pieces together. You may need to use your finger to hold the fabric out of the way as you sew the other 3 layers together. This will give you the opening on the inside of the side seam for you to insert and remove a bra cup.
 Repeat the process with the other side seam. At this point you can follow the pattern directions about matching your center front notches, adjusting strap length, sewing on your bra band or skirt and adding the elastic.
 Since I was adding the Calista skirt to the Brazi top, and the bottom of the two bras are different shapes, I knew that I might need to make some adjustments. You might like the look of the dipped hem my mash produced, but I am kind of old school, and like my hems to be level with the floor. I had an easy fix for my problem.

I laid the skirt pattern on the skirt, pivoted it up from the center front fold to 2″ above the side seams. I flipped the pattern over and repeated the process on the skirt back. I hemmed the skirt and my Brazi/Calista mash-up was complete!
In hindsight, I should have just traced the top curve of the Brazi skirt instead of following the straight edge of the Calista skirt. But since the skirt was already sewn on, and I didn’t feel like seam ripping, cutting the bottom worked. I’ll definitely use the Brazi skirt curve in my future makes!
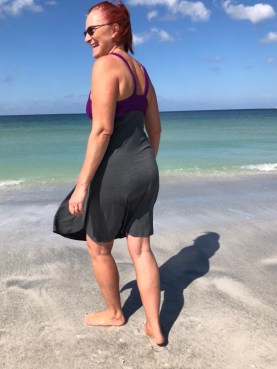
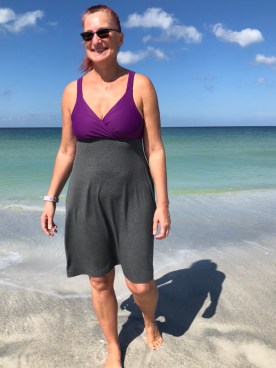
Although I can add bra cups if I want, I wore my new dress all day and took these photos without using any cups. THAT is how well quality powernet works! So hack and mash and sew away! And enjoy wearing your comfortable, personalized creation.
*This post may contain affiliate links. This means that at no extra cost to you, I may receive a small commission if you purchase through my links. As always, I only give my honest opinion. After all, it is my blog, which represents me! Thank you for reading and supporting my love of sewing!