When you go to the gym five days a week, you need a lot of workout wear. My favorite sports bra patterns tend to get hacked into workout tops because if I love it as a bra, I’ll love wearing it as a top too! I couldn’t wait to make the Greenstyle Delphi Bra into a workout top, and doing something simple wasn’t enough of a challenge for me.
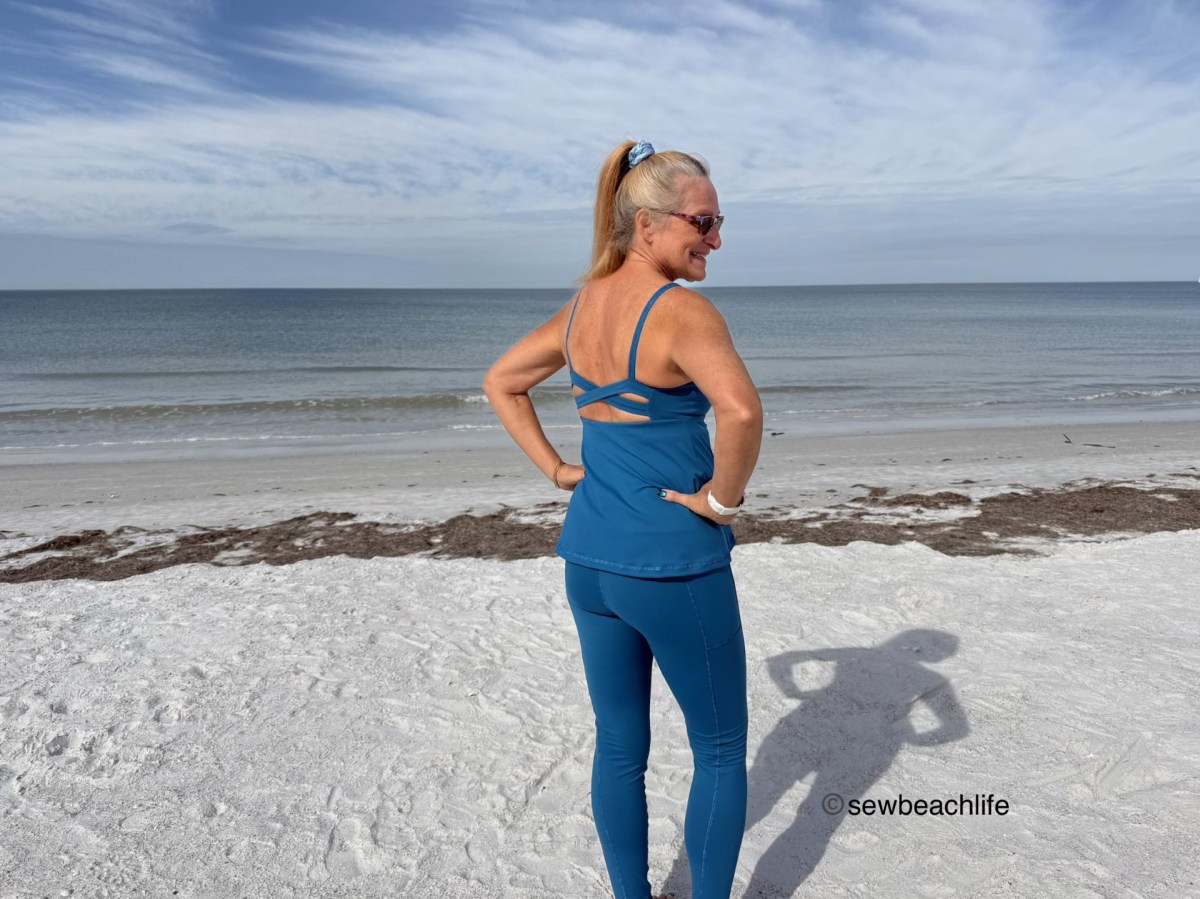
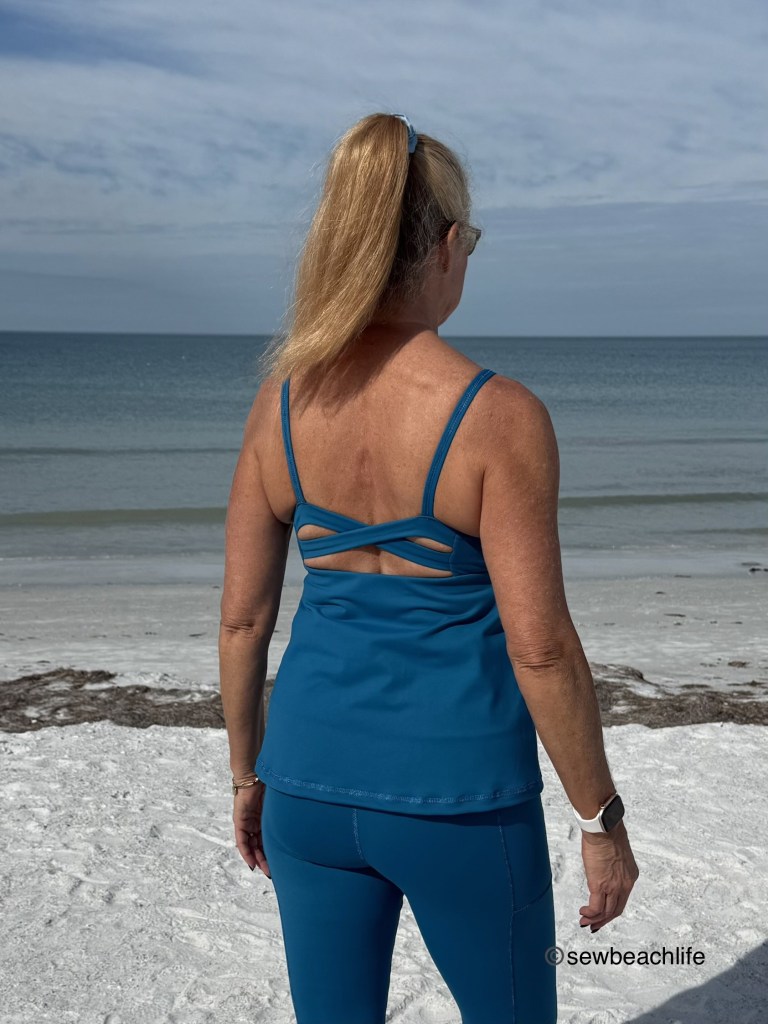
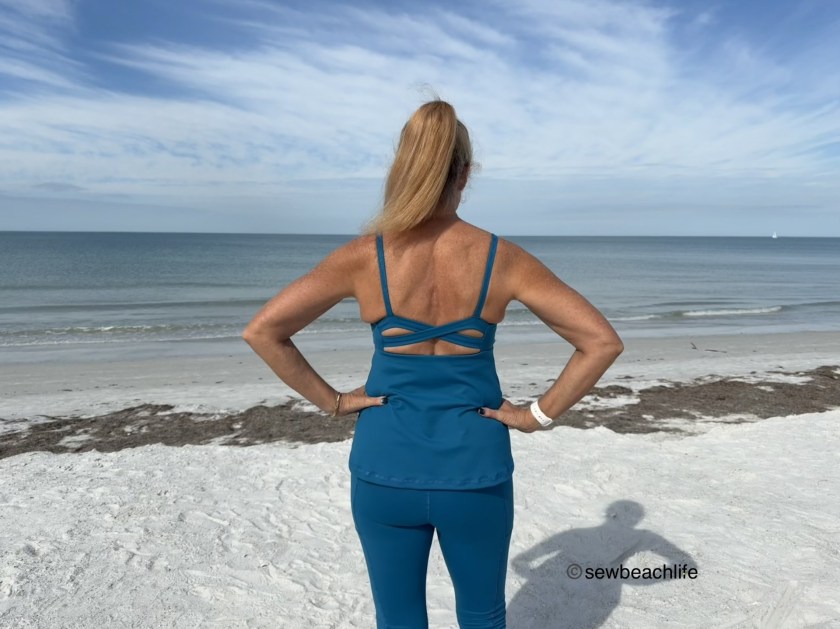
The infinity back on the Delphi is my favorite back option, and I thought it would be fun to make the back infinity straps narrower, with the final back strap width at 1″. So I figured out the strap width, ensuring that when the seam is properly aligned that the back attachment angle would match the original angle, blah, blah, blah. Don’t be like Debora- the pattern is excellent as designed, and it was ridiculous of me to try and over-engineer the back infinity straps. 🙂
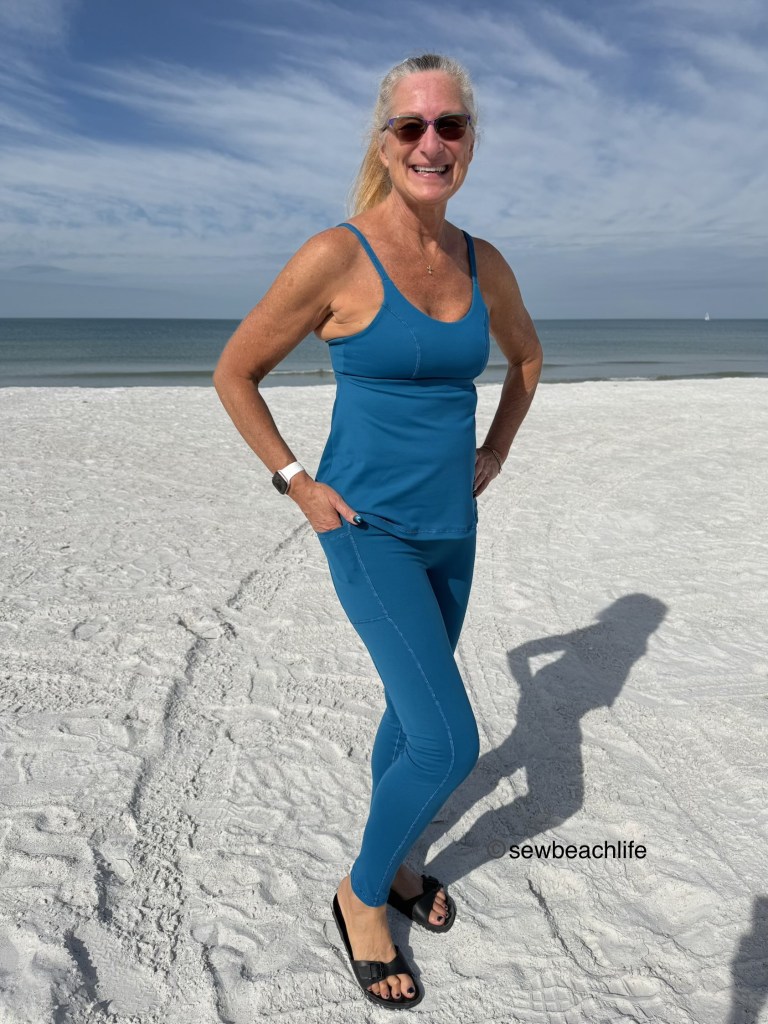
I’ve made numerous workout tops using the Greenstyle Power Sports Bra pattern, and love the front princess seams. So I figured, why not mash the two patterns? The side seams are not the same height, so there was a little bit of adjustment to get them to align. It worked out well to get a fun look in the front and the back, and it gave me more seam lines to reverse triple coverstitch.

Since I make so many workout tops, I had front and back bodice pieces already saved in my Power Sports Bra pattern envelope. (I use 14″ x 18″ manilla jumbo catalog envelopes to store all my .pdf patterns, and they work great. The larger size means that my pattern pieces don’t have to be folded as much.) I’m not sure whether I originally used the bottom of the Staple Tank or Cami Tank to make the bodice, but honestly, whatever tank top pattern fits you well can be used as to get the shape.
I wanted to narrow and shorten my previously traced bodice pieces, so I grabbed my Bobby Brami pattern and went sort of halfway between the two different lengths and widths, as I didn’t want it quite as short and fitted as my Bobby Brami tops. Looking at my photos though, I may have gone a bit too narrow at the ribs, and not quite fitted enough at the waist and hips. I can always take it in a bit later.
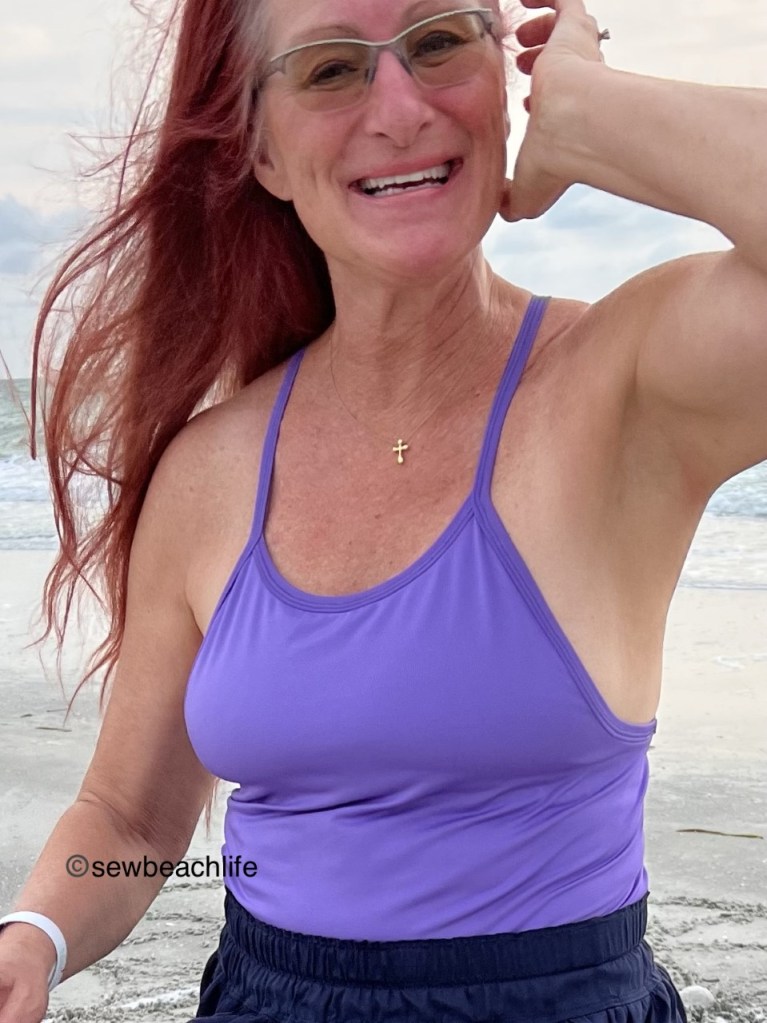
I wanted a super clean finish where the bodice attached to the bra so that the infinity back really stands out. A bra obviously needs a band for compression and support, but I kept it hidden.
For reference, I make a size C1 Delphi Bra, which is where my measurements put me according to the new size chart. My underbust measurement is 30.5″, and I generally use 24″ of 1″ wide knit elastic from Wawak in my bra bands. That’s what feels comfortably snug to me.
To figure out the length you need, wrap your elastic around you under the bust, pulling it as taut as feels comfortable to you, add .5″ for overlap, and cut your elastic and band to that length. Make your band 2.25″ high. This allows you 1″ for the elastic, 1″ to fold it up, and a quarter inch seam allowance to attach it to the bra and bodice. Assemble the bra as per the pattern tutorial, stopping at the point where you would add the band. Sew the bodice front and back together, and hem the bottom. Sew the short ends of the band together, forming a loop and mark the quarter points. Overlap the ends of the elastic and zig zag together forming a loop and mark the quarter points with a pencil. Align the quarter points of the band and elastic, and serge the elastic to the bottom edge of the wrong side of the band.
Take a look at the back band pattern piece of the Delphi Bra, and measure the distance between the two notches. (On my size, that’s around 7.5″) Use a piece of tailor’s chalk or pins to mark this measurement, centering it on what will be the back of your band.

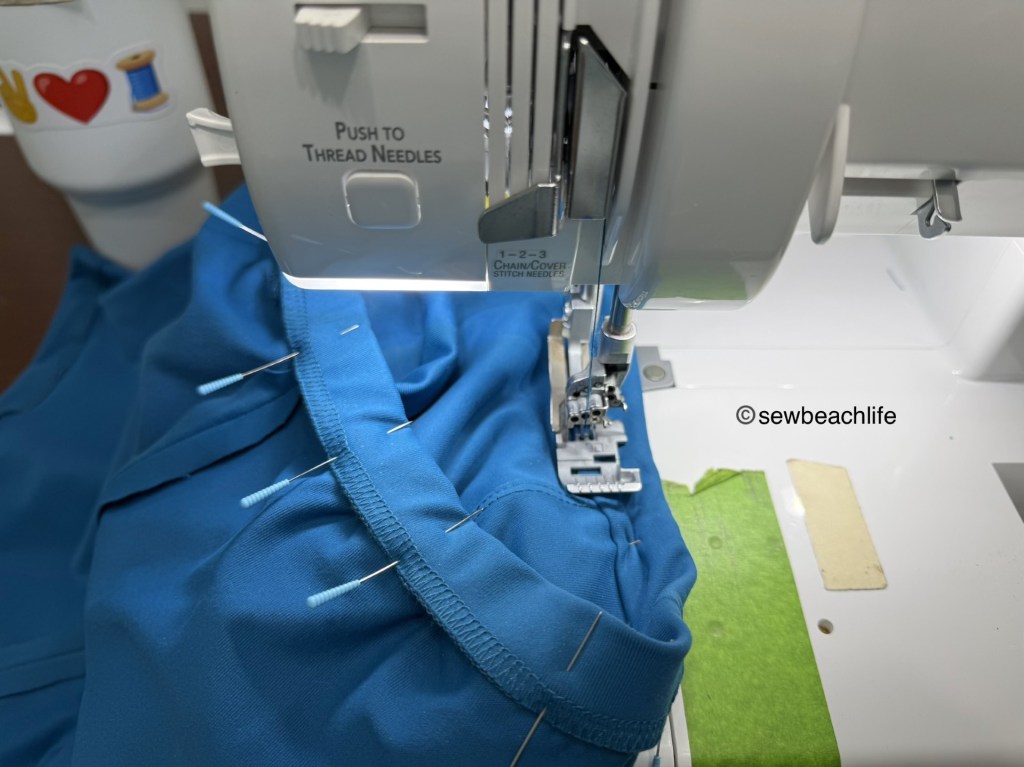
The next part seems tricky, but it’s really not. It’s more a matter of aligning and pinning. 🙂 To sew the band, bra, and bodice together, align the raw edges in this order: right side of band against wrong side of bra. Align the finished back edges of the bra back with the previously made tailor’s chalk marks. Align the center fronts, as well as the side seams and quarter points. Then align the right side of the bodice with the right side of the bra, matching the quarter points. The bra will be sandwiched between the band and bodice. Pin all around and baste all the layers together. Looking at the photo above see how there’s only two layers of fabric where I’m sewing? That’s the band and bodice at the infinity back opening. Near the bottom of the photo you can see the bra sandwiched in there. Having everything basted together will make it easier to serge the seam. You may want to use a hump jumper when you go from two layers of fabric to four.
Get the bra and bodice out of the way, fold the band up so that the elastic is hidden, and pin in place covering but not overhanging the seam allowance. Coverstitch (or topstitch with a stretch stitch or double needle) to complete the band. Press your completed top with your iron set at an appropriate temperature for your fabric.
This is the second pair of Sinclair Patterns Glide Leggings that I’ve made. I love that they have pockets and a gusset. It’s nice that they have tall files as well as regular and petite. These are a size 10 tall, and they actually may be about a half inch too long. To see the first pair I made in black supplex, see the previous post. I wore them on my trips to and from Michigan last month. They were comfortable during the flights, long layovers, and walking around in airports.
I have strong (large?) calf muscles from growing up on skates, and graded out a little bit for the calves. I’m thinking about adding maybe another quarter inch of width there.
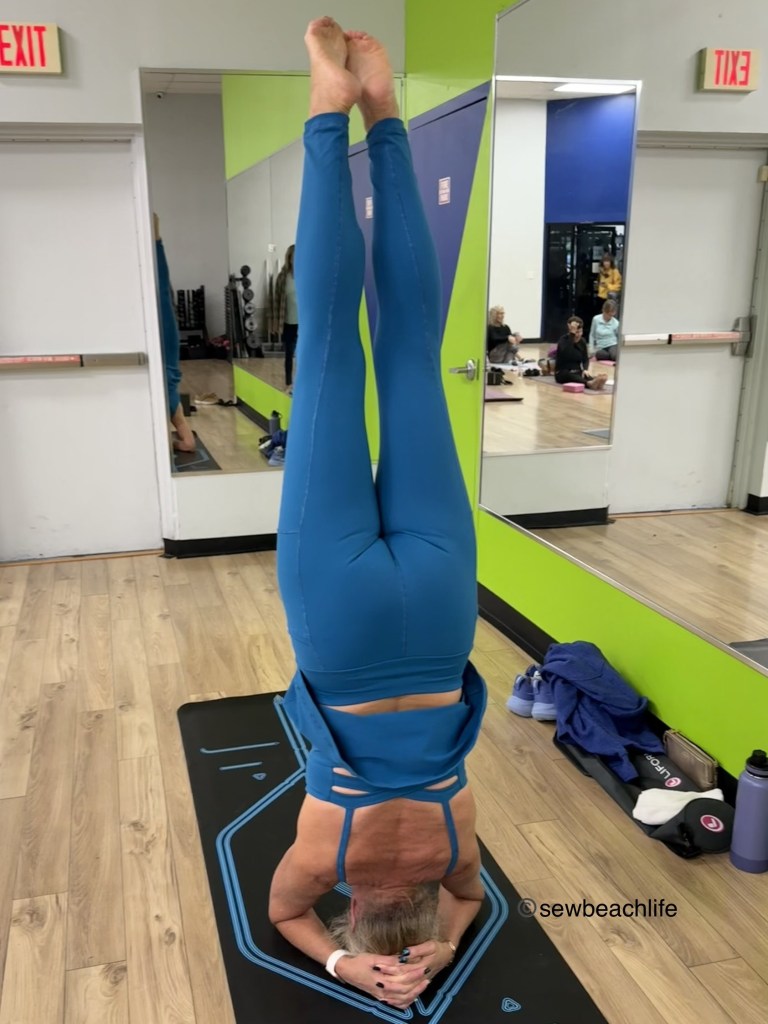
I wore my new workout outfit to Dance Fitness Fusion class and received a couple compliments. Dance class is followed by yoga class, and I had time to play around and asked someone to take a few photos of my headstand.
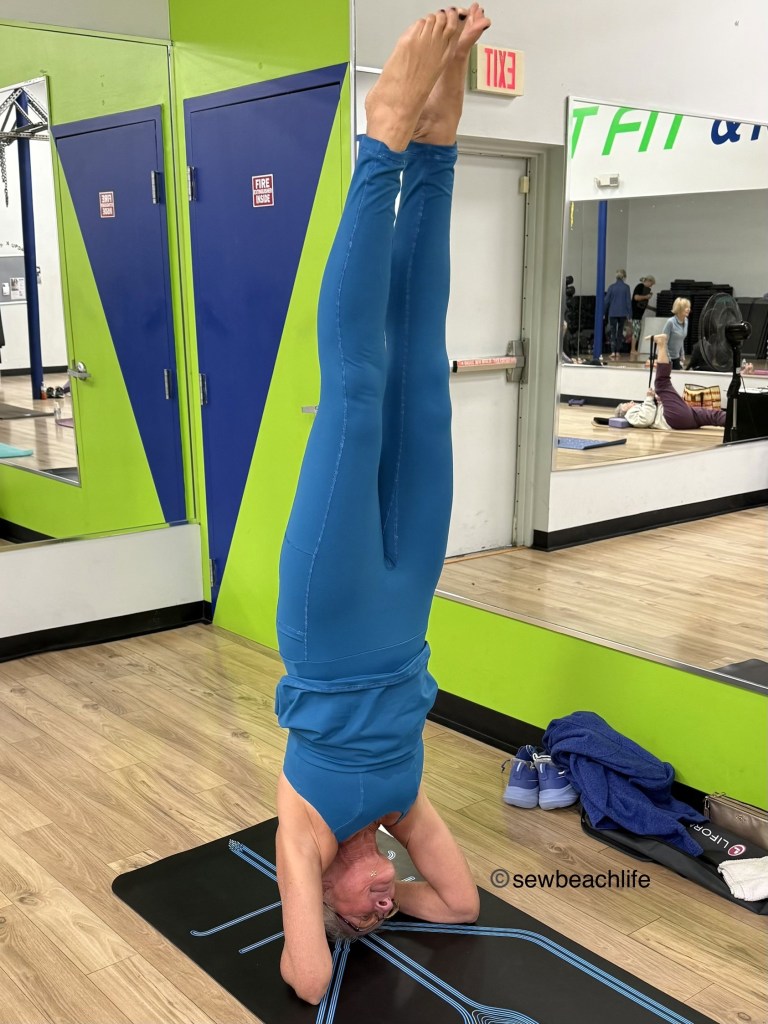
My outfit was reverse triple coverstitched using Superior Threads Fantastico variegated thread #5028 Peacock Plume in the looper. The trickiest seam to complete is that inner leg seam. You’ve just got to remember to go in from the waist (it helps to do it before adding the waistband), scrunch one leg up like you’re putting on pantyhose, and start sewing from the hem of that leg, all the way up to the crotch, continuing down the other leg, pausing to scrunch further and further down the leg to the hem. It’s time consuming, but doable.
The details:
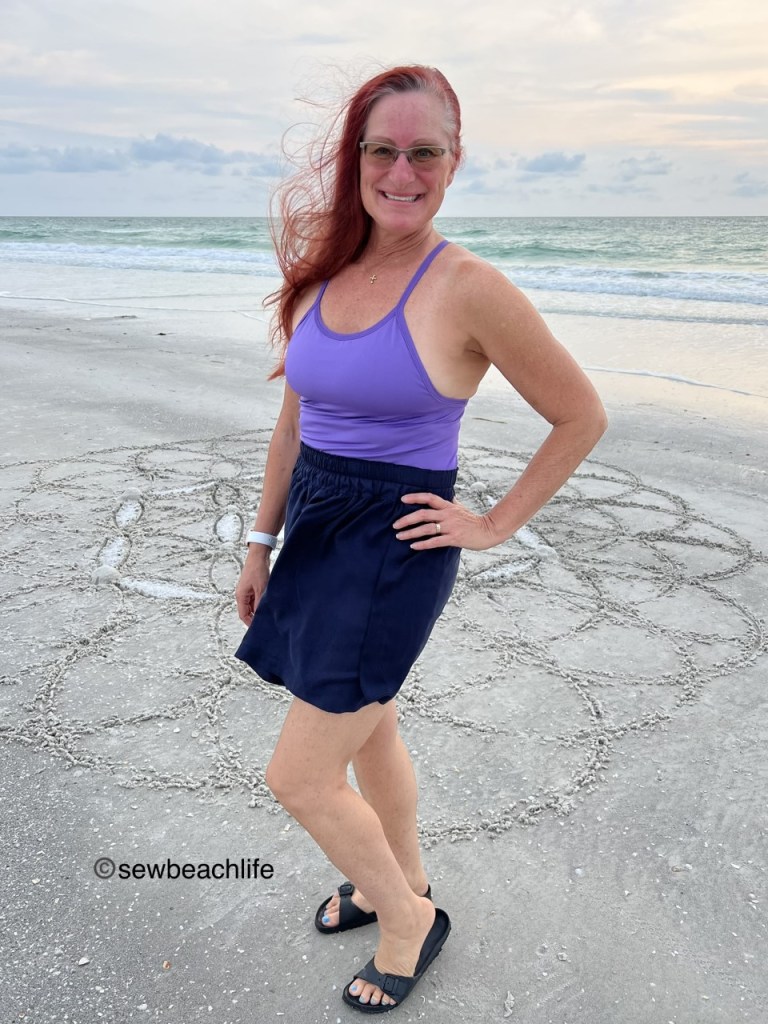
For the top I mashed the Power Sports Bra, Delphi Sports Bra, Cami Tank, and Bobby Brami by Greenstyle Patterns. The bottoms are Glide Leggings by Sinclair Patterns. By playing pattern tetris, I was able to fit all pieces on less than two yards of Greenstyle Align 2 in a teal color. This particular color is no longer available, but I love Align 2 because it is a nylon/spandex blend. I avoid polyester fabrics. I love having a new workout outfit to add to my rotation! Am I likely to make another Delphi Bra workout top? Absolutely!
Thank you for reading and sharing my love of patterns, sewing, fabric, thread, and cute workout wear. The links to GreenStyle may be affiliate links (if I did them properly!) which means that I may earn a few pennies if you use my links without it costing you anything extra. Since this is my blog and represents me, I always give my honest opinion about any patterns, fabric, or supplies that I talk about. I do like knowing whether the time I spend writing posts actually interests people enough that they take a look at the patterns I review, but I write for me. It’s one more creative pursuit that I hope is helpful or interesting to others. I write to share my love of sewing and to encourage others to love it as much as I do! ❤