I love pattern testing in the spring and summer, because I love summer clothes! This makes sense since I live in Florida, which has about eleven months of summer, and a month or so of cooler temperatures. 😉 Patterns that have multiple options mean I can make multiple looks with one pattern. I could have gone for the simple scoop or V-neck tops, but I gravitated to the cross-front tops.
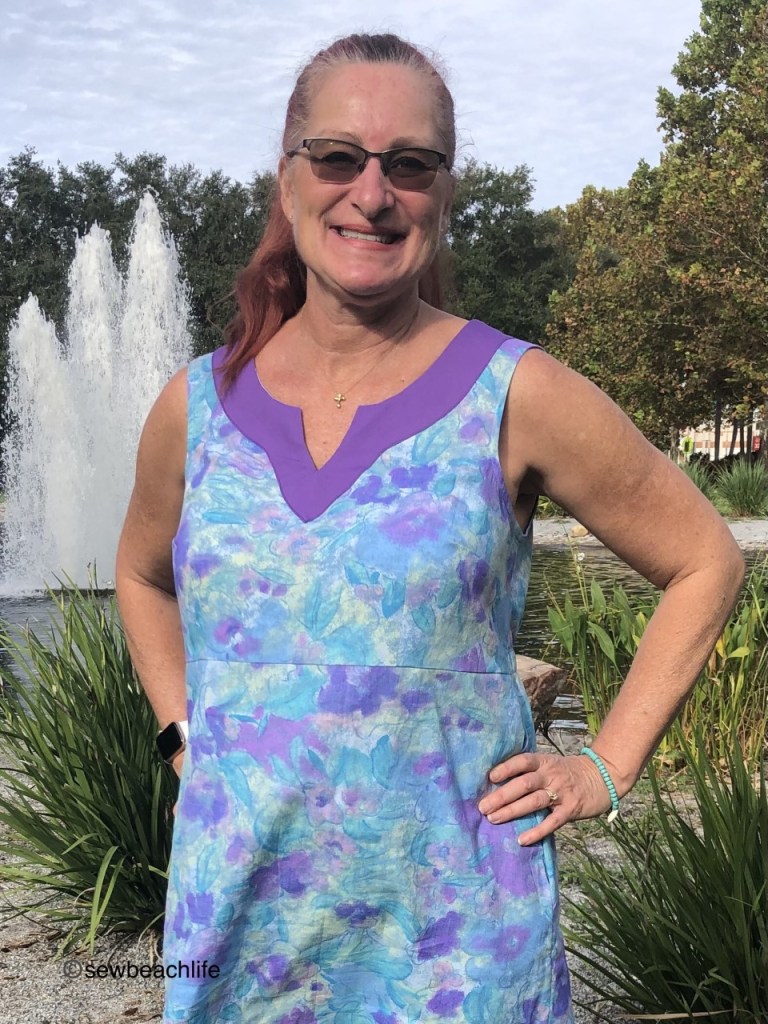
Cross-front tops are such a fun, flattering look if they fit well. It’s important that the cross-over doesn’t cut across the bust, but rather, falls below it. Yet the cross-over needs to be high enough to cover your bra. I want to look a little sexy, but don’t want super revealing clothes. This can be a tricky balance, especially if you have a smaller ribcage and shoulders, but a larger bust size. Thankfully, the Max Crop, Top, and Dress patterns includes regular and FBA cross-over pieces.

Testing for designers that listen to feedback from the testers, and make changes accordingly gives me more confidence in their skills. Yeah, they may have made samples, and done some pre-testing, but nobody is going to come up with a “perfect” pattern that fits every unique body. And something that works in theory, may need a little bit of tweaking in the real world. I’m not saying that designers should change everything about their designs, but if a similar issue is noted by several people, it’s probably worth taking a look at.
That being said, it’s important to be a good tester. Take accurate measurements so that you can choose the proper size. Use fabric with the correct stretch requirements (if garment is for knits) and drape/weight (for knit or woven patterns). Be honest in your fit assessments. This doesn’t mean rude or demanding, because hey, the designer is a human being, worthy of respect and kindness. It just means pointing out any and all areas of concern in an appropriate manner. For example, explaining that your shoulders slope more or less than the pattern; or that the bust is too tight/loose/low/high, etc., but the waist fits perfectly. It’s important to take good fit photos so that the designer can see whether the side seams are vertical, whether it’s pulling to the front or back, how the shoulders and sleeves fit, etc. Every body is unique, and though we may fall into the same size, even if sewn exactly per directions, the garment may look different on you than it does on me. The best a designer can do (when designing for a mass market) is get the best possible look on the most bodies in each size range.
That’s why it’s important, (and something you’ll learn as you sew and grow) to know your body. For instance, my shoulders slope a bit, and I am longer than average from shoulder to bust point. Some designers use a more sloped shoulder seam than others, but when I see a shoulder seam that’s nearly square, I automatically know that I’m going to have to increase the slope by raising the seam at the neck edge. If I just angled down from the original shoulder point to the shoulder edge, then the armscye won’t be deep enough for me, and the garment is going to cut into my armpits. This fit issue is way more common than you’d think. It’s worth the time to make tiny tweaks to a pattern so that it fits your body.
The Stitch Upon A Time Max has sleeve options ranging from cap sleeves, short sleeves, mid sleeves, to long sleeves. It doesn’t however, have a sleeveless option. When you live in a tropical climate, sleeveless is a favorite choice, and it’s not hard to hack to be sleeveless. You can do this to your pattern piece, but if you think you may want to use your pattern for a sleeved version later, it’s easy enough to do to with your garment already cut and sewn. Simply make marks around the armscye 1/2″ in from the raw edge. Trim off that 1/2″ of extra fabric.

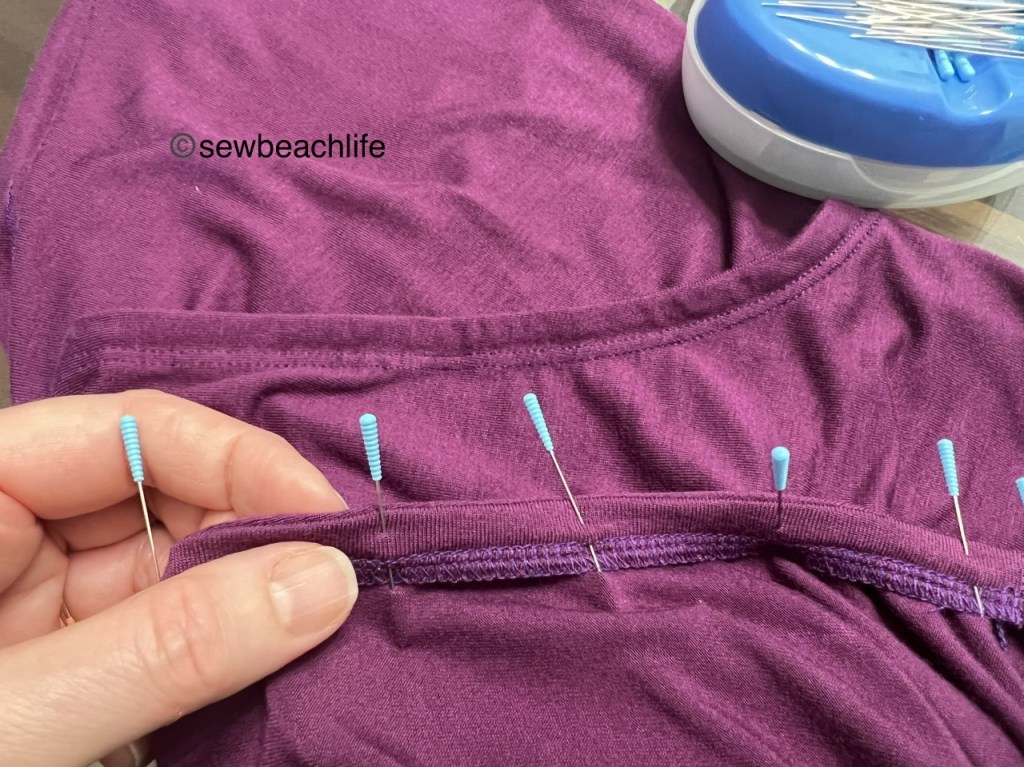
I chose to finish my sleeveless looks with a faux facing. First, measure the new edge of your armscye and multiply that number by .95. I know that sounds weird, since bands and bindings are generally 87.5% of a raw opening. But keep in mind that this pattern was designed for sleeves, which have a much closer fitting armscye that doesn’t need to be “brought in”. The faux facing is just to keep the opening from stretching out of shape. Cut two strips of fabric 7/8″ high, with a width of 95% of the length of your armscye. (In other words, cut the strips so the greatest stretch of the fabric will be going around the opening.)
Using a four thread overlock with a stitch width of M, stitch length of 2, and the differential up to 1.3, serge along one long edge of each strip. Sew the short ends of each strip together with a 1/4″ seam allowance, and mark the quarter points of the raw edge. Mark the quarter points of each armscye and pin the facing to the armscye, only slightly stretching the facing to fit. Add additional pins as needed, then serge, right sides together with the same settings as above, using a 1/4″ seam allowance. Fold the seam allowance to the inside, slightly rolling it so that the facing will be completely hidden, and pin the facing in place. Then coverstitch from the right side.
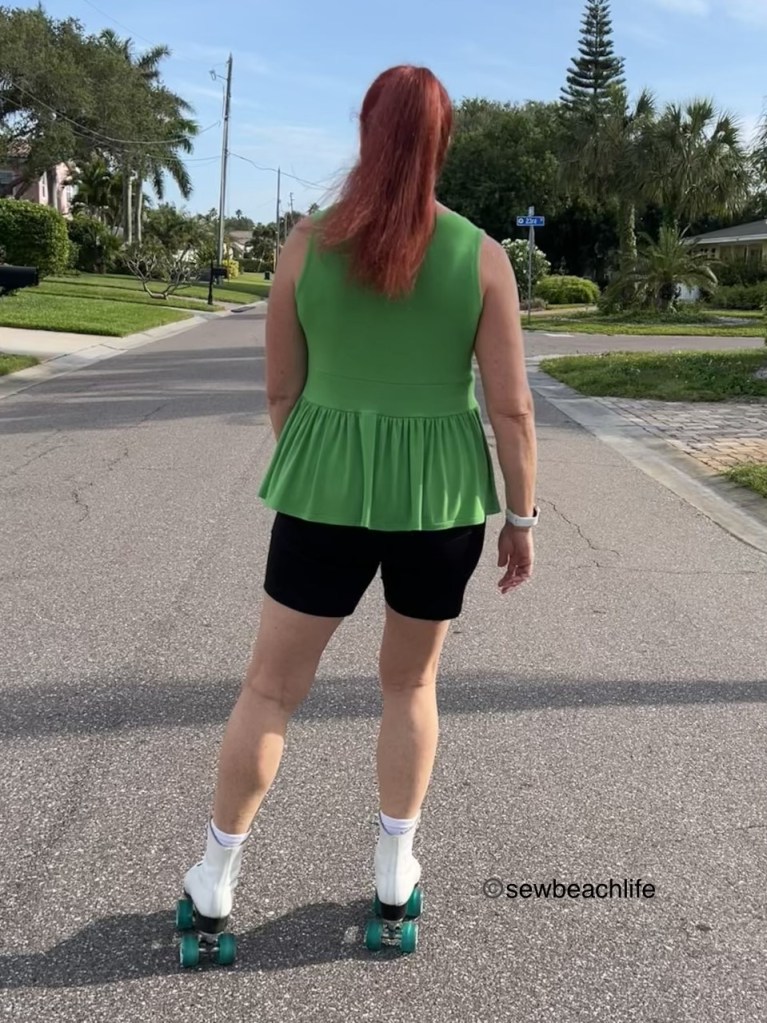
One of my favorite looks from the pattern was the cross-front ruffle crop top. But I’m not comfortable wearing cropped length tops. And the height of the waistband piece was a bit too long on my body, looking more like a dropped waist. So I decided to shorten the waistband height so it would end at my natural waist. Then I added length to the ruffle so that it would fall at my high hip, rather than be a crop top. Of course I also made it sleeveless #becauseflorida, and it turned out so cute!
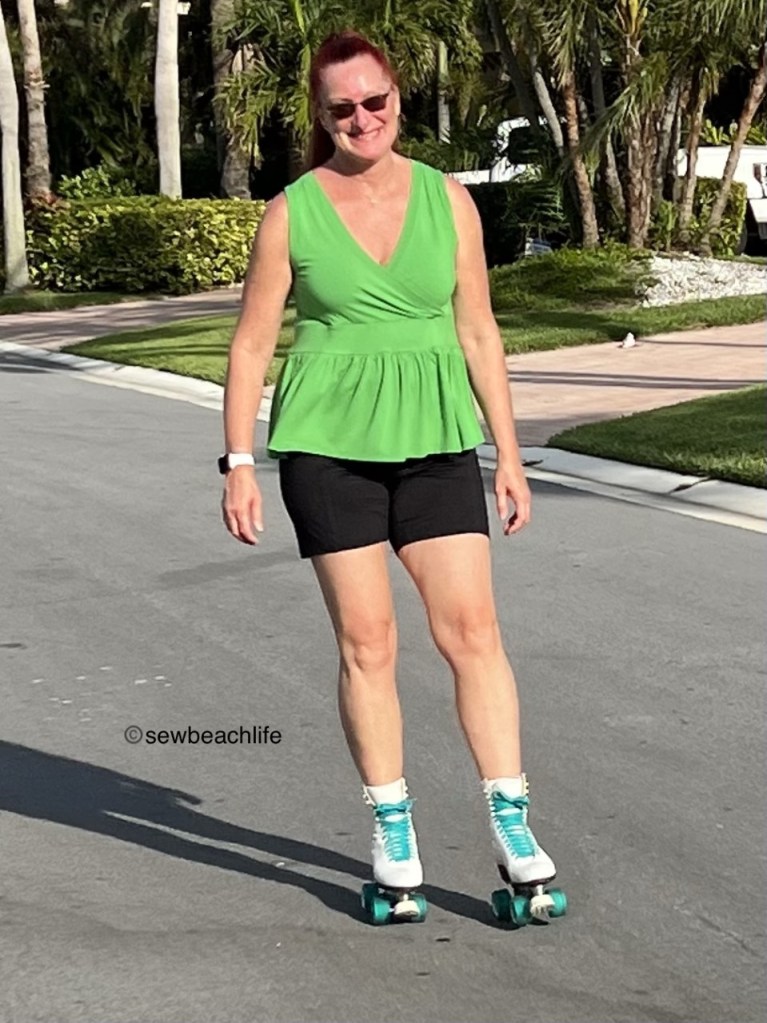
Besides yoga, skating is my favorite exercise. It’s great cardio, burns plenty of calories, and is just so fun! My neighborhood doesn’t have sidewalks except for out at a main road with busy traffic. So everyone walks, runs, rides bikes, or skates in the street. My skating route is determined by which streets have newer asphalt, and are therefore smoother to skate on. 🙂

My husband usually rides his bike while I skate. He did a good job of snapping photos while riding! He keeps commenting on how fast I skate lately. I think I’ve gained confidence in skating on rough outdoor surfaces after only having (mostly) skated indoors on a smooth maple wood floor at the skating rink I grew up in. Although I recall skating in more than a few outdoor parades back in the day, the parade pace was definitely slow. I had forgotten how freeing it feels to have the wind in your face, listening to music and flying along like I used to fly around the rink as a child and teen.

The back view of the Max top is just as good as the front. It’s such a nice, smooth fit. I’m quite pleased with the bodice shaping on these tops. Adjusting the shoulder slope to fit my body means the back lays smooth with no wrinkles or pulling.
My next hack idea is to add a skirt to the cross front bodice without adding the waistband. I think it would look super cute too, although I’d probably serge clear elastic into the seam line when attaching the skirt to help keep it pulled in against the weight of a longer skirt. And perhaps a tiered skirt… Ah, so many ideas swirling in my head with this cute pattern! Which I guess sums up my feelings about the pattern. It’s a great base pattern with so many options, from simple V-neck or scoop neck, to cross-front, with cap, short, half or long sleeves. (Although it’s obviously easy to hack into sleeveless) 🙂 With lengths from crop, top, and ruffle crop, to dress.
Obviously I need more fabric to try all my pattern hack ideas!
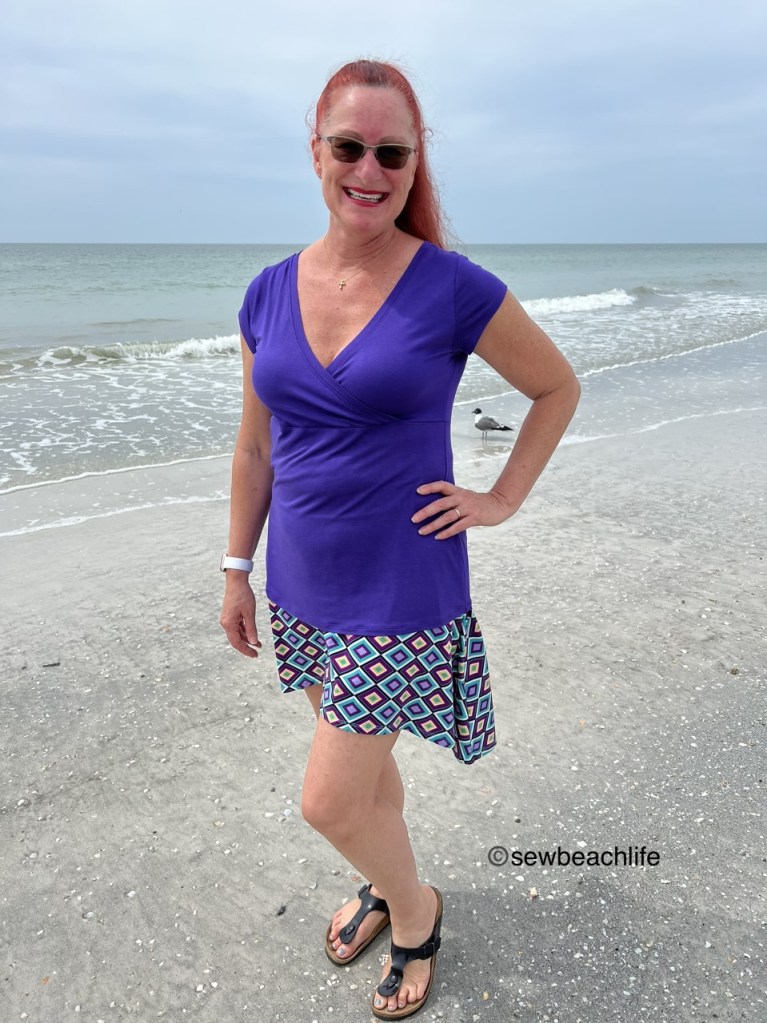
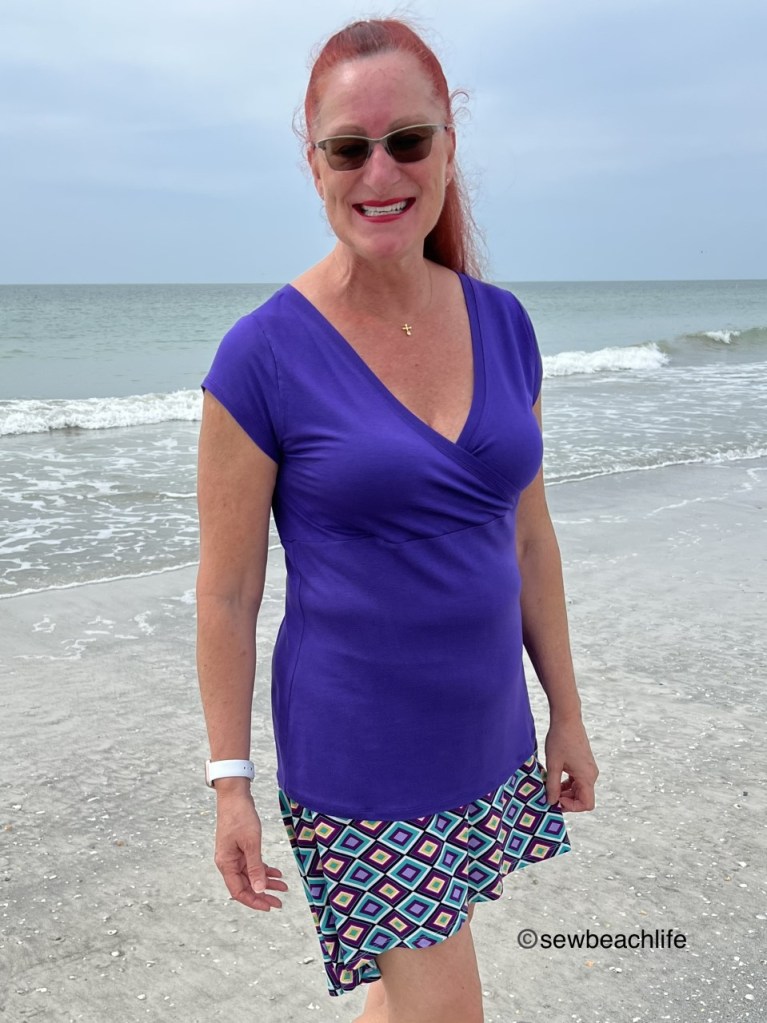
The details: The Max Crop, Top and Dress pattern from Stitch Upon A Time includes sizes XXS-6X. For reference, my hacked green ruffle crop top is size Large, using the Large FBA bodice. My purple cross-front top is a blend of Medium and Large FBA bodice with size Large lower top. The purple top is worn with the Treasure Hunt Skirt, which is blogged about here.
The lime green (and plum shown in my sleeveless hack photos) rayon spandex was purchased from Phee Fabrics. The purple rayon spandex is a lighter weight from my stash. It was probably purchased at JoAnn Fabrics years ago. Can you tell that I love bright, fun colors?
Thank you for reading and sharing my love of creating, sewing, patterns, pattern hacking, fabric, and making beautiful, well-fitting garments! ❤
The links to Stitch Upon A Time may be affiliate links, which means that at no extra cost to you, I may receive a few pennies if you purchase through my link. As always, I only give my honest opinion. After all, it is my blog, which represents me!