
I was lucky enough to be one of the GreenStyle Power Sports Bra pattern testers. As soon as I made my first Power Sports Bra, I knew that I was eventually going to hack it into a workout top. I like pattern testing. It gives you a chance to try a new pattern, give your feedback on the fit, construction, and pattern directions. At the end you get to show off your beautiful creations, so you feel like a model wearing something that you made. I like the fit, style and multiple options on the pattern, and knew that it would make a cute workout top!
I used gray Supplex from Phee Fabrics for the bra portion of my top. Since the bra needs to be comfortable, supportive, and able to withstand sweaty workouts, your fabric needs to be moisture wicking with good stability and excellent recovery. Supplex is my go-to fabric for workout wear. I used tricot for the body portion and straps because it comes in fun colors, and is also moisture wicking and abrasion resistant. It is important to use powernet when making a bra. The support and smoothing provided by powernet is, in my mind, essential to achieving a high quality finished product. An added bonus is that I don’t have to use bra cups when I use powernet! It’s that good at keeping “the girls” in place.
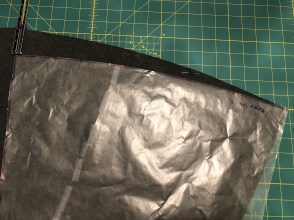
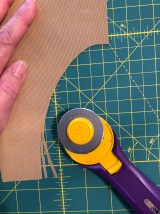
Omitting the band, I cut out my bra per pattern directions, as well as cutting a layer of powernet for all the bra pieces. I trim the powernet about 1/8″ smaller on all sides (which is much easier if you have a rotary cutter). Doing this will cut down on the bulk in your seams. I then baste the powernet to my lining pieces, and treat them as one piece moving forward.
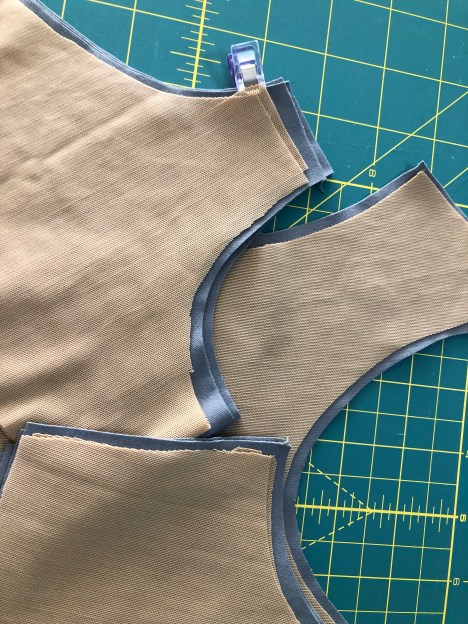 Other than the straps, I sewed the bra together per pattern instructions. While I love the look of the double straps, they are more time consuming to construct. So I still cut out four strap pieces, but used them flat (as main fabric and lining fabric) rather than as double straps sewn to each shoulder. I used powernet in my straps rather than adding elastic.
 Once you’ve sewn your main and lining pieces together along the top, try the bra on, adjust the straps to length, then push the straps through the openings and stitch.
 To avoid bulk, be sure to trim the seam allowances at the back strap openings on an angle before turning the bra right side out. It’s important to press as you sew. It helps everything lay more smoothly, and gives your projects a more professional finish. See the difference pressing makes between the left and right straps in the photo below?

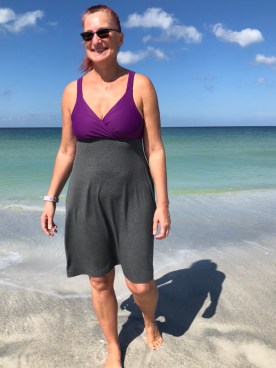
Now you’re at the part where you would normally add the band, but are instead going to make it a workout top. I used the GreenStyle Lille Tank as the tank portion of my workout top.
I literally used a Lille tank that I had made previously, but never wear because I didn’t do a good job on the binding. Since it was just taking up space in my workout wear drawer, I decided to upcycle it by cutting the top straight across below the arm openings. The extra length gave me the opportunity to add ruching to the sides.
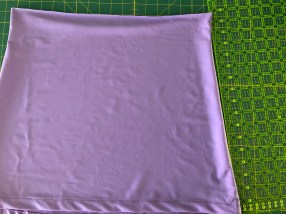 The Lille body was wider than my bra. If I were making the body out of Supplex, and wanted it more fitted, I would have slimmed the top of the body a bit. Since I was going for a drapier fit with ruching, I just matched up my quarter points and eased the body to fit the bra.
 I could have added a band with elastic on the inside at this point, but wanted to try something else. I used 3/8″ swim elastic cut to fit me at the snug yet comfortable length (just like you would trial fit the wider elastic in the band). I overlapped the elastic and stitched it together making a circle. Then I matched up my quarter points, and zig zagged the elastic to the seam allowance. After that, I flipped the seam allowance toward the bra, and top-stitched it in place.
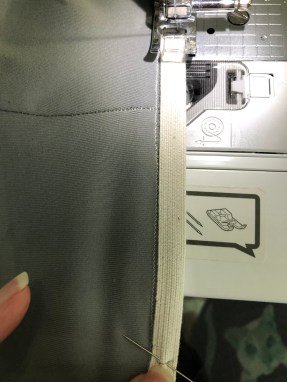 To ruche the sides, I cut two pieces of swim elastic a couple of inches shorter than my side seams. I zig-zagged the elastic to the side seams and ta-dah, instant ruching!
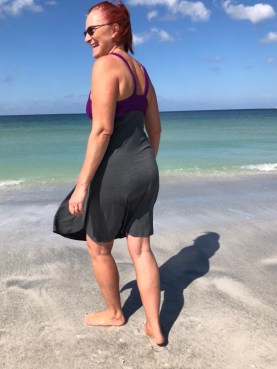
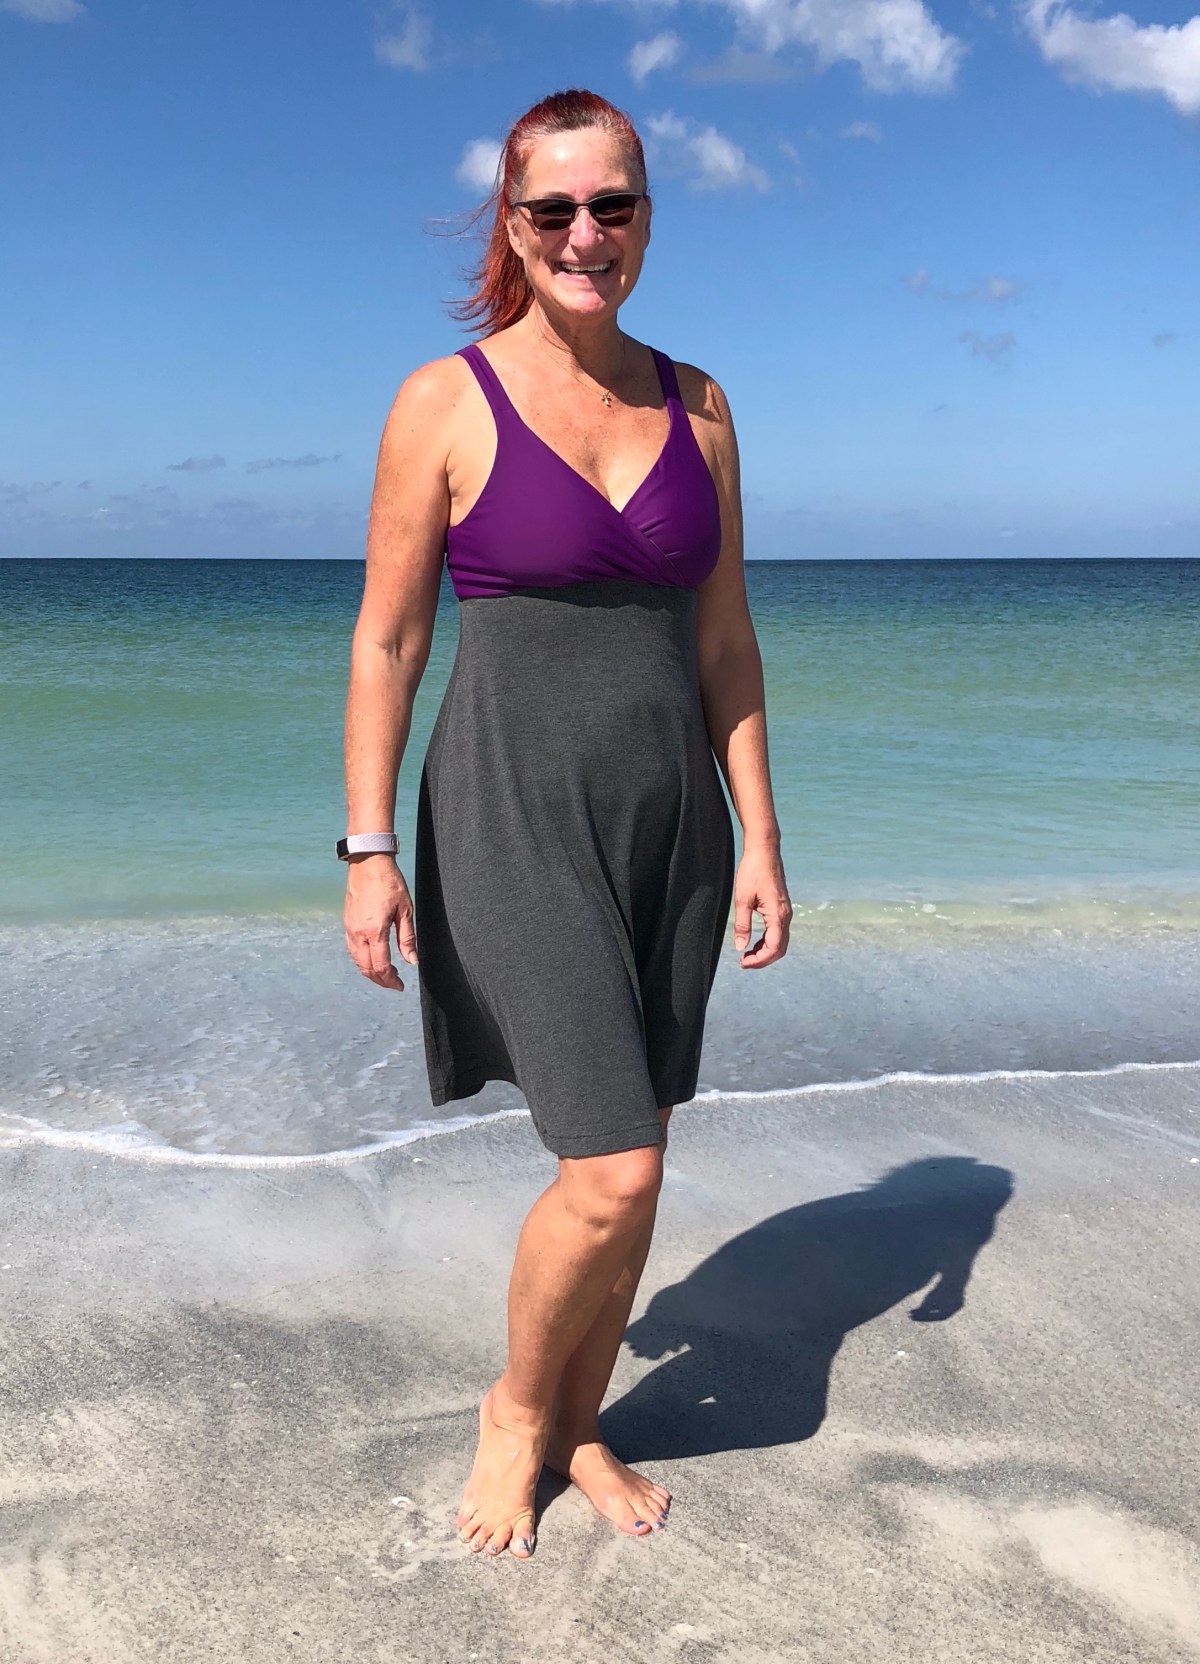
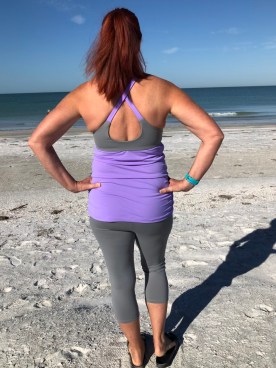 When I go to the beach to get photographs in my makes, sometimes silliness overtakes me. But we’ll just say I was jump testing the workout top to ensure that everything stays in place!


This workout top passed the jump test with flying colors! 😉 Working out is more fun when you wear cute, comfortable, me-made outfits. 🙂
Happy Sewing!
*This post may contain affiliate links. This means that at no extra cost to you, I may receive a small commission if you purchase through my links. As always, I only give my honest opinion. After all, it is my blog, which represents me! Thank you for reading and supporting my love of sewing!

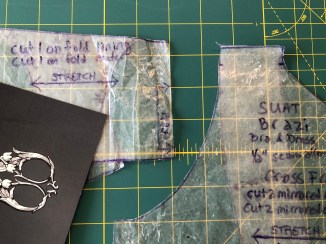 Please note that out of respect for the designers, and protection of their intellectual property, I will not show full pattern pieces. I bought the cross-front add-on when I bought the Brazi pattern because I love the look and knew that it would be the most flattering for my body type. But you can do the straight strap hack on the original pattern. I simply marked my pattern where it curves from cup to strap, and folded it under 1/2″ above that. I folded the back straps under and cut out my modified pattern pieces. I cut four 2″x13″ rectangles out of my fabric as my strap and strap lining pieces.
 being successful at supporting “the girls” is
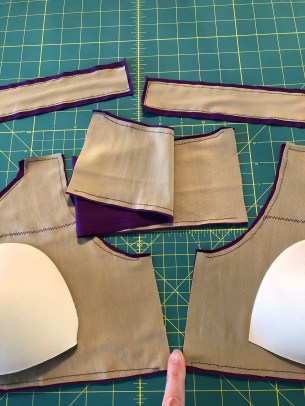 Pin the trimmed powernet pieces to your lining pieces and baste in place. Do not baste along the side seams! To make the pocket for your bra cups, lay your cups on top of the bra front and mark the height. Sewing a horizontal line across the height mark will keep your cups from shifting out of place.
 Sew your main and lining front pieces right side together. The pattern tutorial recommends using elastic along the front edge of the cups. Using the elastic adds another layer of security if you are concerned about anything showing when you lean forward.
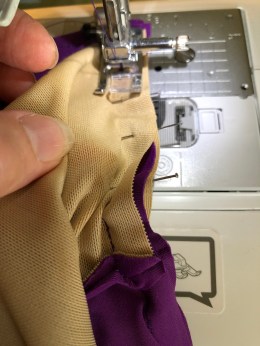
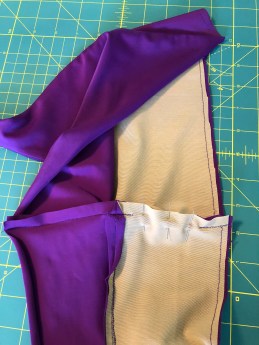
 Repeat the process with the other side seam. At this point you can follow the pattern directions about matching your center front notches, adjusting strap length, sewing on your bra band or skirt and adding the elastic.
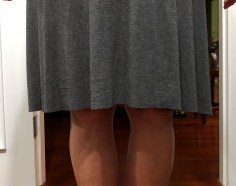 Since I was adding the Calista skirt to the Brazi top, and the bottom of the two bras are different shapes, I knew that I might need to make some adjustments. You might like the look of the dipped hem my mash produced, but I am kind of old school, and like my hems to be level with the floor. I had an easy fix for my problem.