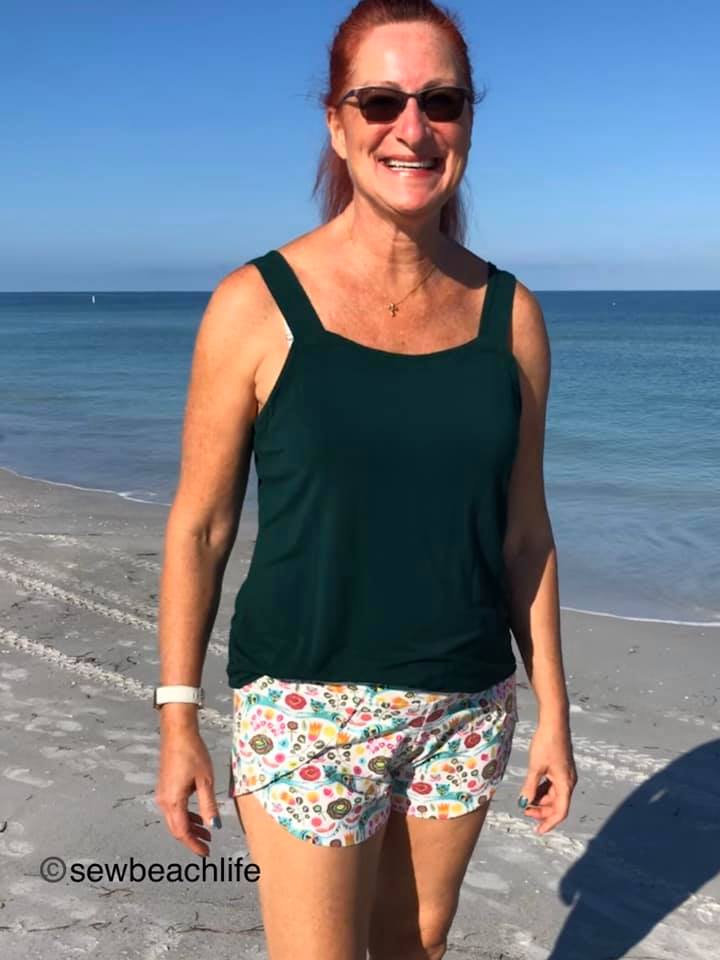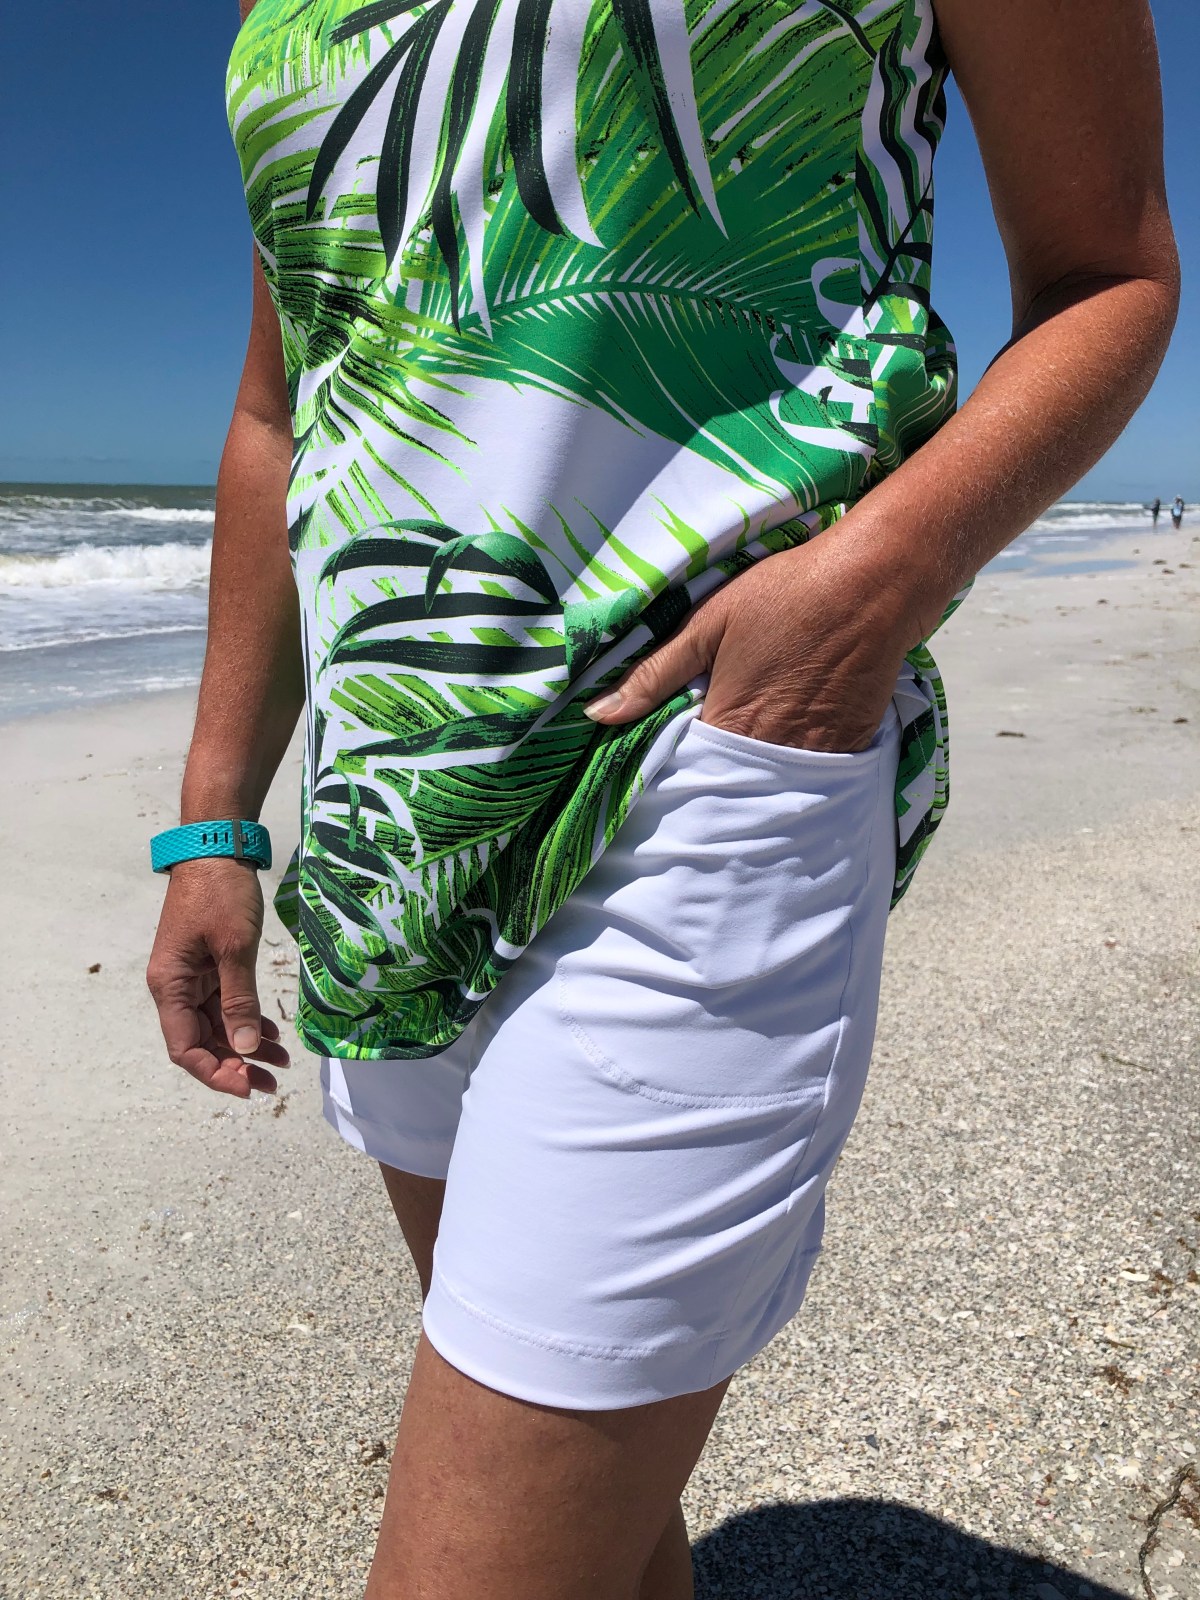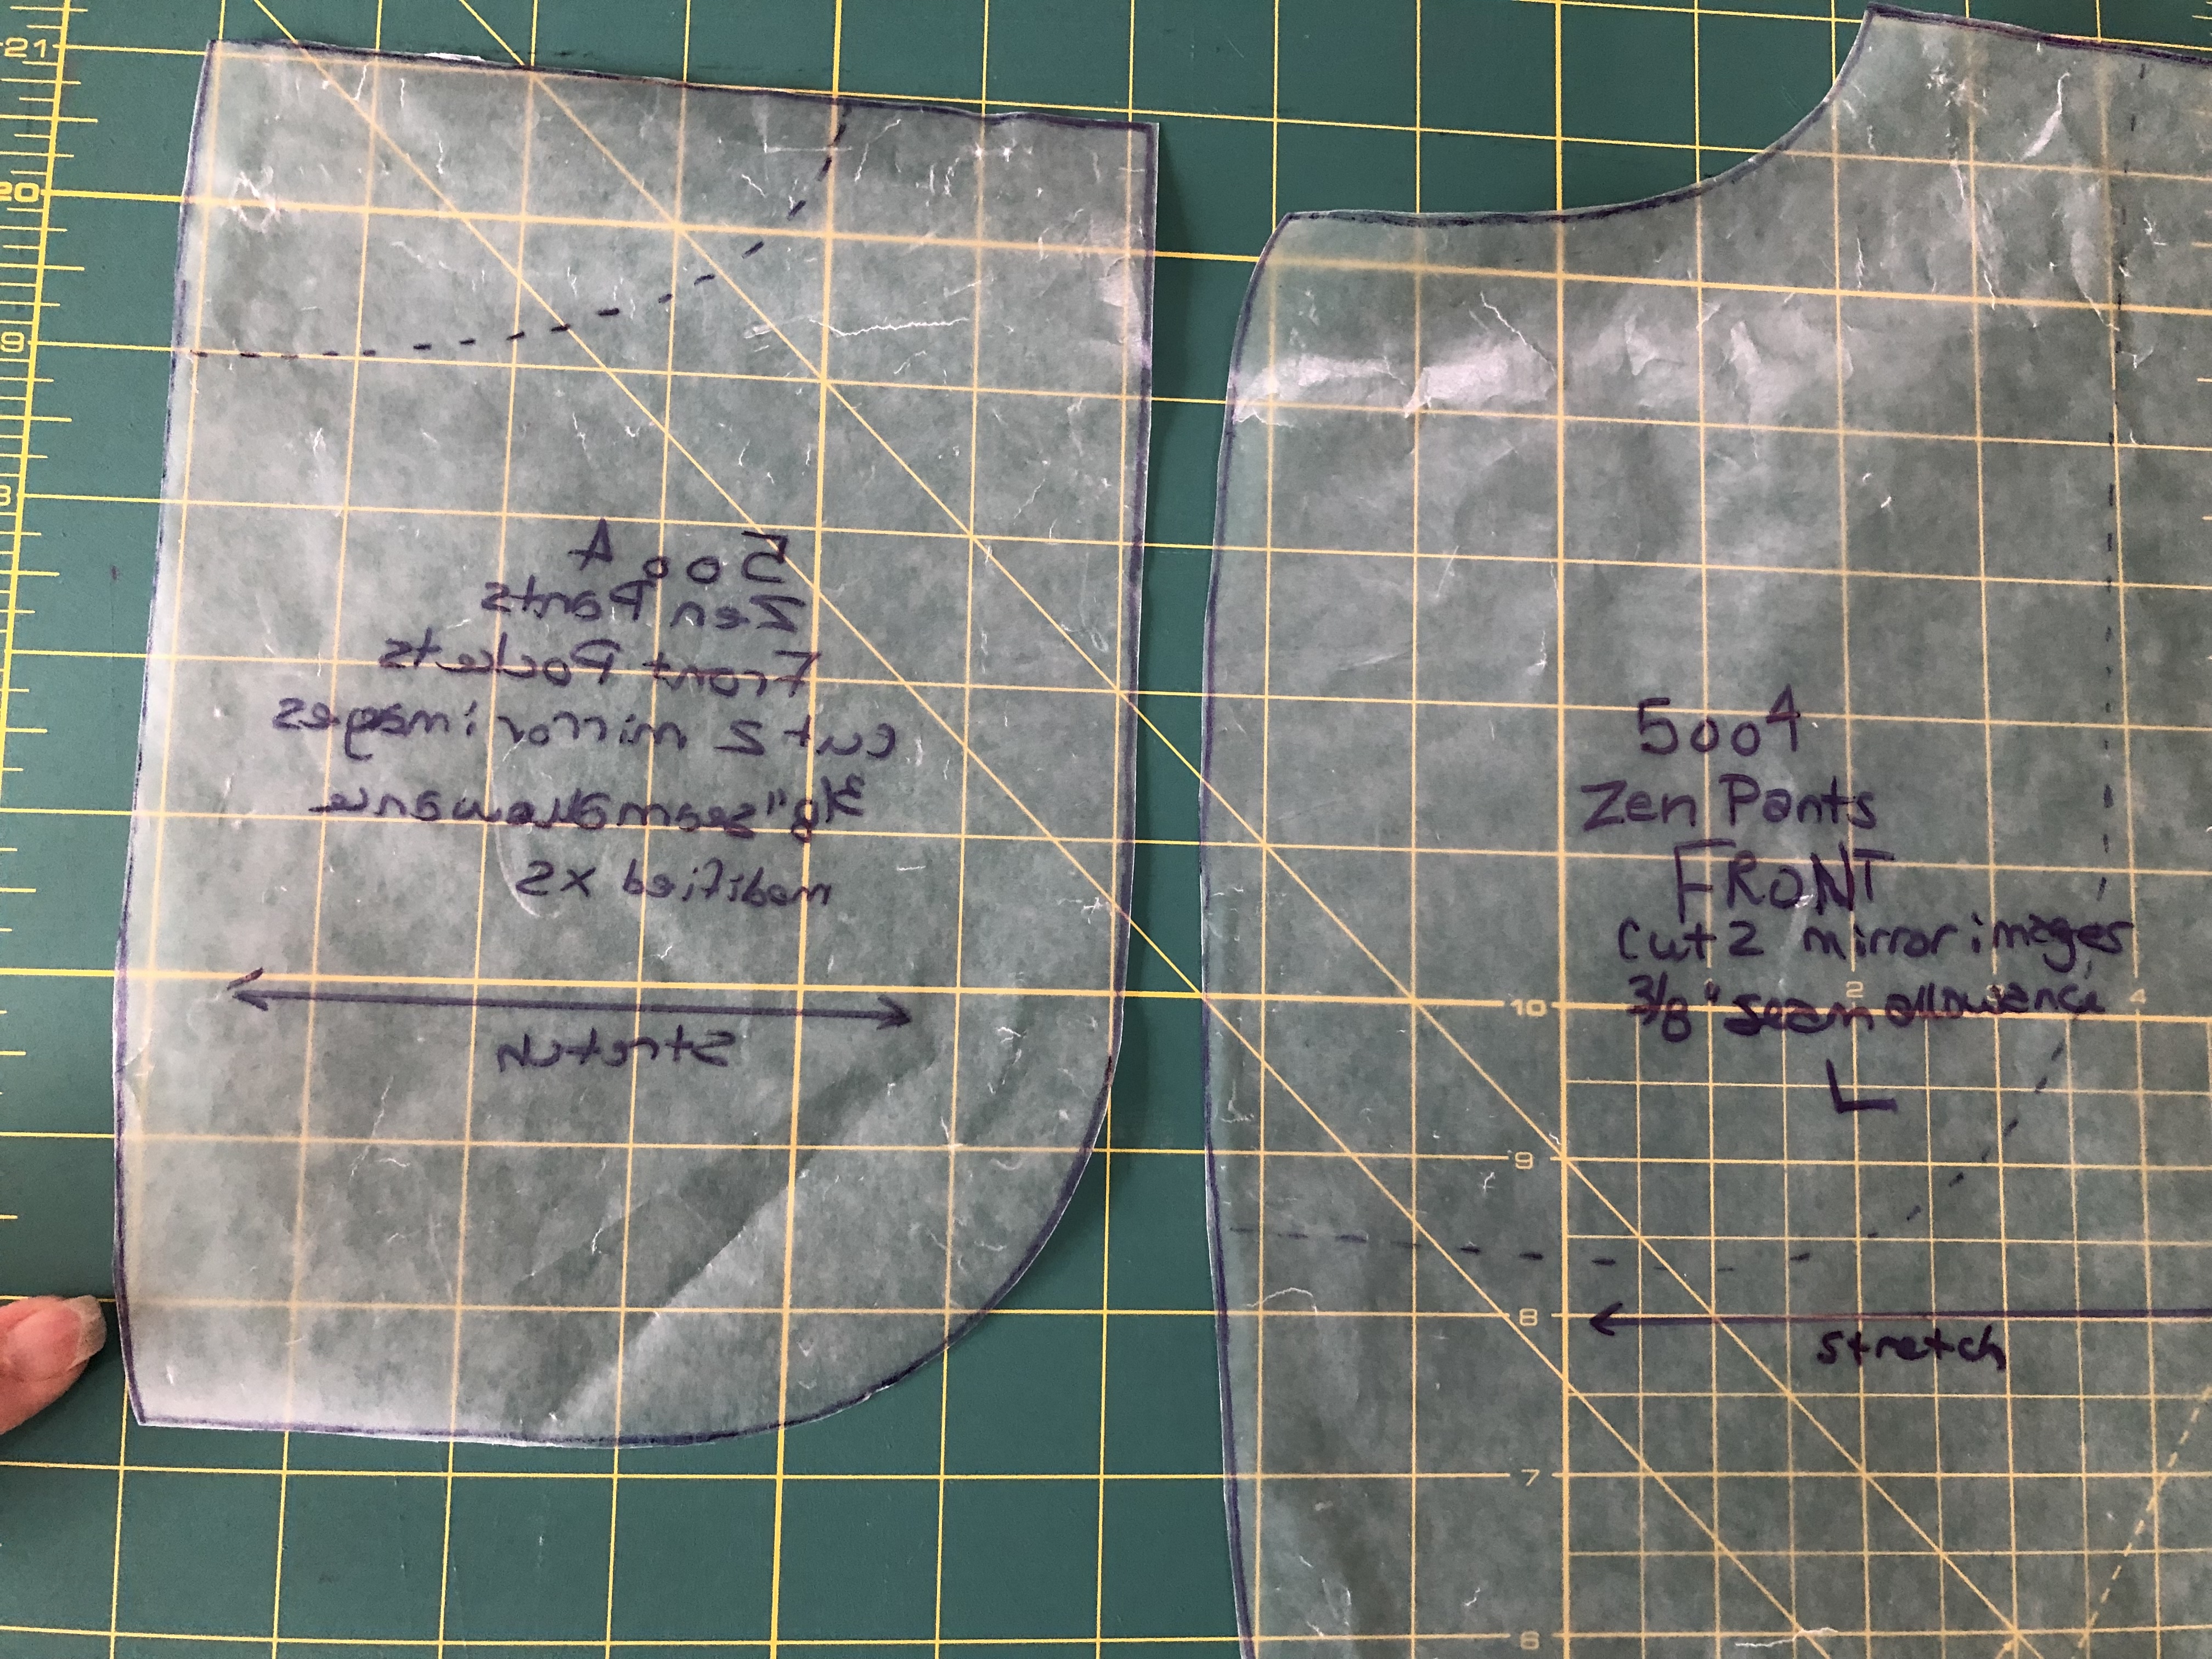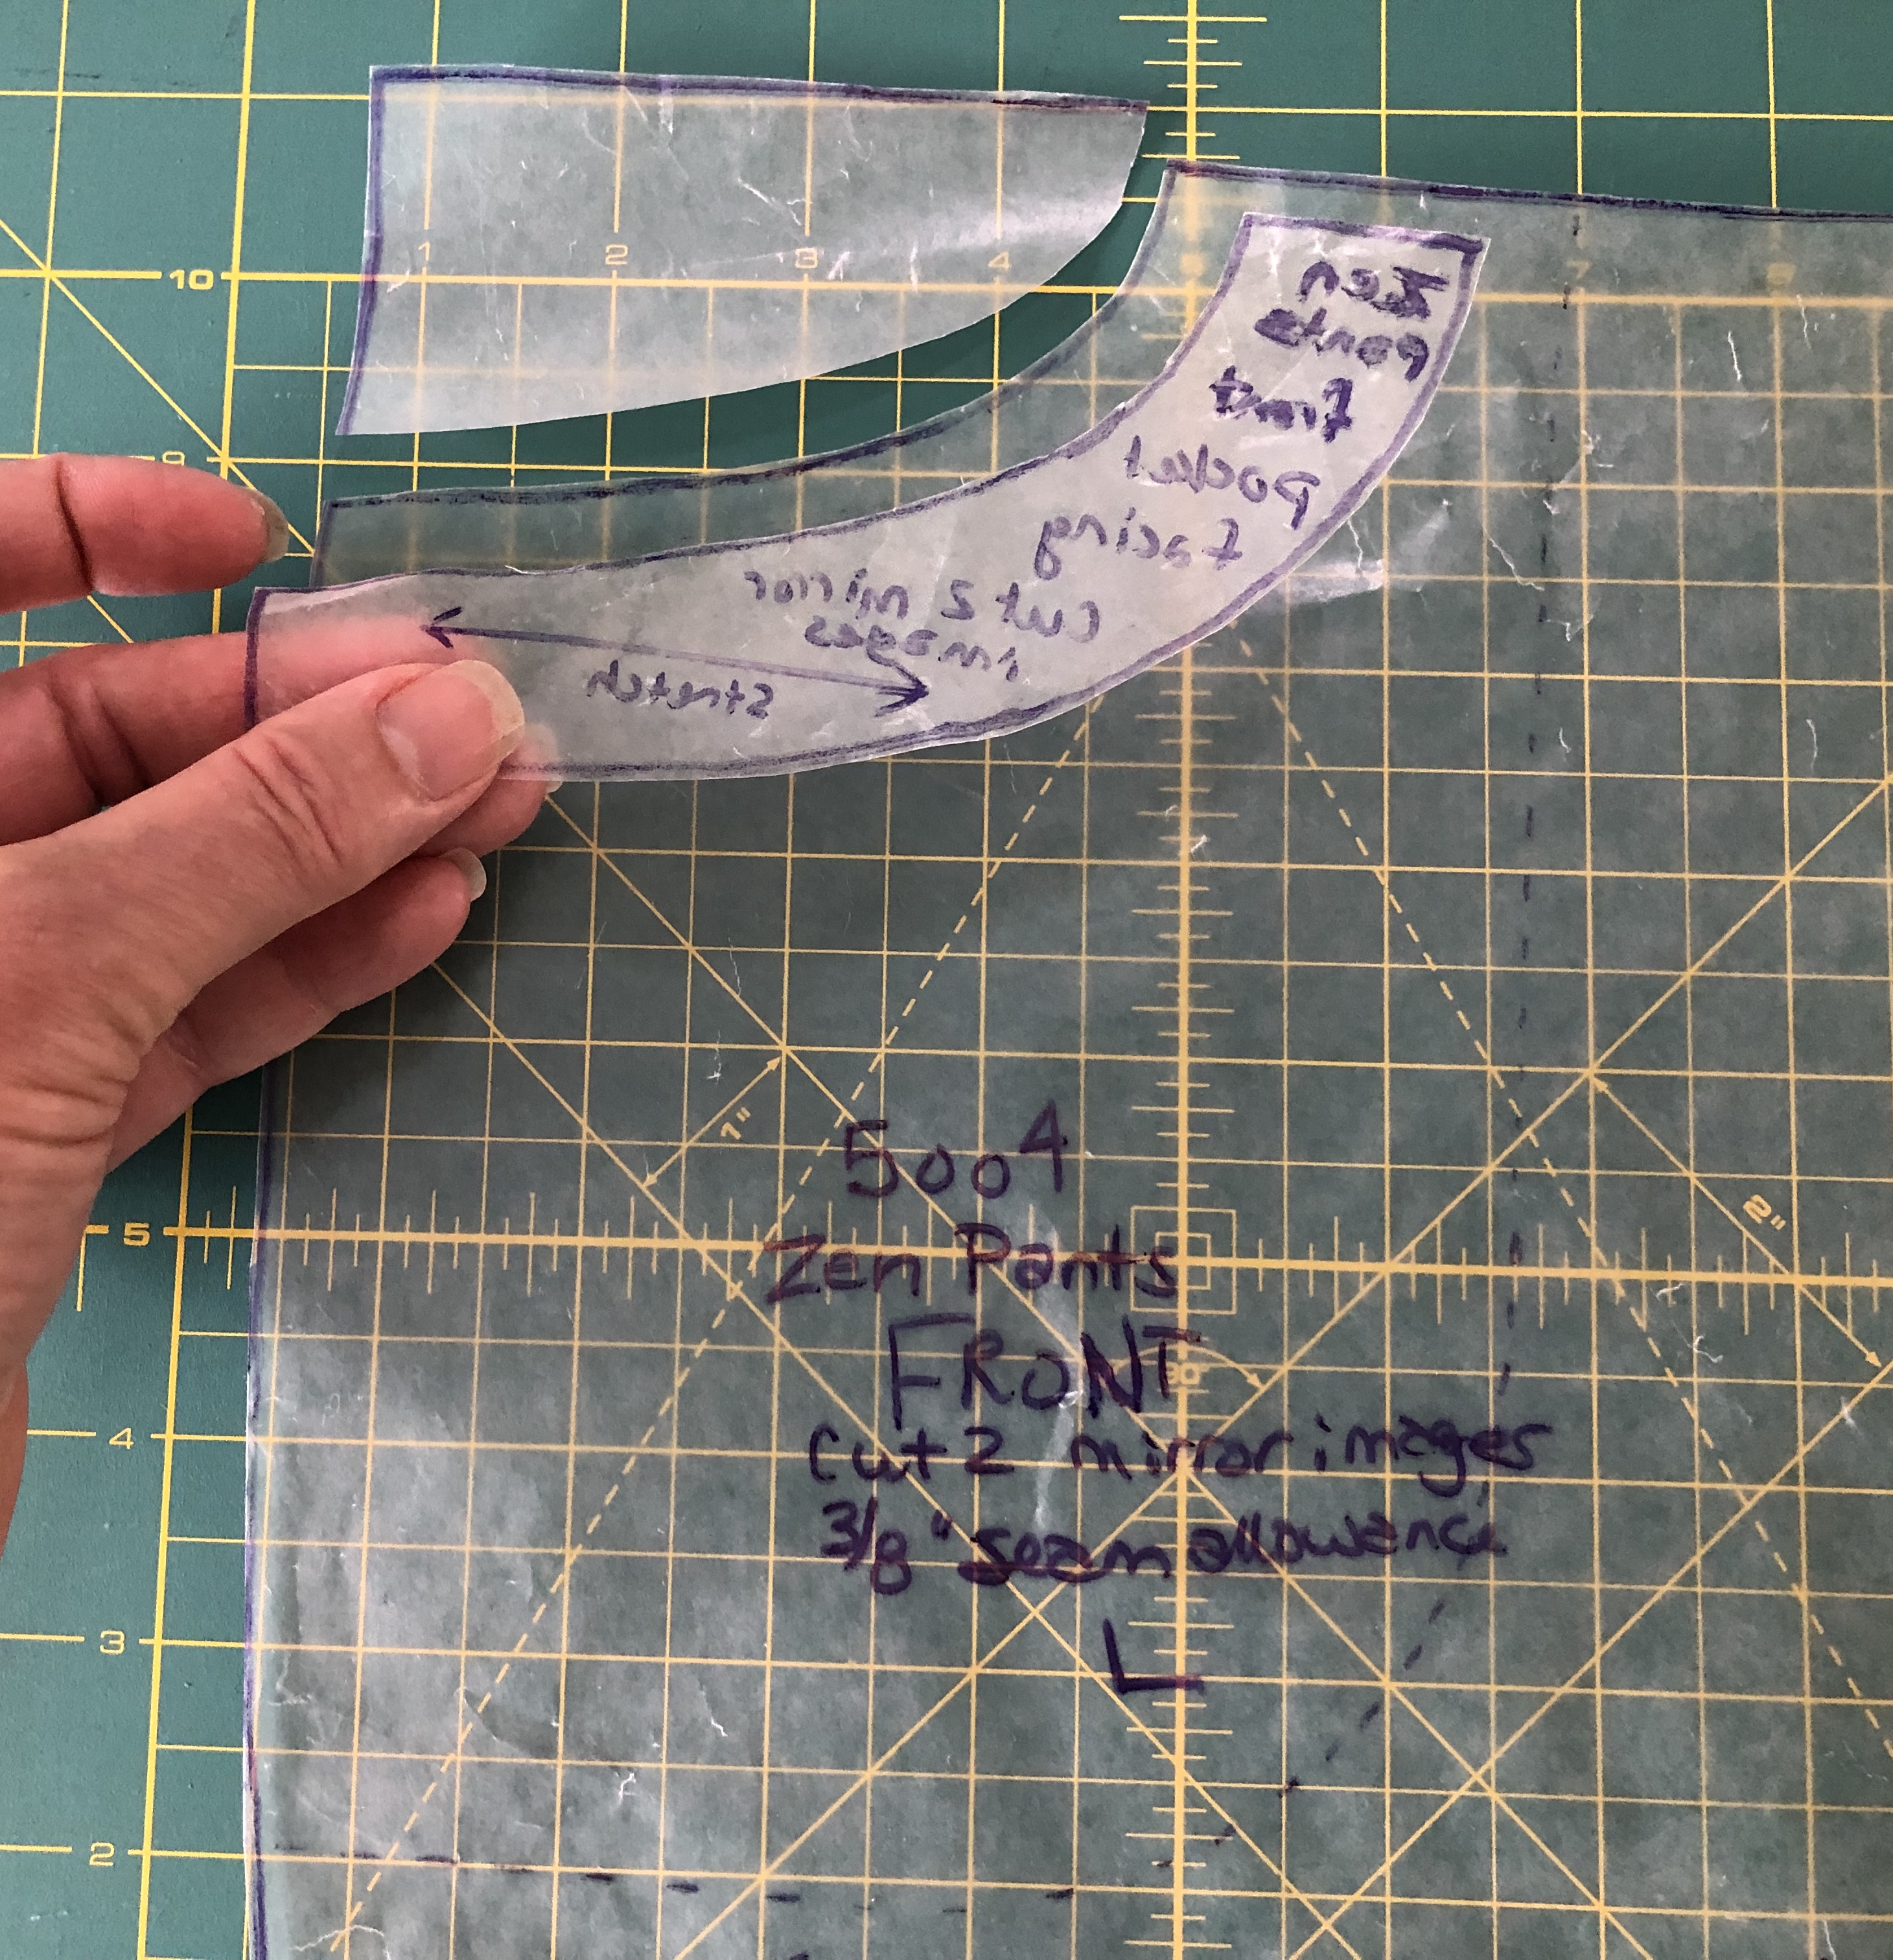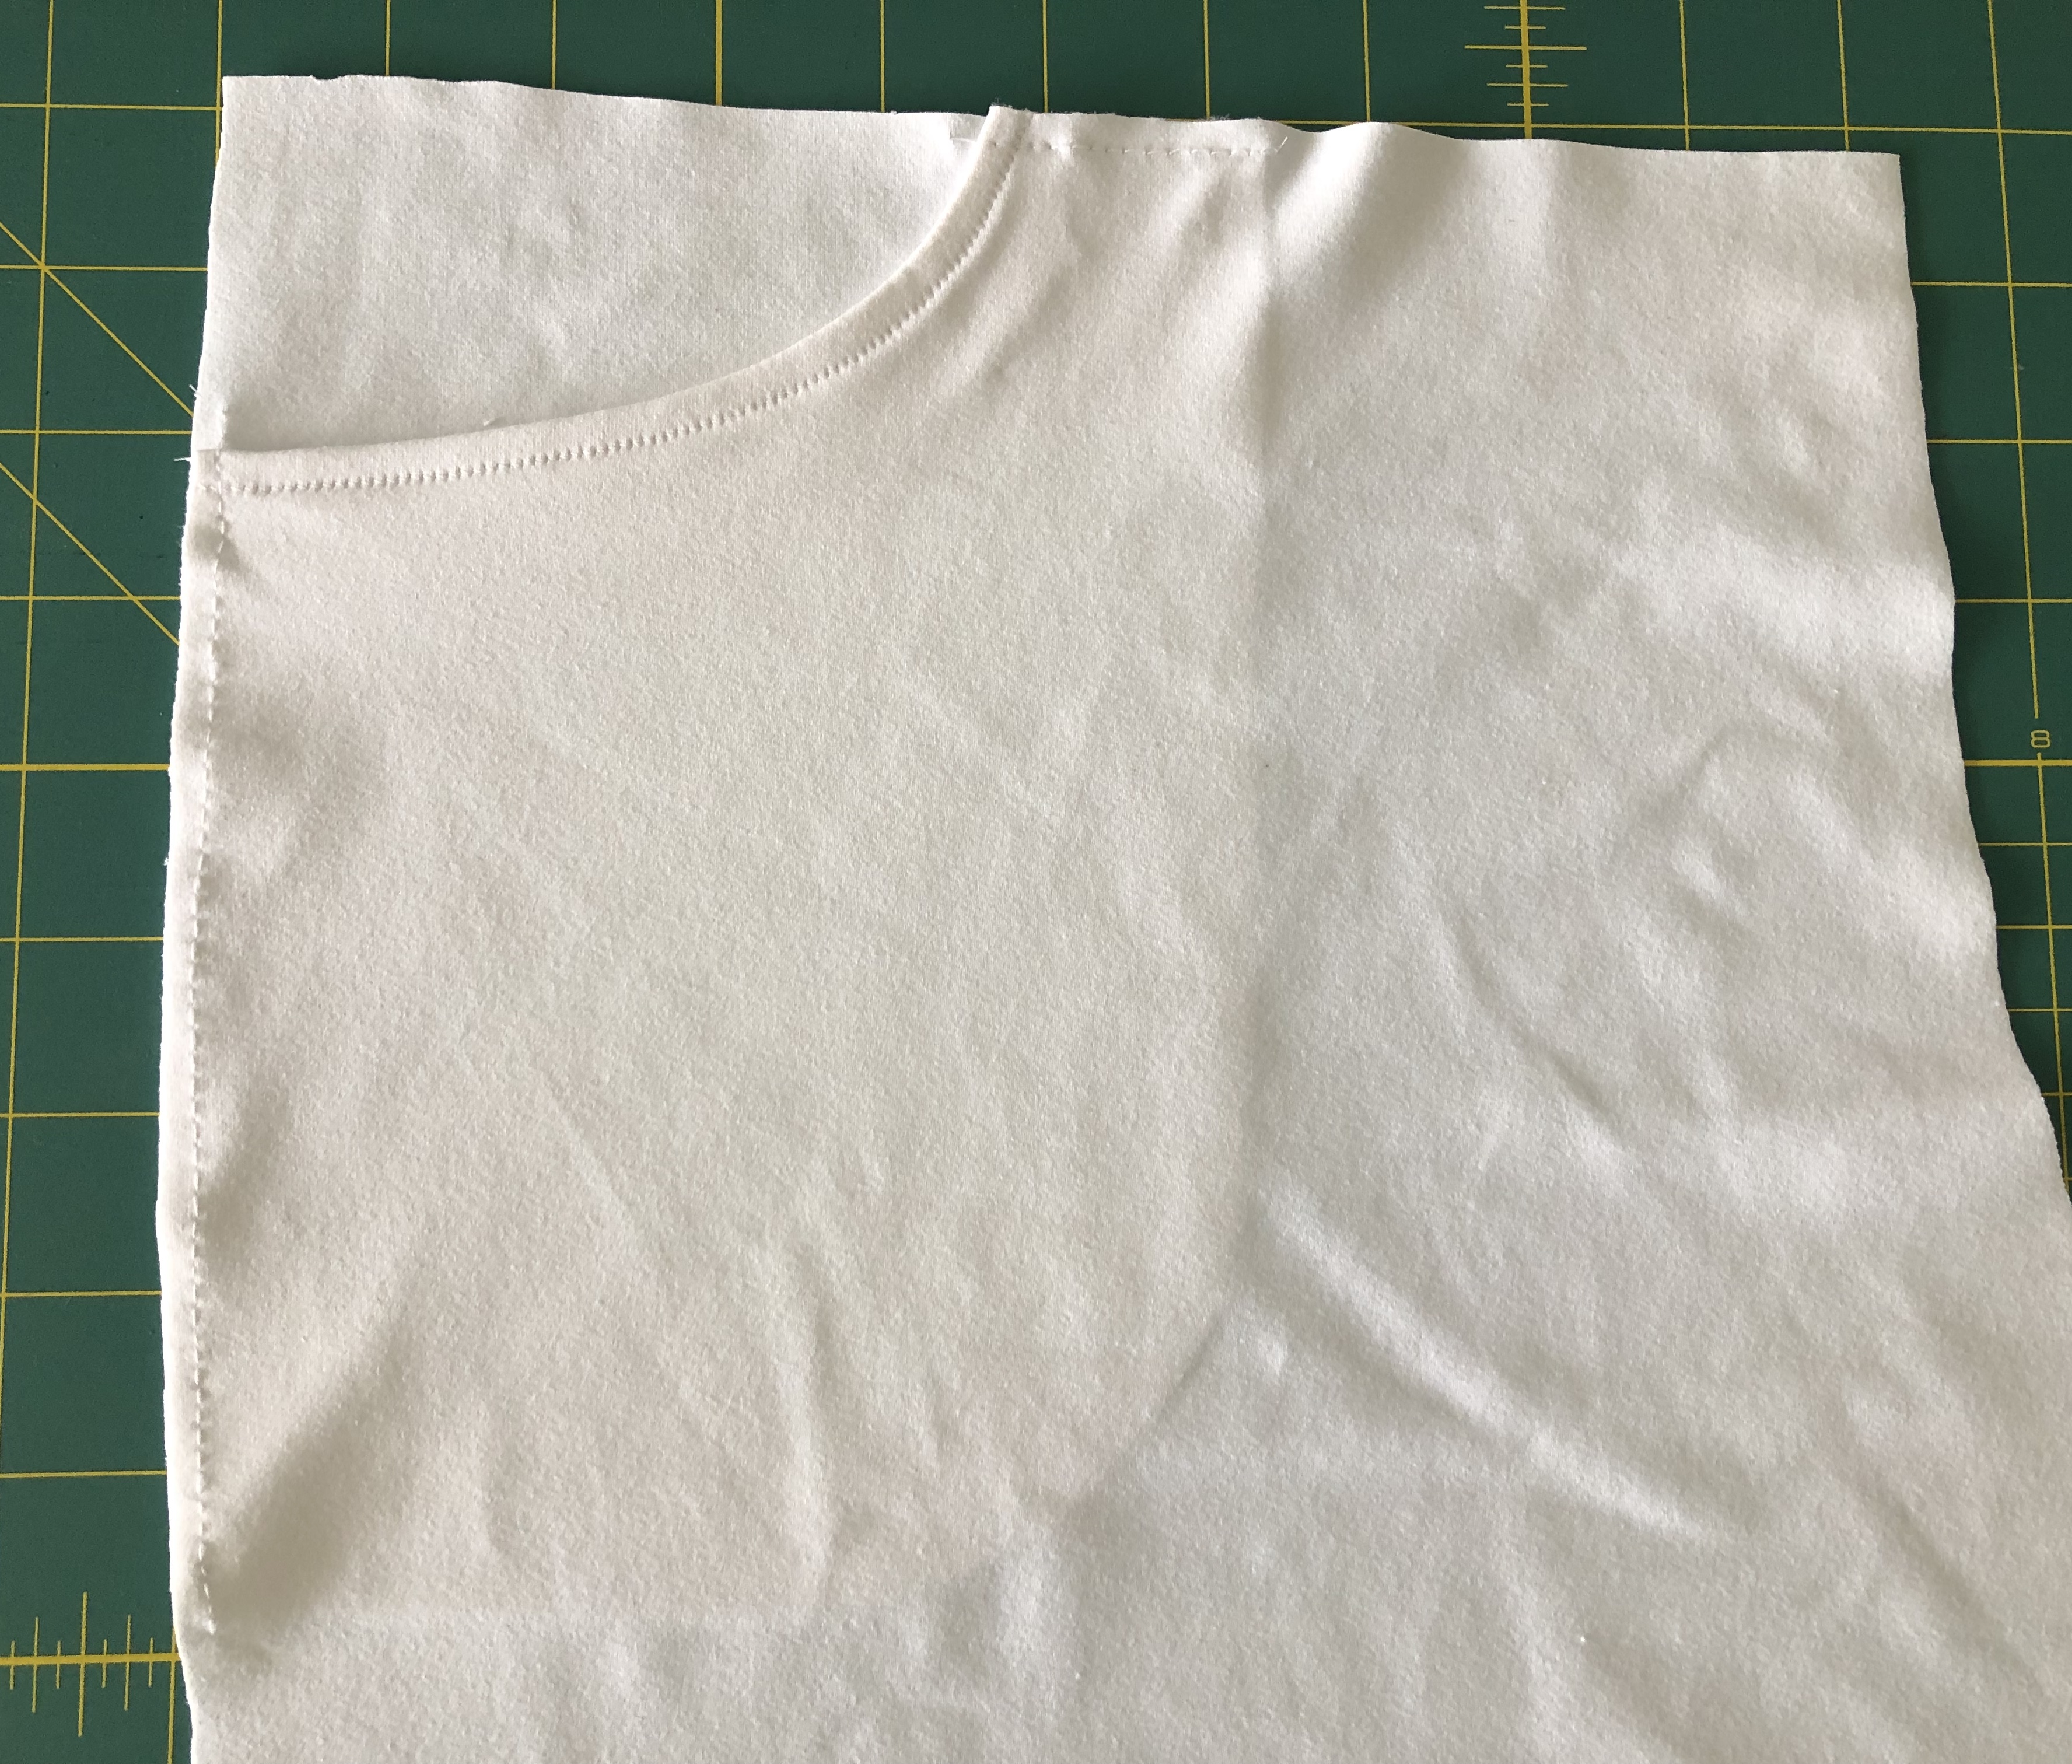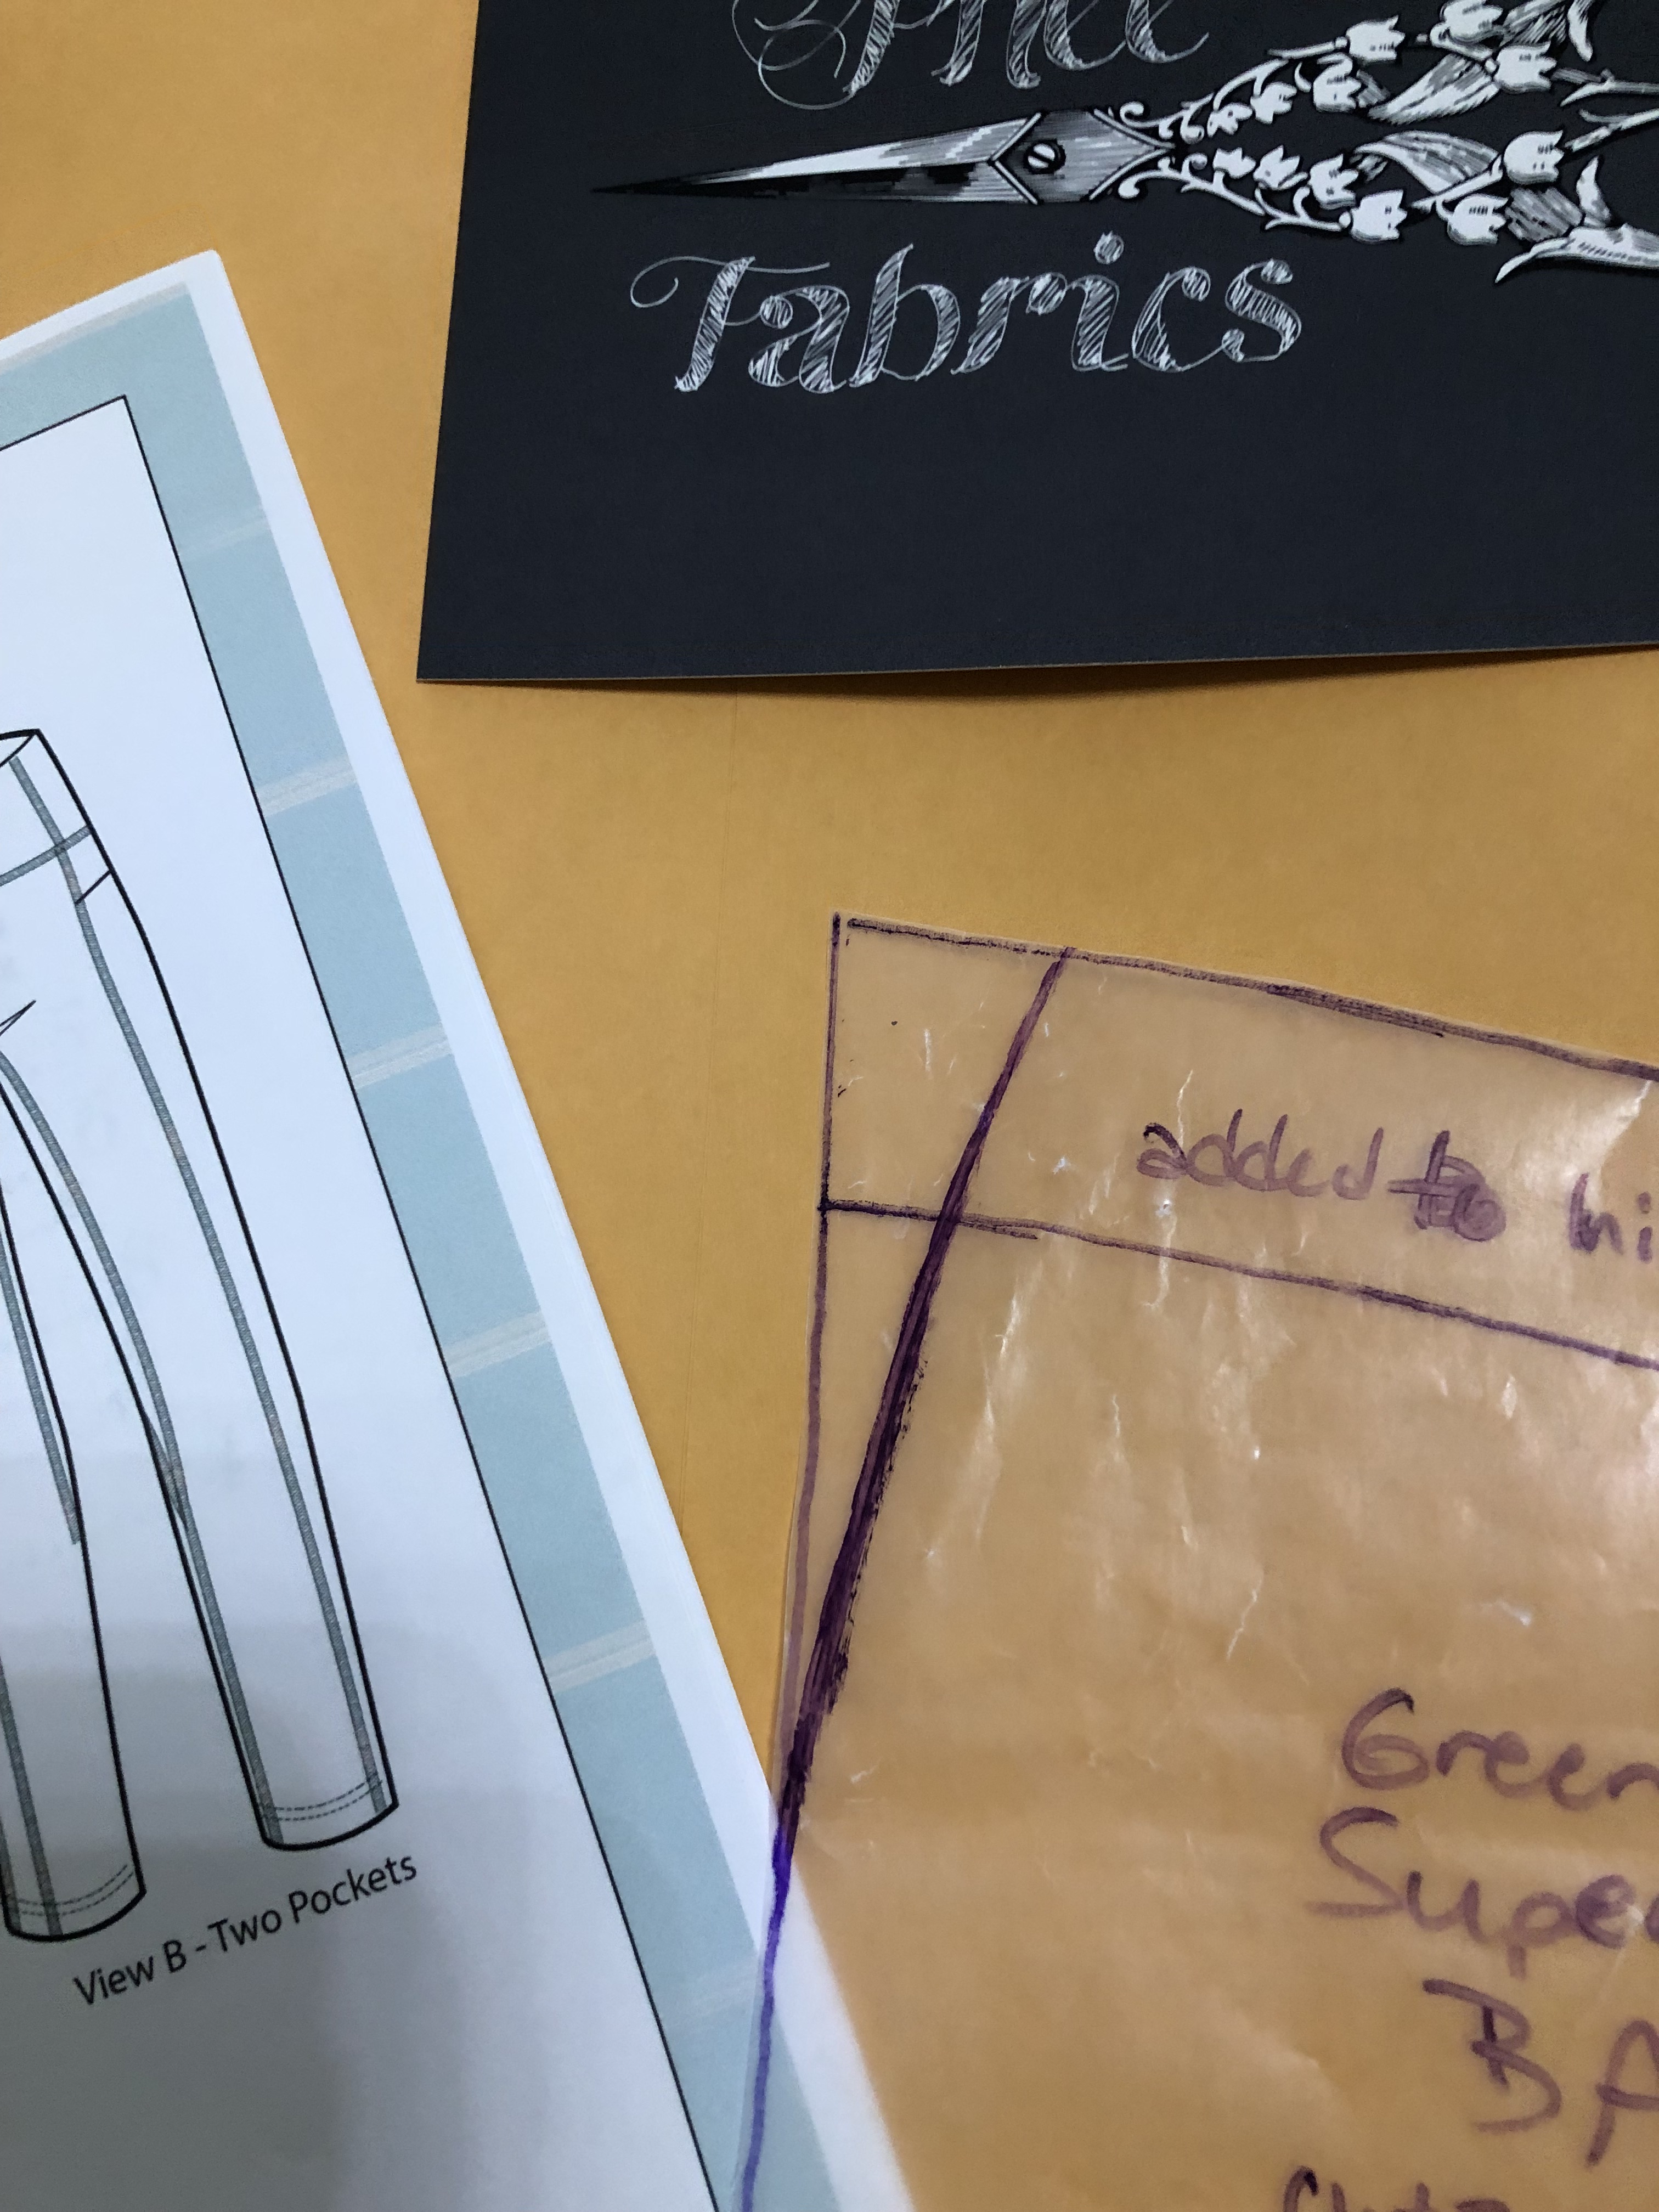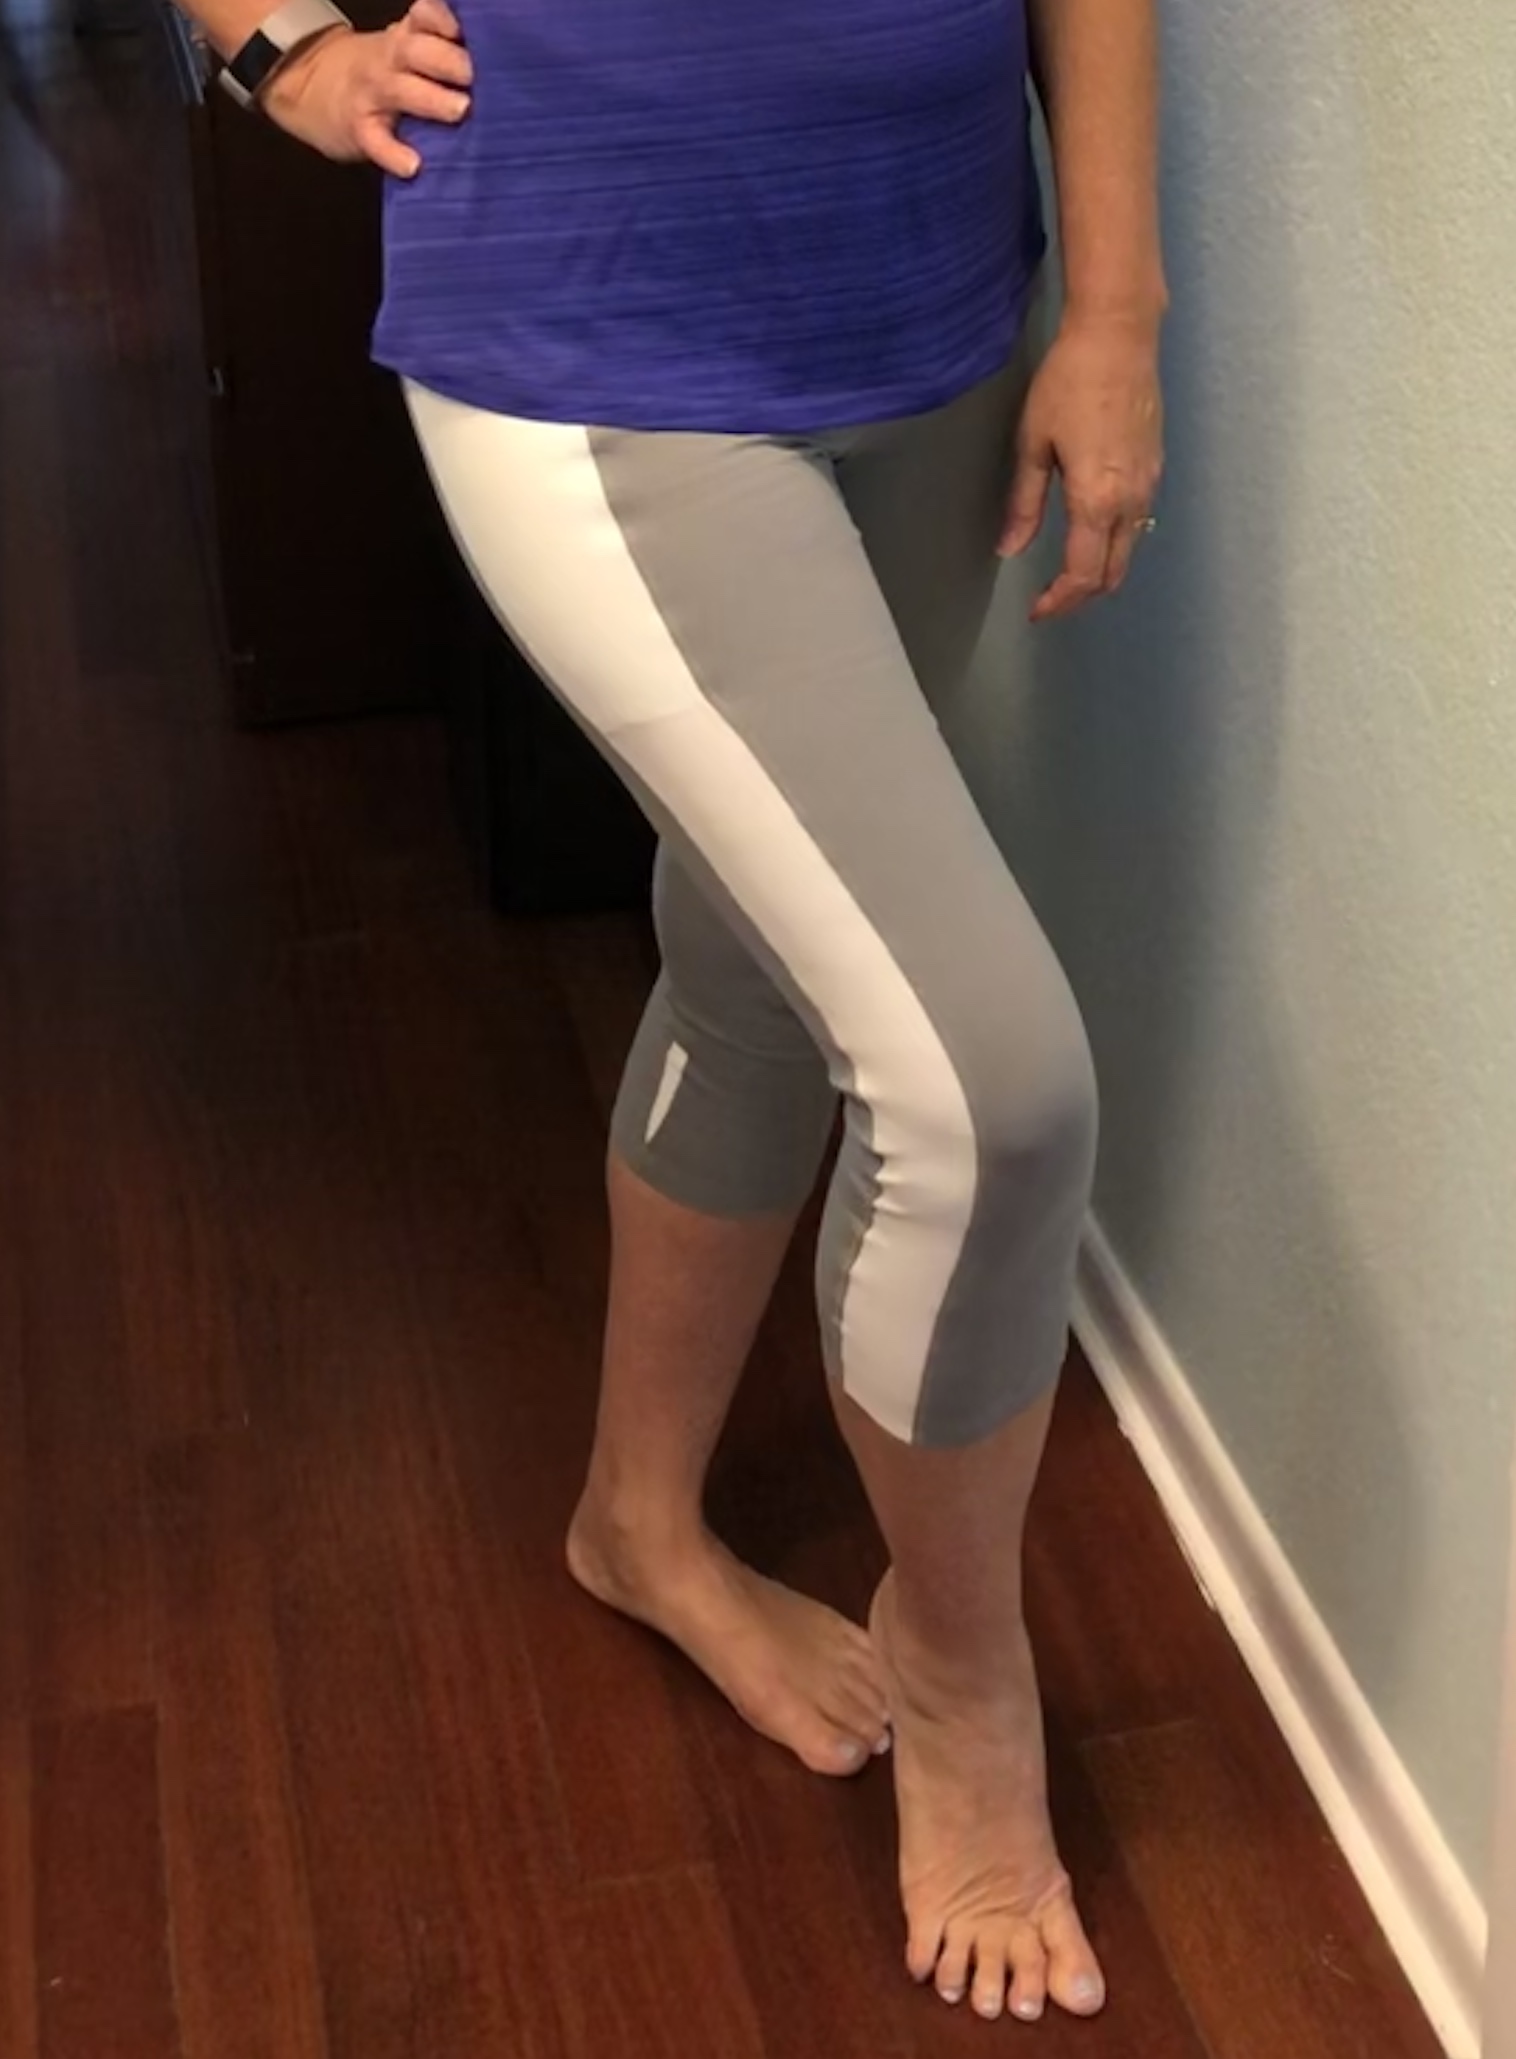
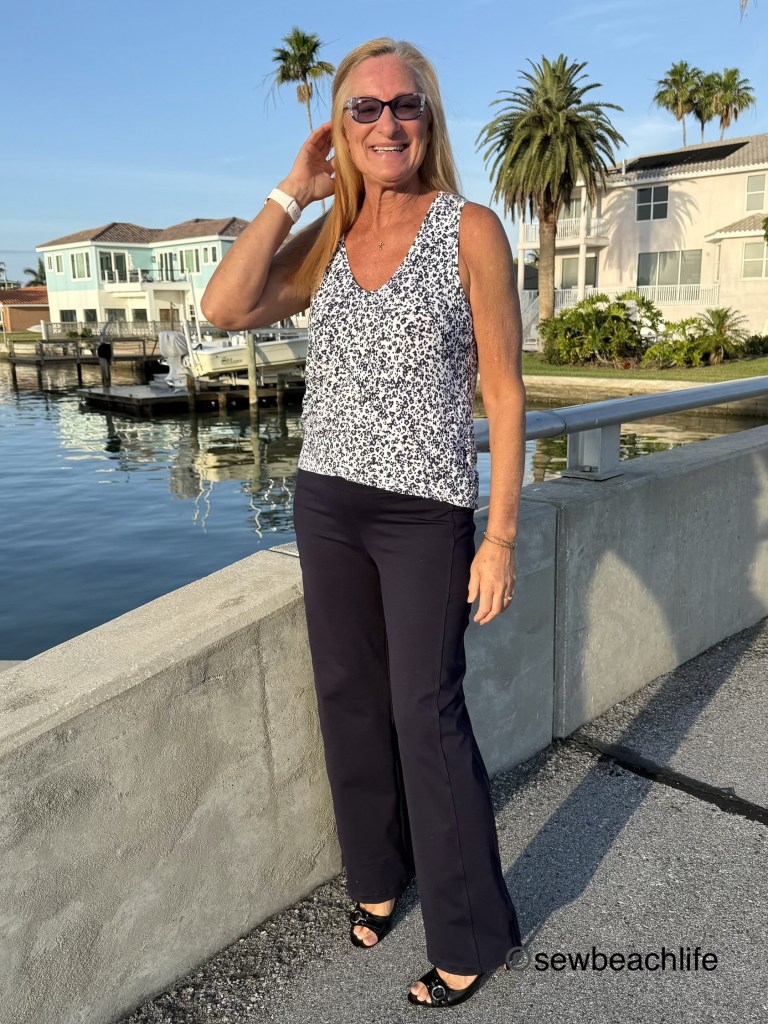
The new Volare Leggings by Greenstyle Patterns really take leggings up a notch into the realm of dress pants. They feature two main styles, straight leg or bubble leg. Both styles offer optional side stripes, with or without added pockets. I am all about having pockets, so you know that’s the version I picked!
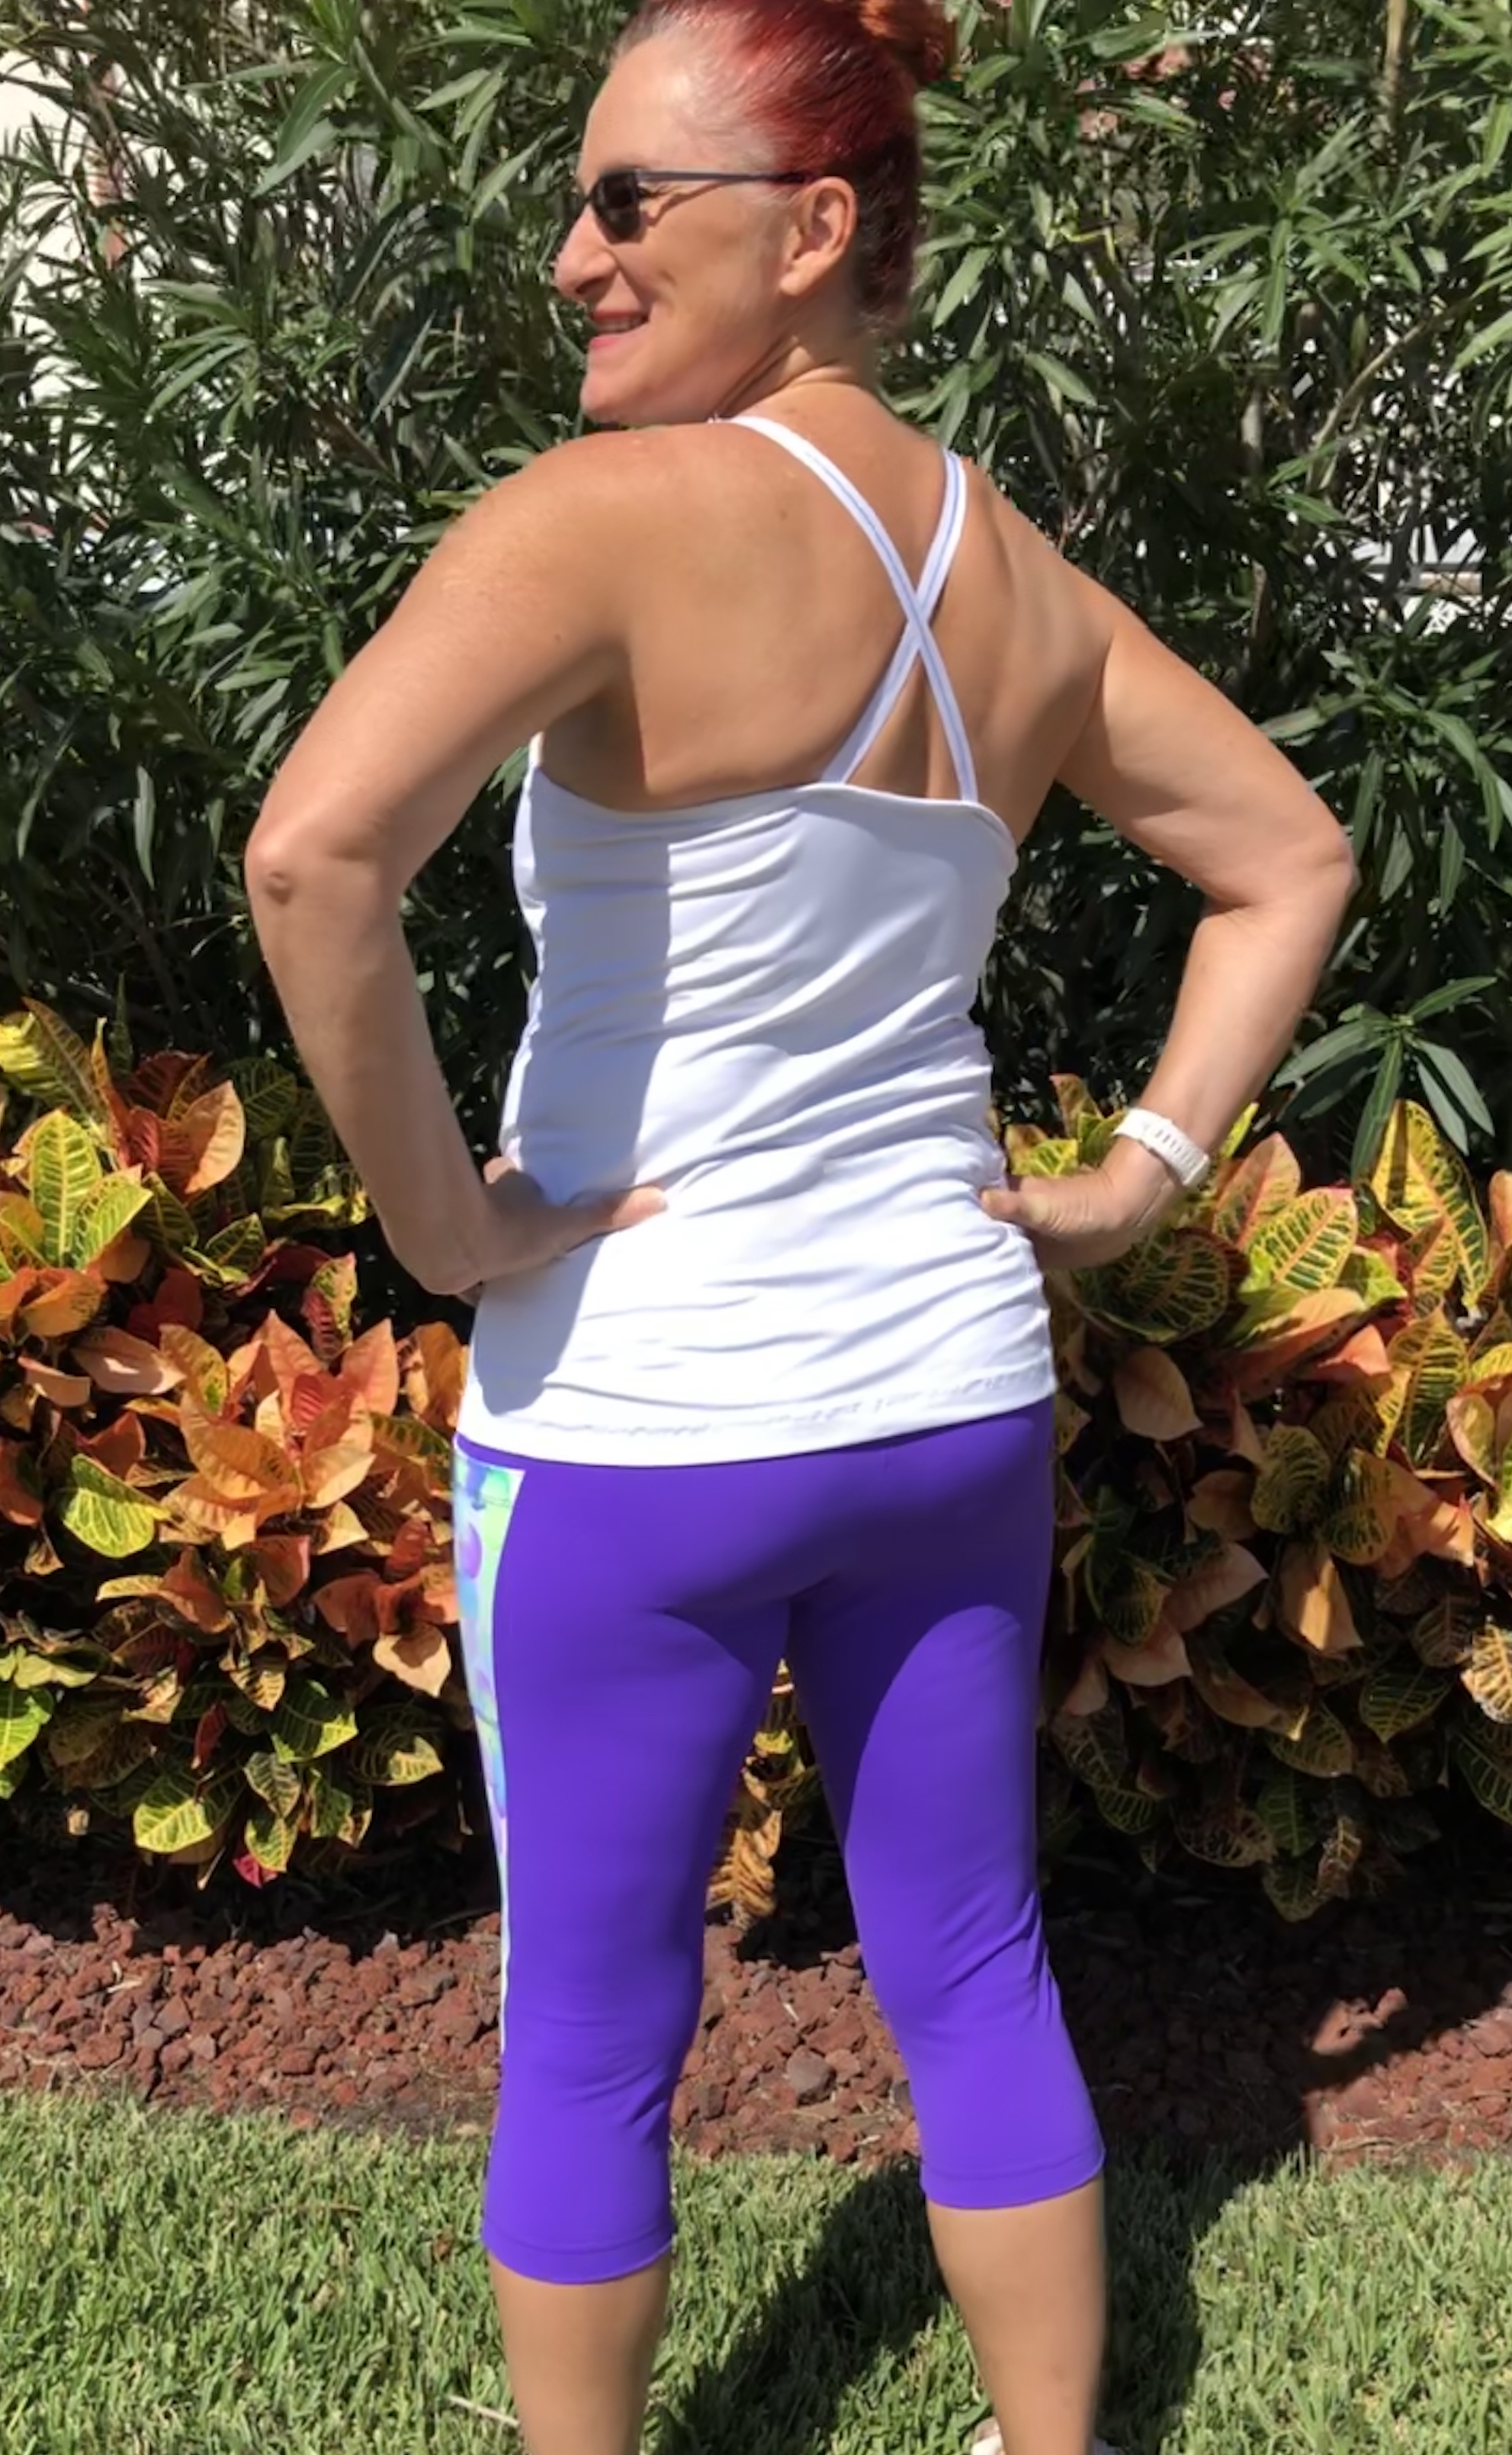
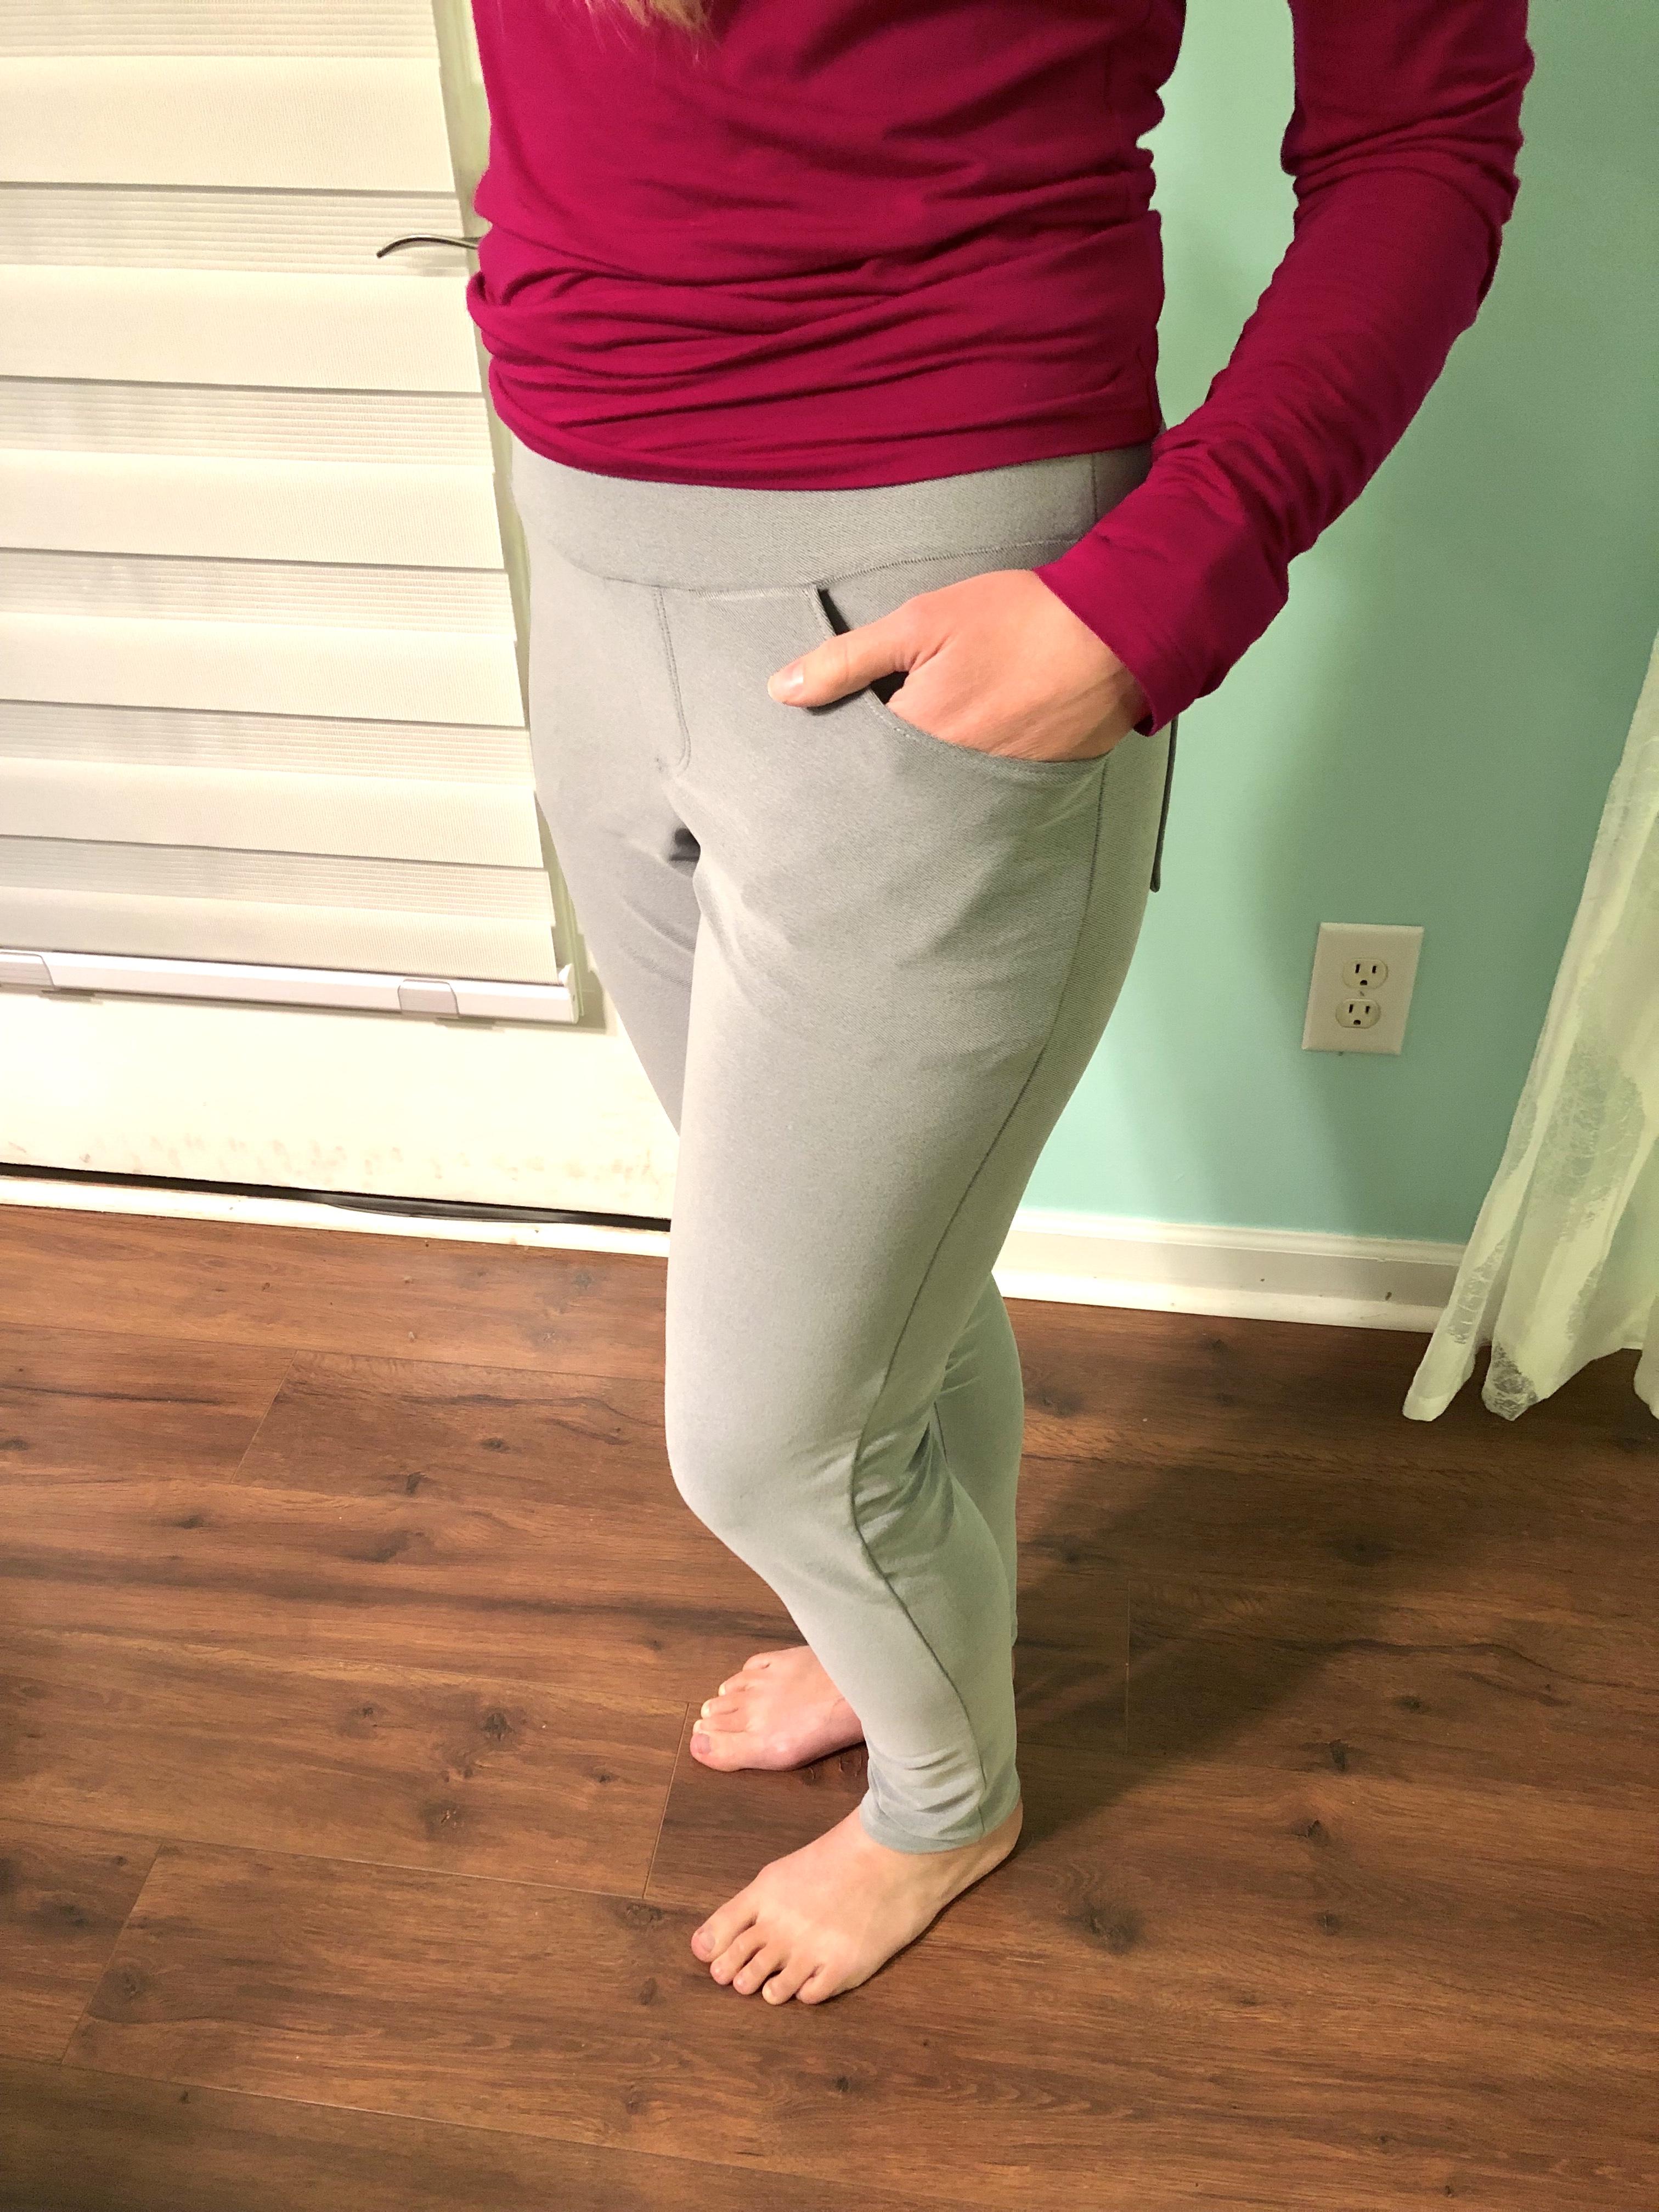
The side panel and pocket can be subtle, by using the same fabric, or bold by using a contrasting color or print. Since I use these leggings as dress pants, I went for a subtle look.
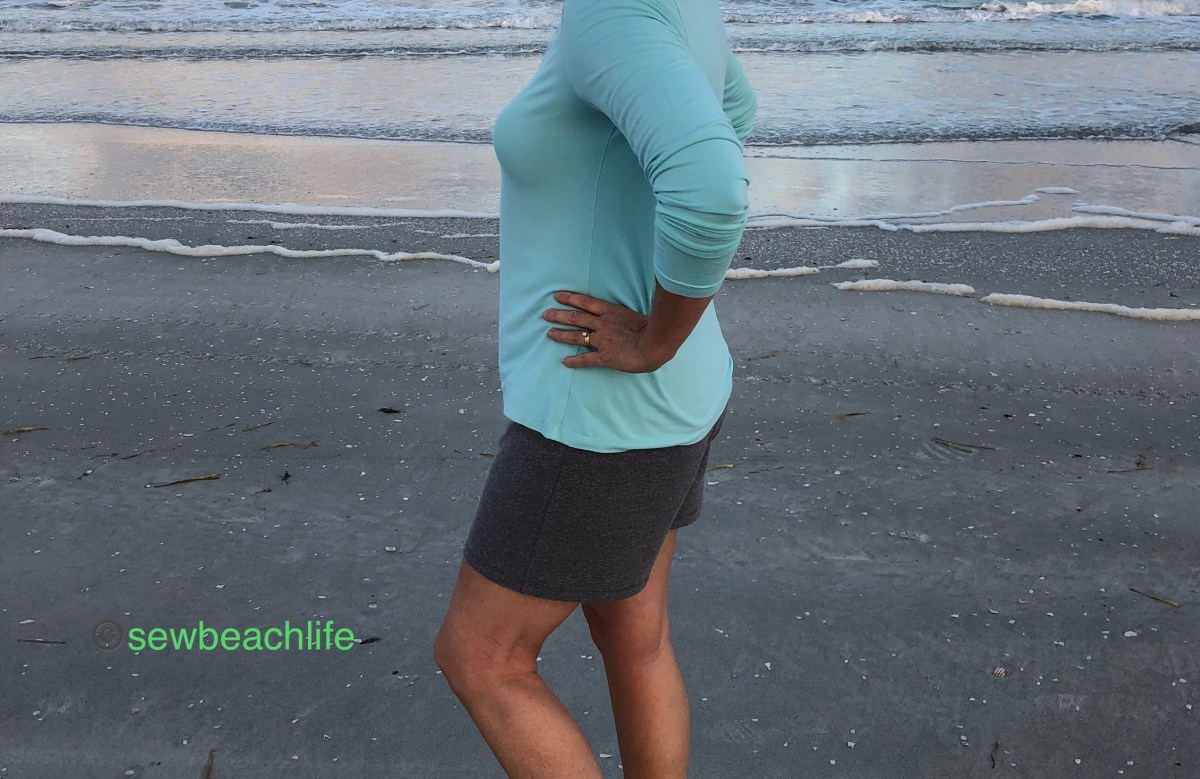
The Volare pattern has three waistband options! There’s a yoga waistband with 4″ and 5″ height options, a foldover waistband, and a faux foldover waistband with drawstring. I contemplated the faux foldover waistband because it’s different and fun, but in the end went for the yoga waistband. I wanted my leggings to be super smooth at the waist so I can wear whatever top I want with them, without the bump of a drawstring tie. Speaking of a smooth waistband, the 5″ height I chose is quite high, and I love it! My daughter always wears high waisted leggings (which look adorable with not quite cropped tops) so that no belly skin shows even if you lift your arms above you head. She would love these!
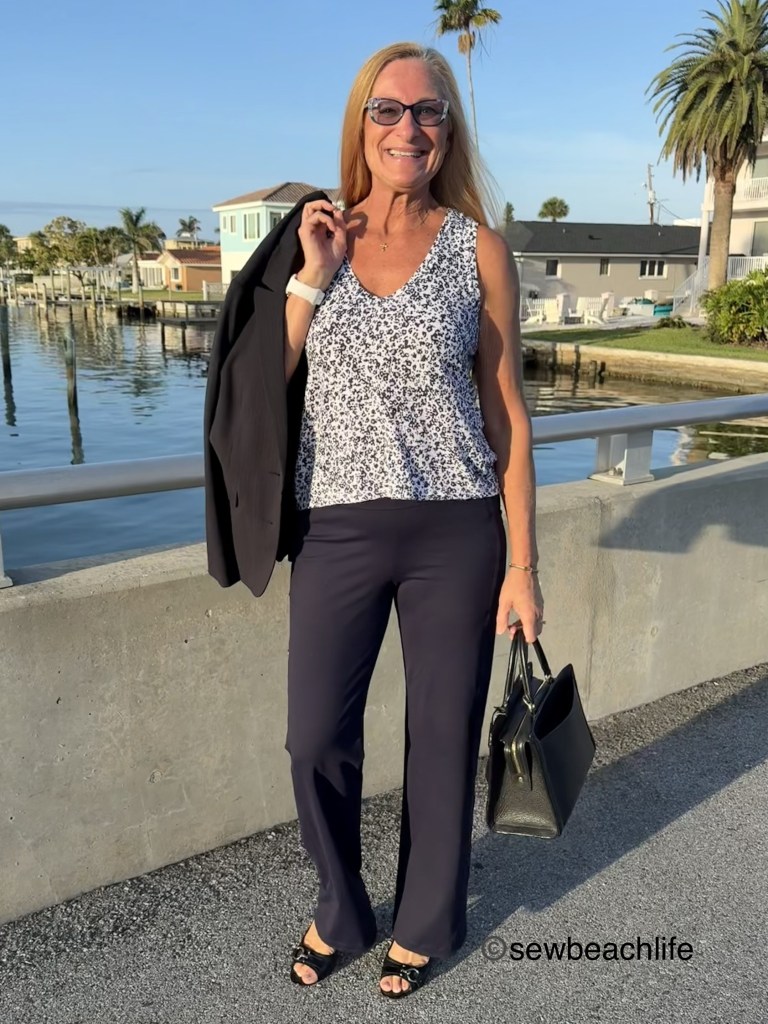
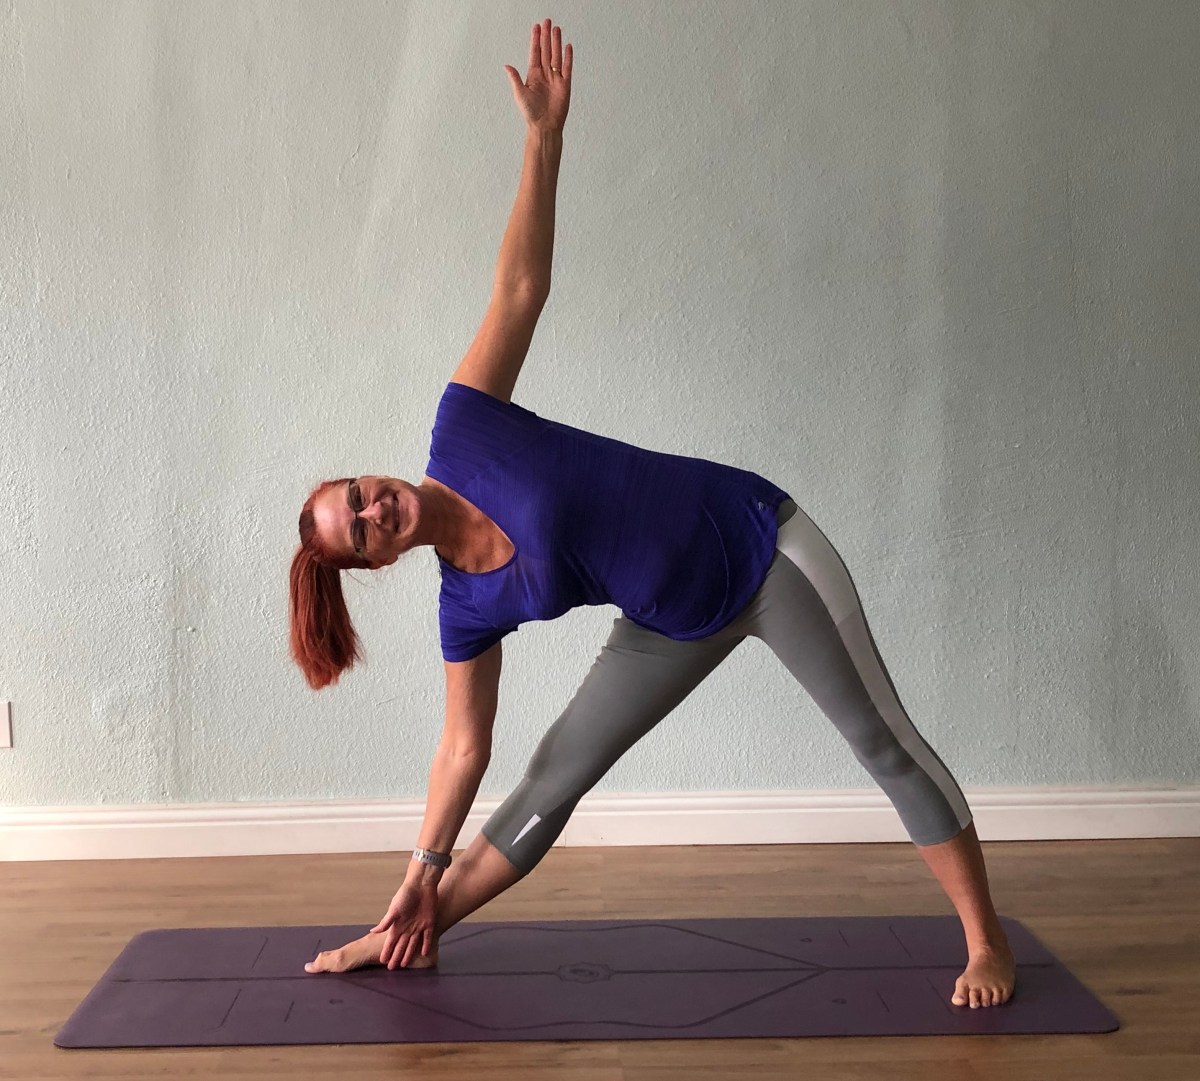
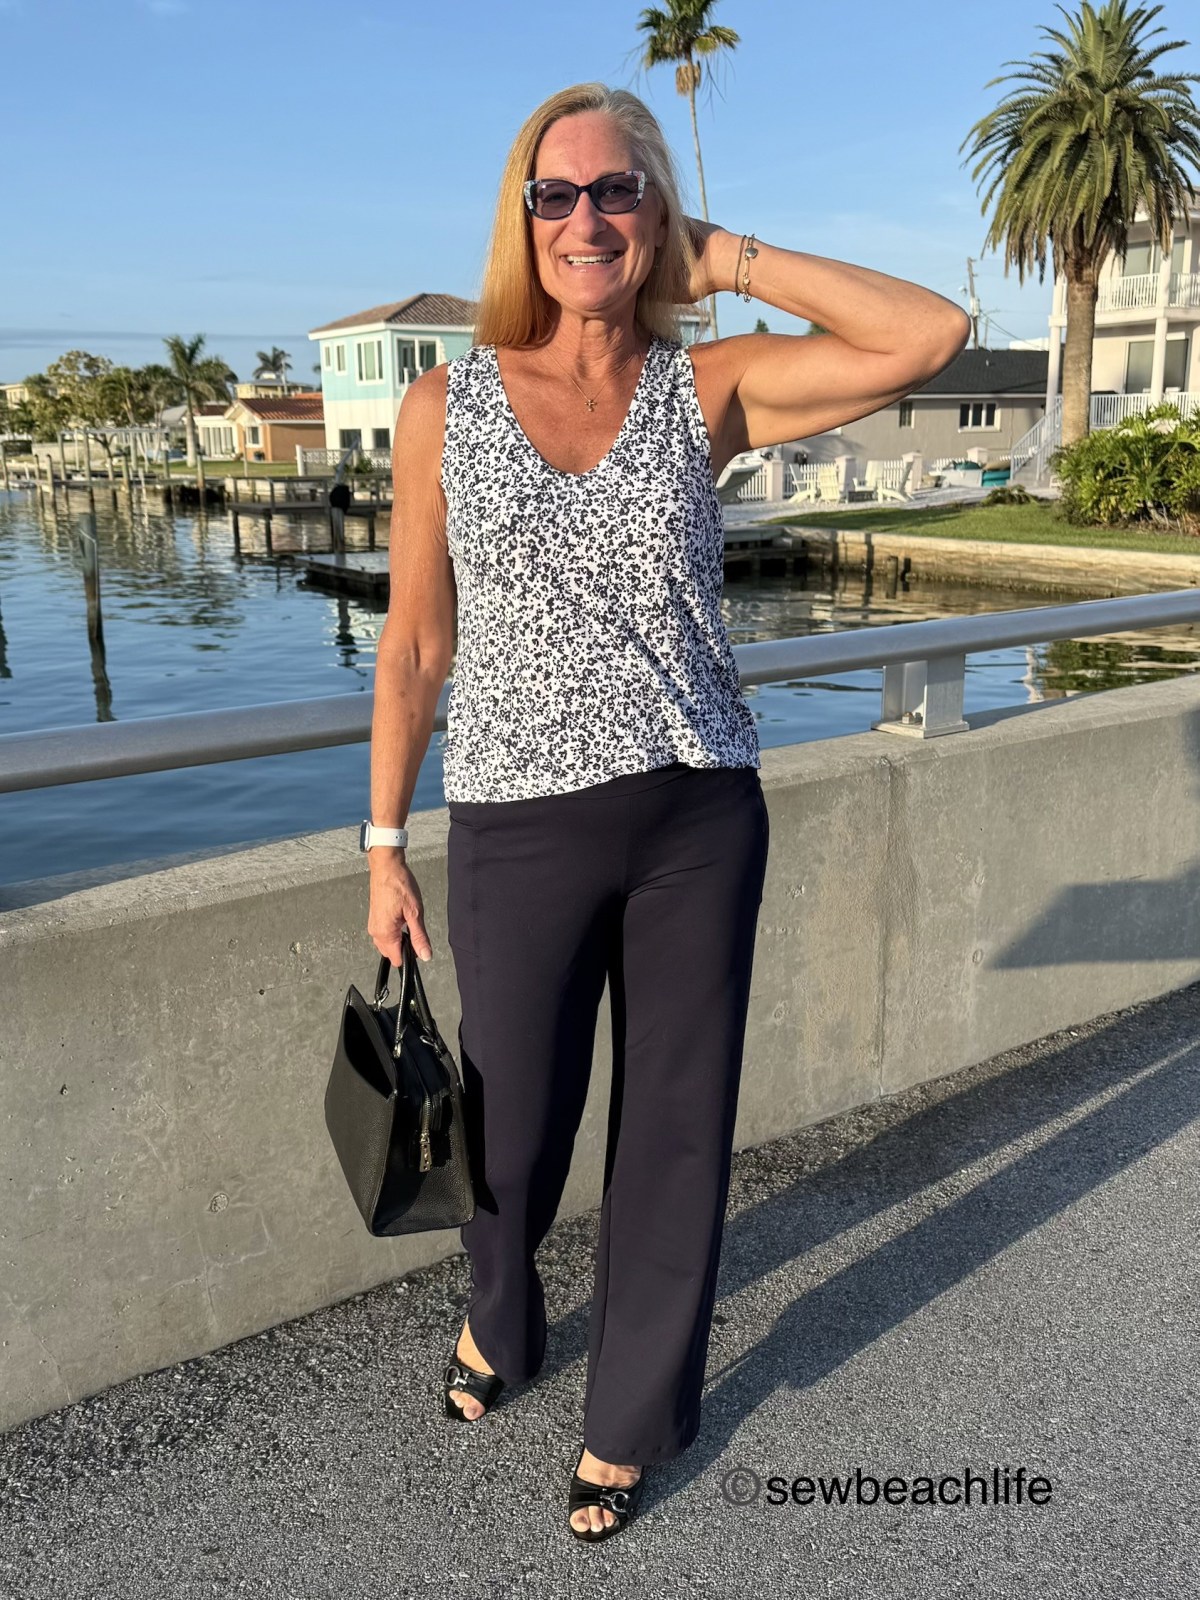
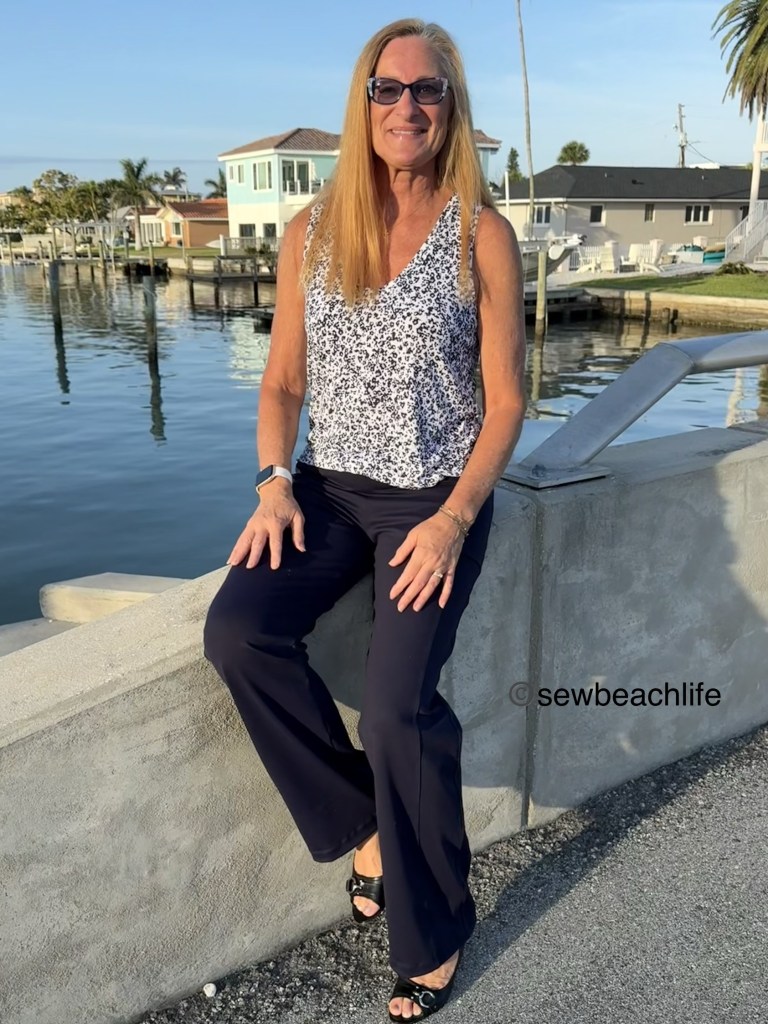
I love the super dressy work appropriate look. Grab a jacket or cardigan and you’re ready for work or church. The best part of all? They are super comfortable!
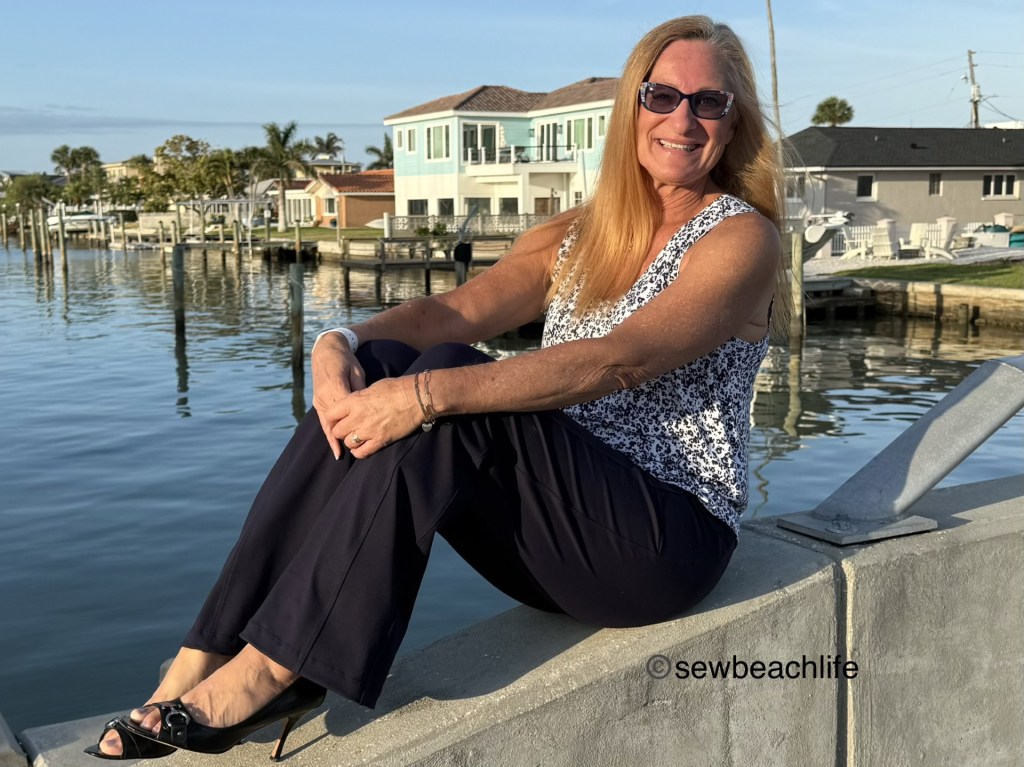
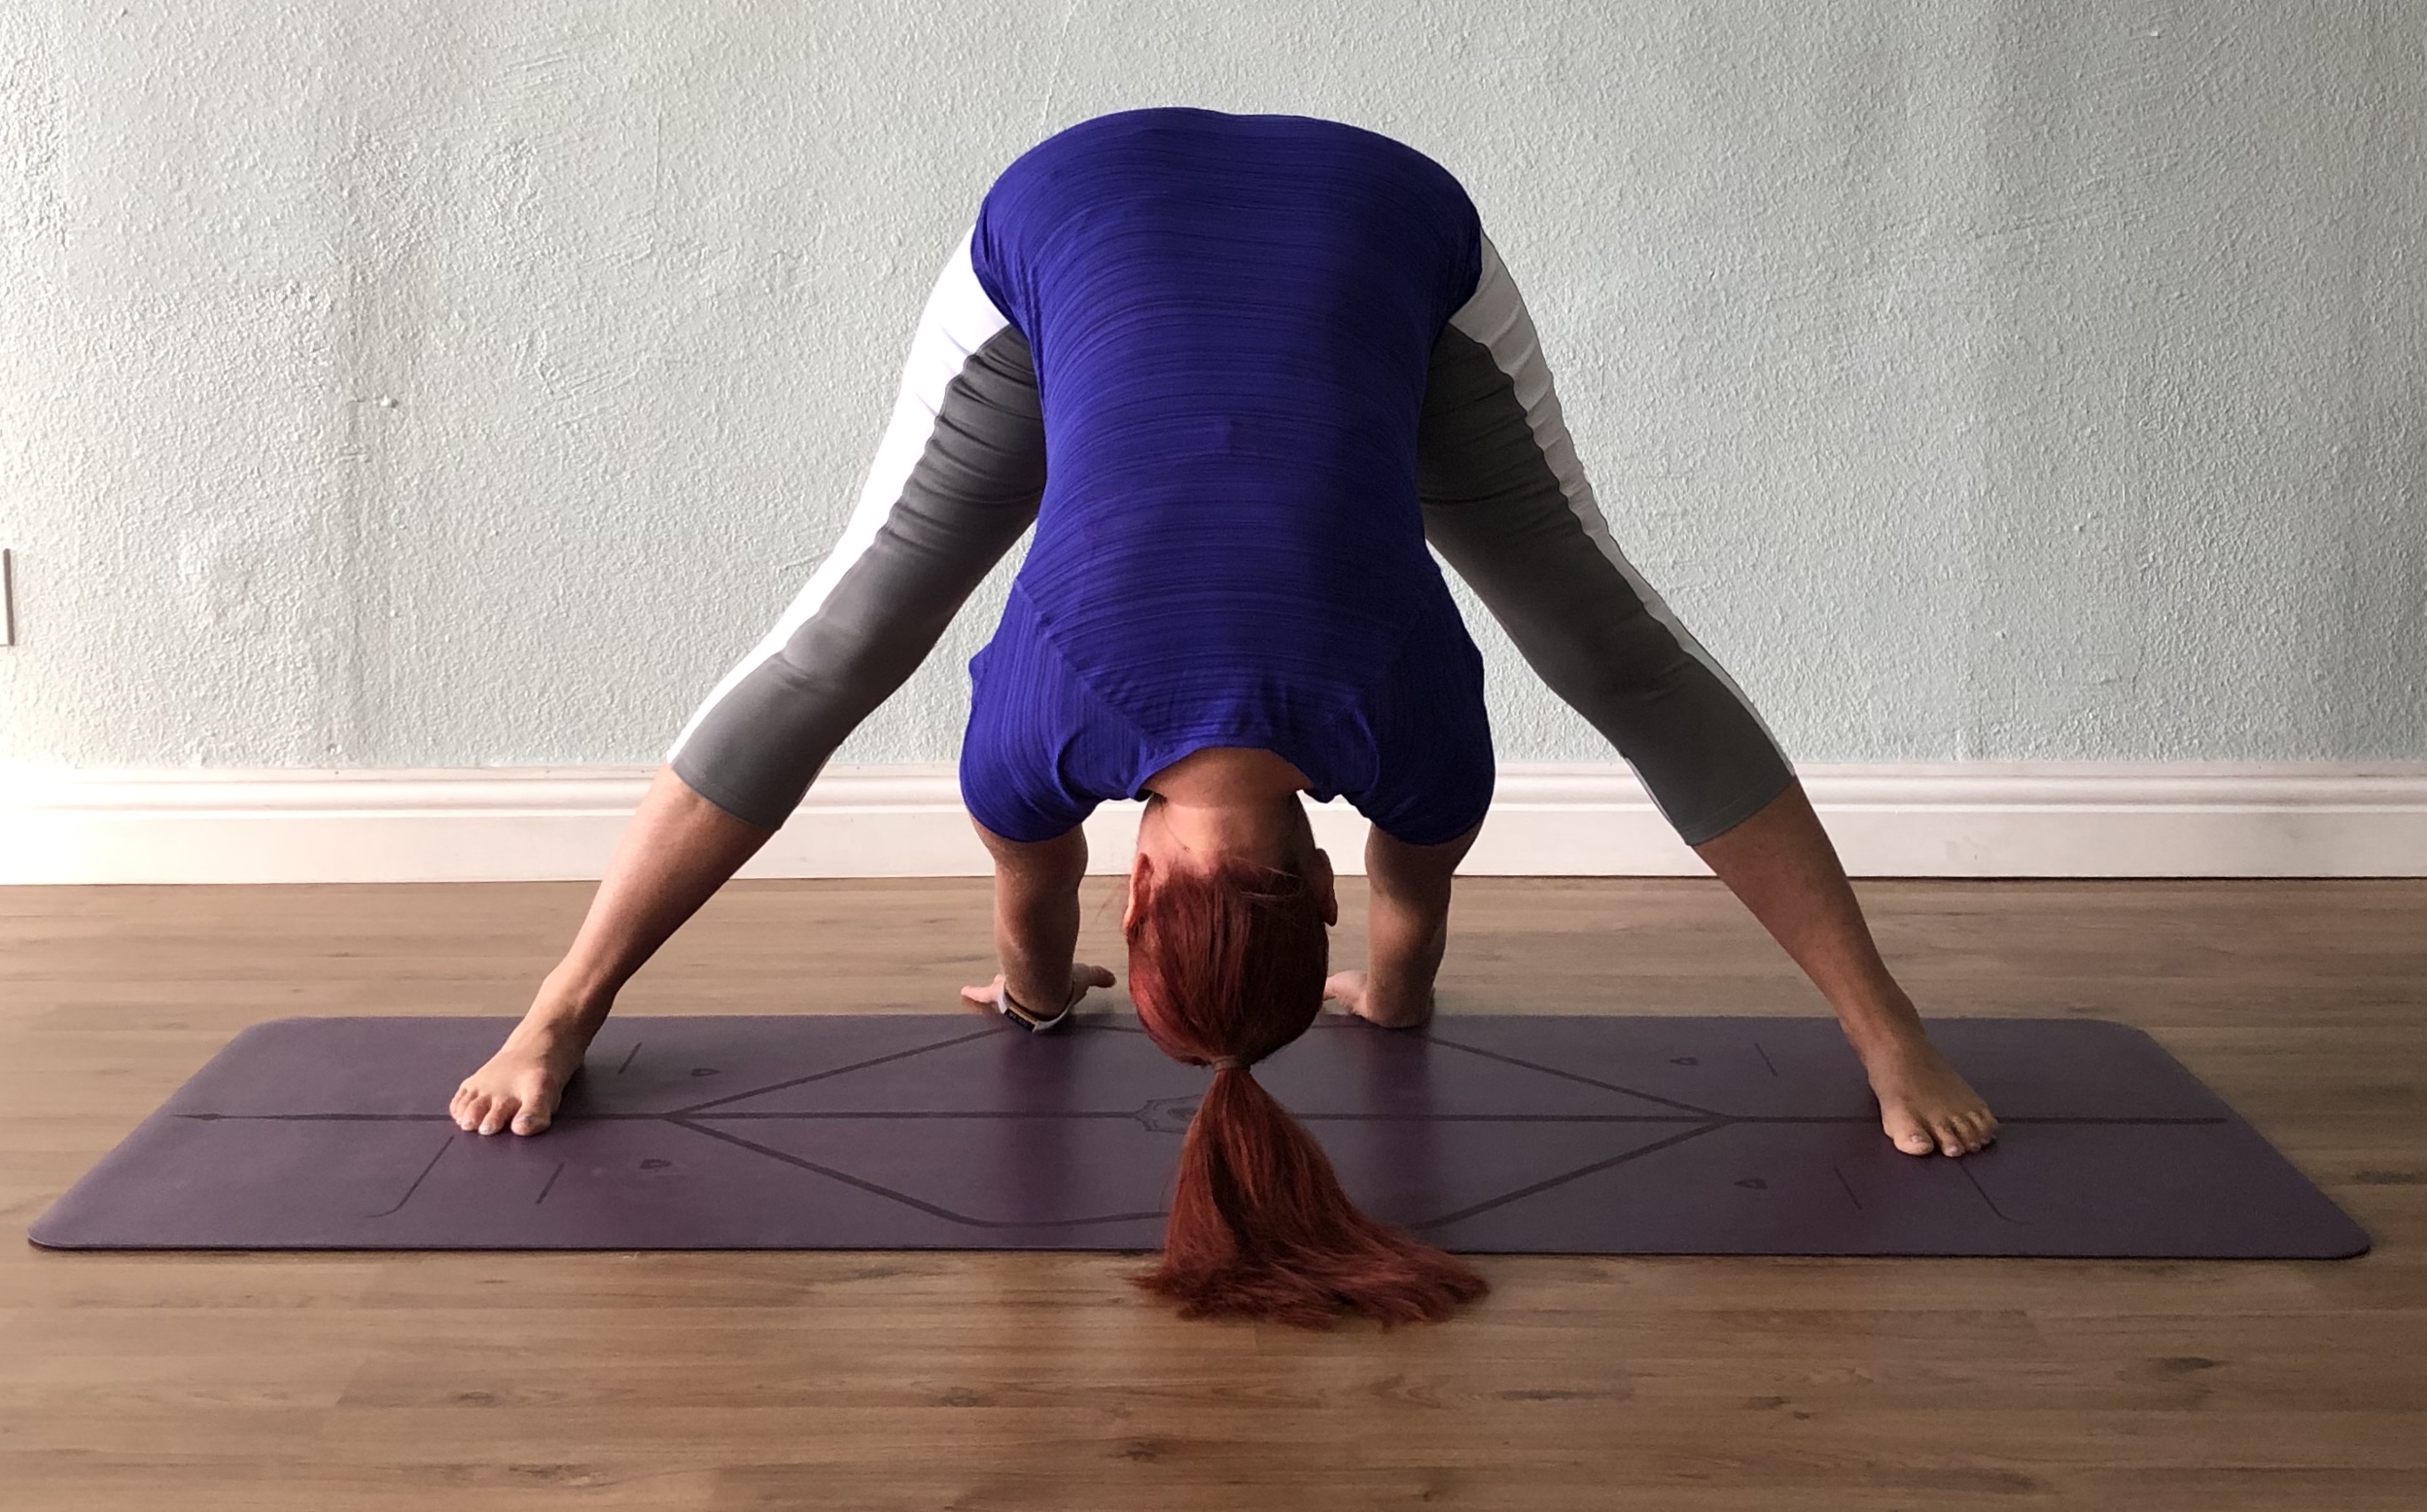
You can bend or stretch, sit or stand, and the leggings move comfortably with you.
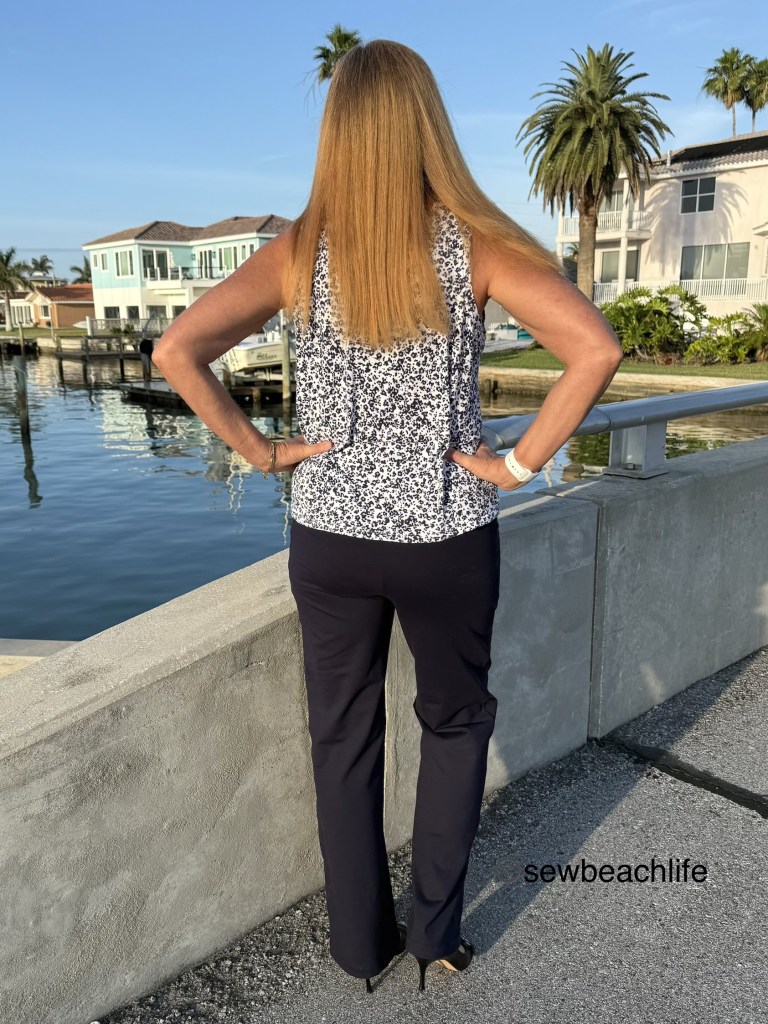
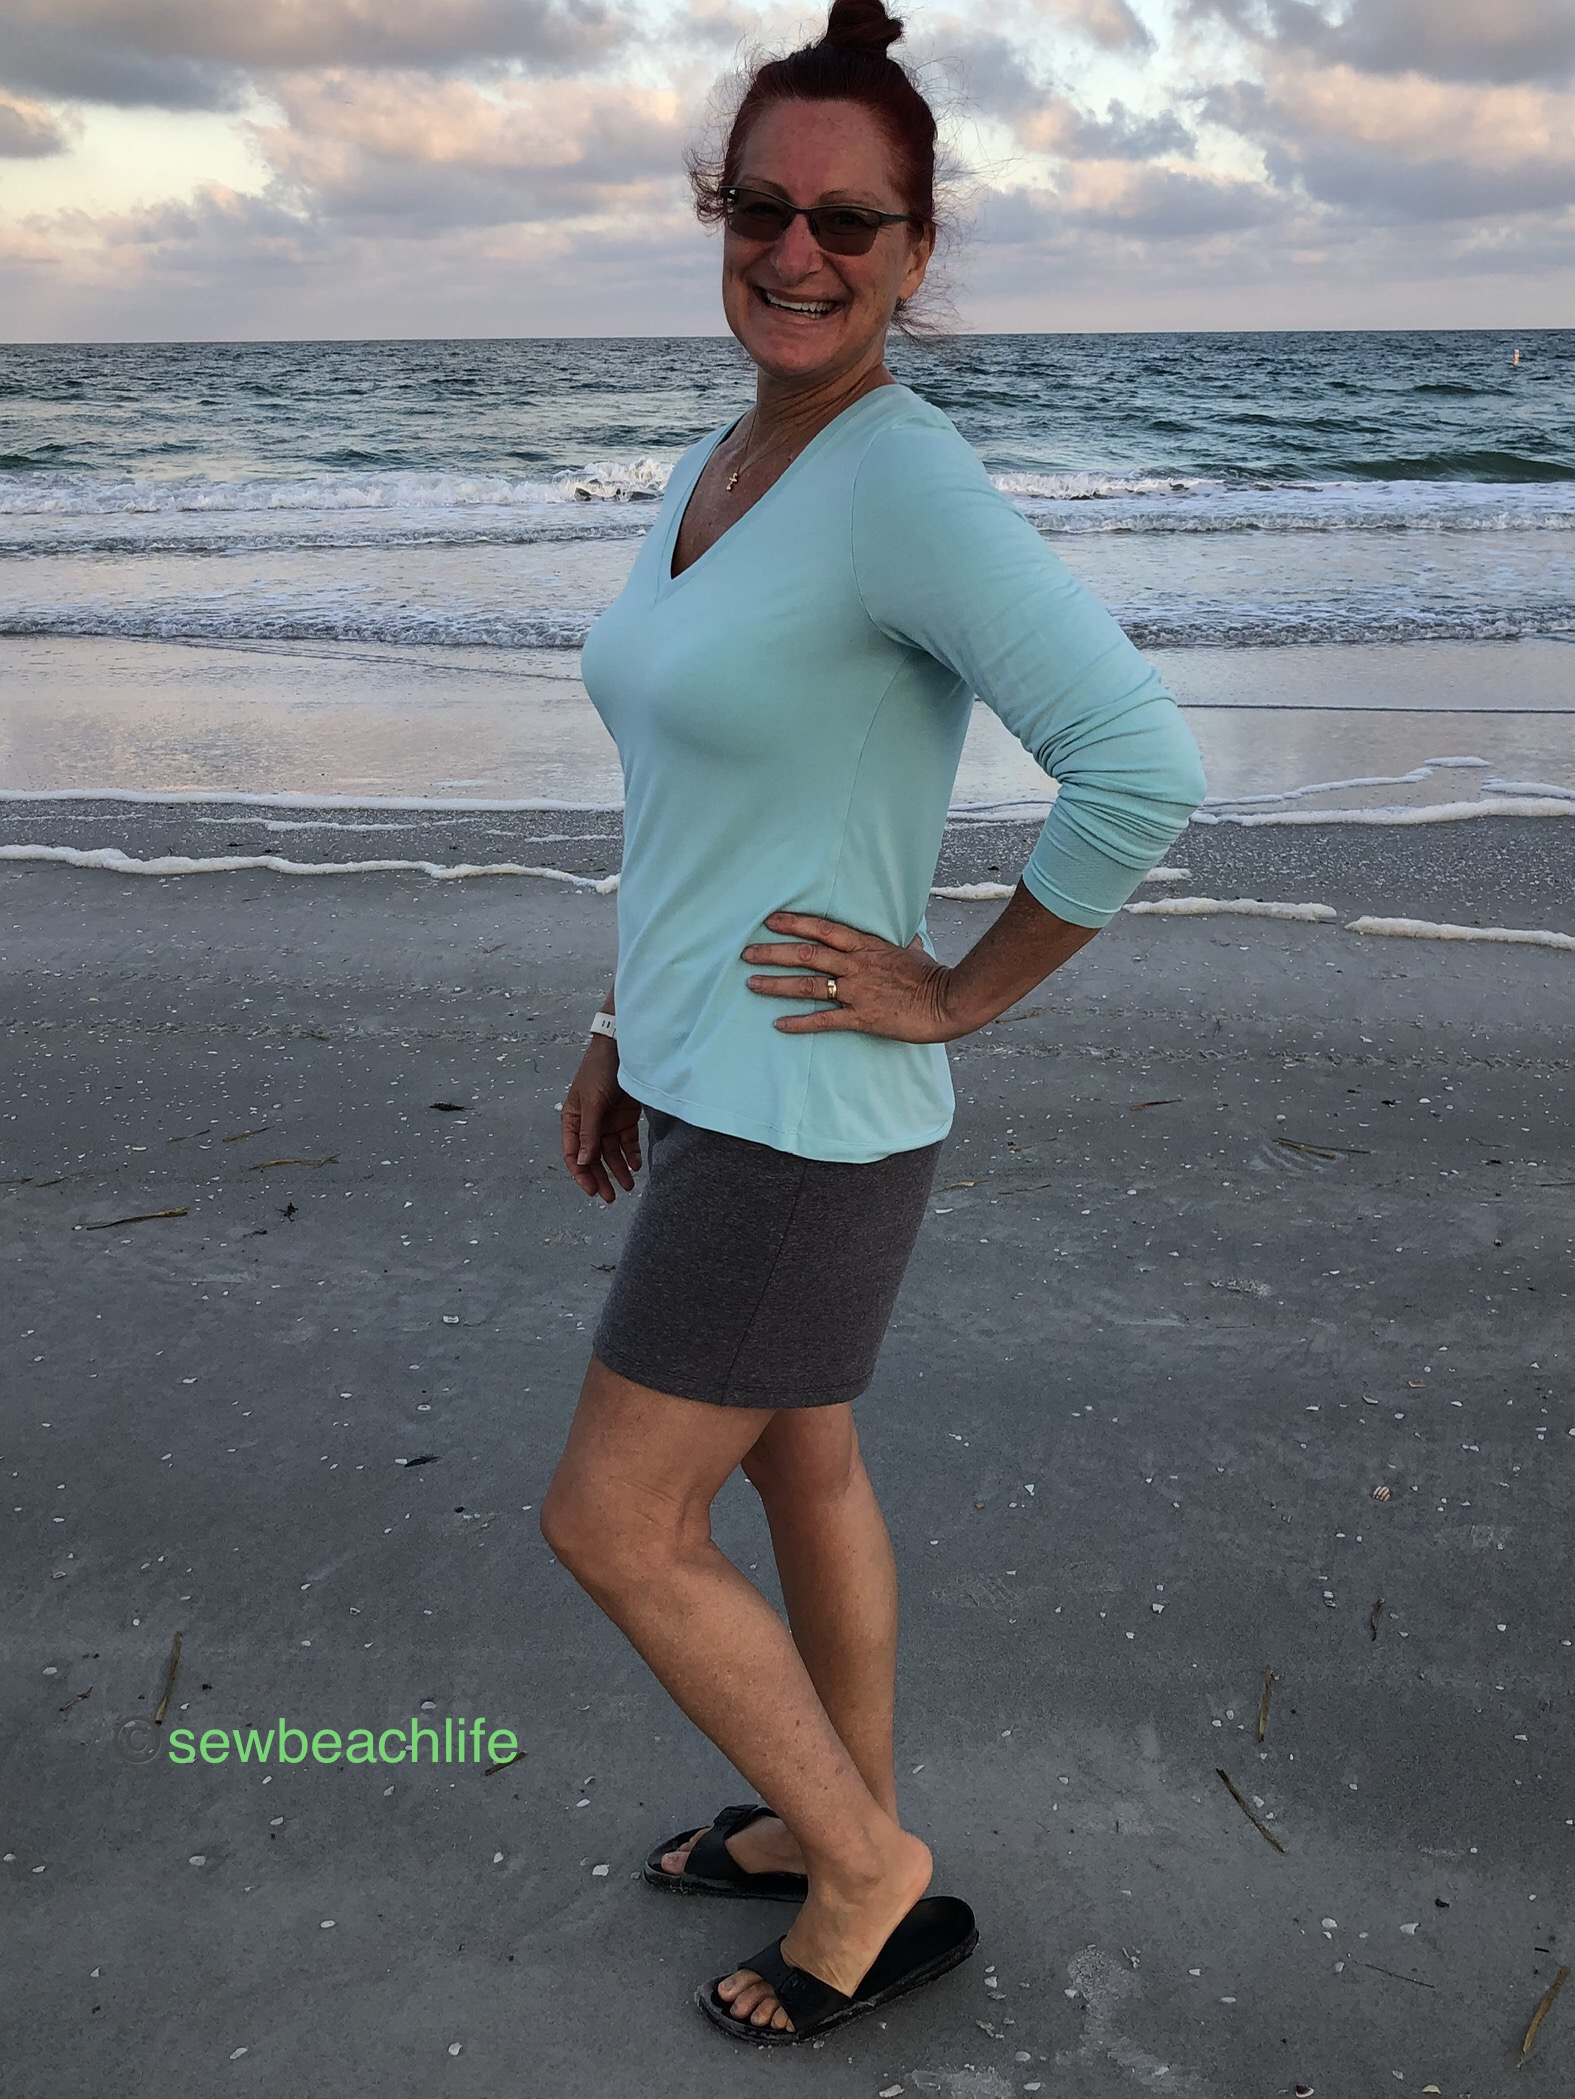
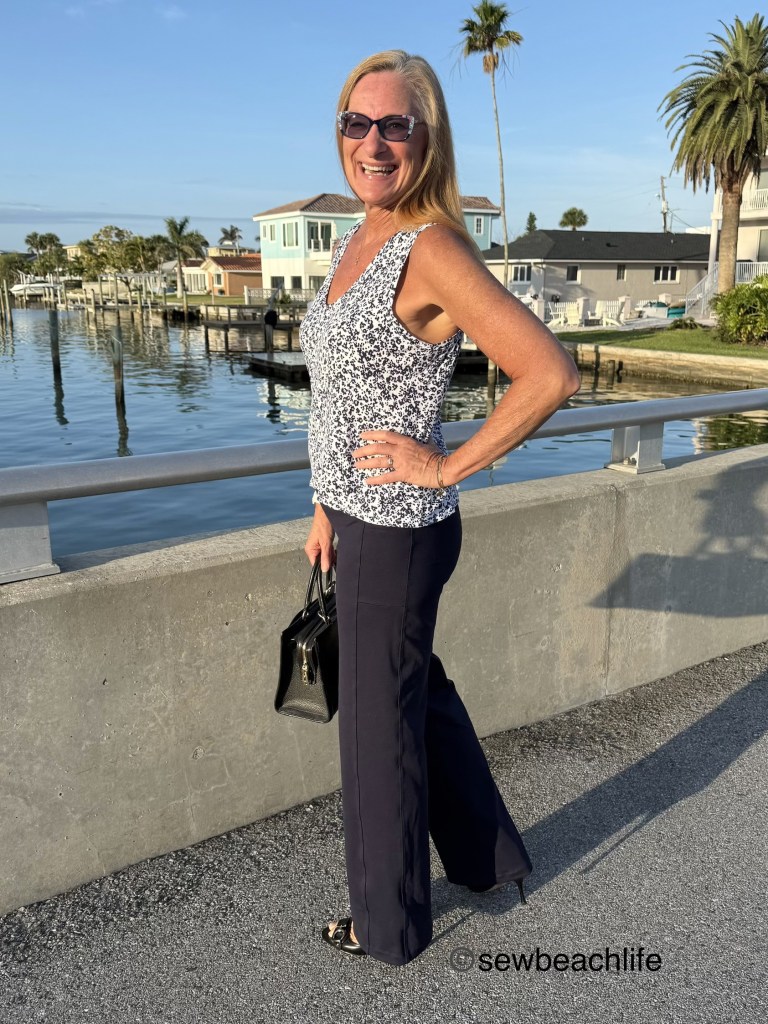
The back fits as nicely as the front, with a smooth fit over waist and hips, turning into straight legs or a gradual bubble at the hem. The bubble leg looks super fun, but I am such a practical person, that I had to sew a pair that I really needed before sewing a pair just for fun.
Though it’s getting too warm here in Florida to wear pants on the regular, these are going to get so much use in the winter. Did I mention that the pattern includes petite, regular, and tall options? Super helpful for this tall girl!
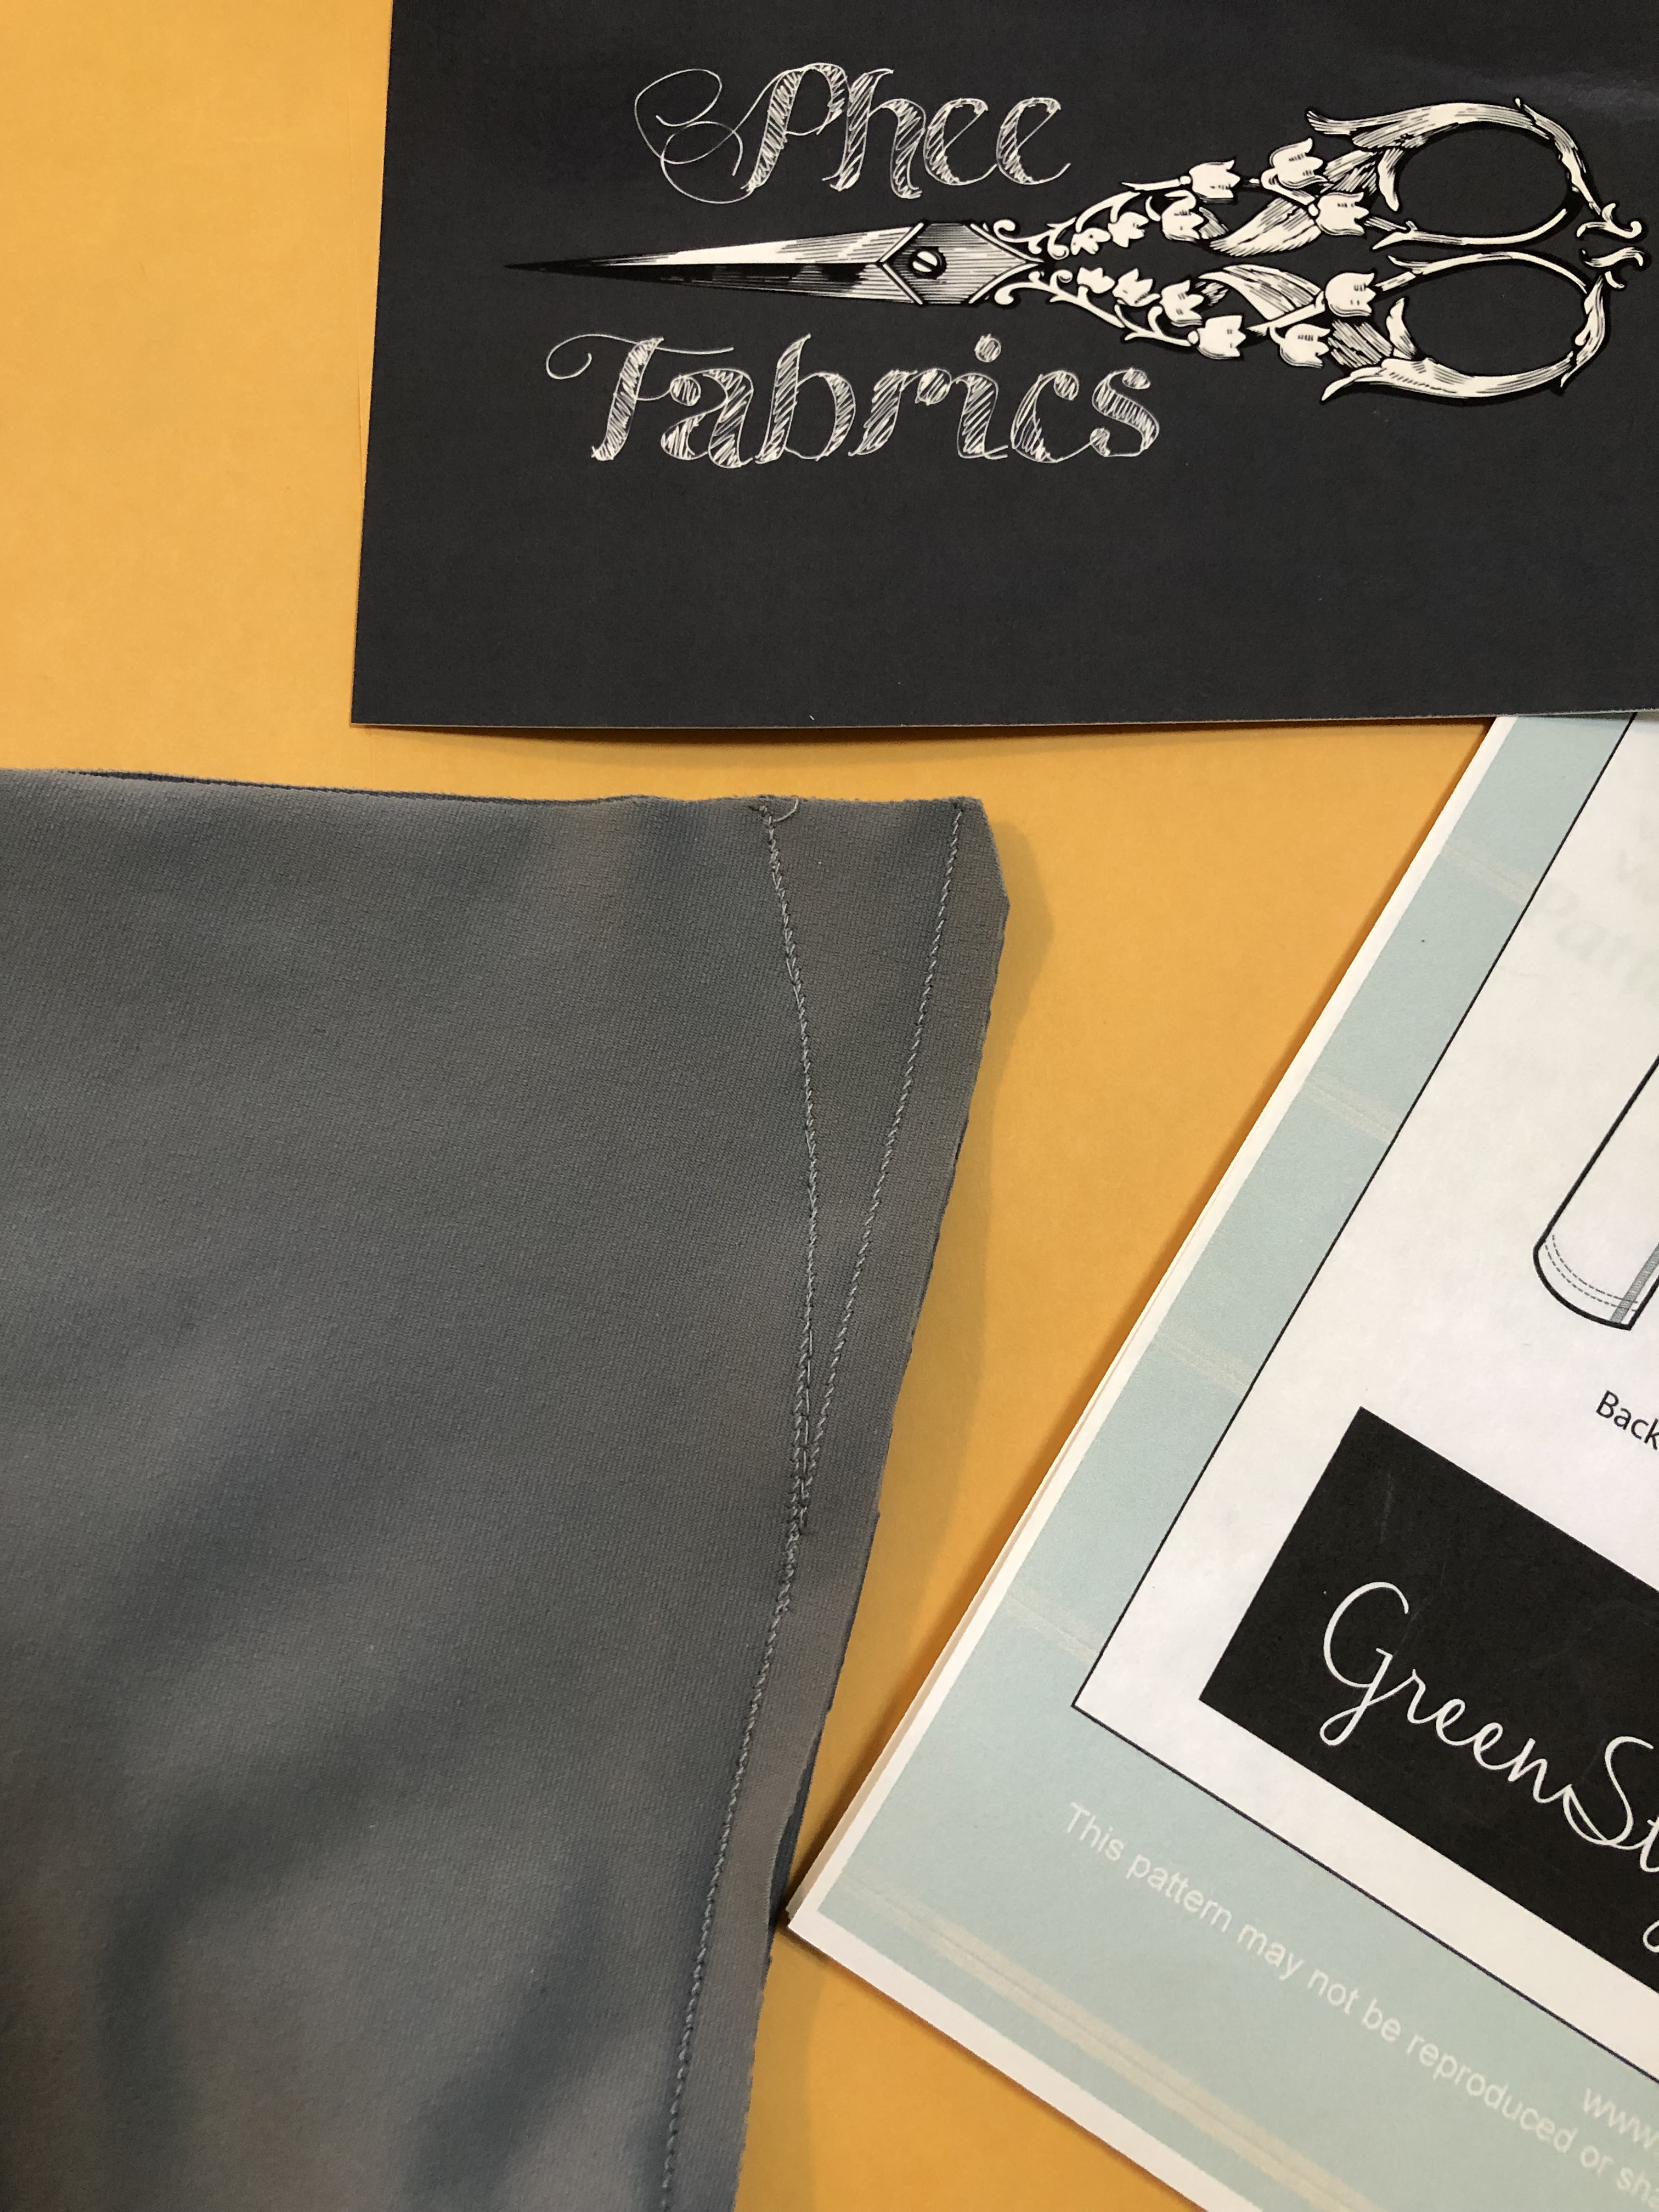
I frequently use a reverse triple cover stitch on my Babylock Triumph to accent the seam lines of leggings and sports bras. It’s super fun to use variegated thread or a contrasting color for an extra pop of color. I contemplated doing that here, but in the end decided on a simple narrow coverstitch in keeping with the dressy look I was going for.
There’s no need to sit and ponder whether you need another leggings pattern 😉 because these are so unique, you definitely need them! Another thing to love about Greenstyle (besides the excellent drafting) is that their size range is so vast. With waist measurements from 24 through 53 inches, and hip measurements from 33 through 62 inches, along with the options for petite, regular and tall lengths, the pattern has been tested on real bodies of all shapes and sizes. For reference, I made size D2. I probably should have used the size D1 waistband, since that’s where my waist measurement falls, but I figured I could always make the waistband smaller, and I had already traced and cut out the size D2 without thinking.
The details:
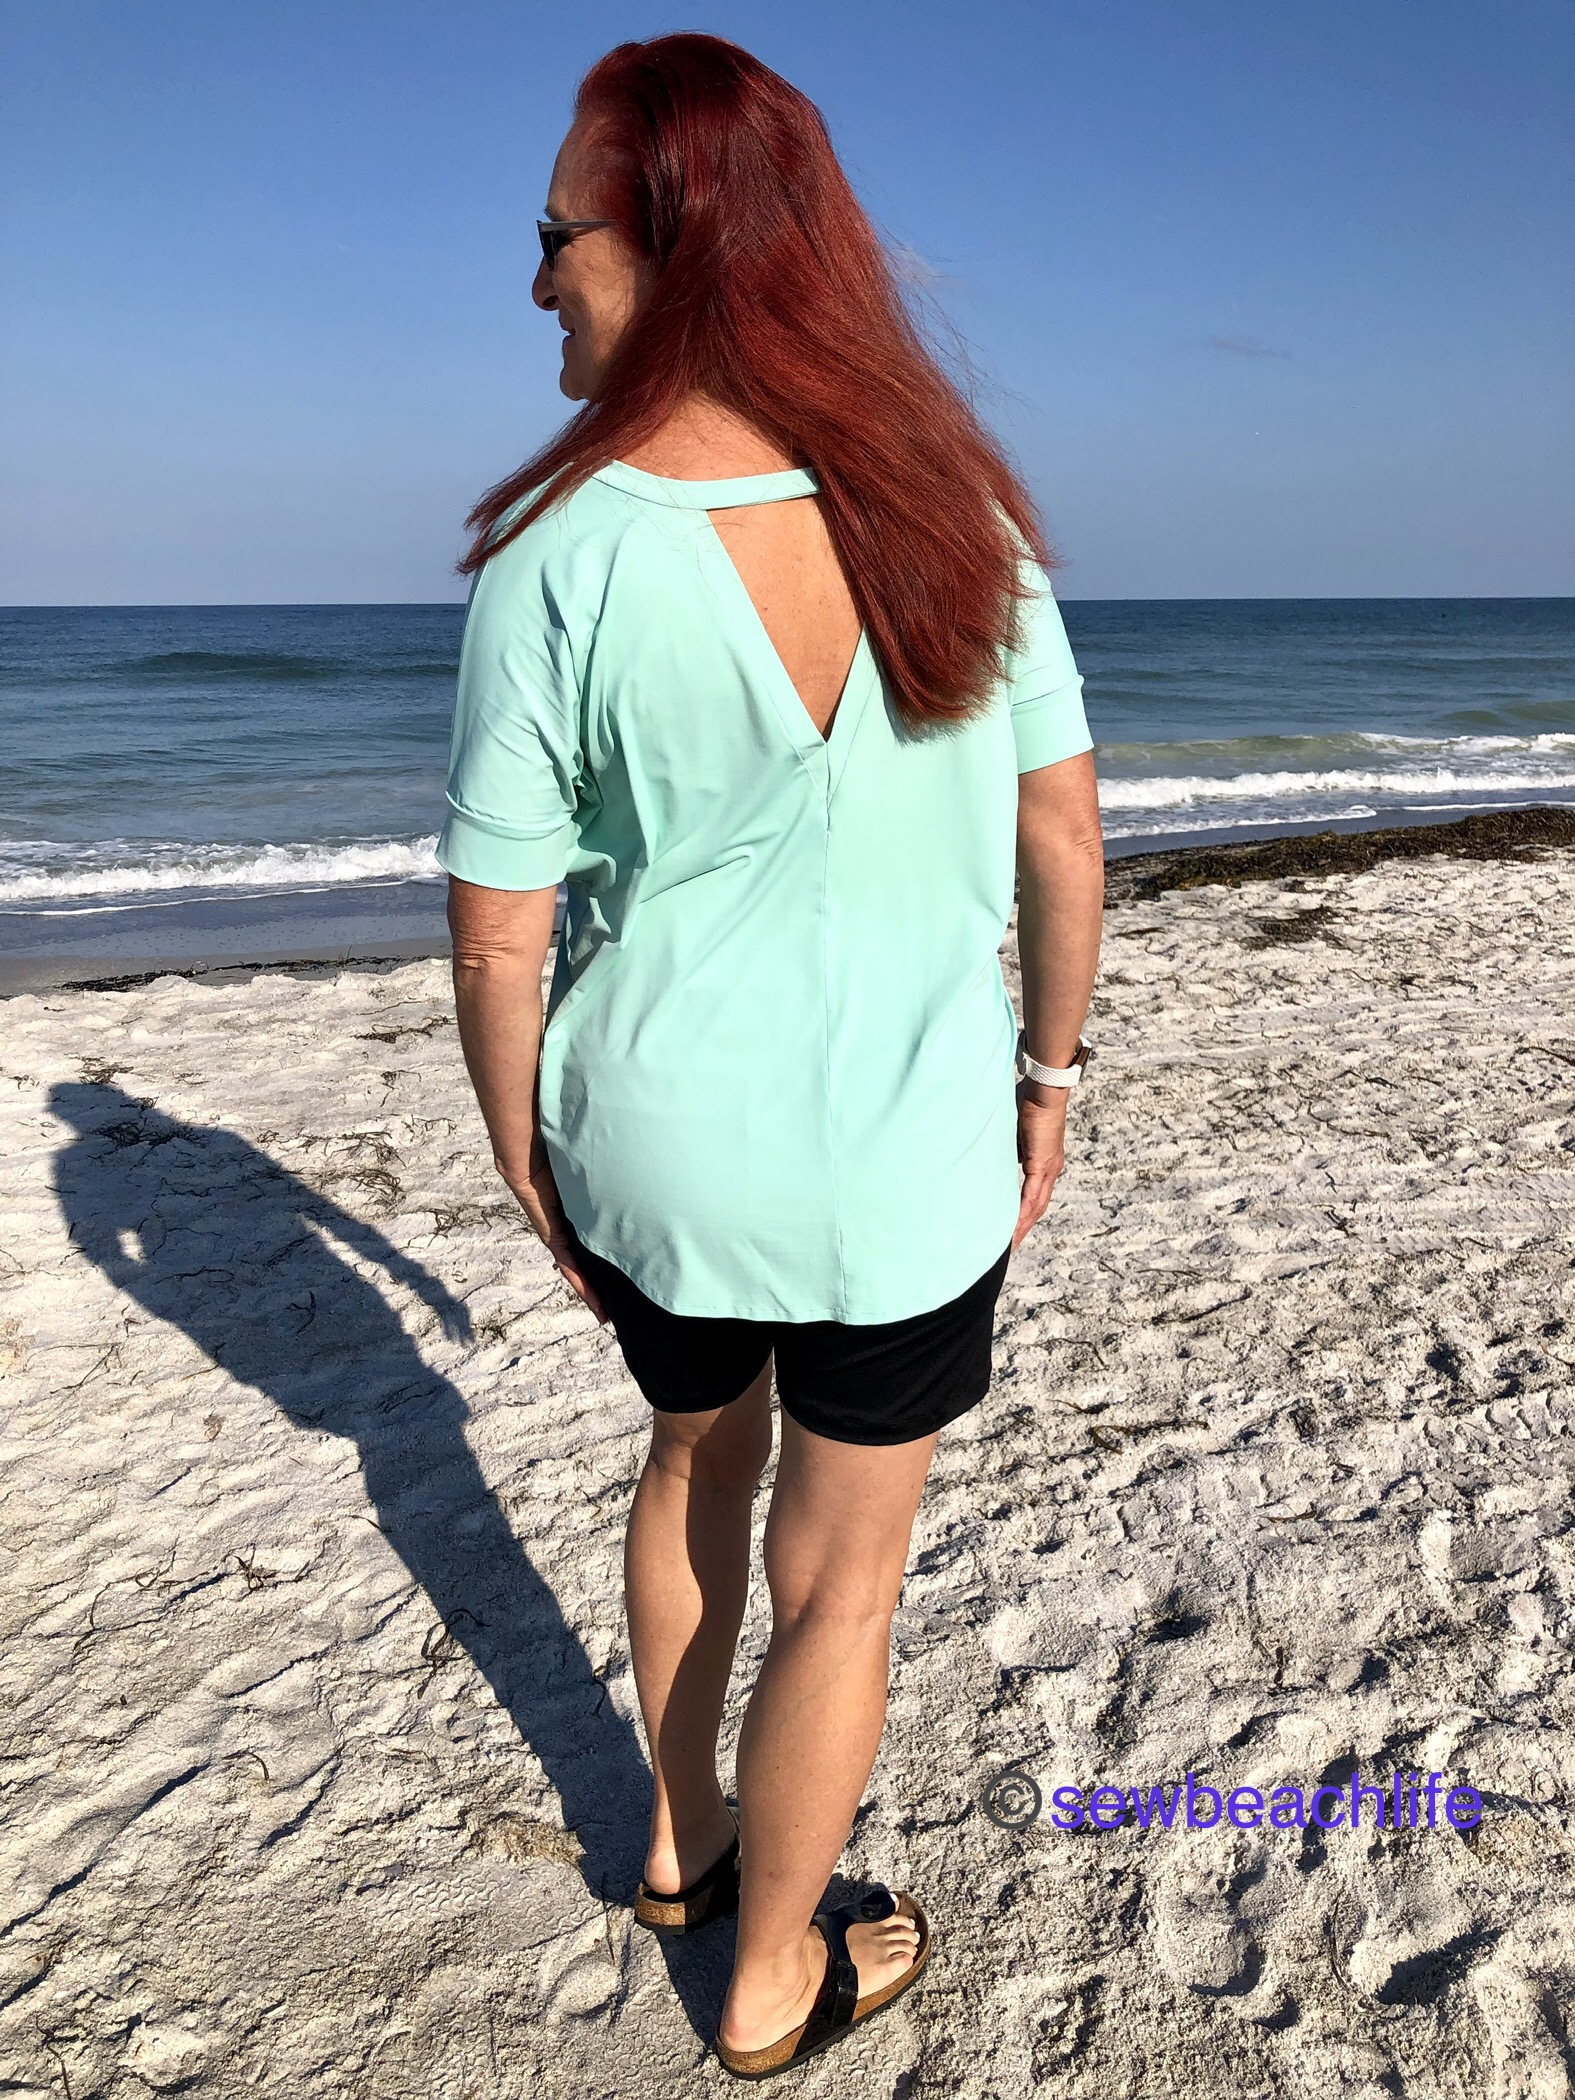
I used navy nylon/spandex supplex for my Volare Leggings. They are shown worn with one of my Azure Tank tops, which you can read more about here.
Thank you for reading and sharing my love of patterns, sewing, fabric, and cute new clothes. The links to GreenStyle may be affiliate links (if I did them properly!) which means that I may earn a few pennies if you use my links without it costing you anything extra. Since this is my blog and represents me, I always give my honest opinion about any patterns, fabric, or supplies that I talk about. I do like knowing whether the time I spend writing posts actually interests people enough that they take a look at the patterns I review, but I write for me. It’s one more creative pursuit that I hope is helpful or interesting to others. I write to share my love of sewing and to encourage others to love it as much as I do! ❤