My 2026 Greenstyle Fit Capsule Makes

It’s nice to have a little challenge to spur on your sewing, especially if it’s been a minute since you’ve made a new outfit. Greenstyle has an annual challenge to sew at least three new items using their patterns during a four week period in the spring. I looked at it as a mini capsule if I were going away for a weekend. Items that worked with clothing I already made, and filled a hole in my wardrobe.

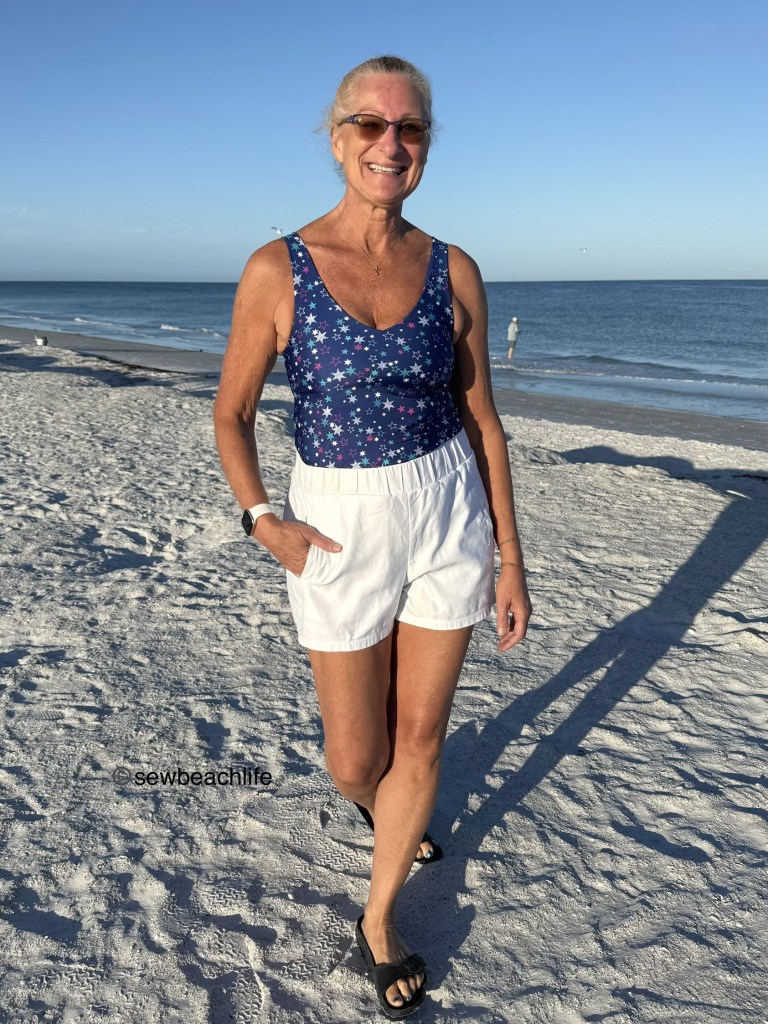
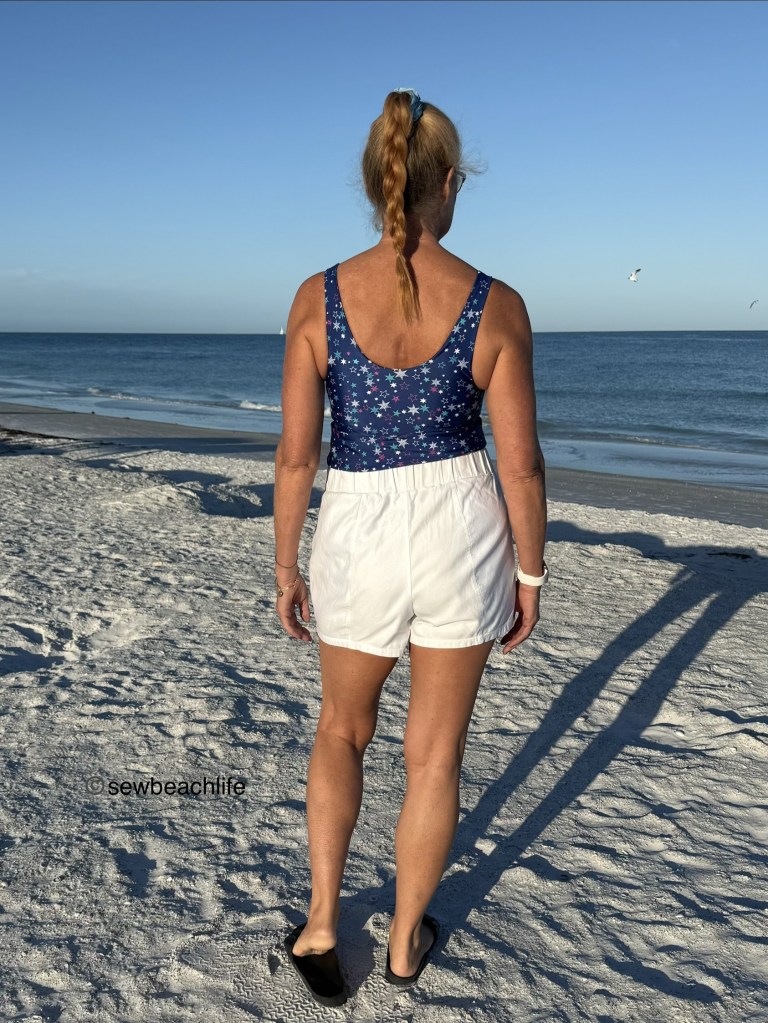
My first two makes were Bobbi Brami‘s. I love that they have a built-in bra, and that they are super comfortable. I’ve worn the blue star print Brami to step class with Moxi bike shorts. It also looks great with my white Windward Shorts. This is a great outfit for walking around, shopping, or running errands.

I love the smooth fitting bodice that tucks in so that the waistband of my shorts show.
I always choose the V-front and U-back when I make Bobbi Brami’s. It’s my favorite combo!

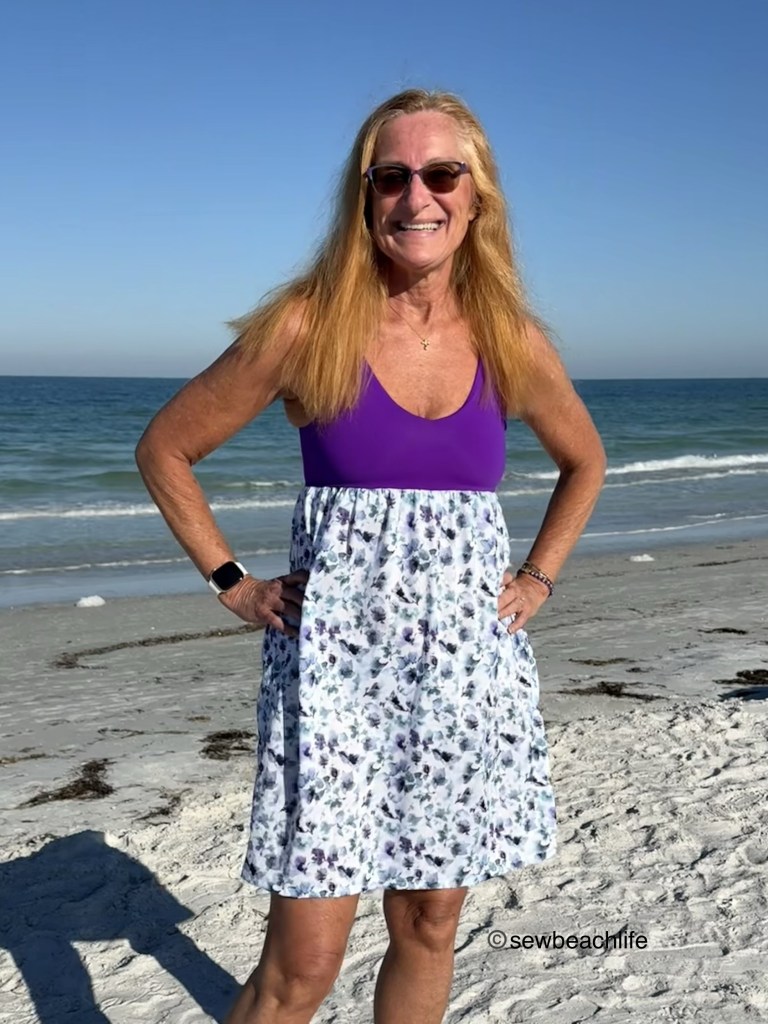
The second Bobbi Brami was cut at bra length, and hacked into a dress. Simply cut two rectangles which when sewn together will be at least 10-12″ greater in circumference than your hips. This is super important if you’re using woven fabric for the skirt. A pretty dress is essential for a weekend away. It can be worn to brunch or dinner. It can also double as a nightgown, so one more opportunity for wear!

Cotton voile makes an easy breezy skirt for this dress
I love having a fitted bodice with a flowy skirt.

I used french seams to sew the side seams of the delicate cotton voile together to ensure that no matter how often this gets washed and worn, it won’t fray. French seams are made by sewing your fabric wrong sides together with a narrow seam allowance, then pressing and sewing the fabric with right sides together, with a slightly wider seam allowance. I love that my Bernina 790+ needle position can be moved five places to the right and five places to the left of center. This really helps with incrementally making your seam allowance bigger or smaller.

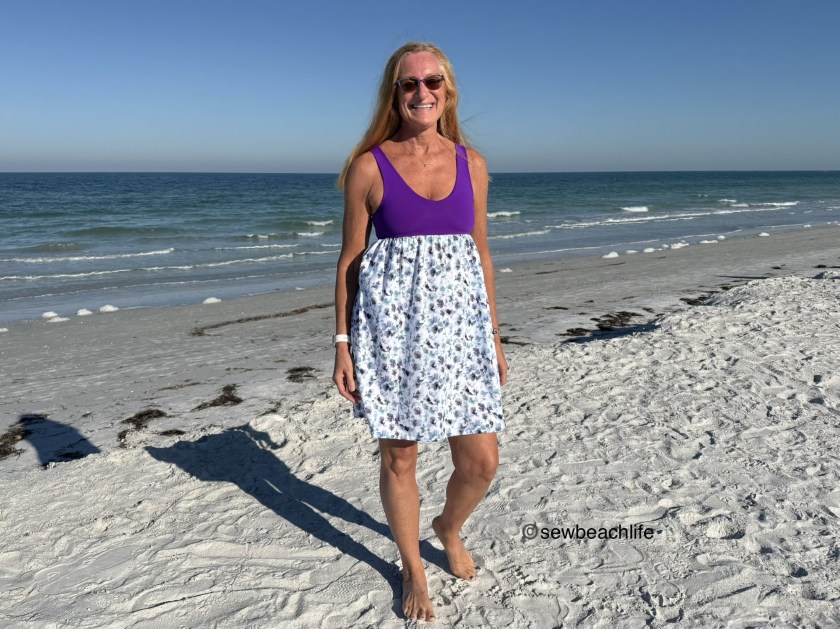
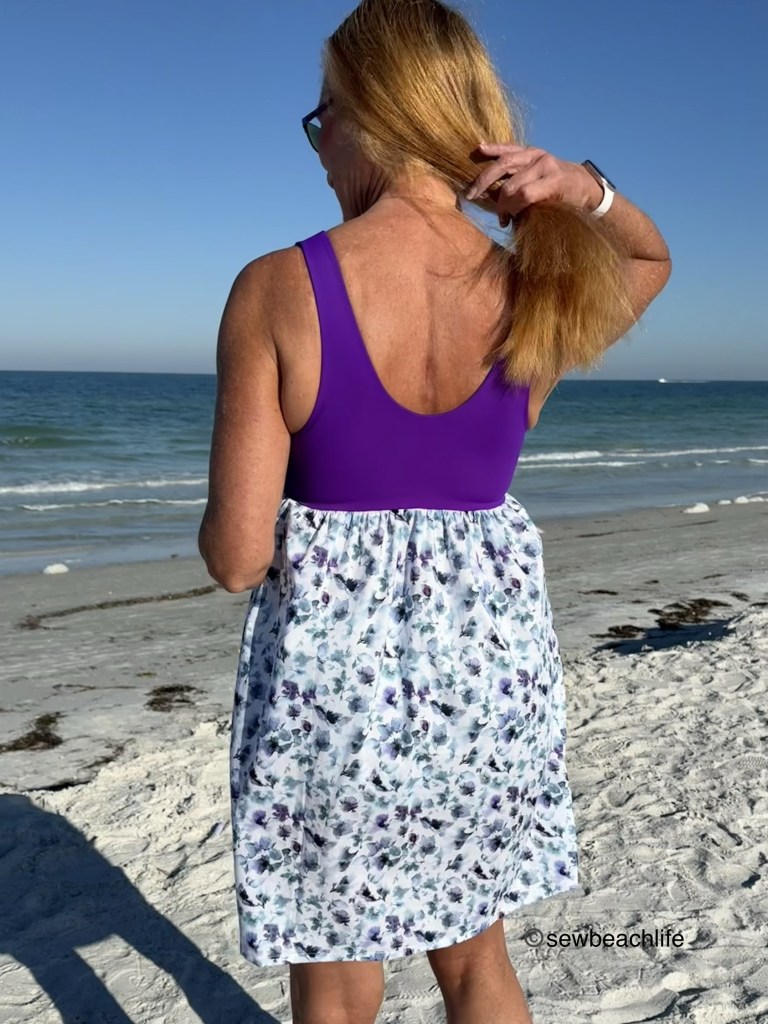
I love the empire waistline look of this hack. With the cotton voile skirt, it’s giving me Bridgerton vibes. Since my hips are 40″, I cut two pieces of fabric 27″ wide by 25″ high. Even with the extra fabric the french seams take up, the skirt is perfectly flowy. I used a 1″ hem which is substantial enough, and ended the skirt at just above the knee. I am tall though, so you could probably get a more couture 2″ or 3″ hem out of that 25″ height if you’re shorter than me.

I gathered the top of the skirt until it was the same width as the outer layer of Brami, and attached it with a zigzag stitch, finishing it off with a 4-thread overlock. You can use a soft flowy knit or a soft and/or drapey woven for the skirt. It would look lovely with a maxi length skirt, though I would reinforce the waist seam with elastic if the fabric is heavy or maxi length.

The third and fourth pieces are an Endurance Bra and Tangled Swim Bottom swimsuit. As mentioned in this post, I always hack the Endurance to not have a zipper. And for this make, I also shortened the band by 5/8″ at center front, up to 1-1/4″ at center back to give it a more “swimsuit” look.

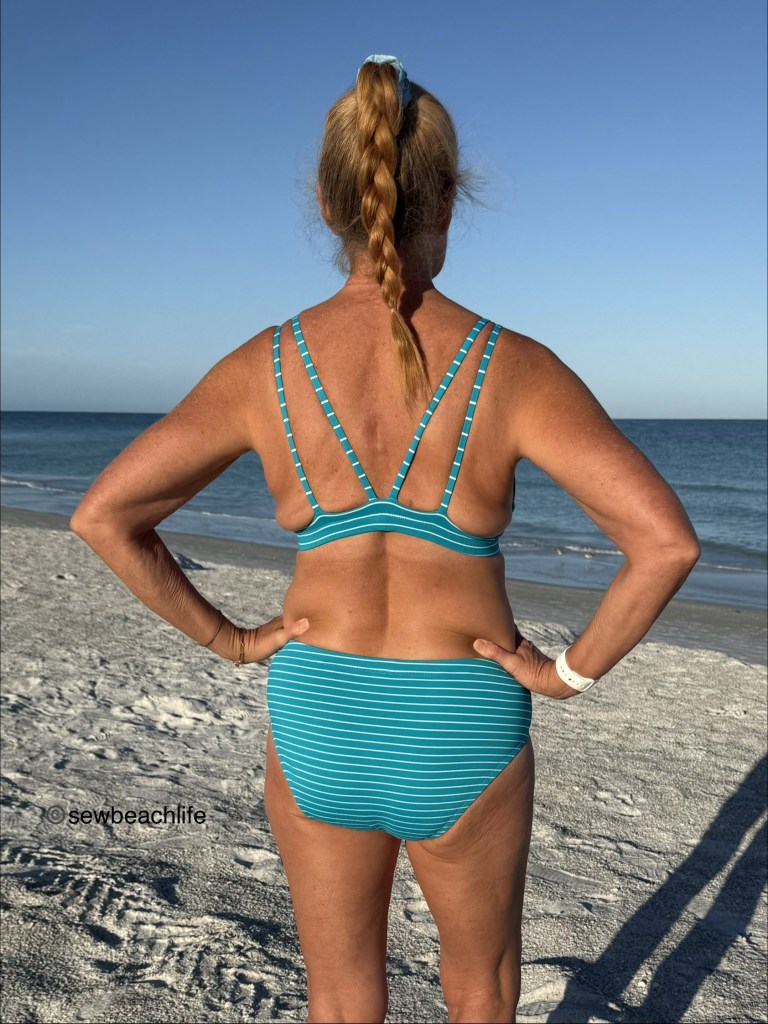
I used size 31D and hacked narrow double straps. The Tangled Swim bottom pattern has a separate waistband, but I was working with literal scraps of fabric and just added 1-1/8″ to the height of the bottoms so that I could turn the top under with 3/4″ wide swim elastic, just like you do with the 3/8″ swim elastic around the legs.

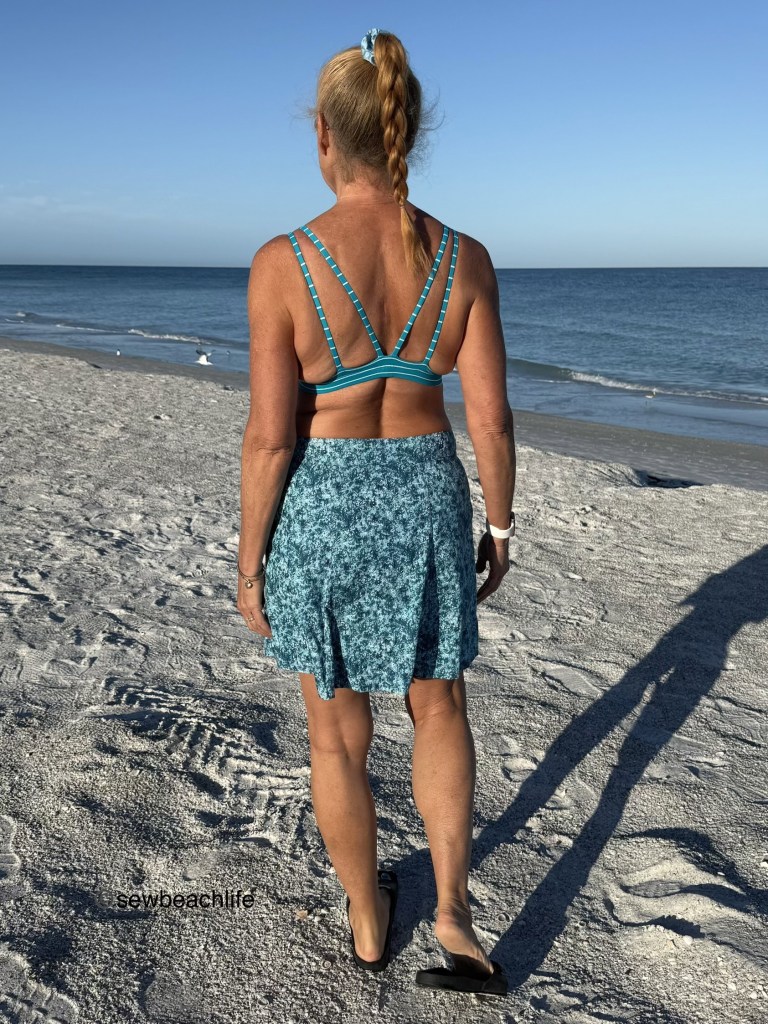
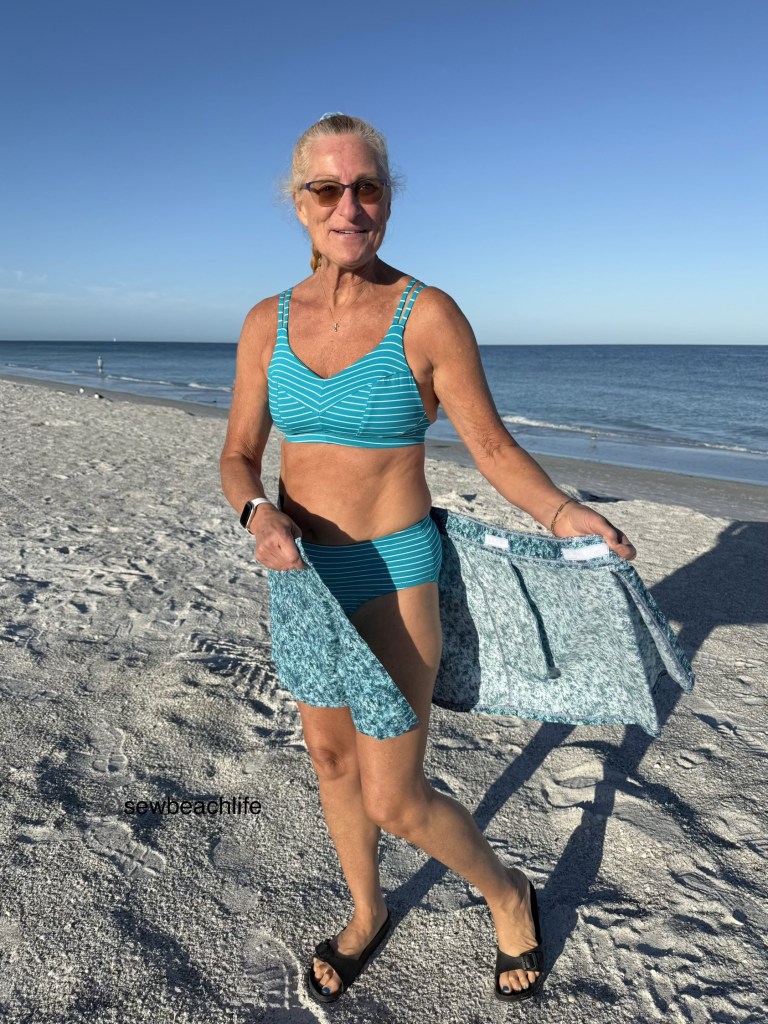
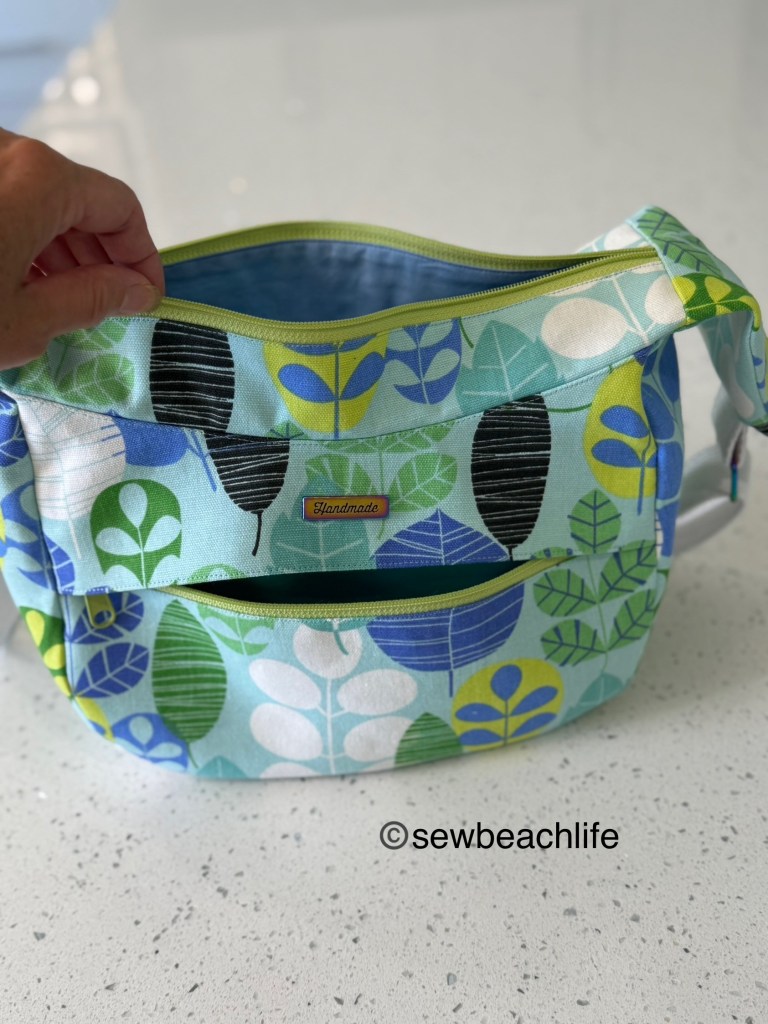
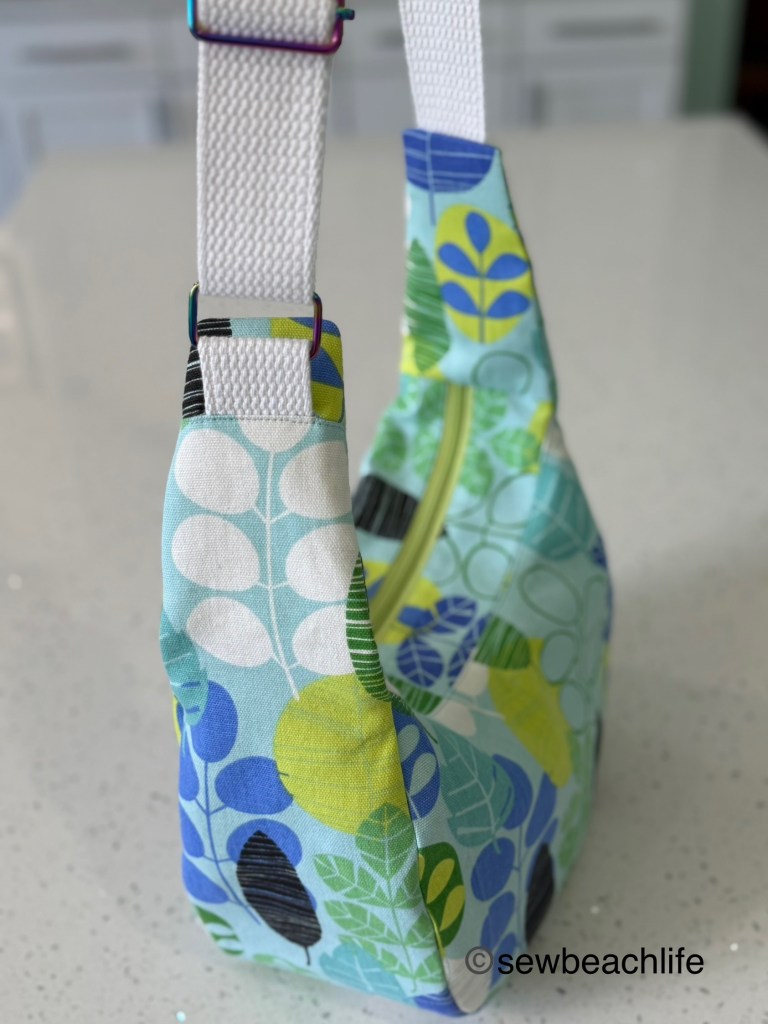
A previously made Tidal Skirt is perfect for throwing on over the swimsuit and walking to the beach. There are pockets for your phone or keys, and it would certainly be a great addition to my weekend bag.

All in all I love every piece I made. I didn’t photograph the combo, but my blue star print Bobbi Brami has turquoise stars in the print. So if you wanted a tankini look, you could pair the Brami with the Tangled Swim Bottoms for an additional swimsuit look.

The details:

The blue star print Bobbi Brami is a nylon spandex deadstock Speedo fabric called stars and stars.

The purple nylon spandex swim for the Bobbi Brami dress was from the sadly defunct Phee Fabrics. The white floral/leaf print cotton voile was from the also defunct JoAnn Fabrics.

The turquoise and white pencil stripe nylon spandex used for the Endurance Bra and Tangled Swim Bottoms was a larger scrap purchased from a fabric destash.

The elastic used in the Bobby Brami’s, Endurance Bra, and Tangled Swim Bottoms came from Wawak and Sew Sassy.

Thank you for reading and sharing my love of patterns, sewing, fabric, and cute weekend wear. The links to GreenStyle may be affiliate links (if I did them properly!) which means that I may earn a few pennies if you use my links without it costing you anything extra. Since this is my blog and represents me, I always give my honest opinion about any patterns, fabric, or supplies that I talk about. I do like knowing whether the time I spend writing posts actually interests people enough that they take a look at the patterns I review, but I write for me. It’s one more creative pursuit that I hope is helpful or interesting to others. I write to share my love of sewing and to encourage others to love it as much as I do! ❤

Trying Something New – Sewing A Sydney Bag

I like to challenge myself once in a while by making something totally different than what I usually sew. Greenstyle was testing the new Sydney Bag, so I signed up to test it. I’ve never made a “real” bag before. I’ve made a few lined tote bags, just making up my own patterns. But they were simple rectangles with pockets. Here was a real pattern with zippers, inner and outer pockets, and an adjustable strap.

I felt a bit intimidated, simply because it was so completely different than what I was familiar with. Don’t let the number of pattern pieces scare you. It just seems like a lot because there are outer main fabric, inner lining, and interfacing pieces.

No matter how many layers there were, I knew that my Bernina would have no problem sewing them all. It is truly the most fabulous sewing machine I have ever owned. If you’re ready to move beyond a basic model sewing machine, I recommend going to your local Bernina dealer and checking them out. It’s like driving a luxury car, once you’ve driven one, you can never go back to a “basic” model! 😉

The Sydney Bag tutorial walks you through every step whether you’re a beginner bag-maker like me, or you’ve made dozens of bags. There are two sizes: small and medium, I chose small for both of my bags, but I’m here to tell you that they are not tiny. They’re just the perfect size to hold all the things.

The shape is fun, and gives you so much space for all the things.

I used upholstery fabric for the main outer pieces of both my Sydney Bags, and quilting cotton for the lining. The pattern calls for 1-1/2″ wide webbing for the strap. You can get polypropelene webbing in all manner of colors, but I don’t care for the “plastic like” feel of of polypropelene, so I used cotton webbing. I also ordered nylon webbing in black for future bags. It feels similar to the cotton webbing.

Something to keep in mind about cotton and nylon webbing is that you will need to turn the raw edge under twice and stitch it. Whereas you can simply melt the edges of polypropelene. The pattern calls for a yard and a half of webbing for the strap, and I used it on the coral print bag. Even when worn as a crossbody bag by this tall girl, it is longer than necessary. So when I made the leaf print bag, I made it 9″ shorter.

Cutting the webbing 9″ shorter than the pattern called for still gave me plenty of length to wear the bag as a cross-body.

Along with the zipped exterior pocket, there’s an internal pocket. The pattern calls for stitching the internal pocket down the center, making two pockets. I went rogue and added another line of stitching 1-1/2″ from the center line to make a space for a pen or pencil. I don’t like having to dig around when I need a pen, and just adding a second line of stitching customized the pocket for my needs.

My pen stays perfectly in place, and is easy to access.

The pattern calls for the zipper pulls to be on the left when you are looking at the exterior pocket. And I followed the tutorial on my first bag.

Zipper pulls are on the left when closed.

When I carry a bag, I like the strap adjustment to be in the front for security sake. I also like my zipper pulls to the front for the same reason. Since I carry my bags over my right shoulder, this means I like my zipper pulls on the right hand side.

When making the leaf print bag, I simply reversed the direction the pull end of the zipper was facing when following the tutorial. This means I pull the zippers from the front to the back when opening while carrying. Either way works fine, just pay attention during construction if you plan to switch it around like I did.

You can fit so much stuff in the Sydney bag. I’ll be traveling next month and I’m excited that I’ll have no problem carrying my phone, wallet, tissues, lens wipes for my glasses, lip balm, lip gloss, a ponytail holder, hand sanitizer, hand lotion, a book, gluten and dairy free snacks, and a water bottle, leaving my hands free to lug a suitcase and perhaps hold my cardigan if I get too warm while waiting in line at the airport.

I finished up my first bag while my daughter, son-in-law, and granddaughters were visiting. My daughter and granddaughters liked it, and the eldest granddaughter wanted to pose holding it.

She doesn’t need to carry a purse yet, but doesn’t she look adorable?

One of the funnest parts of sewing is choosing fabrics and notions. If you’re already a bag-maker, you probably have several sources for fun hardware. I wanted a quick turn-around and knew that Wawak ships quickly. So I ordered my zippers and hardware from them. I love the fun rose gold rectangle ring and adjustable slider buckle on the coral print bag. I went with simple white zippers so that the fabric and hardware would stand out.

I went for a pop of color and used light green zippers on the second bag. I love the rainbow finished hardware and think it’s so cool how the colors change from purple, blue, and turquoise to pink, green, and rose gold. So I used a rainbow rectangle ring and adjustable slider buckle on the leaf print bag, as well as adding a cute rainbow finish “Handmade” label bar tag to the upper pocket flap.

I took my time centering it on the upper flap to ensure that it wouldn’t be in the way of any stitching. Speaking of stitching, I love how close I can get to the edge when top-stitching just by adjusting the needle position on my machine. It’s those added features that make a high end machine so helpful when sewing.

Don’t get me wrong, you can make this bag on even the most basic machine. I’ve sewn many, many garments and a couple of tote bags on my inexpensive Brother machine. I’m just still excited about having a nice machine even though it’s been a year and a half since I got it. My best tips are to use a fresh needle in the proper size for your fabric (I went with a size 90/14 needle since my fabric was thicker and a bit stiff) and to follow the tutorial, looking at the illustrations carefully if you get confused. They are very helpful.

My final tip is this: DON’T BE AFRAID TO CHALLENGE YOURSELF AND TRY SOMETHING NEW AND DIFFERENT! My second bag went much more quickly than the first because I felt confident in what I was doing. I’ve sewn literally hundreds of garments, so it’s weird that I let myself feel intimidated about sewing a bag pattern. It’s like anything else, the more you do it, the better you get at it. I absolutely will make this pattern again, and won’t be afraid to tackle other bag patterns.

The bottom gusset can be cut as one piece or two. The two-piece option is perfect when your fabric print is directional. All the leaves are upright using the two-piece method.

The details:

The new Sydney Bag pattern from Greenstyle is great! Both my bags were made with upholstery fabric and quilting cotton from my stash. All hardware and notions were purchased from Wawak. (Don’t forget to order washable basting tape, as it’s a big help when installing zippers!)

The blue dress I’m wearing is the Savannah Dress, which you can read more about here.

The links to GreenStyle may be affiliate links (if I did them properly!) which means that I may earn a few pennies if you use my links to purchase, without it costing you anything extra. Since this is my blog and represents me, I always give my honest opinion about any patterns or supplies that I talk about. I hope that the time I spend writing posts and sharing sewing tips interests people enough that they take a look at the patterns I review. I write to share my love of sewing, patterns, fabric, and supplies, and hope that it encourages others to love sewing as much as I do! ❤ Try something new and maybe challenge yourself a little bit today.