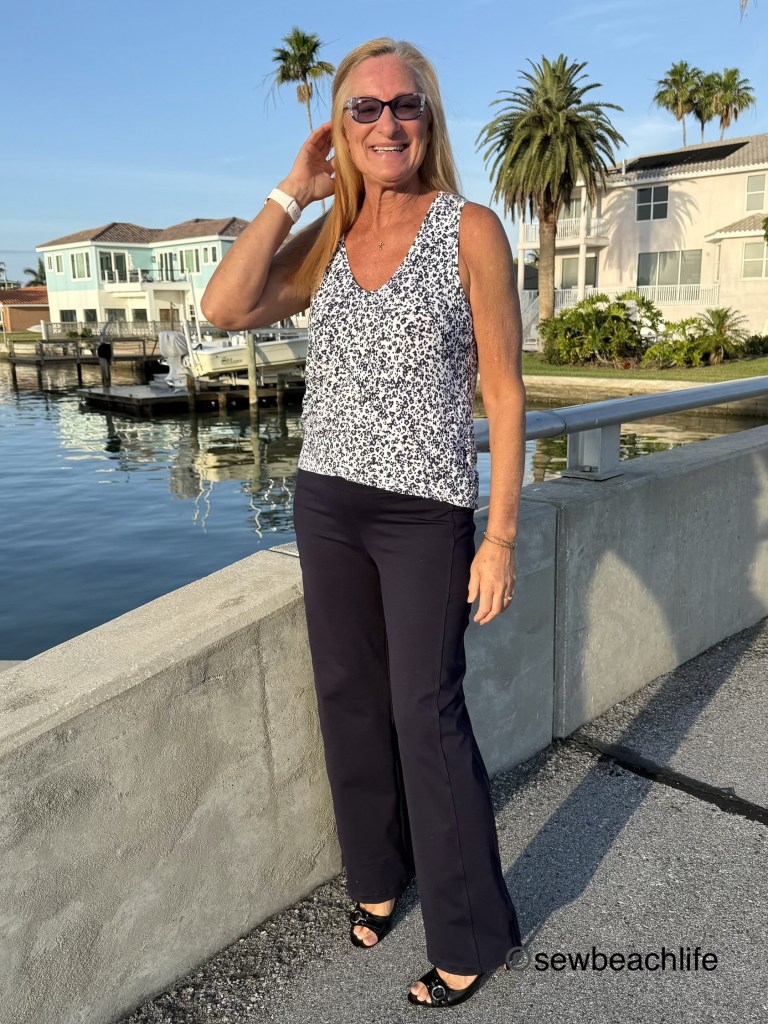
As a Florida girl, I live in tank tops. We have summer weather basically ten or more months a year. So anytime I see a tank pattern, I’m instantly interested! I really like that the Monaco Tank has so many options: a V-neck (which is going to be my next make!); crew neck; or a cool modern square neck. The crew and square necklines can have a placket. The back can be a high neck, scoop neck, or racerback. Options galore!
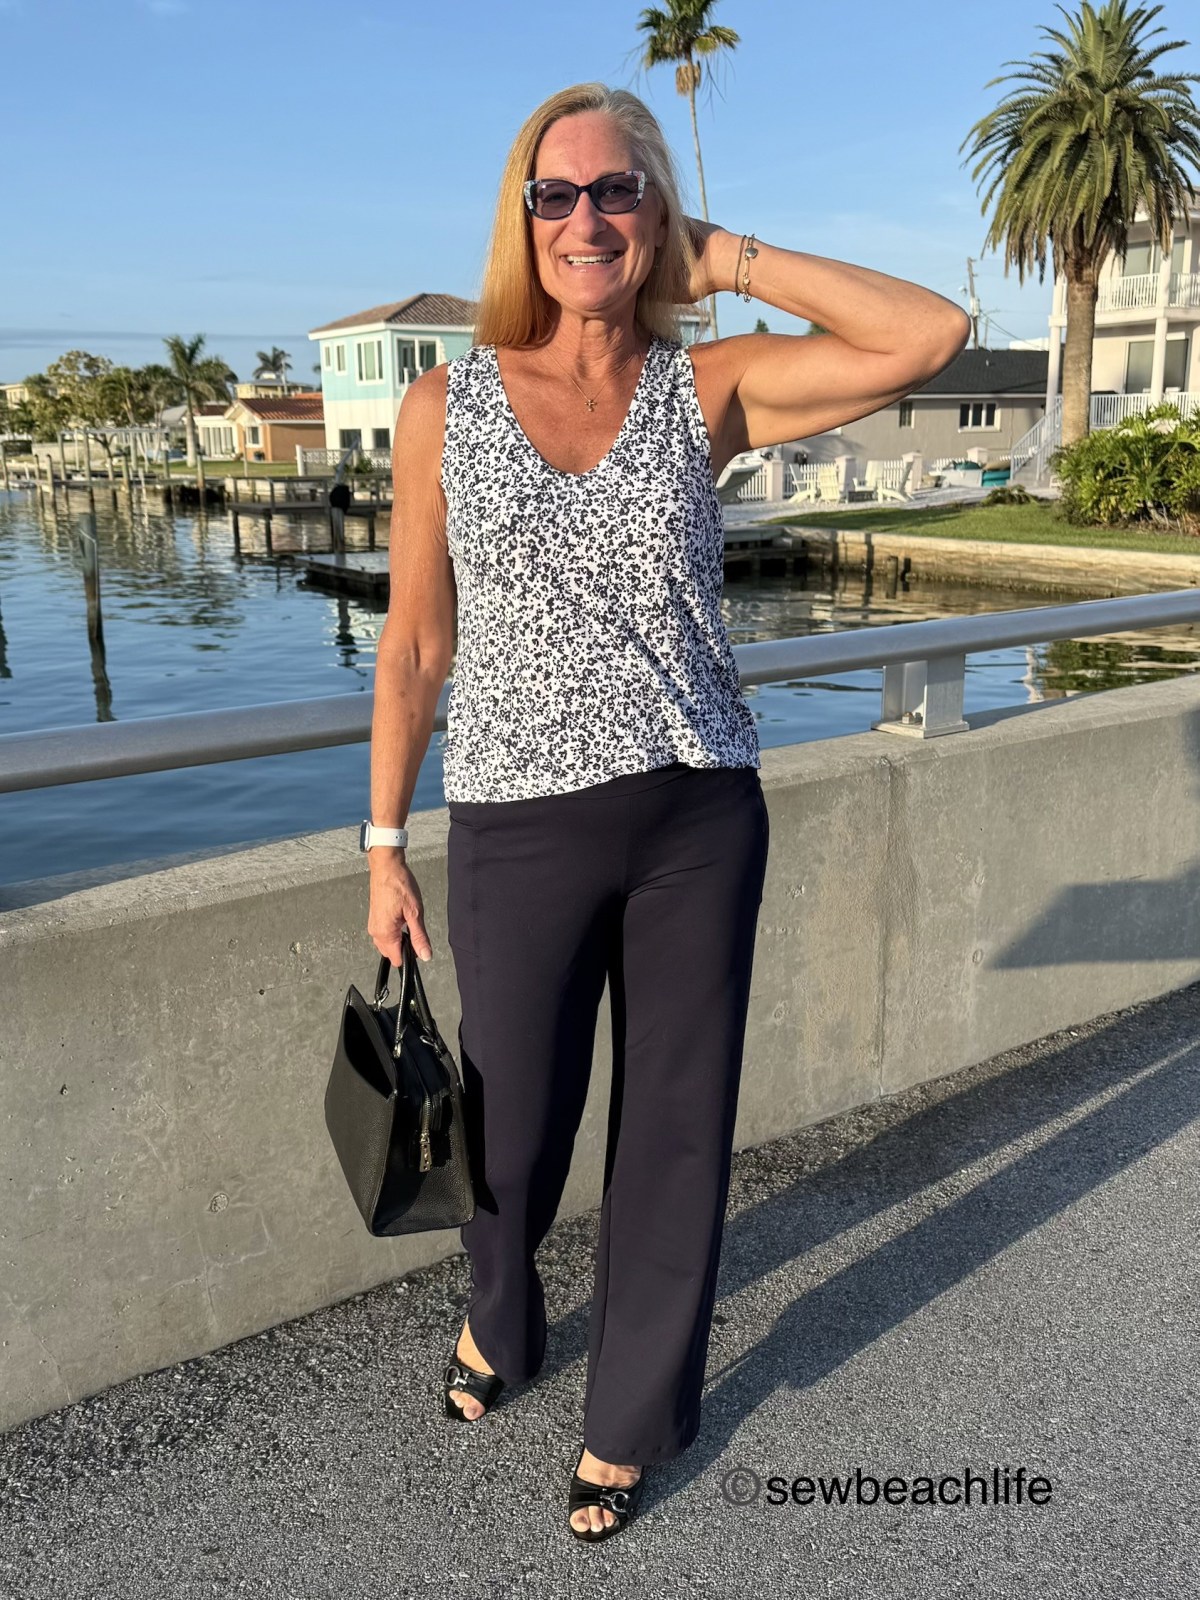
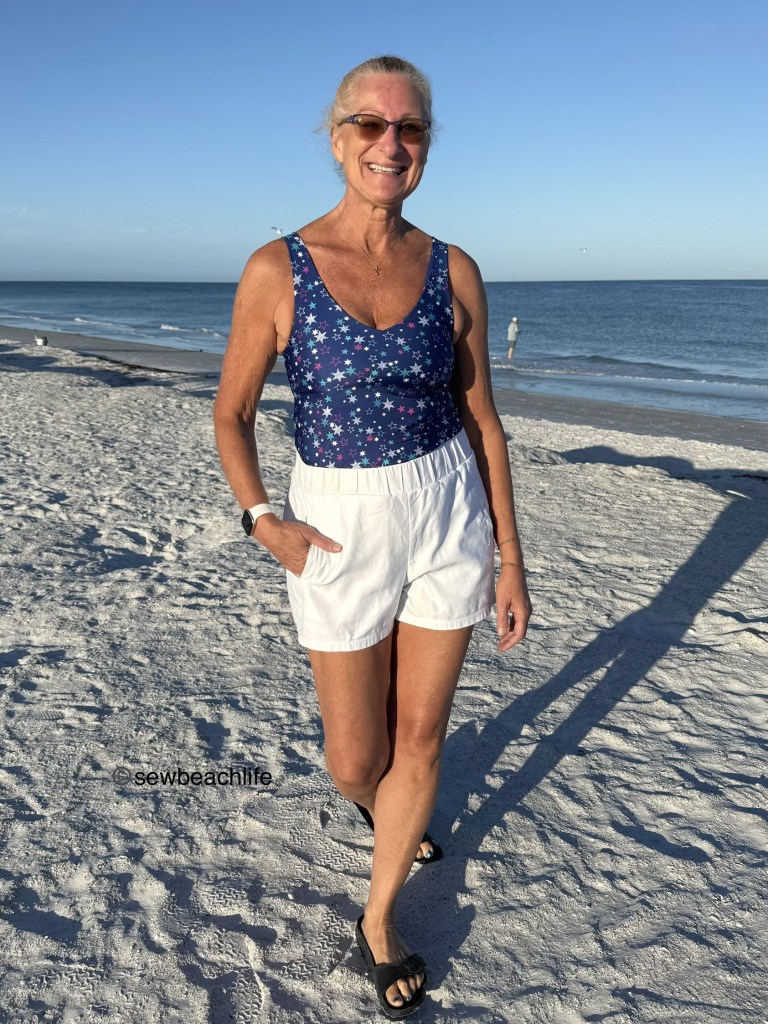
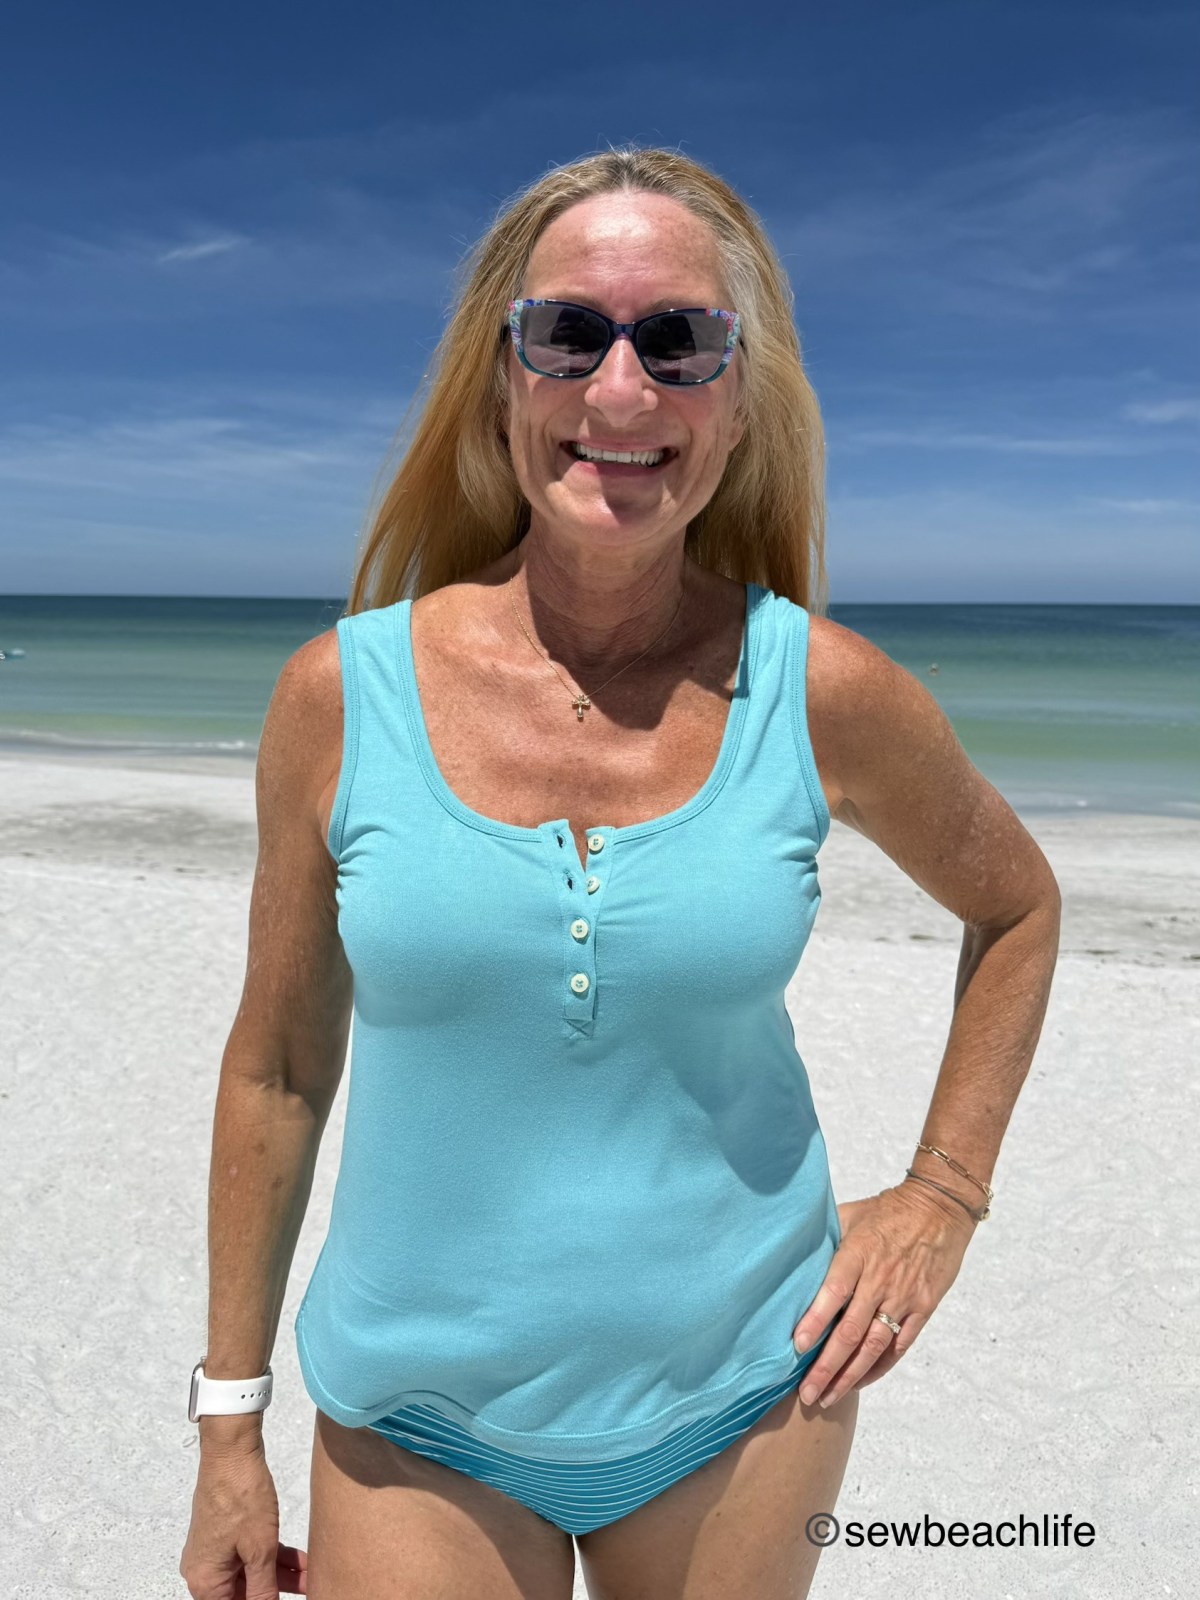
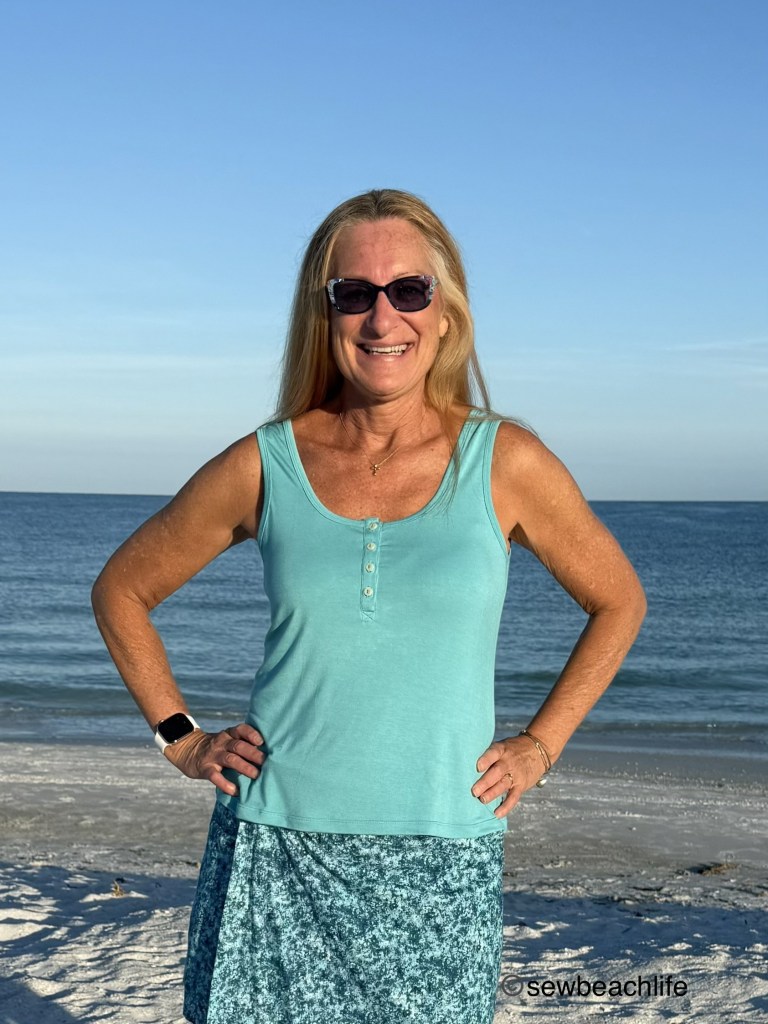
I chose to make a square neck with placket, because I don’t have any tanks with a placket. I love the look of the finished product. The placket dresses up the tank, and if you’re going for a slightly sexy look, you can unbutton a button or two. 😉
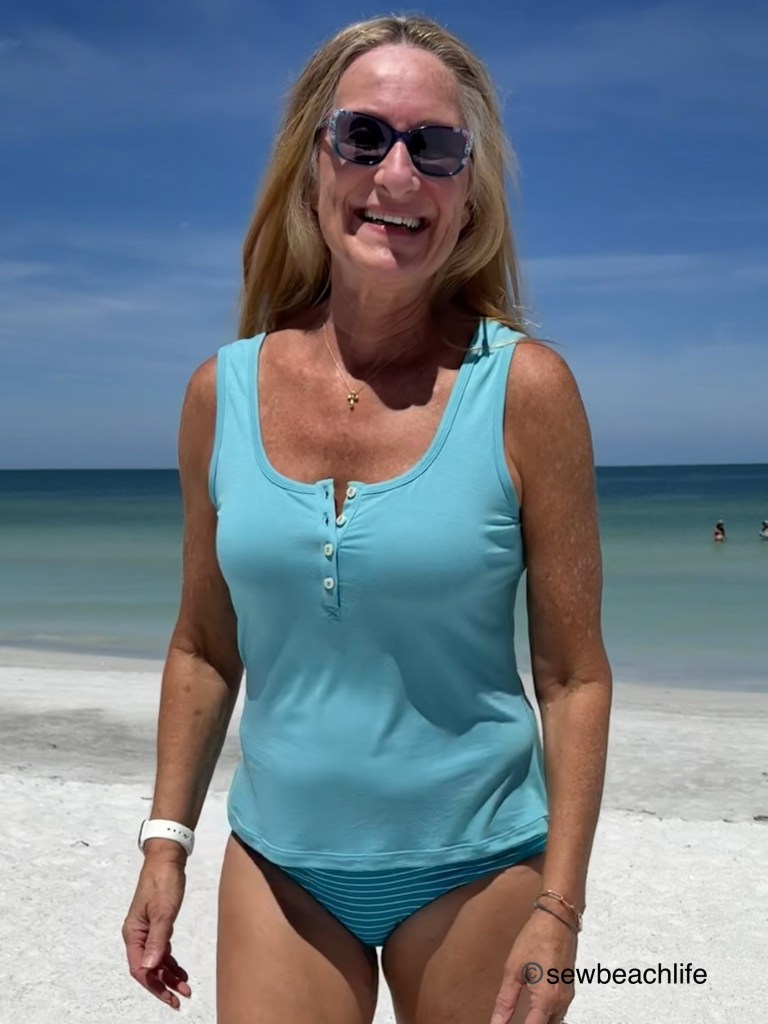
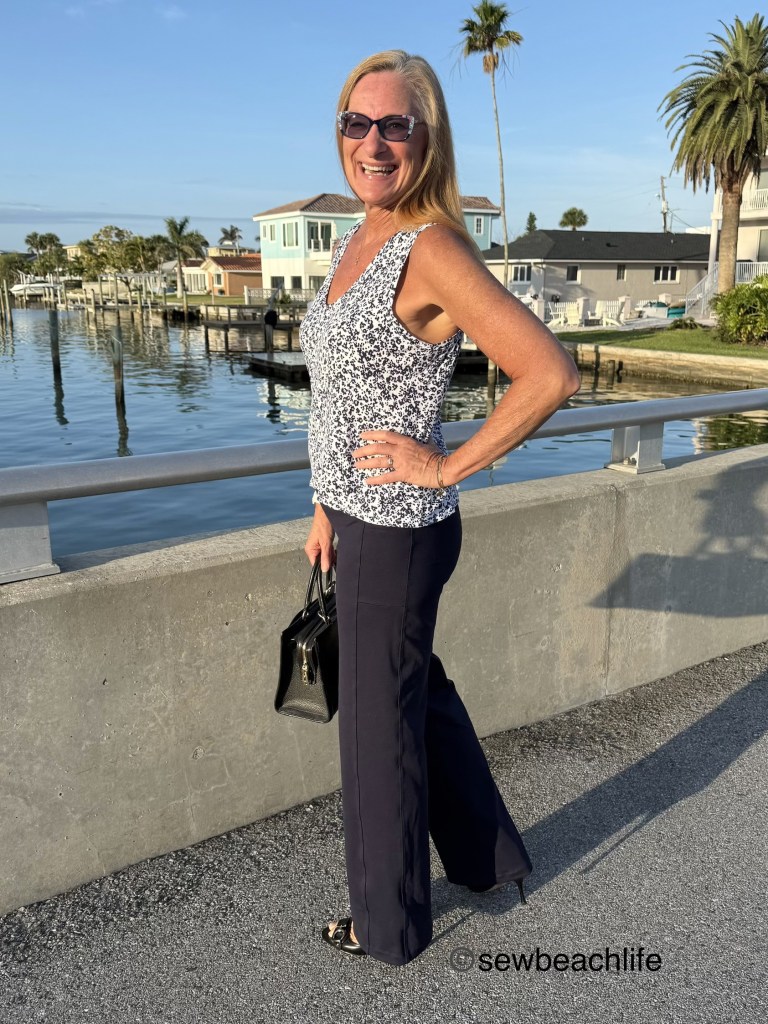
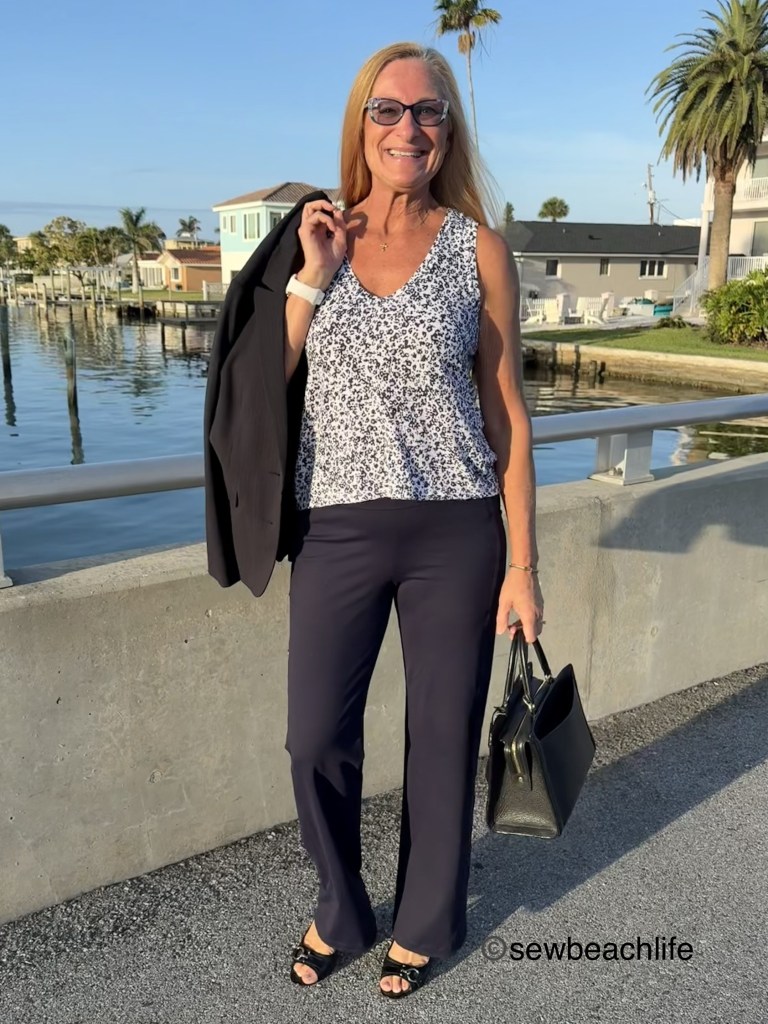
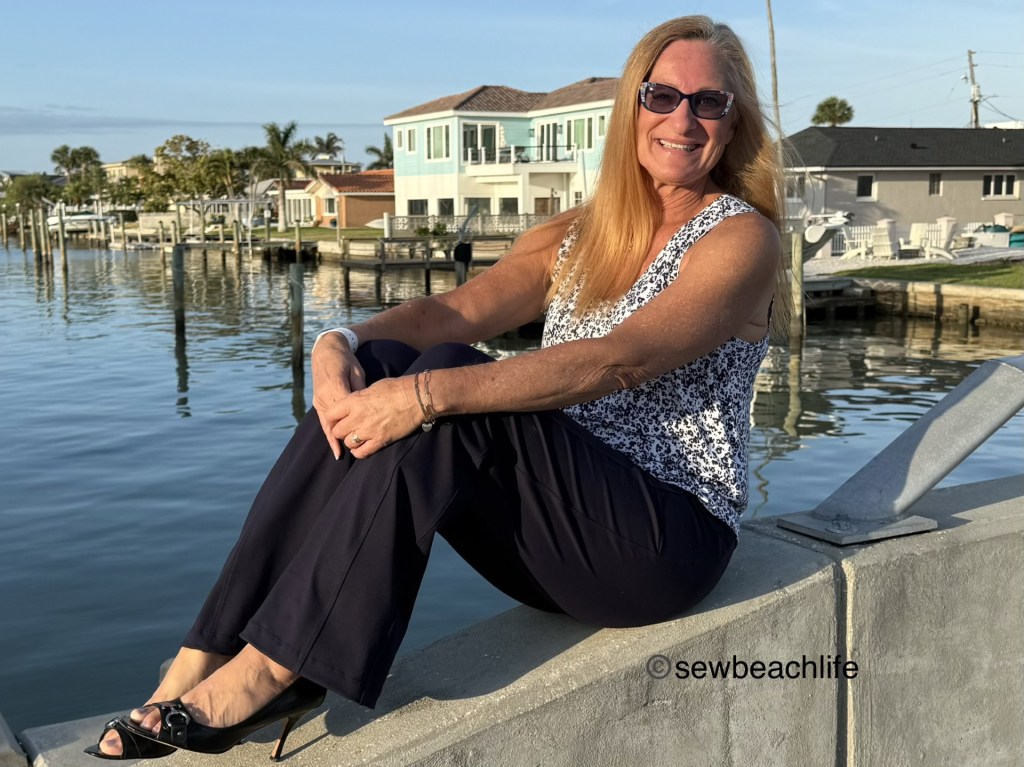
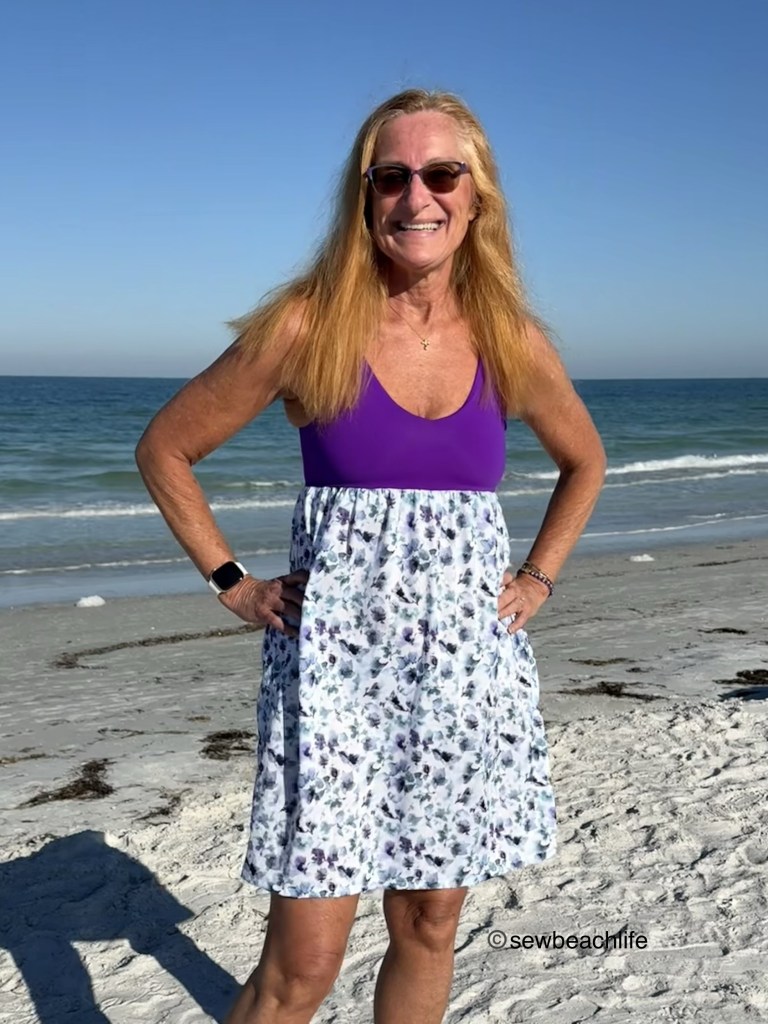
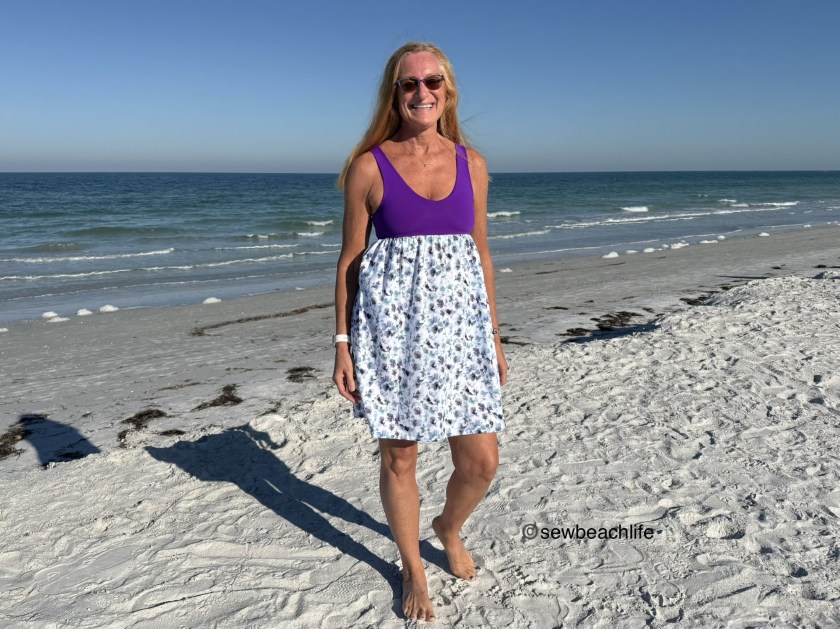
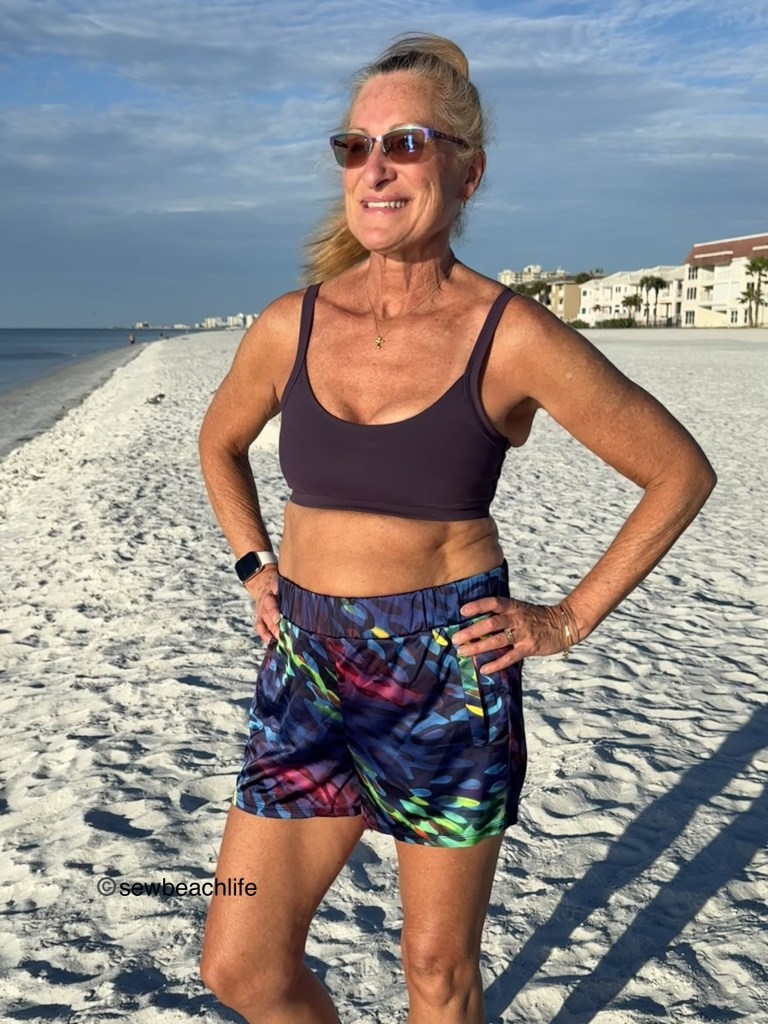
I’m a fan of the body skimming look. The tank is more fitted at the bust, but not too clingy at the waist and hips. Tank tops are so versatile, and look great with shorts, skirts, pants, or thrown on over a swim suit.
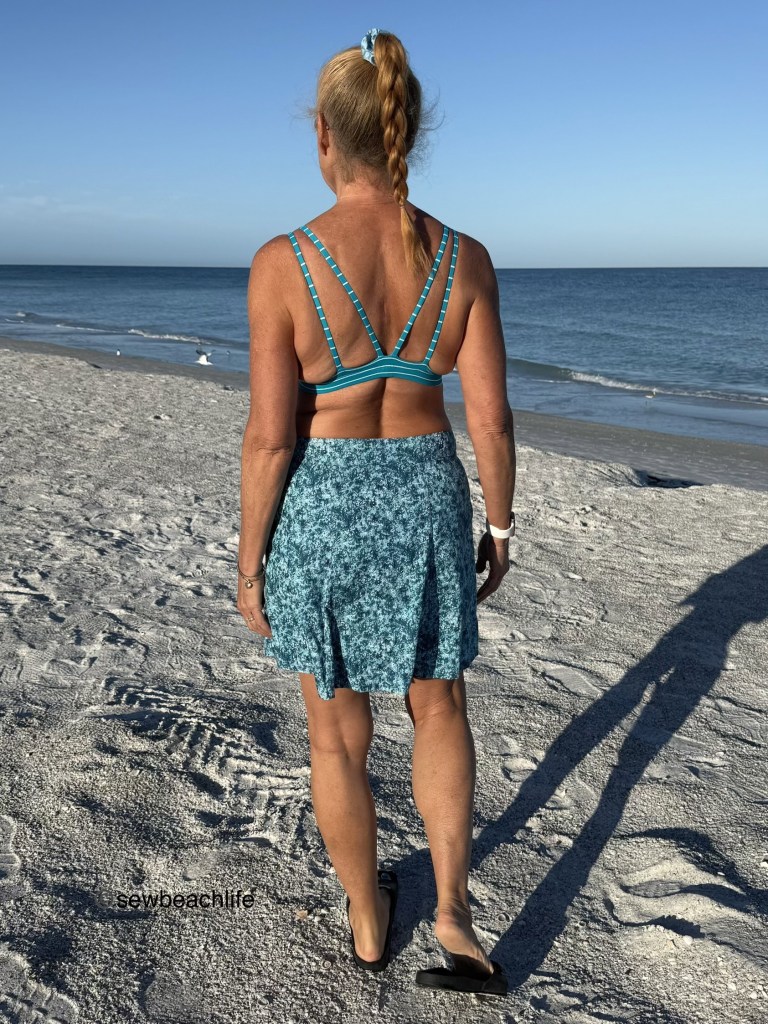
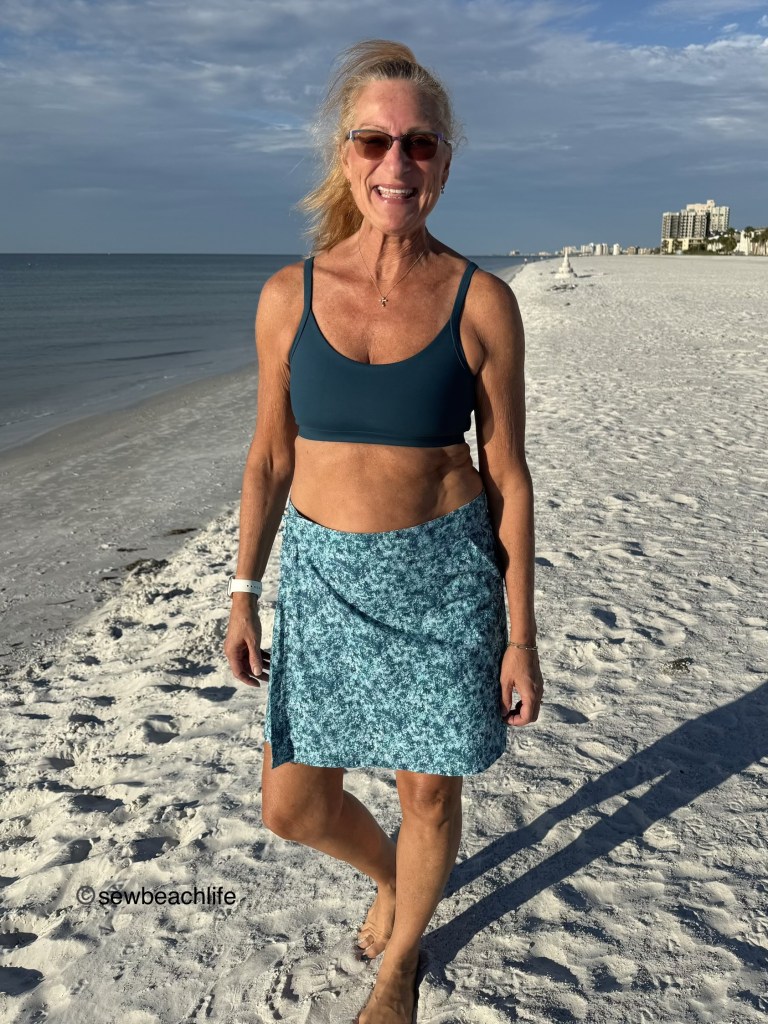
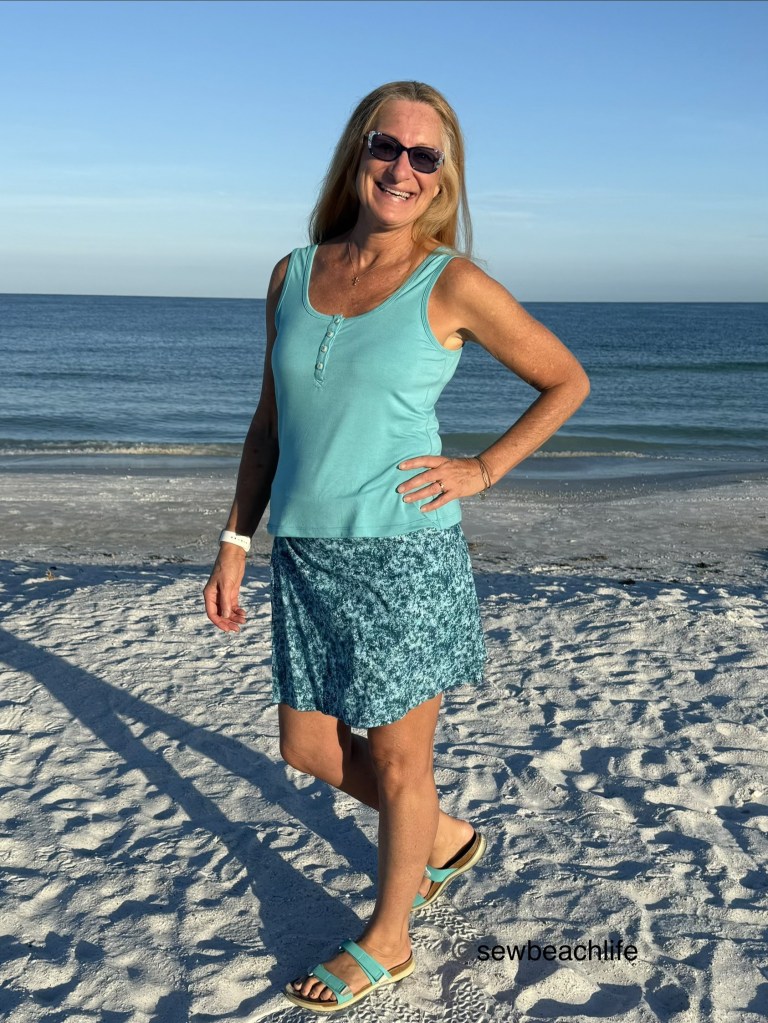
You can wear it tucked in, or over a Tidal Skirt. It’s a breezy combination for our 90*F plus weather!
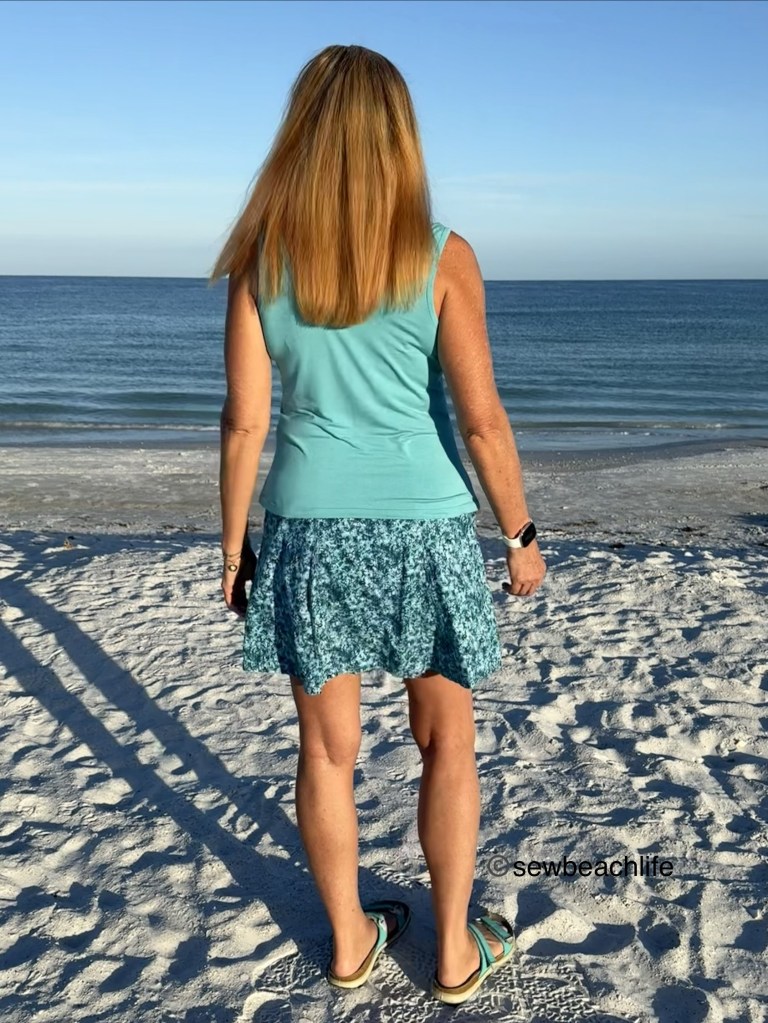
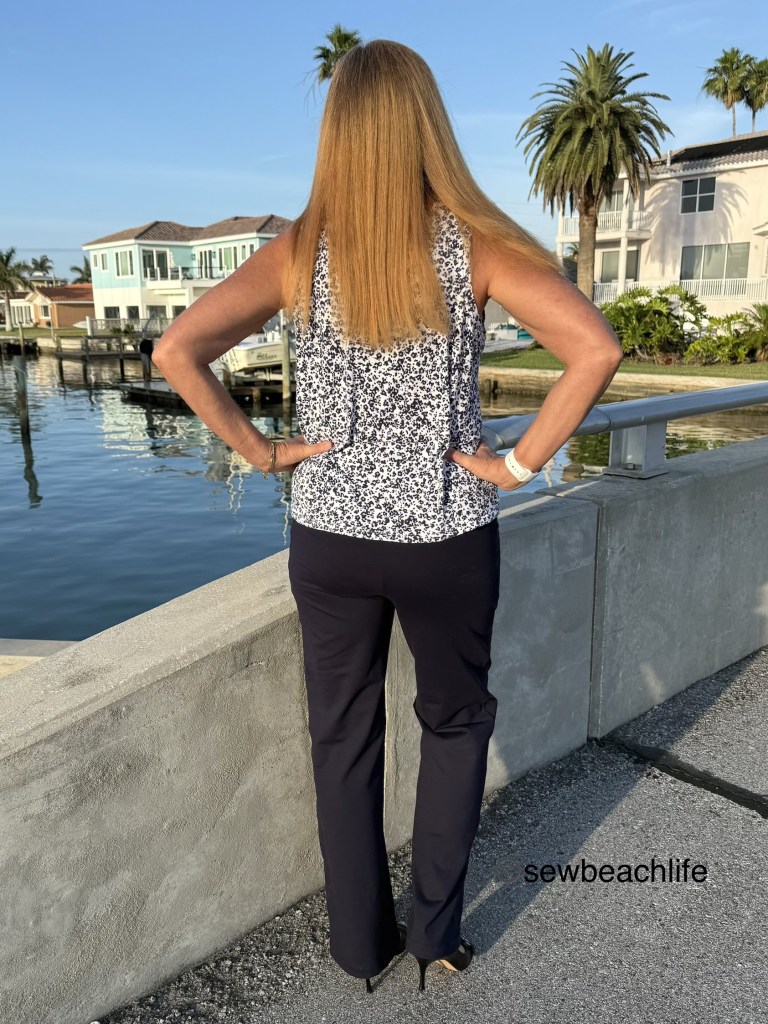
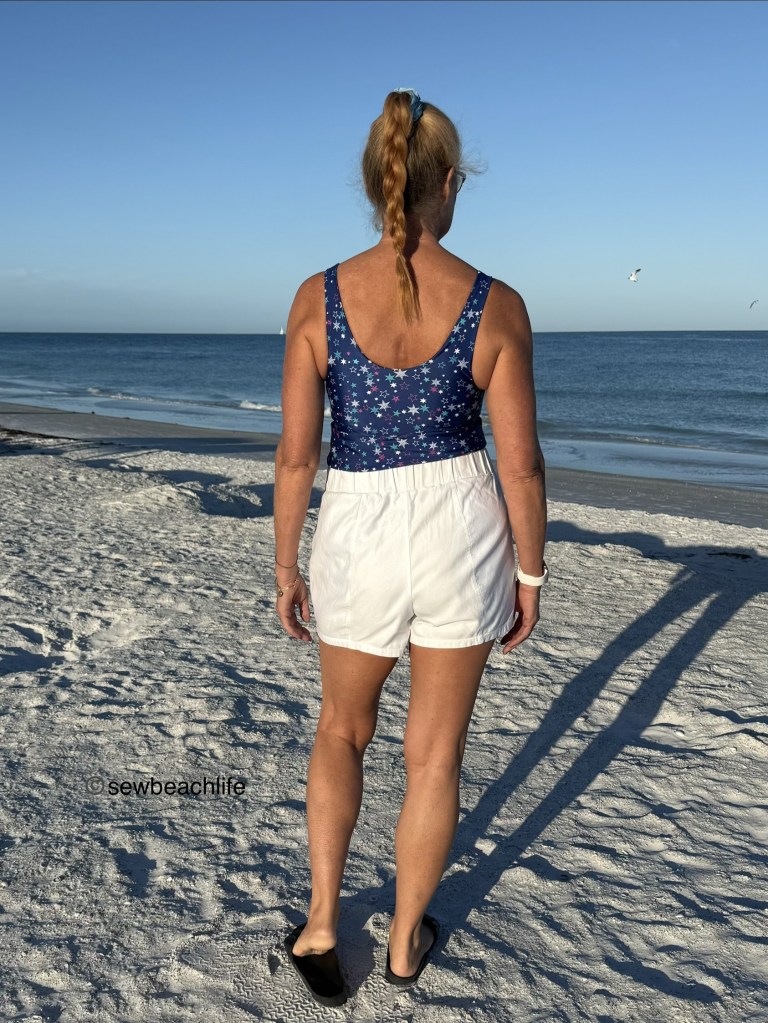
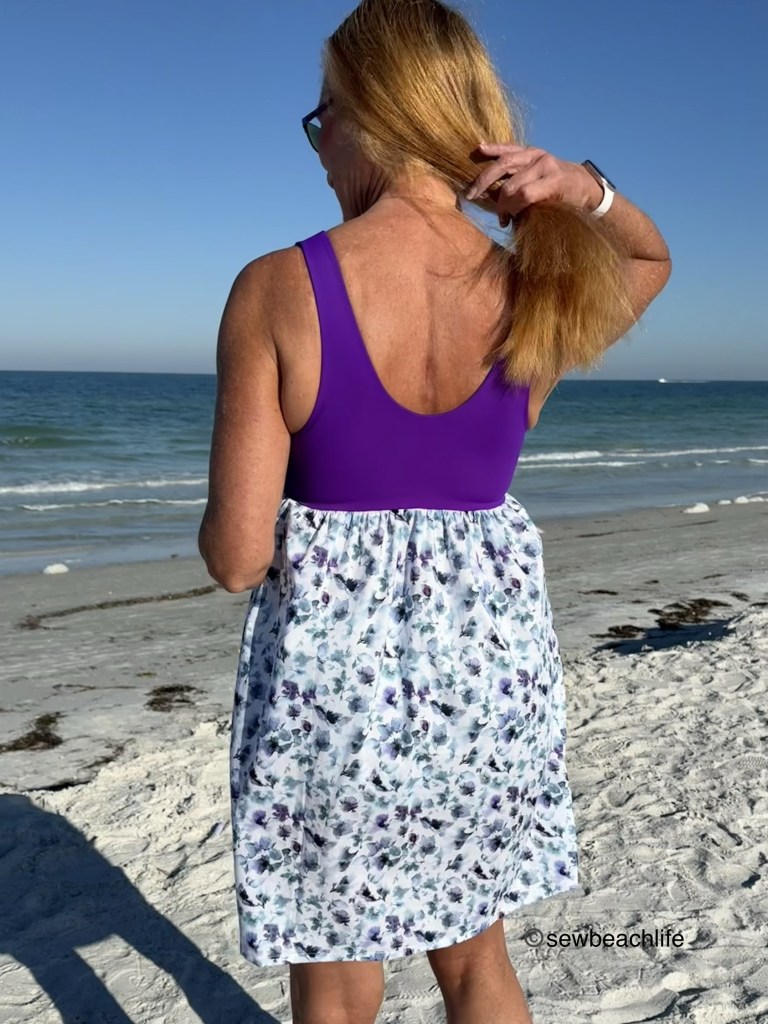
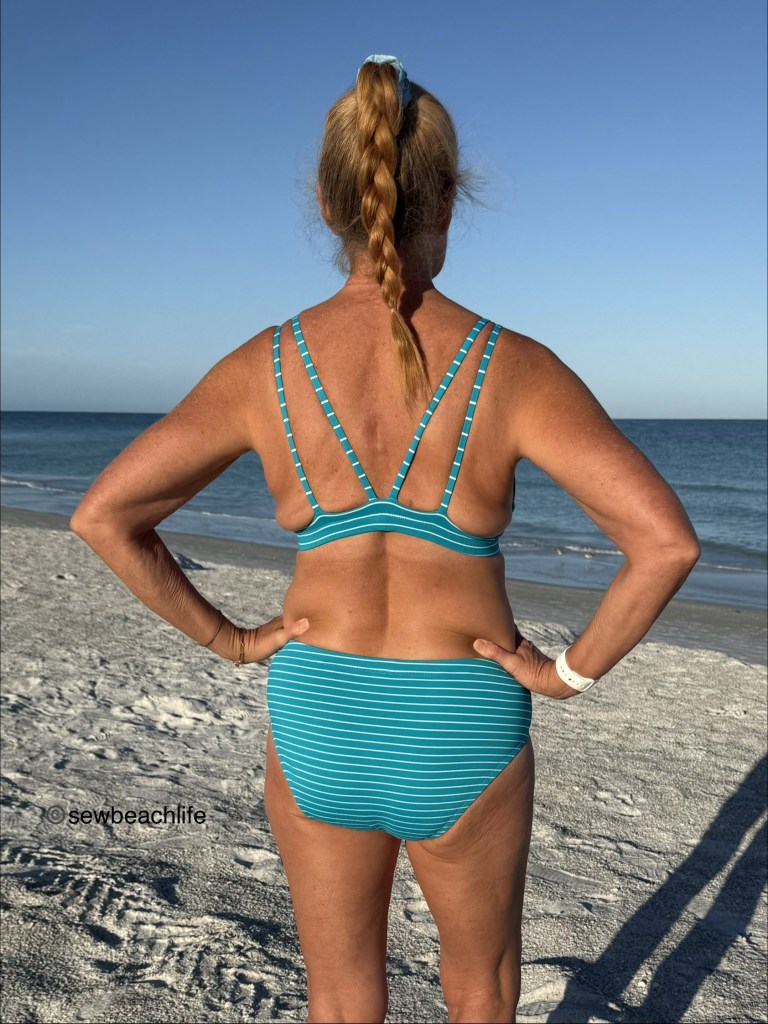
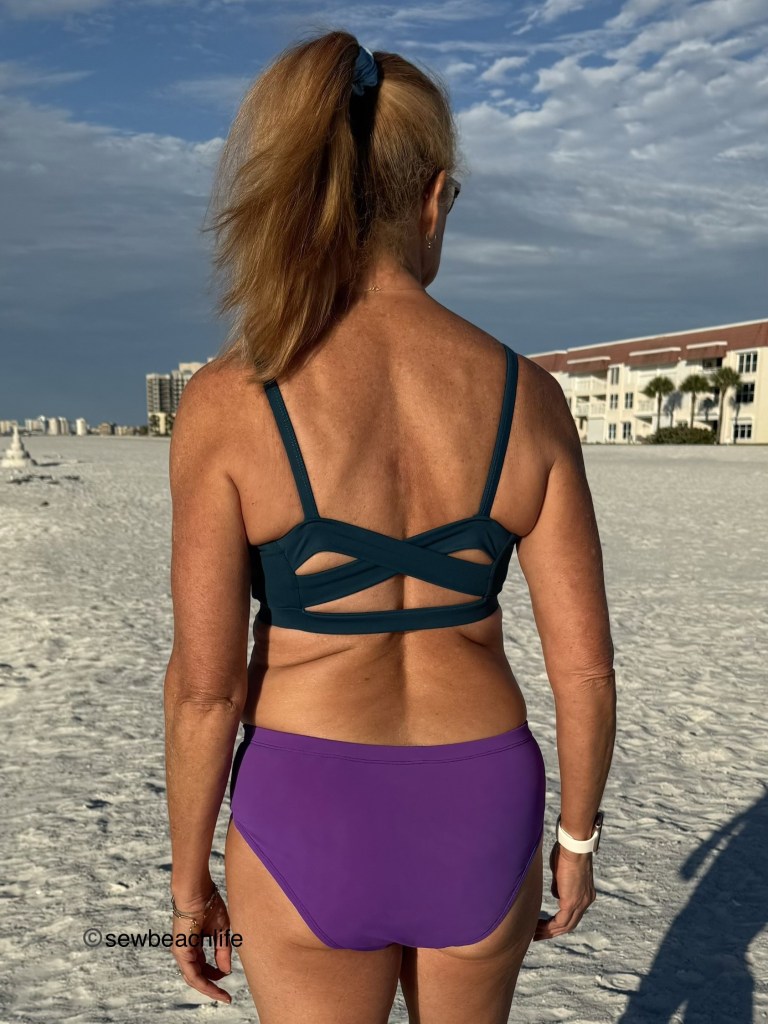
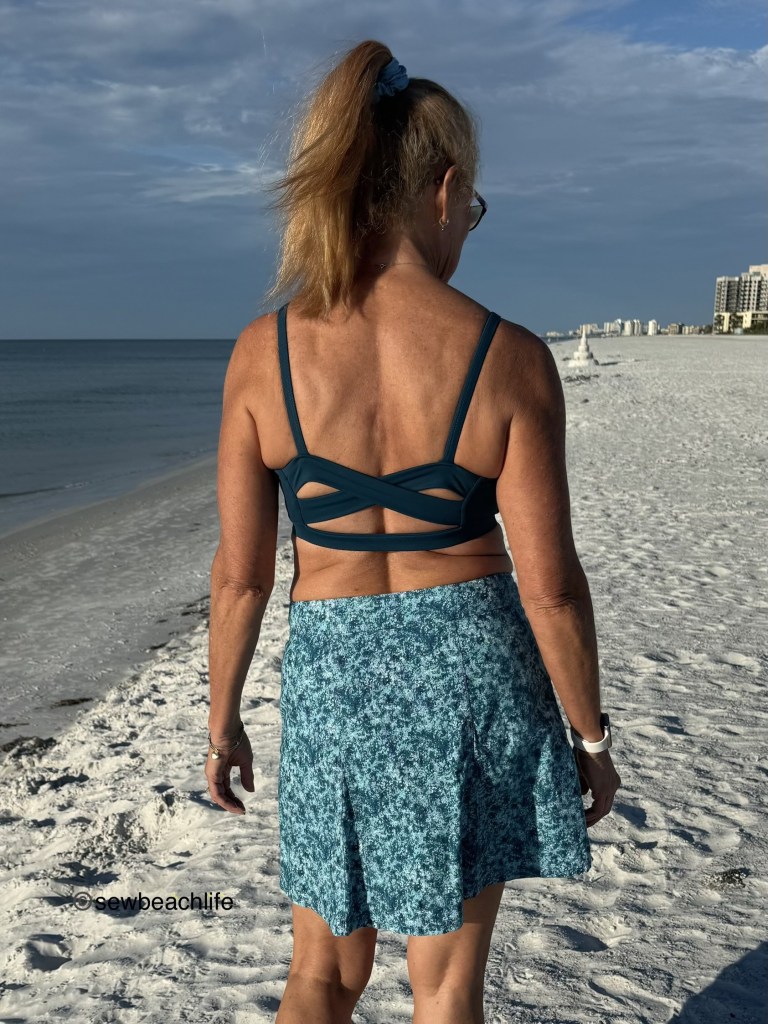
The U-back is my favorite option, although I forgot to lift up my hair so you can actually see the whole back. :-). But you can see my pretty haircut, and how much healthier it looks having been trimmed! Long-haired girlies, we are guilty of going months without a haircut. It would probably have looked even better had I flat-ironed it instead of just taking it out of the clip I put it in while drinking my morning coffee. But I’m too busy sewing, and living the easy, breezy Florida life! 🙂
The Monaco Tank is a pretty quick sew if you’re not adding the placket. Shoulder and side seams, and binding around the neckline and armscye. The placket isn’t hard to do, and the tutorial has great instructions and diagrams. The most time-consuming part for me was searching through my stash for buttons. I didn’t have any packages of buttons. What I had were plastic bags in a small bin with all of the loose, random buttons I’ve been tossing in there for years. I finally found four shell buttons that matched. Natural shell buttons are just so much nicer than plastic buttons.
Because I don’t often make clothing with buttons and buttonholes, I always double-check my machine manual to ensure I’m using the proper buttonhole stitch for my fabric, and proper size for the buttons. I’m blessed to own a Bernina 790 Plus, and it makes the most beautiful buttonholes! They are consistently the same on each subsequent buttonhole sewn, no matter the fabric. I was concerned about sewing buttonholes on rayon spandex. Knit fabrics have so much stretch, and you don’t want distorted buttonholes. It’s important to use knit interfacing. It stabilizes the fabric, while also allowing it to stretch just a little bit. Taking the time to interface gives your machine the opportunity to make perfect buttonholes.

When it came time to sew on my buttons, I used my favorite trick. I marked the button placement by putting a little dot down through the center of each buttonhole after neatly aligning the placket. Then cut a small piece of Wash Away Tape and put it over a dot. You can easily align the button on the dot of tape, and it will stay in place while you sew it on!
Bernina sells a button foot, but I haven’t purchased it yet. So I had to use my old machine to sew on the buttons. Ugh! There’s a reason the Bernina foot has an adjustable middle toe to adjust the height of the thread shank. It would have been super helpful on these thicker shell buttons! My old inexpensive machine just holds the button down and the back and forth stitch is tight against the button. This doesn’t leave any room for the upper placket to easily slide under the buttons when buttoning it up. Obviously I need to break down and buy the fancy Bernina button foot!
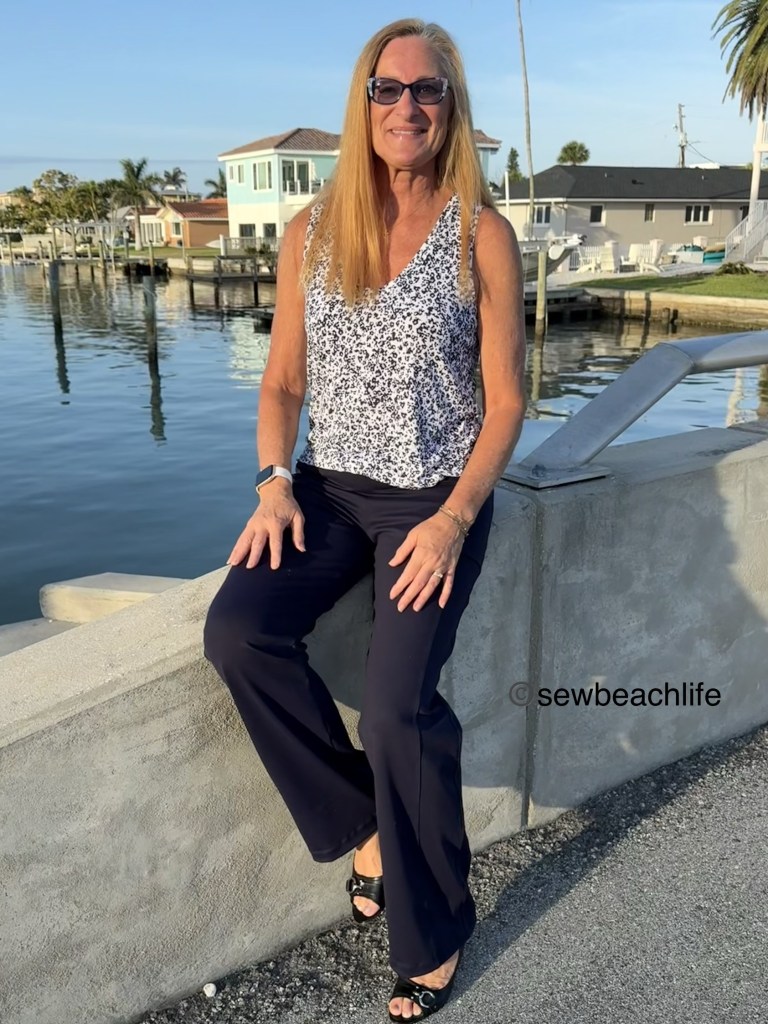
I’m definitely happy with the Monaco Tank pattern. It will become a summer staple, especially with so many options to sew!
The details:
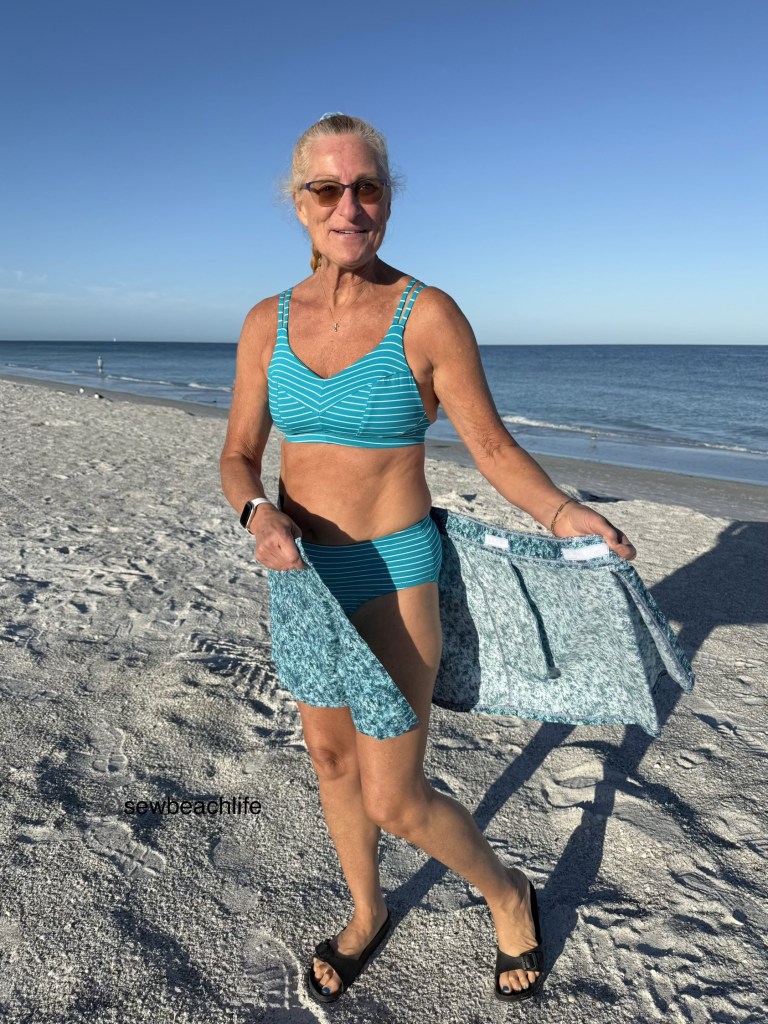
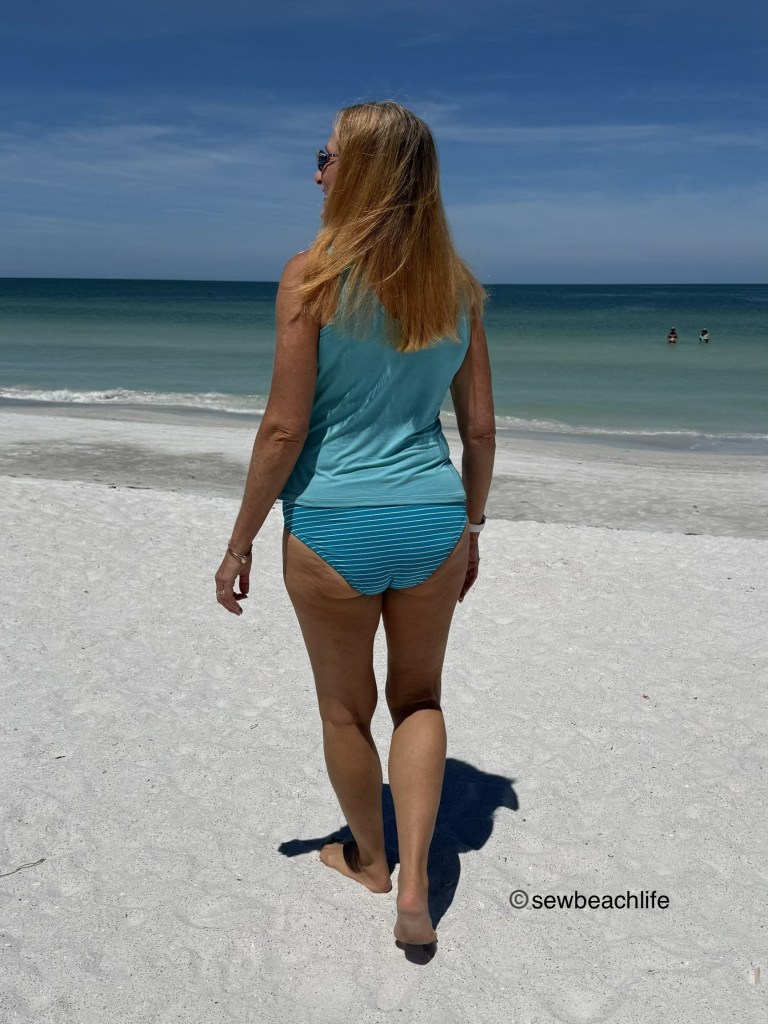
The Monaco Tank is a new release from Greenstyle Patterns. I used rayon spandex from my stash. I plan to purchase some of the lovely looking modal cotton from Greenstyle for my next one. It was shown worn with a Tidal Skirt and with Tangled Swim Bottoms, hacked to have a clean finished waist with 3/4″ swim elastic serged on, then turned under and cover-stitched, (like you do for the leg openings.)
Thank you for reading and sharing my love of patterns, sewing, fabric, and cute new clothes. The links to GreenStyle may be affiliate links (if I did them properly!) which means that I may earn a few pennies if you use my links without it costing you anything extra. Since this is my blog and represents me, I always give my honest opinion about any patterns, fabric, or supplies that I talk about. I do like knowing whether the time I spend writing posts actually interests people enough that they take a look at the patterns I review, but I write for me. It’s one more creative pursuit that I hope is helpful or interesting to others. I write to share my love of sewing and to encourage others to love it as much as I do! ❤