
I bought the Stitch Upon A Time Aushui Tank pattern because who doesn’t need a unique tank top in their lives? The square cut neckline was a new look for me, and I love tanks with straps that completely cover your bra. The pattern is a pretty quick sew, and the facings really help the tank keep it’s unique shape. It also has options for a button placket and a tie front, which will totally change the look!
Rayon spandex from Phee Fabrics made for a soft, comfortable tank, with excellent drape. I added two inches to the length because I am tall and like longer tanks. But I certainly could have stuck to the pattern length and been just fine.


Once I made the tank I started thinking that it would be fun to make the Aushui into a dress. Not only are dresses a summer time staple, they also make it easy to get ready in the morning. Wanting to keep the lines of the dress clean, a gathered seam at the waistline was out. A simple fit and flare design fit the bill, so I pulled out the Stitch Upon A Time Calista pattern. The skirt portion of the Calista flares out nicely, without being too full.
The hardest part of this pattern mash was determining where the skirt should start! Fit and flare dresses look best when they are fitted through the bust area and flare out at or just above the natural waist. A novice sewist may be surprised to learn that your natural waist isn’t necessarily at your belly button. Tie a string, strip of fabric, or piece of elastic around your waist, and bend side to side several times. The elastic will settle at your natural waist which may be above your belly button.
Lay the Calista skirt pattern on top of the Aushui Tank front, with the center folds aligned. Slide the top of the skirt up to the bustline marking. With the patterns taped together, cut out the front of your dress. Align the Calista skirt the same way on the tank back, and cut out the dress back. There will be a little area where the tank and skirt pieces intersect at a sharp angle. Gently curve this area (where the purple arrow is pointing in the second photo) when you cut out your dress.


Then follow the pattern tutorial for construction of view A. The only difference will be the length of your side seams. Take your time and use plenty of pins when folding up the hem. That way you’ll get a nice even hem when you finish your dress. Pro tip: sewing a line of stitches down the center of the back facing before construction will make it easy to tell the front from the back when you’re hanging up laundry or getting dressed. If you have a vinyl cutting machine, a cute little HTV design would make a good “tag”
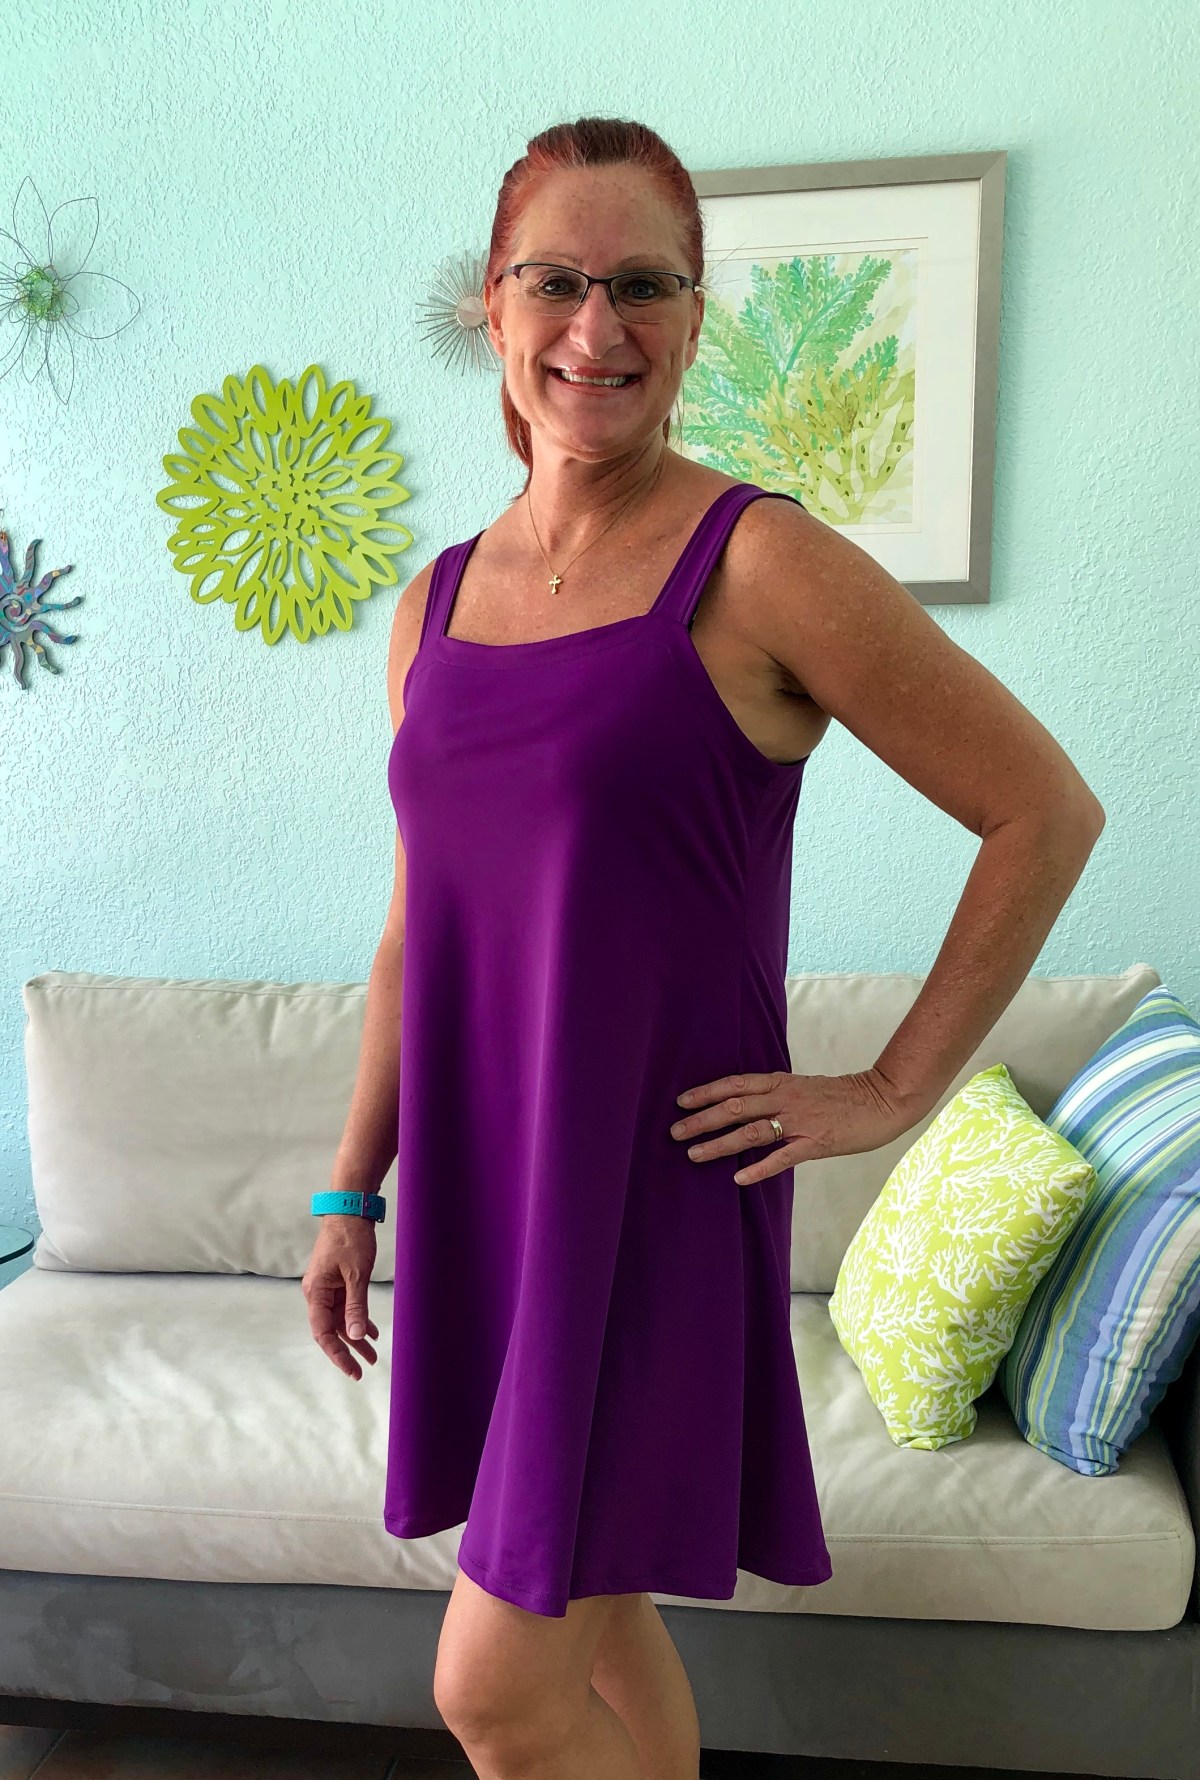
I used Phee Fabrics Tricot for my dress and absolutely love the drape and swing of my Aushui Calista pattern mash! It’s a fun, flirty length, without being too short. It only took two yards of fabric, and I have large enough scraps that I can probably make another swimsuit. 😉 You can read about my Water Faery and Scrundlewear bikini here.


I need more of these dresses in my life! I’m so glad I played around with the patterns, and that my dress turned out even cuter than I imagined! There’s no reason to be afraid of trying something new, and hacking and mashing your patterns. You might just end up with a new favorite dress, or other cute clothing in your wardrobe!
*This post may contain affiliate links. This means that at no extra cost to you, I may receive a small commission if you purchase through my links. As always, I only give my honest opinion. After all, it is my blog, which represents me! Thank you for reading and sharing my love of sewing, patterns, fabric, and pattern hacking. 😉


This is such a cute dress! Thanks for the tutorial!
LikeLiked by 1 person
Thanks! I love it when a simple hack turns out so fun!
LikeLike