

I am finally recovering from a week of influenza and it feels so good to be upright! I was literally down for the count for a week, laying in bed, slowly walking to the sofa or dining table, and back to bed. I hate being sick, feeling dependent on others, and not having my normal energy and routine.
My husband was a champ! He made me food, did the dishes and laundry, and took excellent care of me. I told him how much I appreciated him taking care of me, and he said, “You’re always taking care of me and would do the same for me. It’s not a big deal.” While it’s true that it may not have been a big deal to him, it meant a great deal to me. When you are naturally a caregiver, it’s interesting to see it from the other side.
When you are constantly taking care of others, of the household, of your children, etc., you can easily get irritated or feel a little bit resentful. “Gah! I just vacuumed and you’re tracking dirt everywhere!” “Ugh! Sweaty, gross gym clothes to wash and they are laying on top of my outfit in the laundry basket and getting it all stinky!” And of course you’ll make eggs for breakfast when you’d much rather make banana pecan waffles topped with strawberries and blueberries because you know he’d prefer the protein.
I generally don’t complain about the inconveniences (OK, other than the tracking in dirt!), because caring means that you are doing these things out of love. And really, it’s not hard to do any of it, and it really isn’t a sacrifice. It’s just the way it works for your family. Everybody has to do their part to make their family life work. Maybe your family dynamic is different, and you’re the main breadwinner, and someone else has more time for the household. Or maybe you are responsible for everything yourself. Everybody has to participate in making life work.
But working joyfully, and cheerfully giving, that decision is up to you. I can tell you that life is happier, you are happier when you move through life with a happy heart. Is life always easy? Do things always go perfectly according to your plans? Of course not! We all have worries and concerns. Maybe you are struggling financially, maybe someone you love and care for is sick, or injured, or dying. Maybe you just feel like life is beating you down. We have all been there. Everyone has struggles. How we face those struggles is the question.
Do you think that you have to carry the burden alone? On the surface, it may appear to you that you do. But you don’t. There is always someone you can talk to, someone who will listen, someone who will lighten the load.
Talk to God, talk to Jesus. Surrender your heart, look, and listen for the little spark of joy. There is beauty and happiness everywhere. What are you grateful for? What can you do for others? What small look, gentle touch, gesture of friendship or love can you give? Because that is the secret. Opening your heart to God, praying and listening for His voice. Giving of ourselves, rather than just focusing on what we “deserve”, what I think the world “owes” me. Be grateful to the one who gives us all the opportunity for everlasting life.
And don’t forget to say thank you to the people God has placed in your life. The ones who take the time to care for, or be kind to you. Pet the cute kitty who snuggled you while you were sick. Hug the loving husband who kept you fed when you didn’t have the strength to make your own meal. And talk to God, open your heart, feed your soul. Be grateful for whatever crazy, wonderful life you have.

 Since it’s not a capsule without at least three pieces, here’s my flat lay photo that includes my


 If the lace and circular knit were an exact color match, I would have just used one layer of fabric for my skirt. If you’re going for sheer and sexy, you could just use the powernet.
 When you sew the side seams together, sew all layers at the top and bottom for about an inch, leaving the middle 2 to 3 inches of just the front bodice lining free so that you have an opening in the side seams.

 Then turn your bodice right sides out and press. Don’t forget to press all seams open as you sew. This helps reduce bulk when sewing your layers together, as well as giving your garment a more finished look. Cross the bodice fronts over as per the pattern markings and baste in place. Pin or baste the straps in place and try on for fit. You may want to shorten your straps or move them closer to the center. Maybe you want to cross them in the back. The best part of sewing is that you make garments that fit YOU. Once you’ve decided on strap placement, stitch the straps in place. Lining up the bottom edges of your bodice main and lining fabrics, baste the layers together. This makes it easier when you sew on the band.


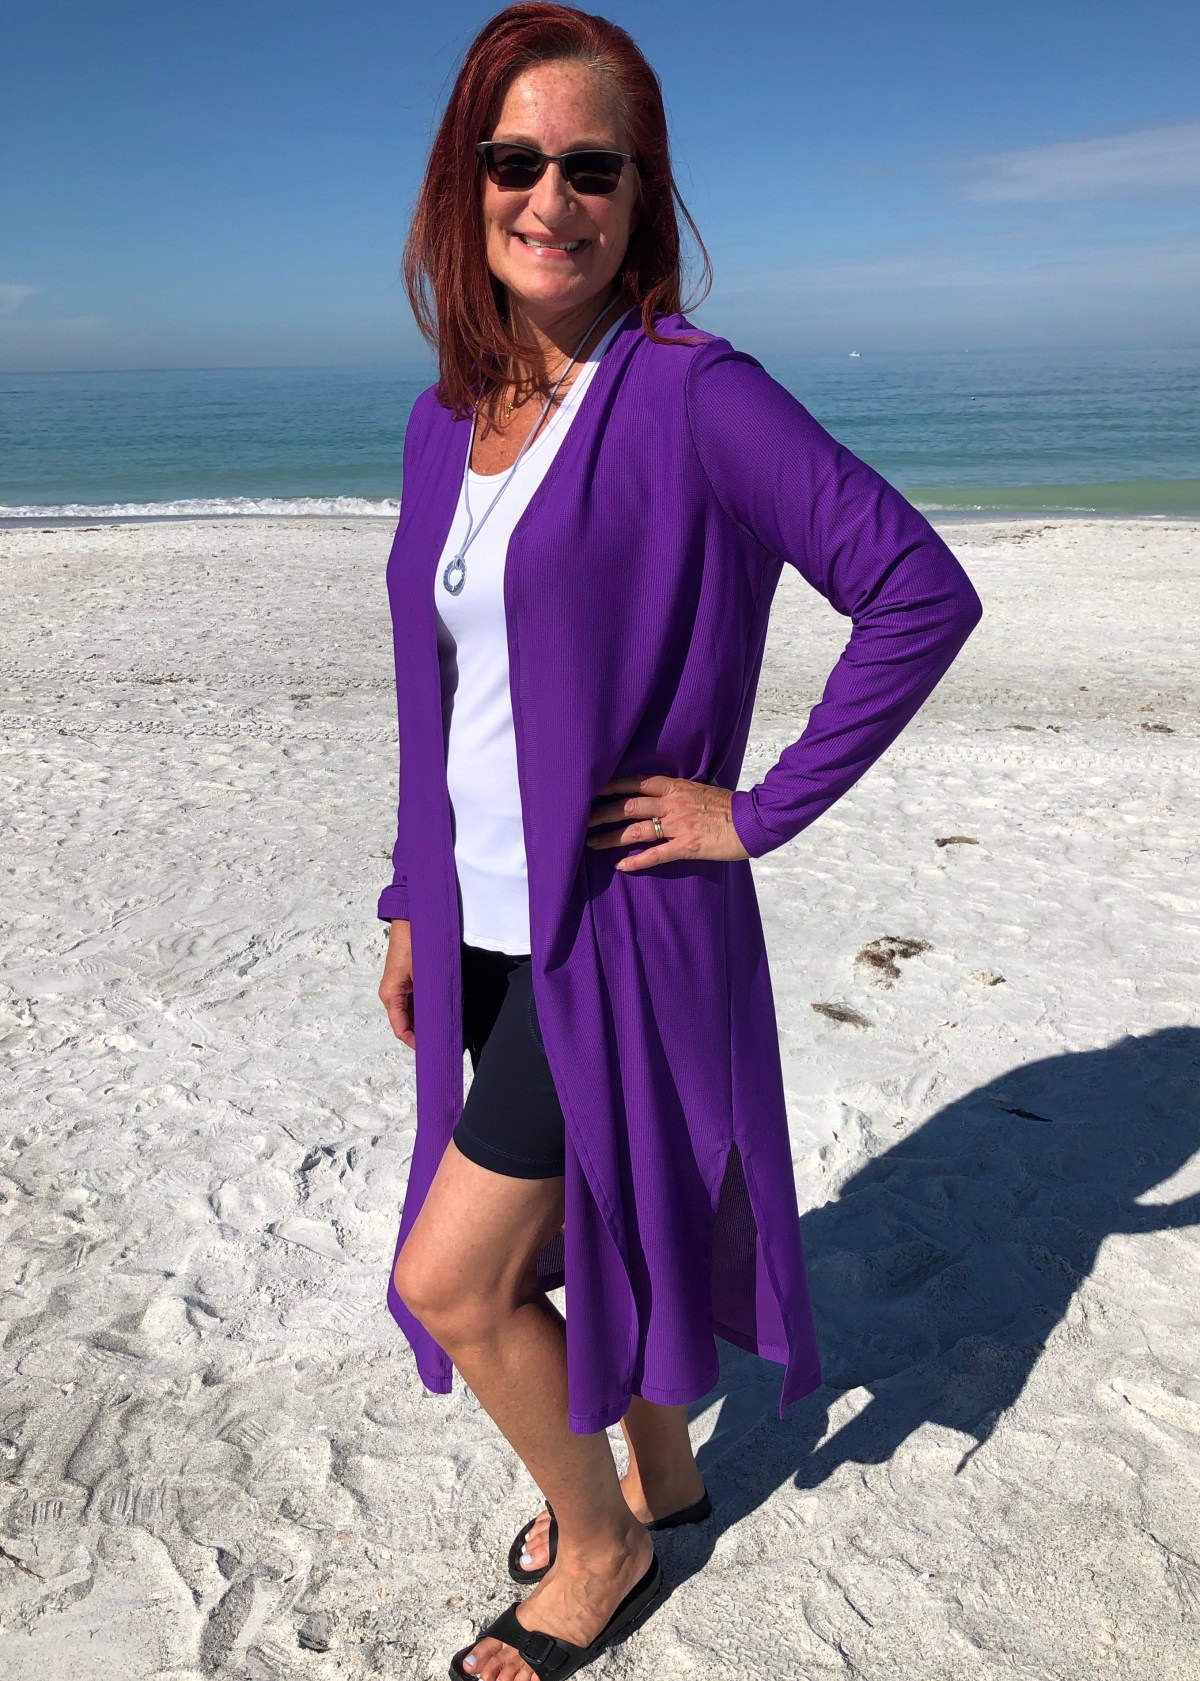
 It could have been the super stretchy fabric, but the size of this trendy style felt a little too slouchy for me. (Hey, I lived through the ’90’s already, the Flashdance look just isn’t my personality!) So for my next two tops I sized down to a Medium. That, and using high quality fabric, was just the change I needed to fall in love with this top.


 Other than the straps, I sewed the bra together per pattern instructions. While I love the look of the double straps, they are more time consuming to construct. So I still cut out four strap pieces, but used them flat (as main fabric and lining fabric) rather than as double straps sewn to each shoulder. I used powernet in my straps rather than adding elastic.
 Once you’ve sewn your main and lining pieces together along the top, try the bra on, adjust the straps to length, then push the straps through the openings and stitch.
 To avoid bulk, be sure to trim the seam allowances at the back strap openings on an angle before turning the bra right side out. It’s important to press as you sew. It helps everything lay more smoothly, and gives your projects a more professional finish. See the difference pressing makes between the left and right straps in the photo below?
 The Lille body was wider than my bra. If I were making the body out of Supplex, and wanted it more fitted, I would have slimmed the top of the body a bit. Since I was going for a drapier fit with ruching, I just matched up my quarter points and eased the body to fit the bra.
 I could have added a band with elastic on the inside at this point, but wanted to try something else. I used 3/8″ swim elastic cut to fit me at the snug yet comfortable length (just like you would trial fit the wider elastic in the band). I overlapped the elastic and stitched it together making a circle. Then I matched up my quarter points, and zig zagged the elastic to the seam allowance. After that, I flipped the seam allowance toward the bra, and top-stitched it in place.
 To ruche the sides, I cut two pieces of swim elastic a couple of inches shorter than my side seams. I zig-zagged the elastic to the side seams and ta-dah, instant ruching!
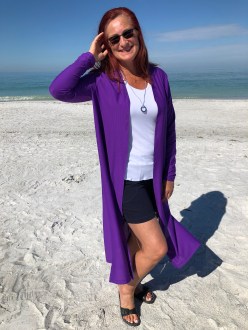
 When I go to the beach to get photographs in my makes, sometimes silliness overtakes me. But we’ll just say I was jump testing the workout top to ensure that everything stays in place!

