GreenStyle Mini Flare Leggings

On Trend With Fun Style

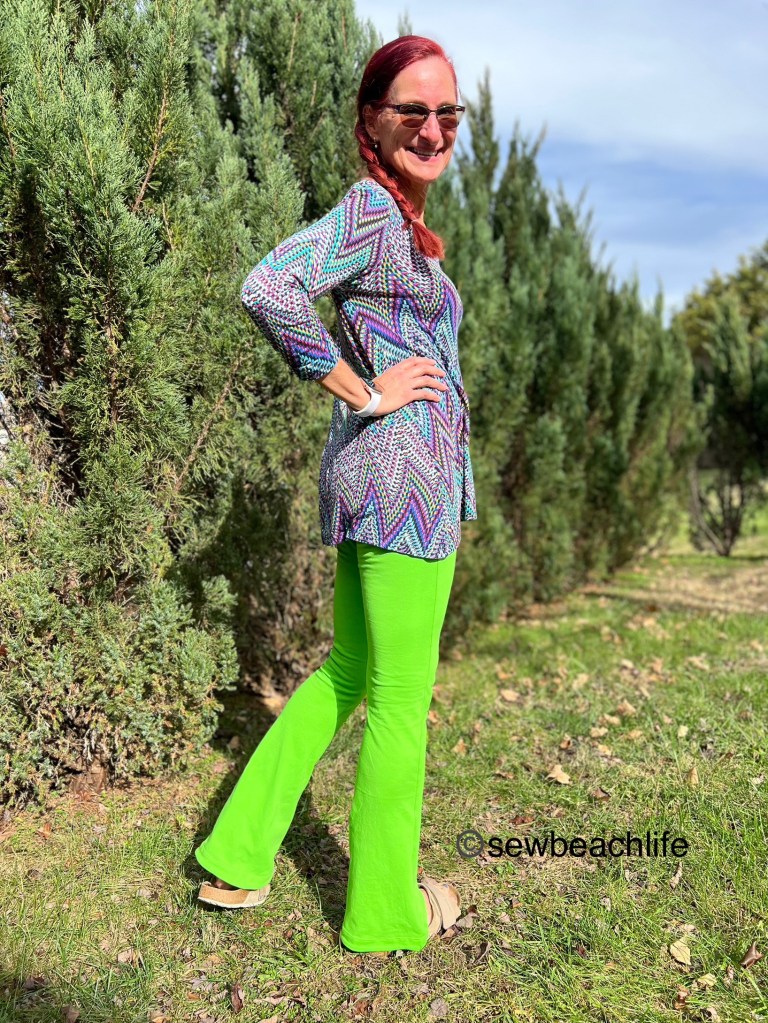
Since we’re moving into winter, it’s definitely time for pants, even in Florida! The new GreenStyle Mini Flare Leggings are very on trend, with the flare starting at mid-calf. And the best part for a tall girl like me? The pattern comes with petite, average, and tall files!

They’re dressy enough to be worn with a blazer or cardigan for work or other events, while also being “fun” pants. I mean, if neon green doesn’t scream fun to you, I don’t know what does! 🙂

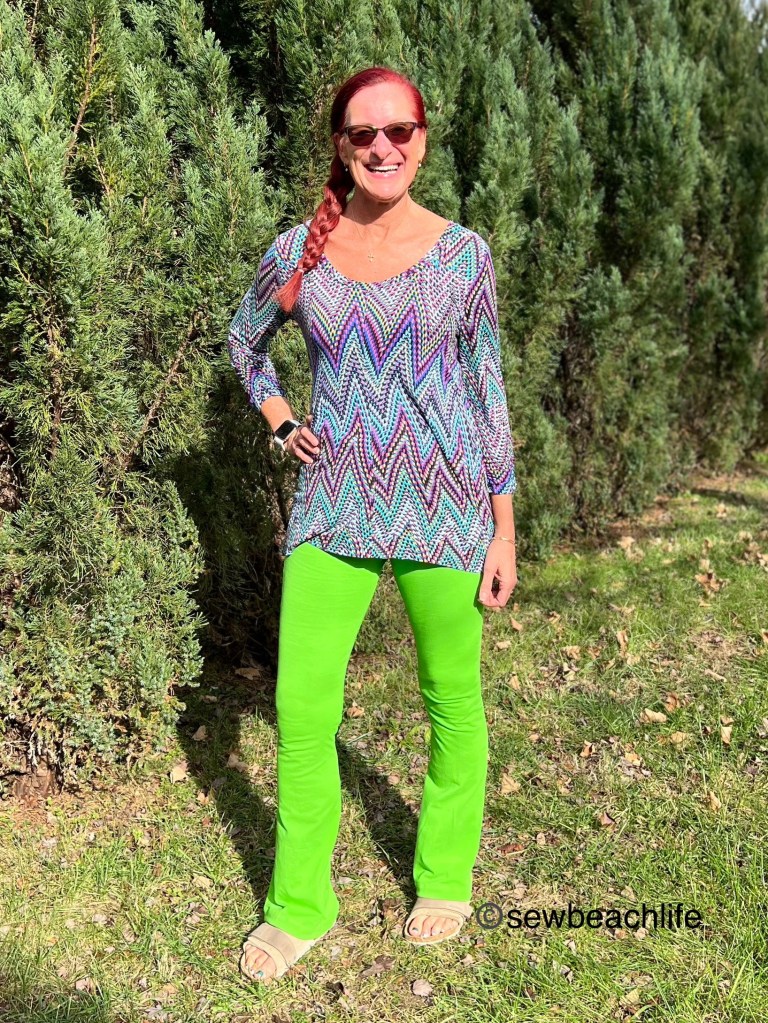
My husband says he likes my groovy bell bottoms. 😉 Since we lived through the ’70s (albeit in middle school) I can’t disagree! 🙂 They are very fun pants, and I like them.

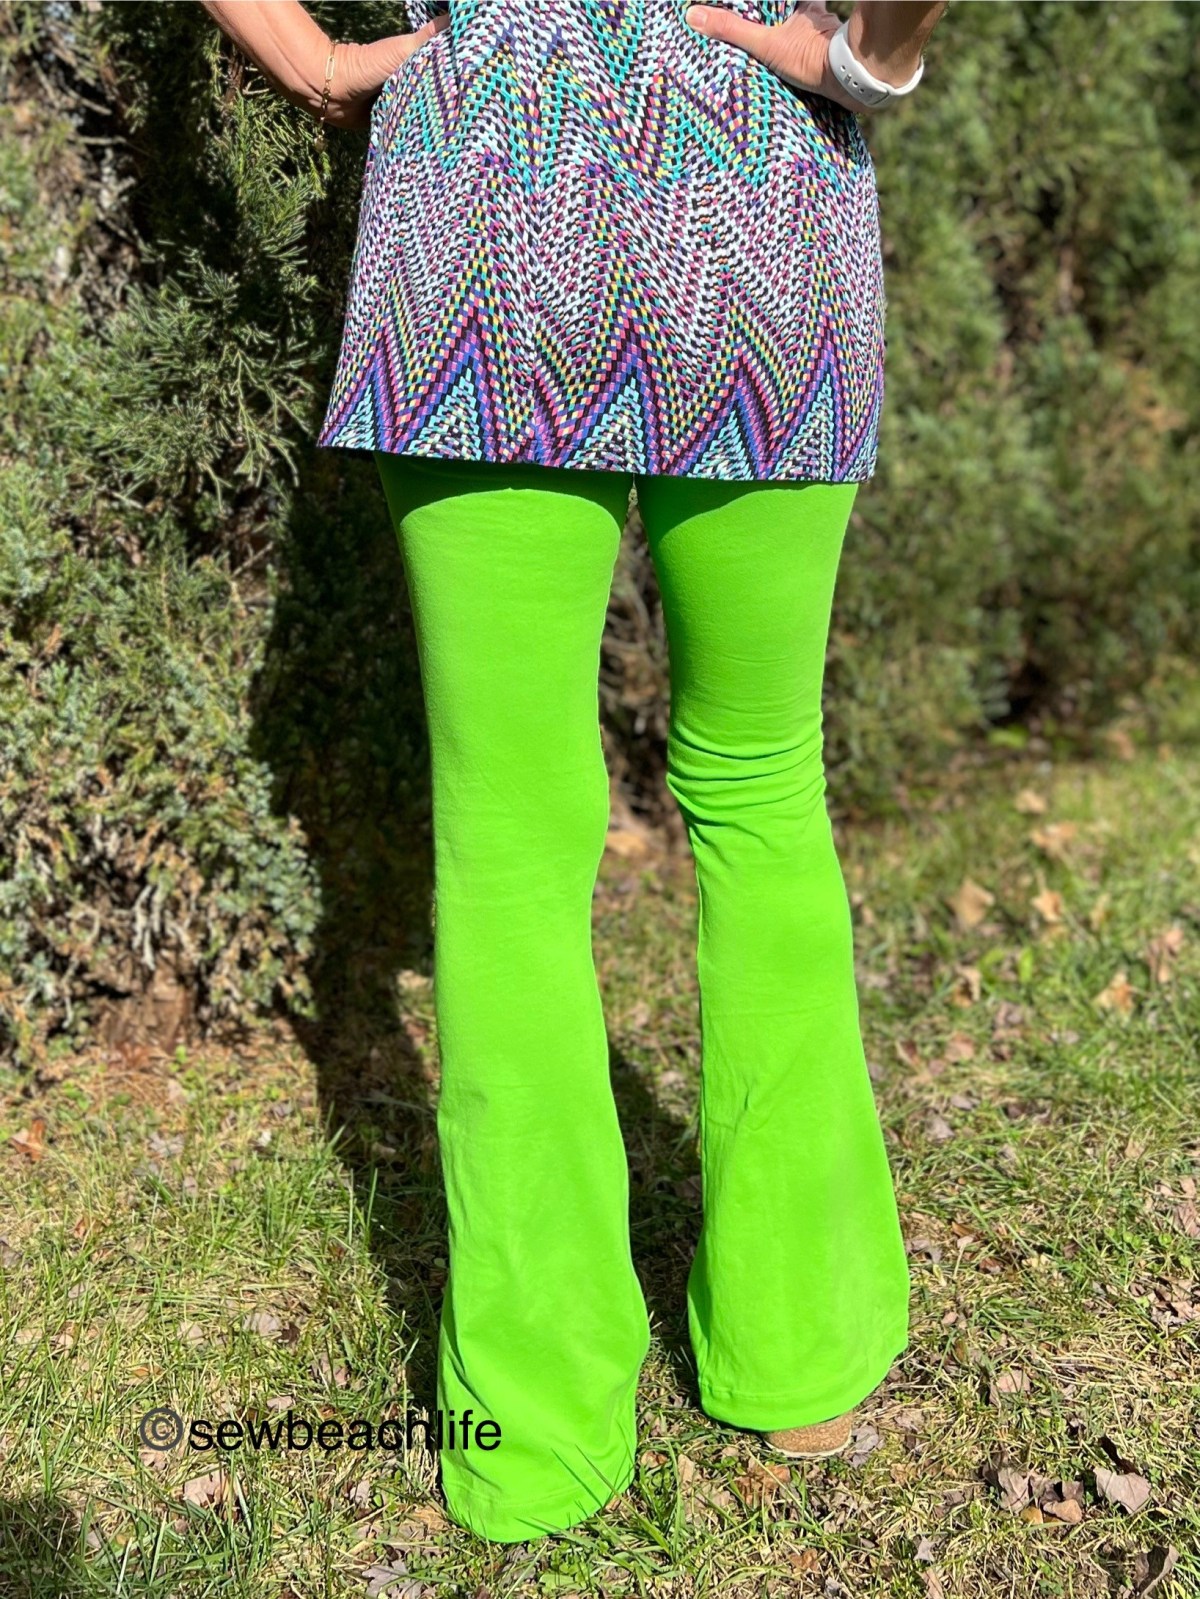
Truth in advertising here though: if you have average (for your size) knees and/or calves, the pattern is great as is. I have quite muscular legs, with 15-3/4″ knees, and 15-1/8″ calves. This is way larger than the size F tall leggings are drafted for. Since the leggings are quite fitted at the knees through upper half of the calves, I knew I would need to make some adjustments. I added width to help the leggings fit the shape of my inner knees, as well as both sides of my calves. They are perhaps still a bit in need of space for my knee and calf muscles, but my husband and I were traveling to visit our granddaughters for the Christmas season, so I didn’t have any more time to play with the pattern.

The pattern has markings for the knees, and the tutorial has been updated to add a fit guide. If years of skating, yoga or other exercise has made your legs more muscular than average (like me), you’re probably going to want to check out that fit guide.

I chose the higher contoured waistband, and it is perfect! I didn’t even bother to add powernet or elastic along the top waistband seam because it just fits so well. If a contoured waistband isn’t your thing, there’s also a seamless (folded) top waistband option.

The striped top I’m wearing with my gray leggings is a Leeward Tee. I upcycled an old tunic top and kept the 3/4 length sleeves for winter wearing.

The colorful tunic top worn with my neon green pants is an old ready-to-wear top from the back of the closet.

The details:

The GreenStyle Mini Flare Leggings pattern just released, and comes in sizes B-M (32″ to 62″ hips). It took 1-1/2 yards of fabric to make size F Tall.

The green pair is made of high quality heavier weight cotton lycra. I used supplex for the inner waistband, since cotton lycra can become baggy after wearing for several hours.

The gray pair are a high quality nylon/spandex ponte athletic knit I found at my local(ish) sewing machine dealer. I wish they had had more colors available.

If you’re looking for some trendy leggings, you may want to check this pattern out!

The links to GreenStyle may be affiliate links (if I did them properly!) which means that I may earn a few pennies if you use my links without it costing you anything extra. Since this is my blog and represents me, I always give my honest opinion about any patterns, fabric, or supplies that I talk about. I hope the time I spend writing posts actually interests people enough that they take a look at the patterns I review. I write to share my love of sewing, patterns, and fabric, and hope that it encourages others to love sewing as much as I do! 🙂

The GreenStyle Simpatico Leggings

A not so basic “basic”

One of my most worn clothing styles is leggings, which is no surprise. 😉 Between yoga classes and needing “pants” 🙂 for cool days, leggings are a go-to item. When GreenStyle Creations opened up testing, I quickly jumped at the opportunity.

The Simpatico Leggings are literally a basic style with no outside seams or pockets. But don’t let the simplicity fool you. They are perfectly shaped to fit actual bodies. That may sound funny, but we’ve all bought ready-to-wear leggings that are nothing but tapered straight legs that wrinkle behind the knees, feel too tight on your calves, and have waistbands that don’t end up where you want them to.

Excellent drafting skills went into the design of the Simpatico Leggings. The legs are shaped, they fit smoothly over your calves, they don’t wrinkle or sag at the knees, and the waistband is contoured (rather than a simple rectangle) so it fits and doesn’t gap at the back of the waist. And it has petite, standard, and tall options! For anyone that has ever struggled or been nervous about lengthening or shortening leggings, this is super helpful! A beginning sewist can feel confident about sewing beautifully fitting leggings, and a more experienced sewist can quickly whip up a pair when needed.

No knee wrinkles, and shaping that fits my calves!

You can also choose between a mid-rise or high-rise waistband, and capri or full length leggings. The high-rise waistband is perfect for comfortable smoothing under tops and tunics. I used powernet in the front half of my waistbands (for extra smoothing power!) and clear elastic along the top waistband seam. Whether I’m just walking around or doing yoga, the waistband stays perfectly in place.

My husband seems to enjoy being my photographer and making me laugh while showing off every aspect of my leggings! 😉

Whether you’re looking for simple leggings or capris to wear to yoga class, or a basic to throw on with a tunic and cardigan for running errands, the Simpatico Leggings are a solid choice.

The simple design is perfect for showing off a pretty print!

The details:

The marble print fabric is a nylon spandex athletic blend from JoAnn Fabric. It’s not as thick as supplex, but feels like a lightweight supplex. While I wouldn’t “go commando” at yoga class in this fabric, I was pleasantly surprised at the quality. The mint green top is the GreenStyle Studio to Street blogged here. I love that even in the deep V back version, I can wear a regular bra with it!

The navy Supplex is from Phee Fabrics. The top is the Waimea Rashguard blogged here.

The links to GreenStyle and the Simpatico Leggings are affiliate links, which means that at no extra cost to you, I may receive a small commission if you purchase through my link. As always, I only give my honest opinion. After all, it is my blog, which represents me! Thank you for reading and sharing my love of creating, sewing, patterns, fabric, and making beautiful well-fitting garments! ❤

Use Every Scrap Of Fabric

Including A Selvage Design Feature

Sewing for children can be fun, because their smaller size generally means quicker sewing.  And you can be super bold in color and try fun things on kids clothes that you may be a bit hesitant to try on an adult size!  After making myself a beautiful Designer Stitch Madison Dress, I had some scraps of Ponte left over.  They weren’t large enough to make an adult clothing item, but there was just enough to squeeze out a dress and leggings for my granddaughter.

WB Gma

The striped Ponte was quite stretchy, so it was perfect for leggings.  I’ve tried several  baby leggings patterns, and have been happy with most of them.  Since Lila is growing quickly, it seemed time to make the jump from a baby pattern to a girl pattern.  The 5oo4 Patterns Little Ninja Leggings (which is a free pattern) worked very well, and came up high enough in the back to properly cover her bum.  I dislike super low rise leggings, and was very happy with the fit of the Little Ninjas.  They definitely give full range of motion, as Lila was easily able to climb in and out of the box “fort” that Grandpa made for her! 🙂

WB box

The green Ponte was a super soft rayon blend, and had such a pretty fringed selvage that I just had to use it for something!  I found it at Pennie Fabrics in Sarasota, Florida.  It’s an interesting independent fabric store, is a bit of a maze, and is not organized into fabric types at all.  But if you’re willing to wander through and feel all the rolls of fabric, you could come up with something unique that you love.  The green Ponte was imported from Italy, and you could feel the softness and quality.  It was therefore, rather expensive, so I wanted to put every square inch to good use!

The Stitch Upon A Time Wendybird Dress was a great choice for this project.  The simple lines of the round neck, plain front version, with hemmed sleeves let the focus be on the fabric.  To add an extra pop of color, I cut a strip an inch and a half wide out of the striped fabric to use as piping between the bodice and skirt.  After folding the strip in half, right sides out, I basted it to the bottom of the front and back of the bodice.

Wendybird piping

Then I stitched the dress together as per the pattern tutorial.  (Although the photo distorted and makes the fabric look ribbed, it’s actually very smooth.)  I cut along both edges of the green Ponte to get 1-1/4″ wide strips of selvage to trim the hem.  After stitching the selvage to the hem of the dress, I pressed the seam allowance up towards the skirt, and zigzagged it in place.

I absolutely love the finished look!  It’s super fun, totally unique, and a great way to use what would otherwise be scraps.

WB point

Obviously Lila loves it too, judging by her smile. 😉

WB smile

I’m glad I made a larger size so that she’ll be able to wear this outfit all next winter too.  If you’re looking to personalize your makes, take a look at the selvage, and don’t be afraid to use every last scrap!

WB window

This post may contain affiliate links.  This means that at no extra cost to you, I may receive a small commission if you purchase through my link.  As always, I only give my honest opinion.  After all, it is my blog, which represents me! 🙂  Thank you for reading and sharing my love of sewing, fabric, patterns, and pattern hacking. ❤