Sometimes you come across a pattern that you don’t know you need until you stop and think about it. It’s always fun to try a new workout wear, or cute top or dress pattern. But when I thought about what was missing in my wardrobe, (really, what needs to be replaced in my wardrobe!) it was summer nightgowns. I live in Florida, so summer nightgowns get worn probably 10 months of the year. And some of my ready-to-wear nightgowns are starting to show that wear. I scrolled through GreenStyle’s patterns, and noticed that the Norah Nightgown looks quite similar to two of my favorite RTW nightgowns. Time to start sewing!
I used some purple rayon spandex from Boho Fabrics that’s been in my stash for my first version. Since I didn’t have any lingerie elastic, stretch lace trim, or lingerie elastic to finish the bodice edges, I decided to “go rogue”, use powernet, and do a lined bodice. I cut the bodice pieces out of the rayon spandex and out of powernet. After sewing the bodice fronts to the bodice back, I laid the rayon spandex (main fabric) and powernet (lining fabric) bodices right sides together, stitched and turned them right side out. I crossed the front over and pinned it and the straps in place and tried it on. It was comfortable and would have worked just fine as a nightgown. Since I was trying to manipulate the pattern into being more dress-like, I wanted it more fitted. I took in the bodice side seams, and while I had it inside out, sewed some 1/4″ elastic along the seam allowances at the center front crossover edges and along the front underarm seams. Making the bodice more fitted gave me the look I was going for! I used elastic in the band, which also added support. This nightgown will get worn all the time.


Once I figured out my method, it was time to move on to some fancy fabric. Valentine’s Day seems like the perfect time to try something sexier. This makes me laugh, because “sexy” is not my style. I like simple, clean lines, and am about 30 pounds and 30 years past dressing sexy! 🙂 Whatever! Embrace where you are in life and go for it, right?
I saw the pretty, wide nude lace in one of Phee Fabrics Facebook posts and immediately wanted to use it. I am not a lace person at all, so this tells you how pretty I thought the lace was! Nude, natural colors seem to be the trend right now, so I was happy to note that Phee Fabrics also has nude circular knit. I placed my order and impatiently waited for the USPS to deliver everything.
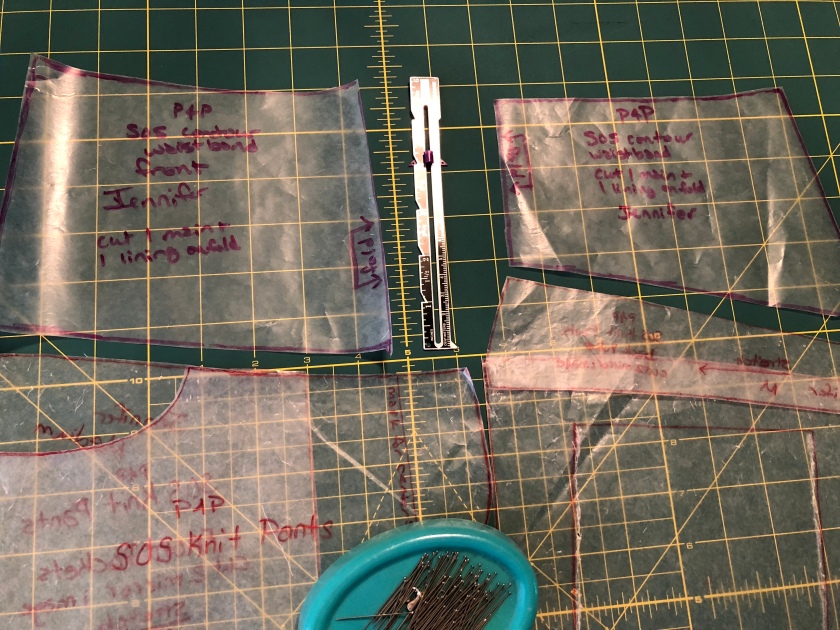
I prepped my pattern by tracing the bodice front and bodice back side seams one size smaller. I also moved my bodice dart 1/4″ closer to the side seam so that it would better line up with the bust apex. Because I was working with fancy lace yardage, it made sense to fold the bodice straps down 8″ and cut the back straps as separate pieces. I cut the bodice pieces out of all three fabrics: the wide lace; powernet; and circular knit. The lace was cut on the bias in order to have the lace edge along the center cross-over. I cut the skirt out of the circular knit and powernet, trimming just the bottom hem with the lace.
 If the lace and circular knit were an exact color match, I would have just used one layer of fabric for my skirt. If you’re going for sheer and sexy, you could just use the powernet.
Baste the powernet to the bodice lining pieces (in this case, the circular knit). If you want to add removable bra cups or a prostheses, don’t baste the powernet at the bodice front side seam.  When you sew the side seams together, sew all layers at the top and bottom for about an inch, leaving the middle 2 to 3 inches of just the front bodice lining free so that you have an opening in the side seams.
Sew the back straps (strips of fabric 8.5″ x 1.5″) to the front straps.

Sew the bodice main fabric and lining layers right sides together, along the side of the straps down the front, and down the other side of the strap and across the back. Don’t forget to leave openings in the back to insert your straps! I found that I like my straps to start about 2″ from center back.

Sew 1/4″ or 3/8″ wide elastic along the center fronts and along the front underarm area stretching slightly as you sew. It’s going to gather your fabric a little bit, but that’s ok, it’s going to look fabulous when it’s on your body!
 Then turn your bodice right sides out and press. Don’t forget to press all seams open as you sew. This helps reduce bulk when sewing your layers together, as well as giving your garment a more finished look. Cross the bodice fronts over as per the pattern markings and baste in place. Pin or baste the straps in place and try on for fit. You may want to shorten your straps or move them closer to the center. Maybe you want to cross them in the back. The best part of sewing is that you make garments that fit YOU. Once you’ve decided on strap placement, stitch the straps in place. Lining up the bottom edges of your bodice main and lining fabrics, baste the layers together. This makes it easier when you sew on the band.


Sew on the band according to pattern directions. Cut the band elastic to a snug yet comfortable length and insert into the band. Sew the skirt according to pattern directions. I changed this version up a little bit by gathering a wider section of the center for a softer look. You could also gather the entire skirt, then attach the skirt to the band.
And that’s how I ended up with my middle-aged version of a sexy nightgown! Made in a different fabric, I would totally wear this as a dress.

See what’s missing in your wardrobe and give it a sew!
*This post may contain affiliate links. This means that at no extra cost to you, I may receive a small commission if you purchase through my links. As always, I only give my honest opinion. After all, it is my blog, which represents me! Thank you for reading and supporting my love of sewing!
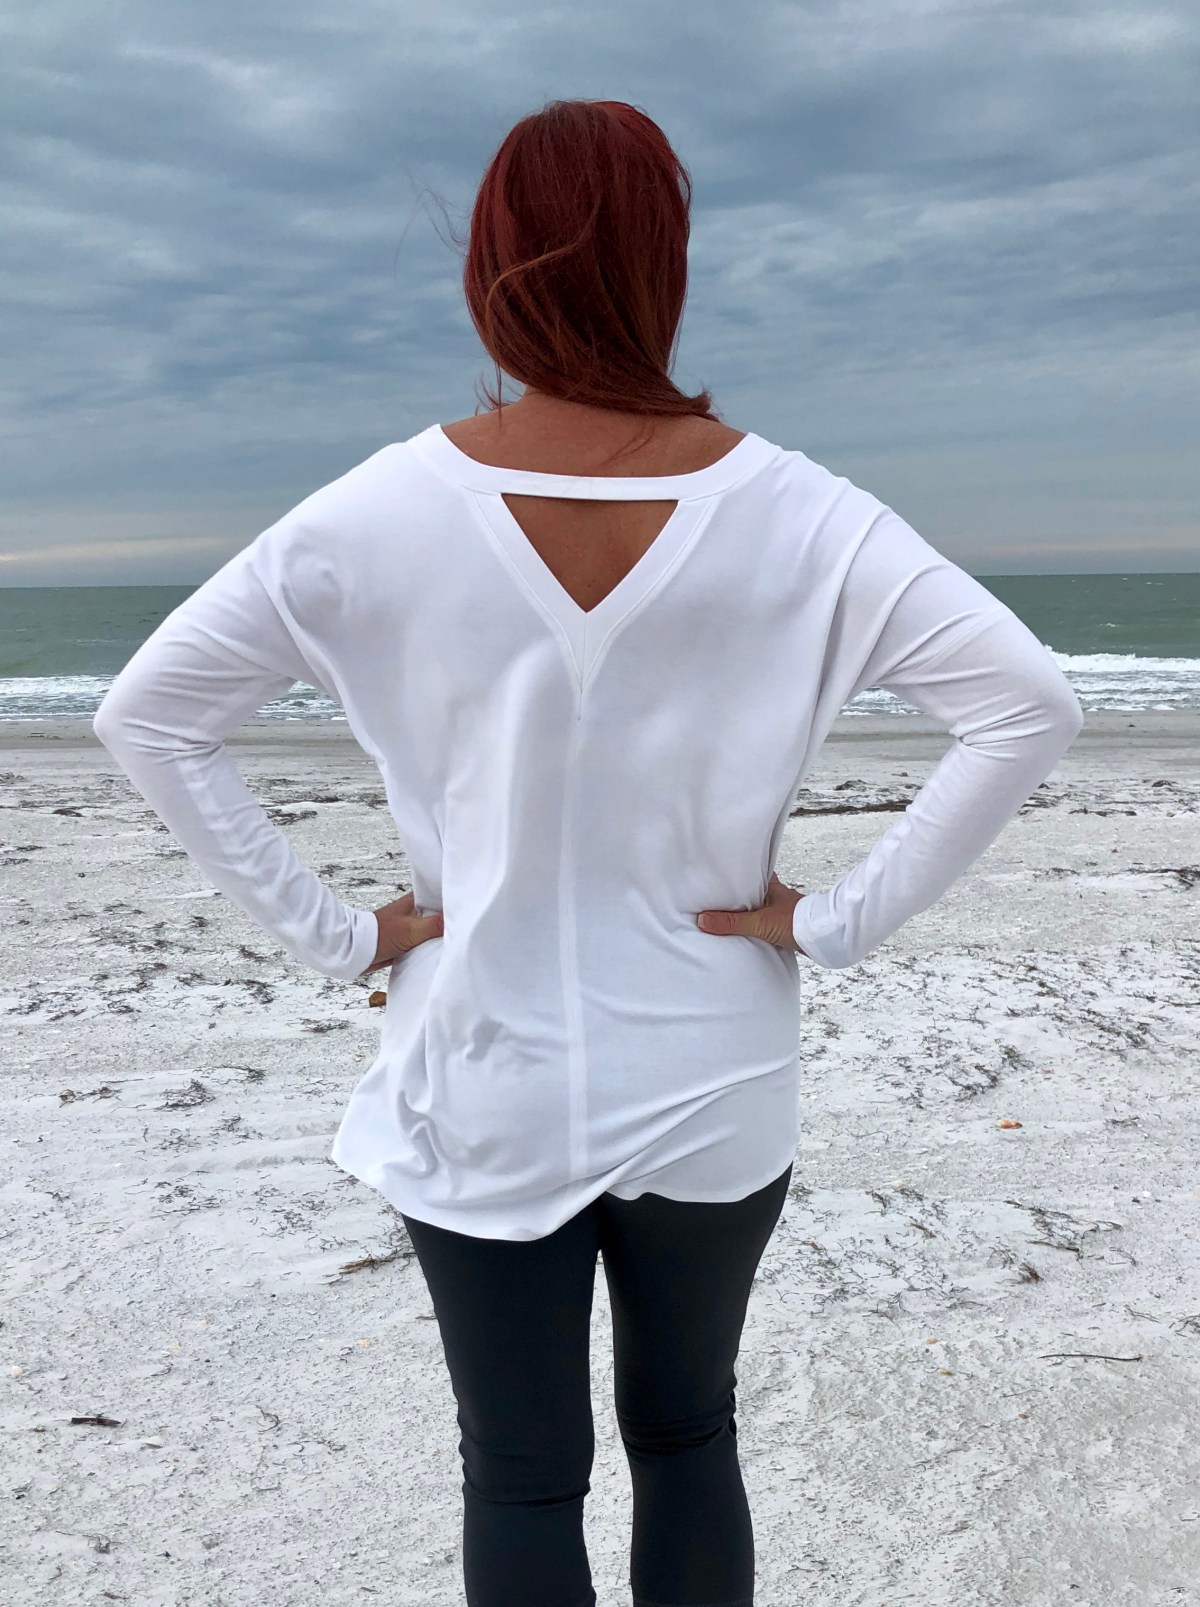
 It could have been the super stretchy fabric, but the size of this trendy style felt a little too slouchy for me. (Hey, I lived through the ’90’s already, the Flashdance look just isn’t my personality!) So for my next two tops I sized down to a Medium. That, and using high quality fabric, was just the change I needed to fall in love with this top.


 Other than the straps, I sewed the bra together per pattern instructions. While I love the look of the double straps, they are more time consuming to construct. So I still cut out four strap pieces, but used them flat (as main fabric and lining fabric) rather than as double straps sewn to each shoulder. I used powernet in my straps rather than adding elastic.
 Once you’ve sewn your main and lining pieces together along the top, try the bra on, adjust the straps to length, then push the straps through the openings and stitch.
 To avoid bulk, be sure to trim the seam allowances at the back strap openings on an angle before turning the bra right side out. It’s important to press as you sew. It helps everything lay more smoothly, and gives your projects a more professional finish. See the difference pressing makes between the left and right straps in the photo below?
 The Lille body was wider than my bra. If I were making the body out of Supplex, and wanted it more fitted, I would have slimmed the top of the body a bit. Since I was going for a drapier fit with ruching, I just matched up my quarter points and eased the body to fit the bra.
 I could have added a band with elastic on the inside at this point, but wanted to try something else. I used 3/8″ swim elastic cut to fit me at the snug yet comfortable length (just like you would trial fit the wider elastic in the band). I overlapped the elastic and stitched it together making a circle. Then I matched up my quarter points, and zig zagged the elastic to the seam allowance. After that, I flipped the seam allowance toward the bra, and top-stitched it in place.
 To ruche the sides, I cut two pieces of swim elastic a couple of inches shorter than my side seams. I zig-zagged the elastic to the side seams and ta-dah, instant ruching!
 When I go to the beach to get photographs in my makes, sometimes silliness overtakes me. But we’ll just say I was jump testing the workout top to ensure that everything stays in place!