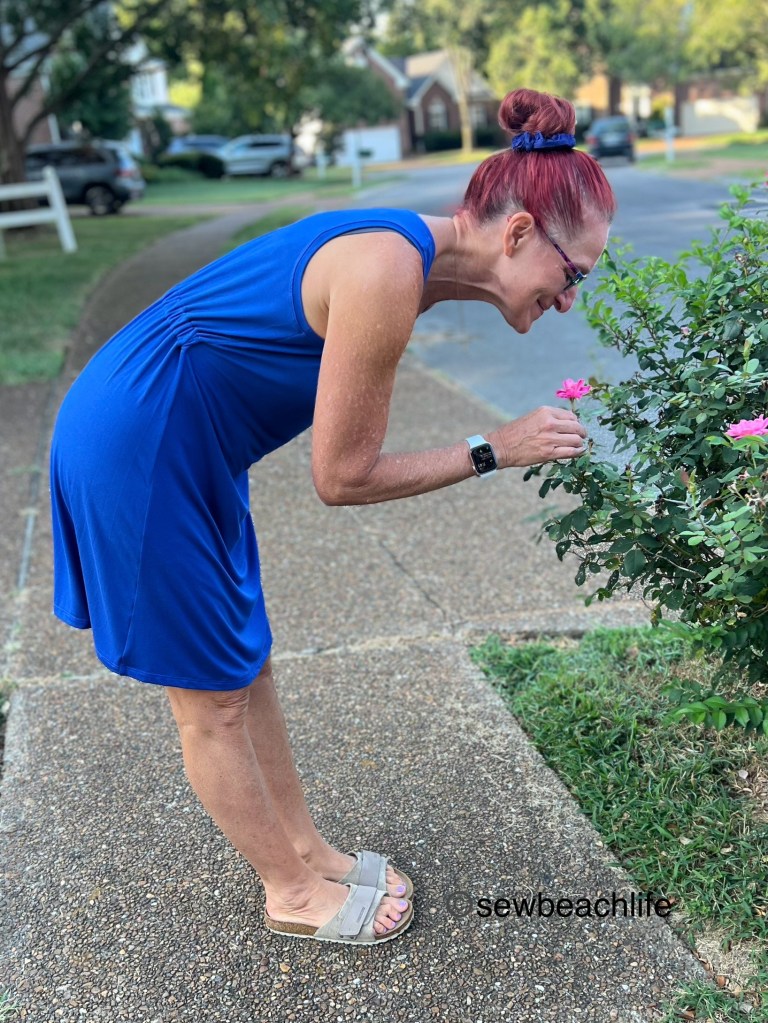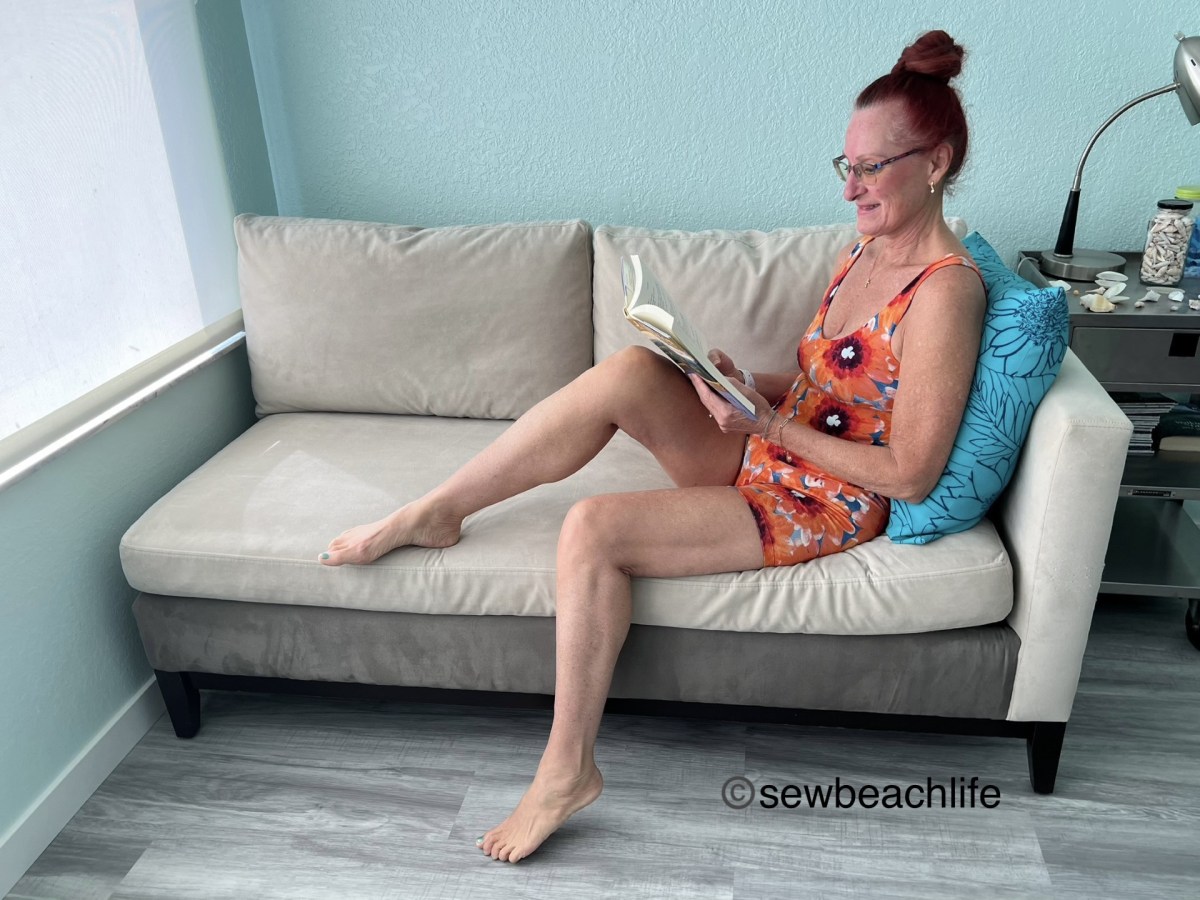
I love versatile patterns, and the new Bobby Brami pattern from GreenStyle does not disappoint! It makes for super comfortable pajamas when paired with the Billie Shorts. You can lounge all day, clean house, sew, read, do laundry, and snuggle your cat, all while feeling cozy, yet cool.
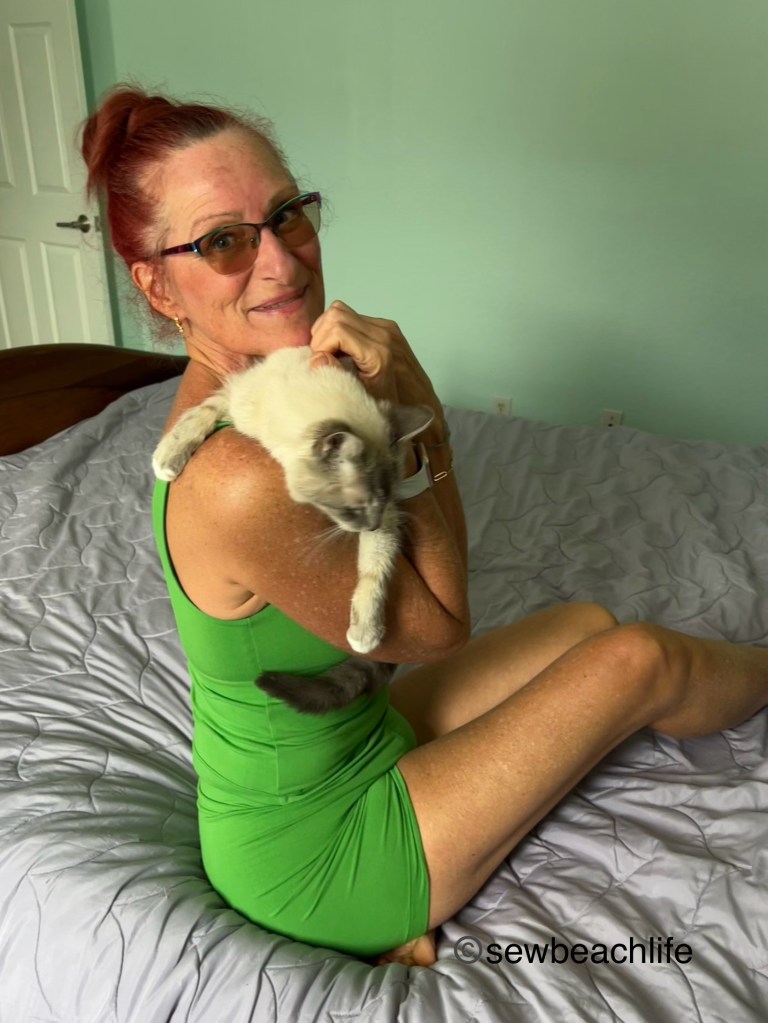

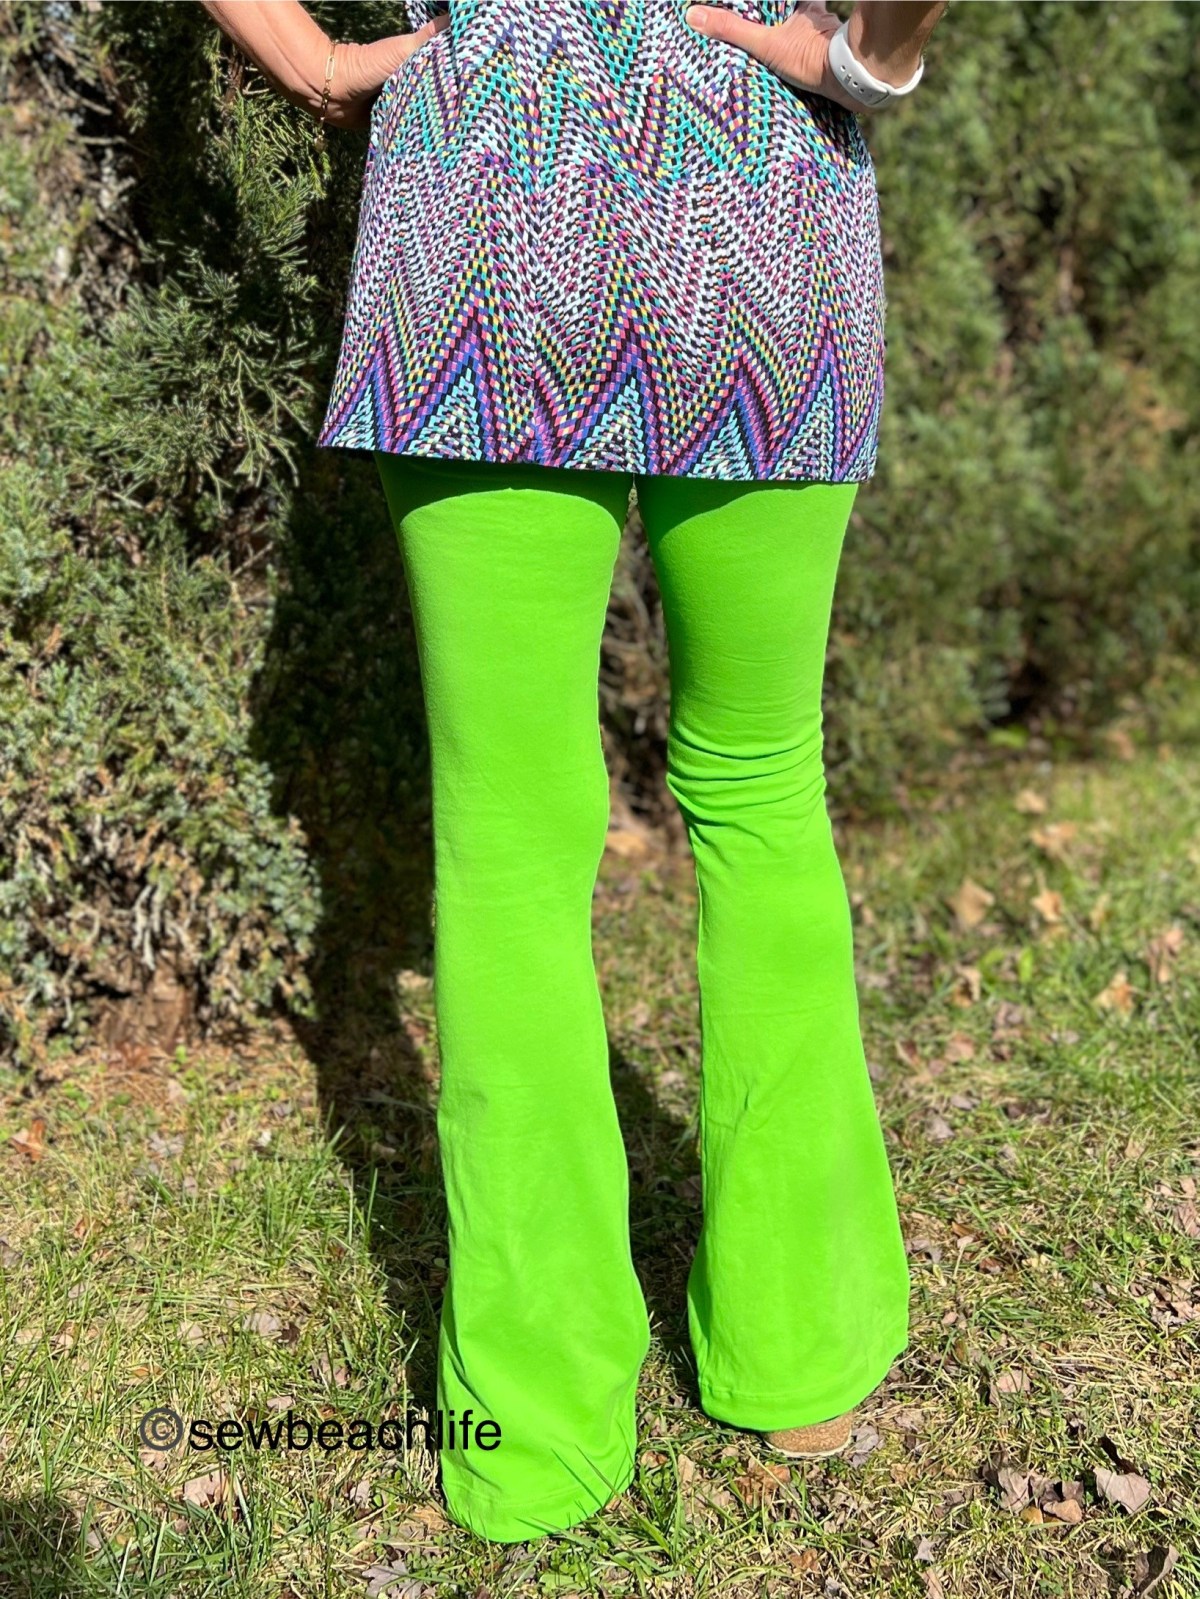
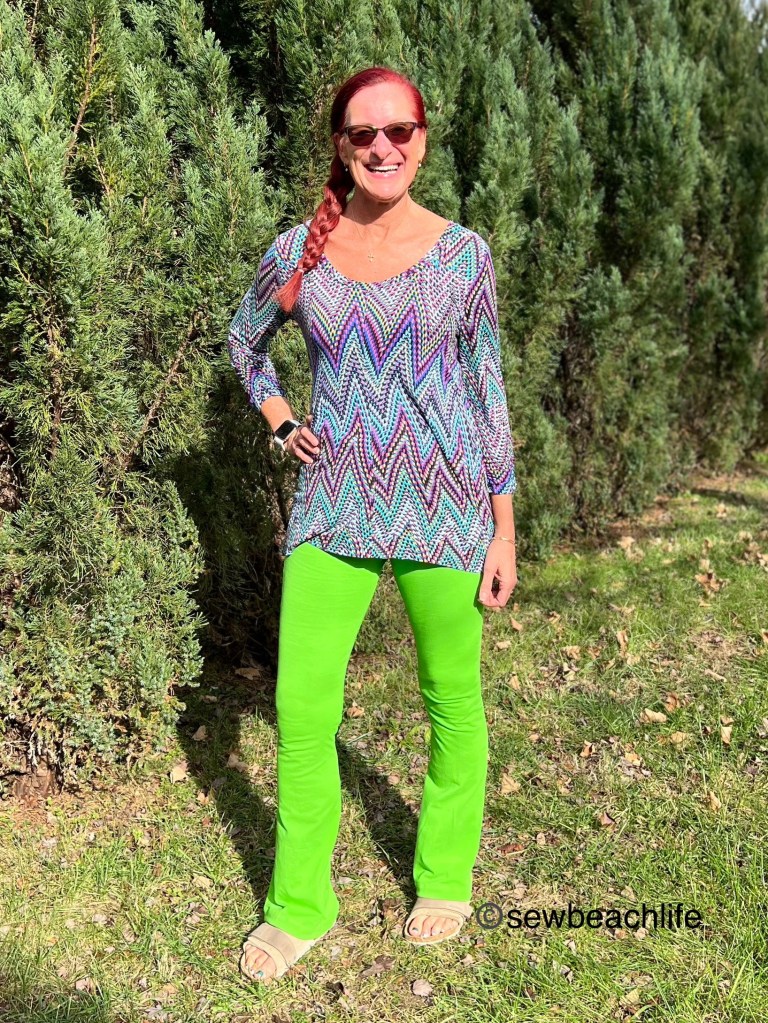
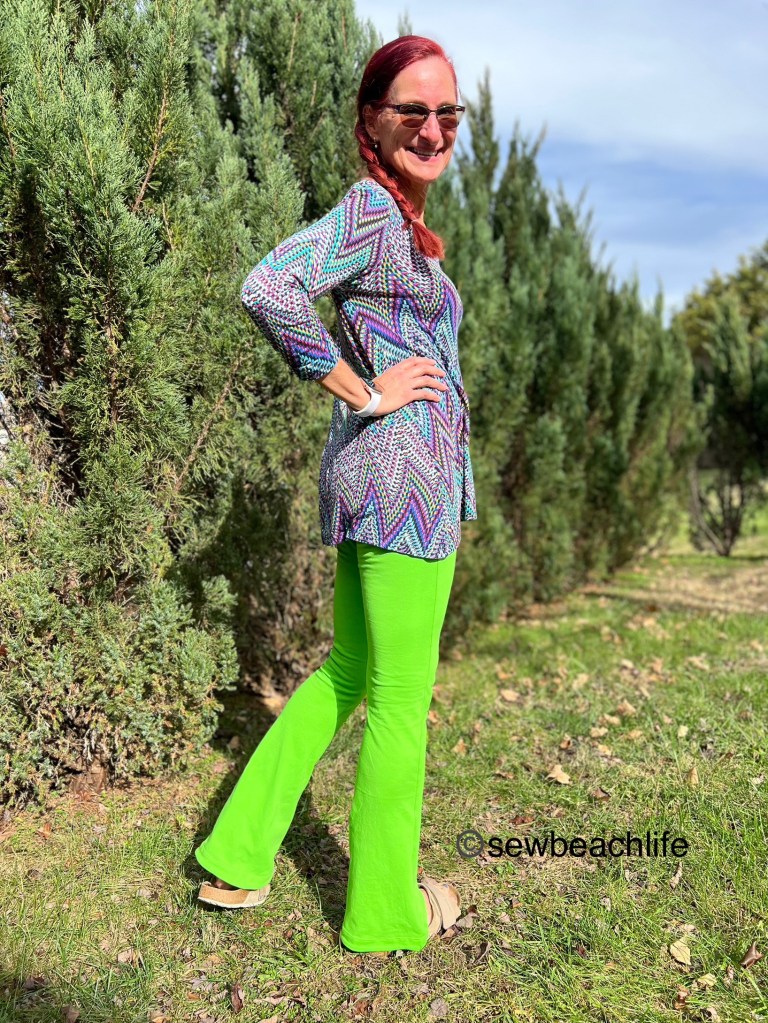
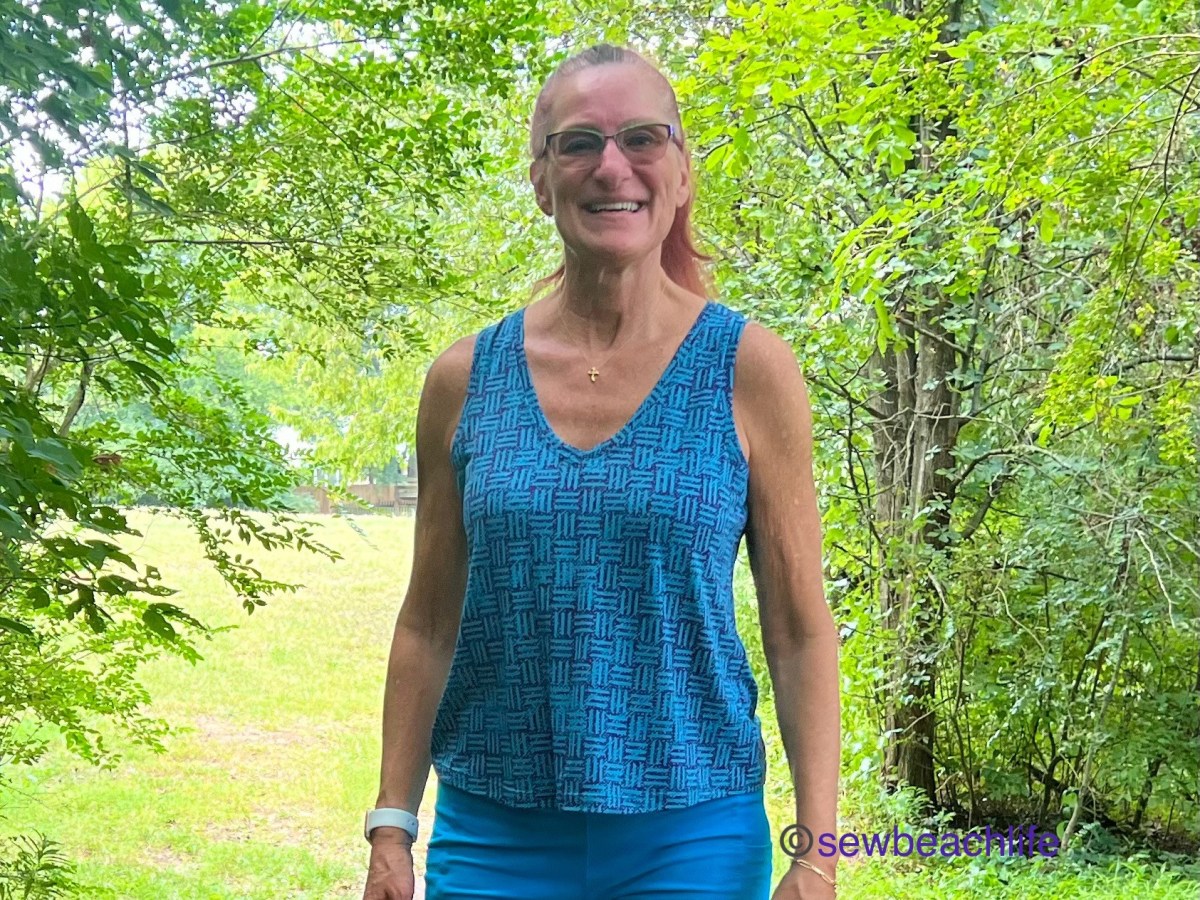
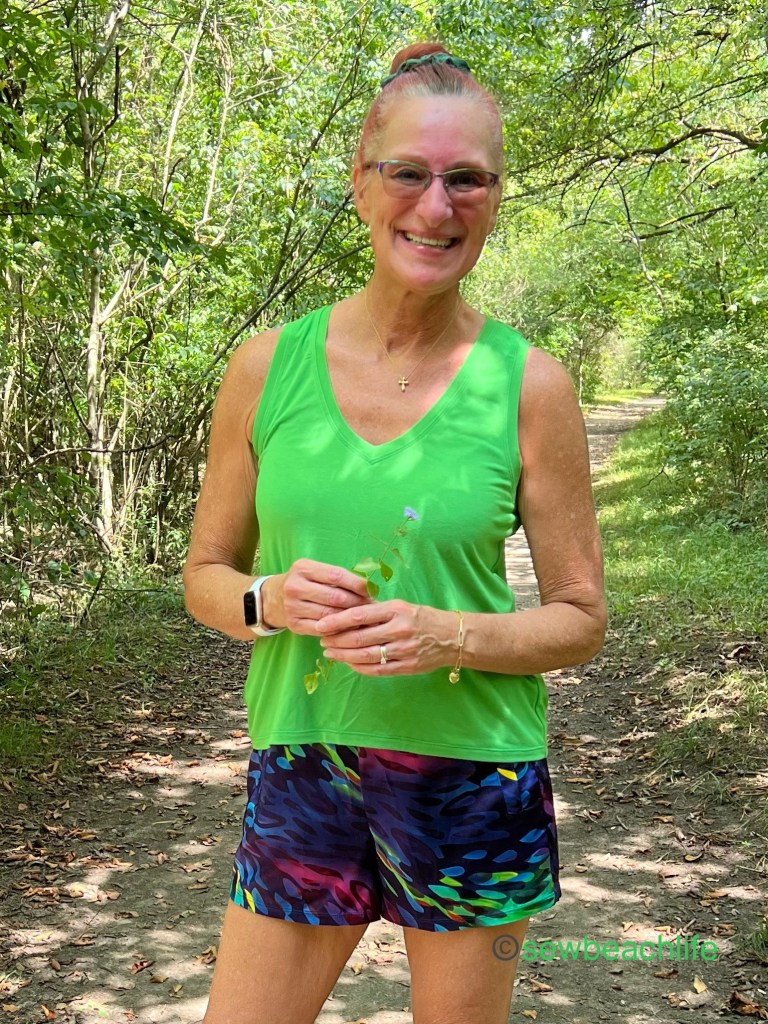
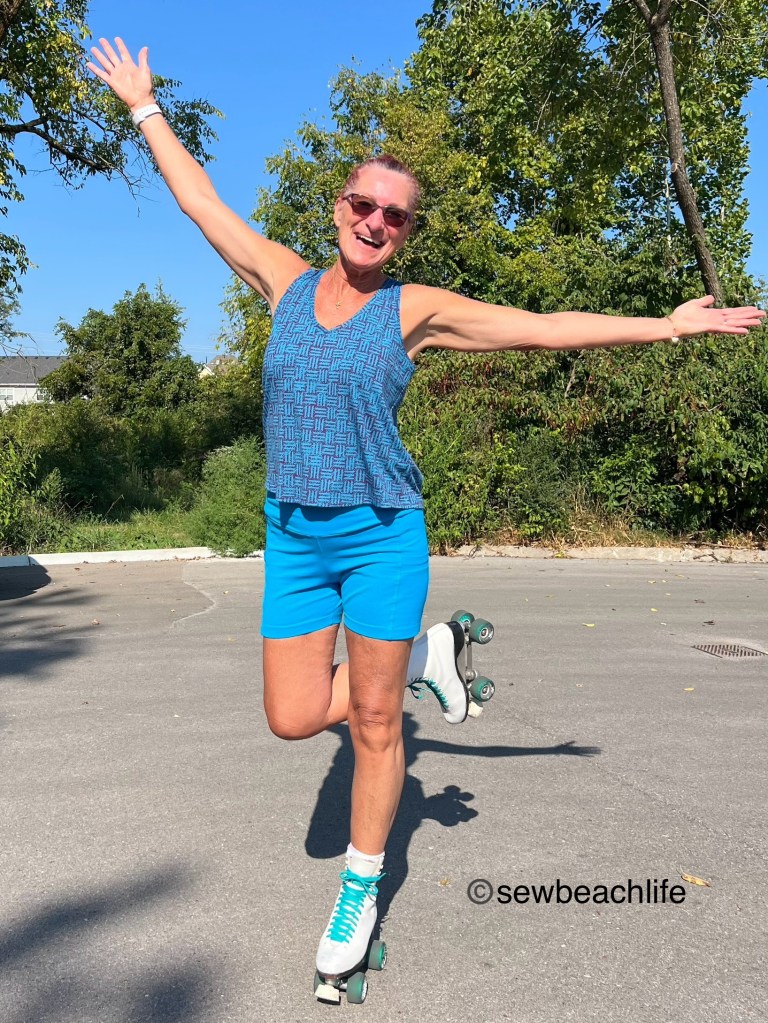
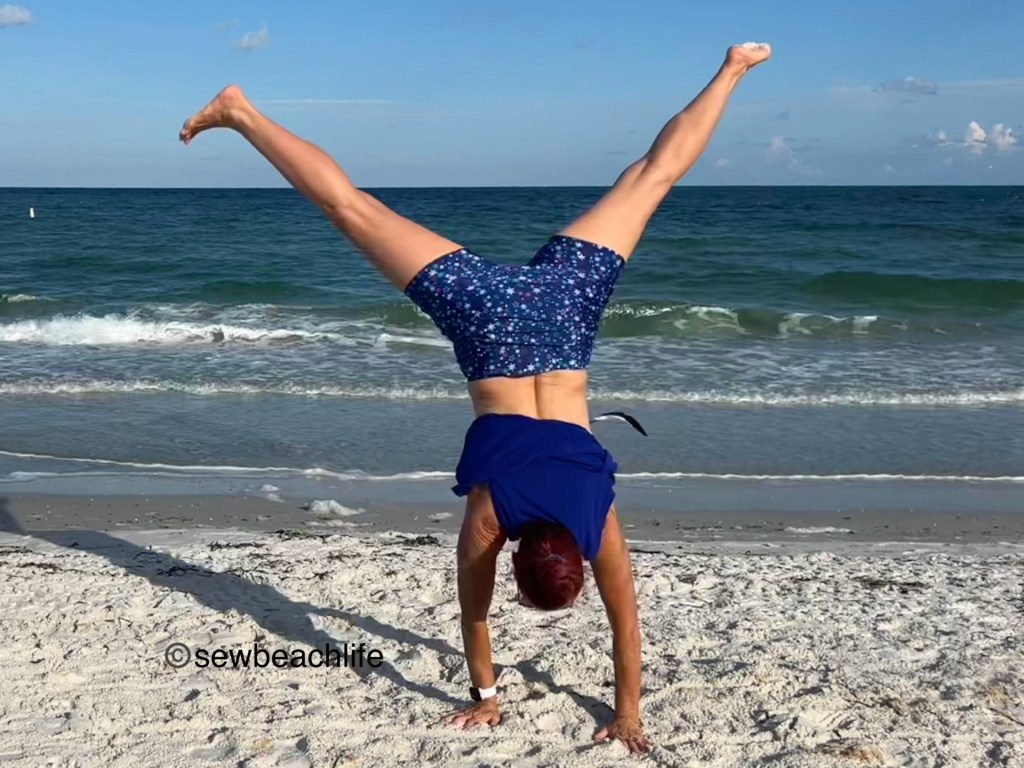
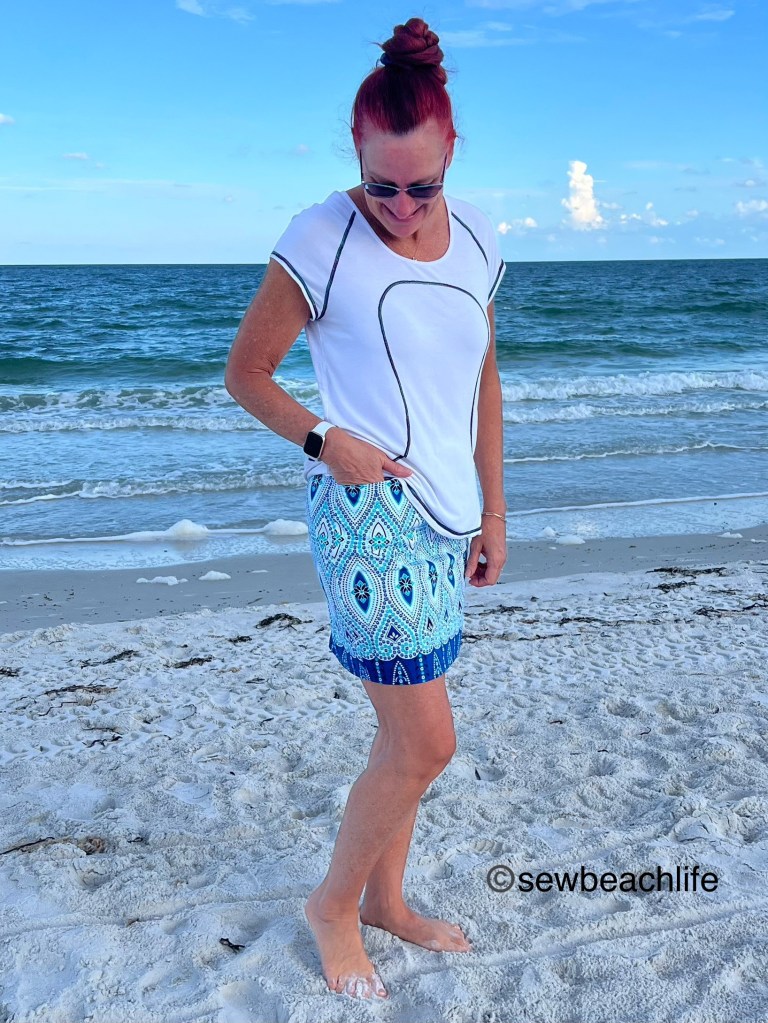
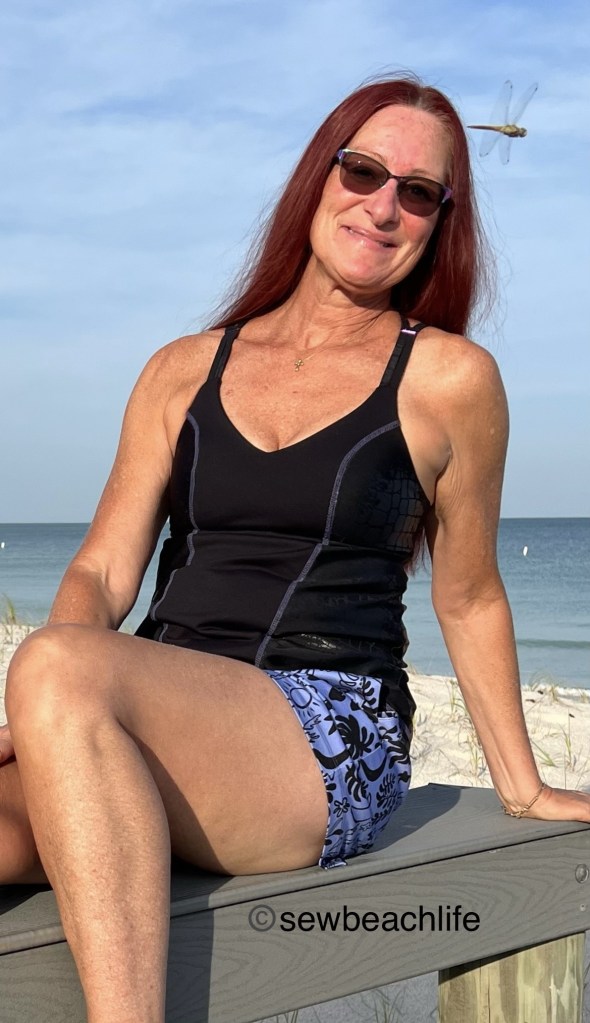
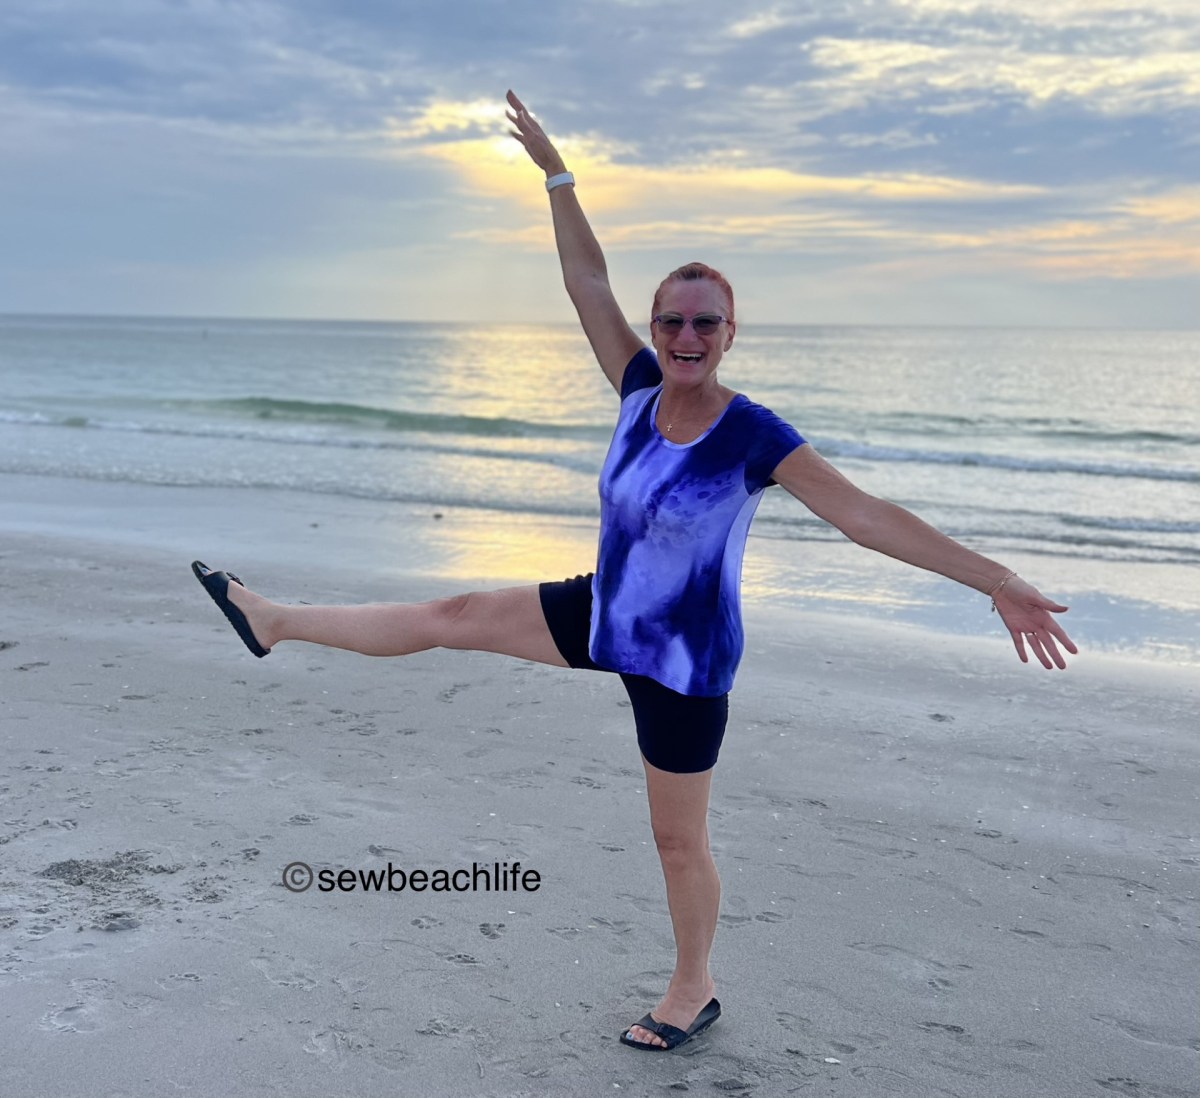
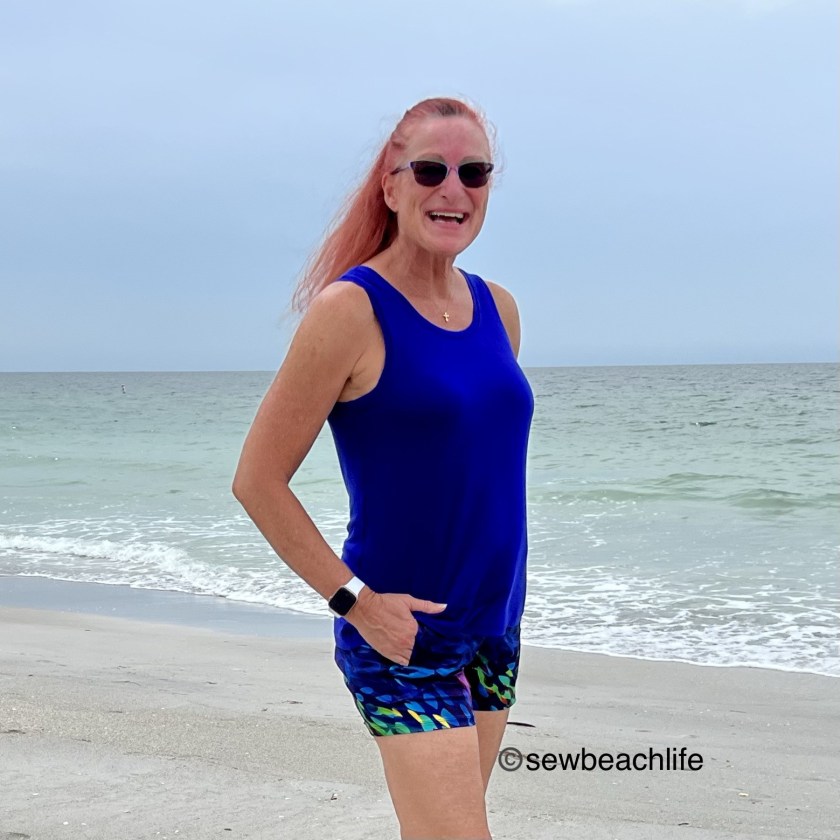
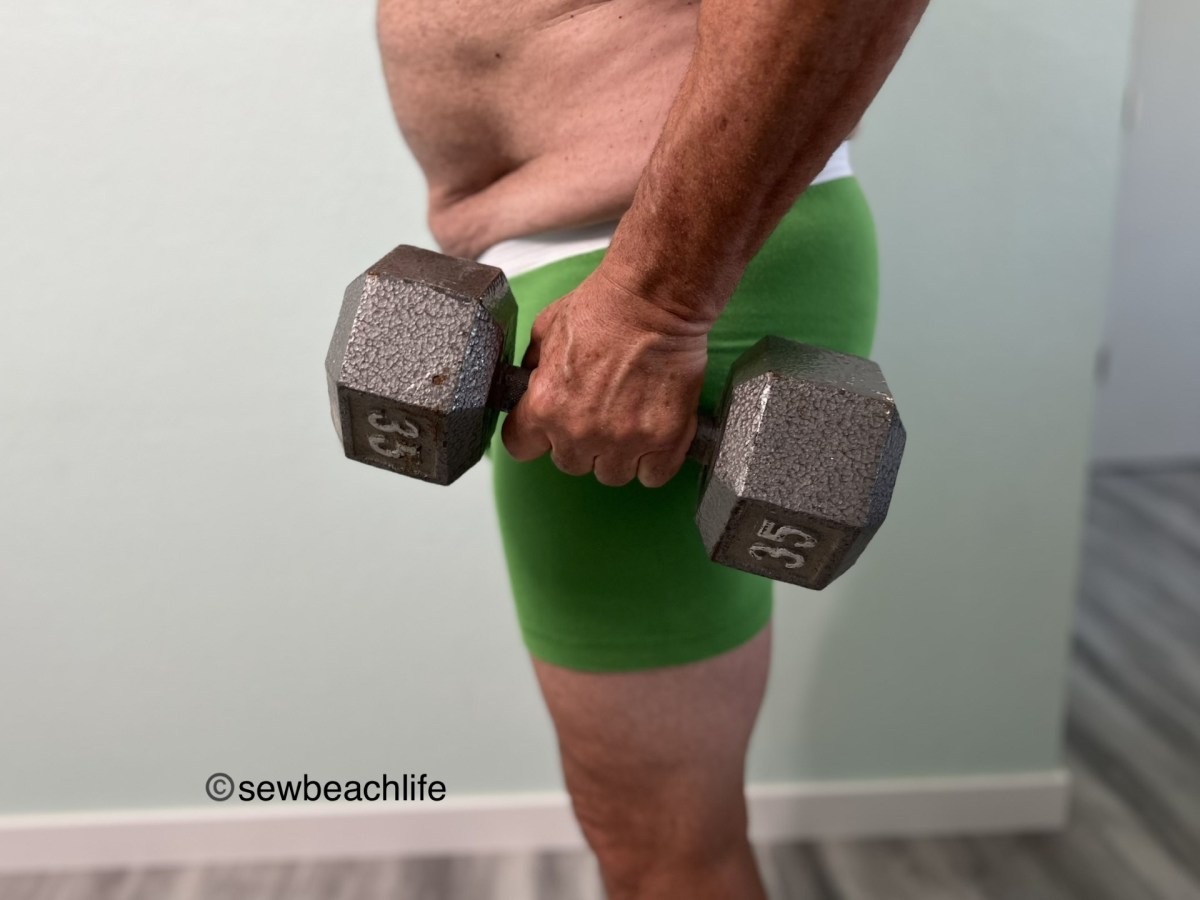
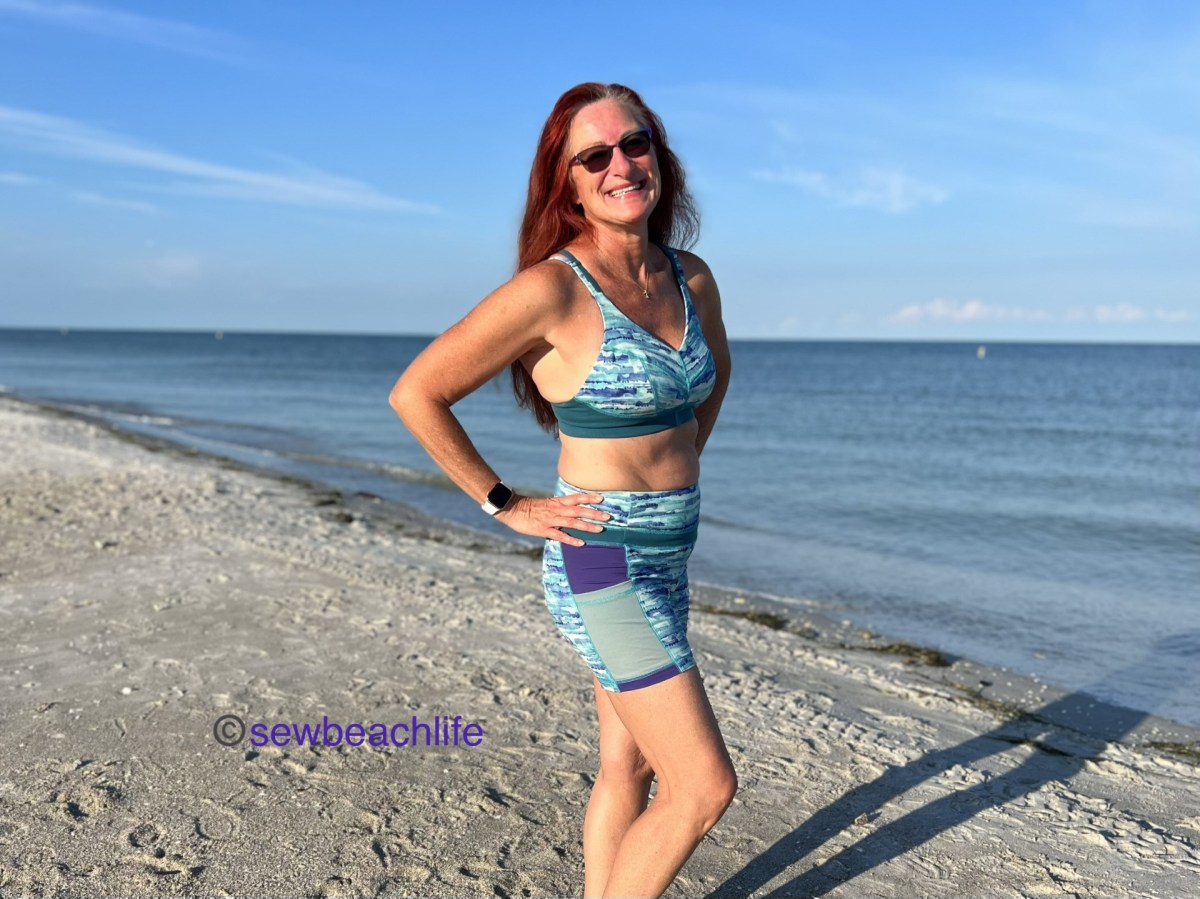
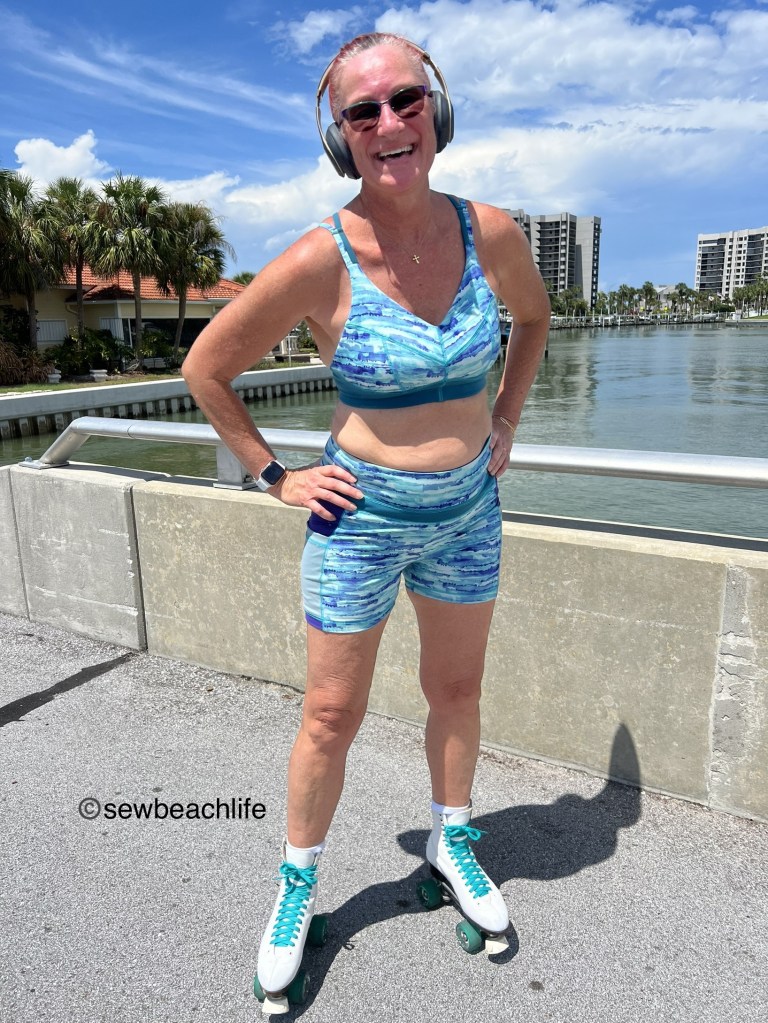
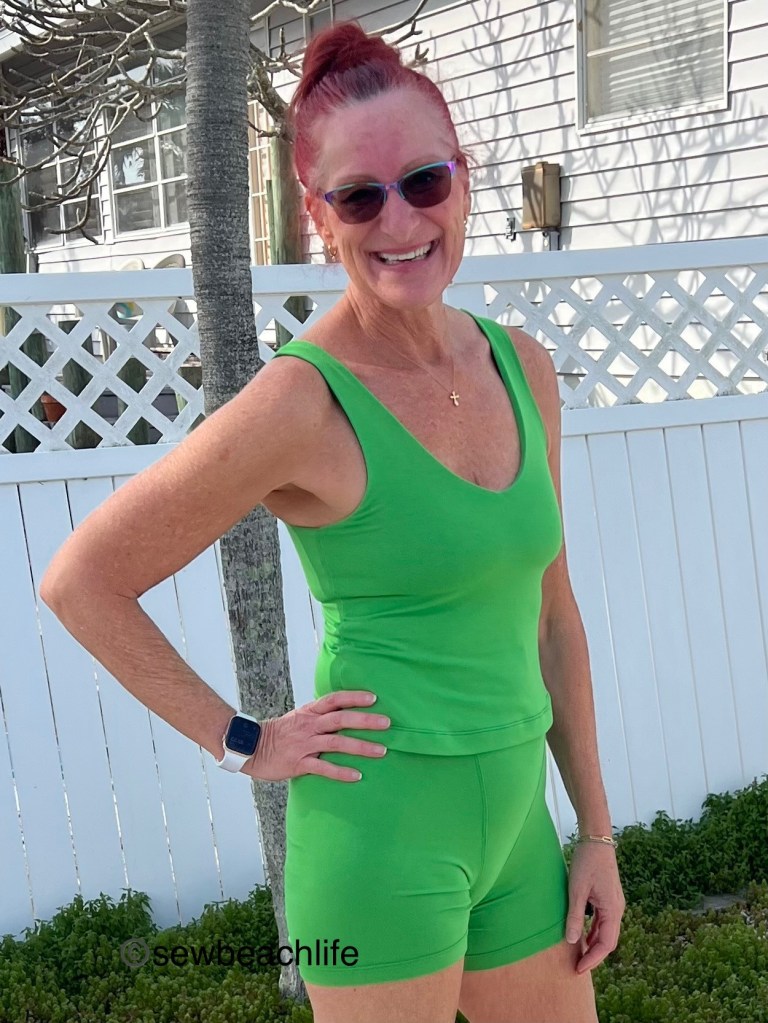
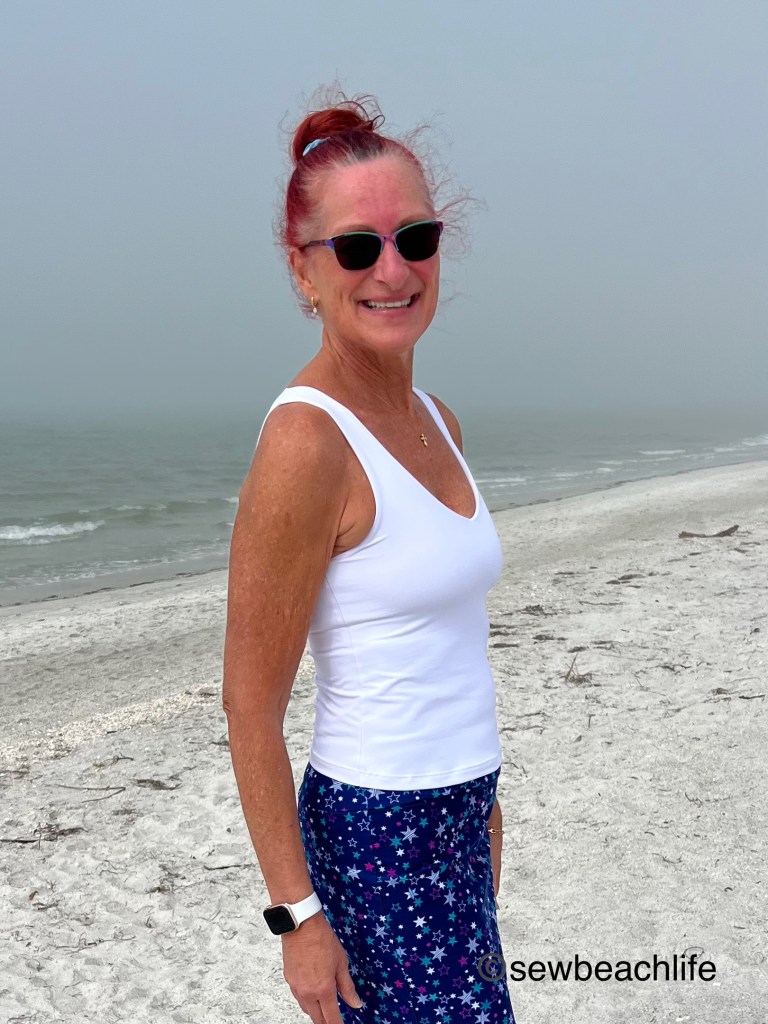
But the Bobby Brami isn’t just for lounging. I wear mine out and about while running errands, taking a walk on the beach, and while skating. Fabric choice makes a little bit of difference on which top I’ll choose. All of my Bobby Brami shelf bras are made with high quality nylon/spandex swim or athletic knit. I didn’t even bother using power knit as an additional layer, because the shape of the pattern pieces gives me adequate support. The coral floral print and bright green main layer (and Billie Shorts) sets are rayon/spandex. They are soft and cozy.
It’s been chilly here in Florida, but it finally warmed up enough for me to skate again. When it finally hit the mid sixties, I wore the coral floral Bobby with some Moxi bike shorts to skate.


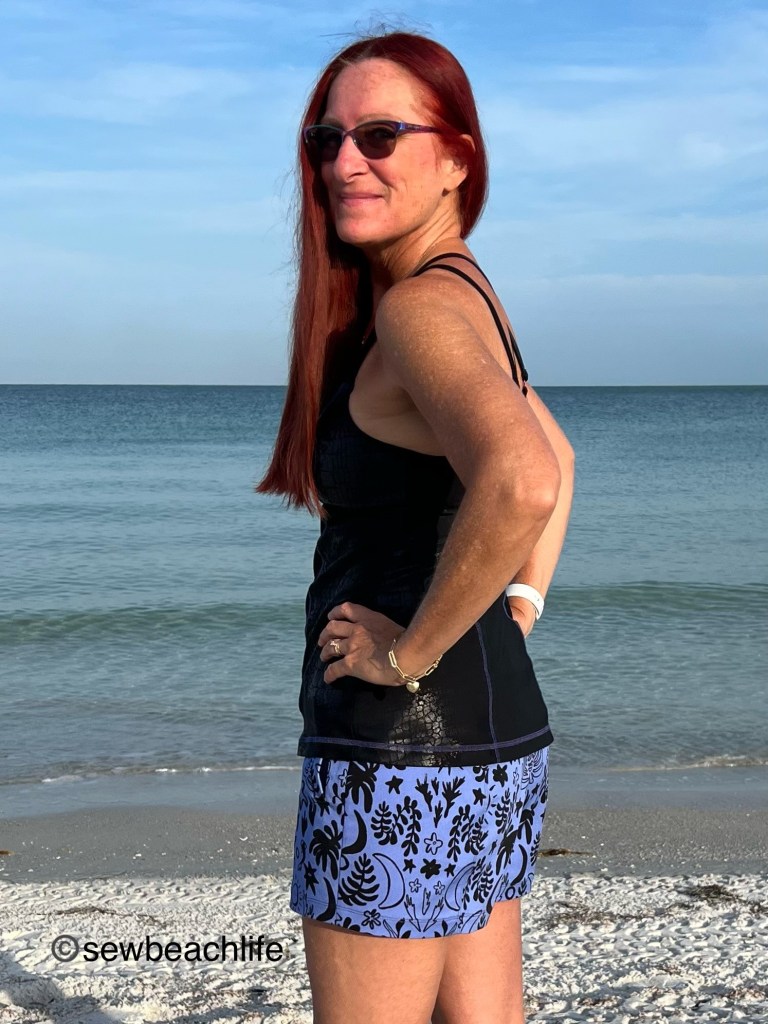
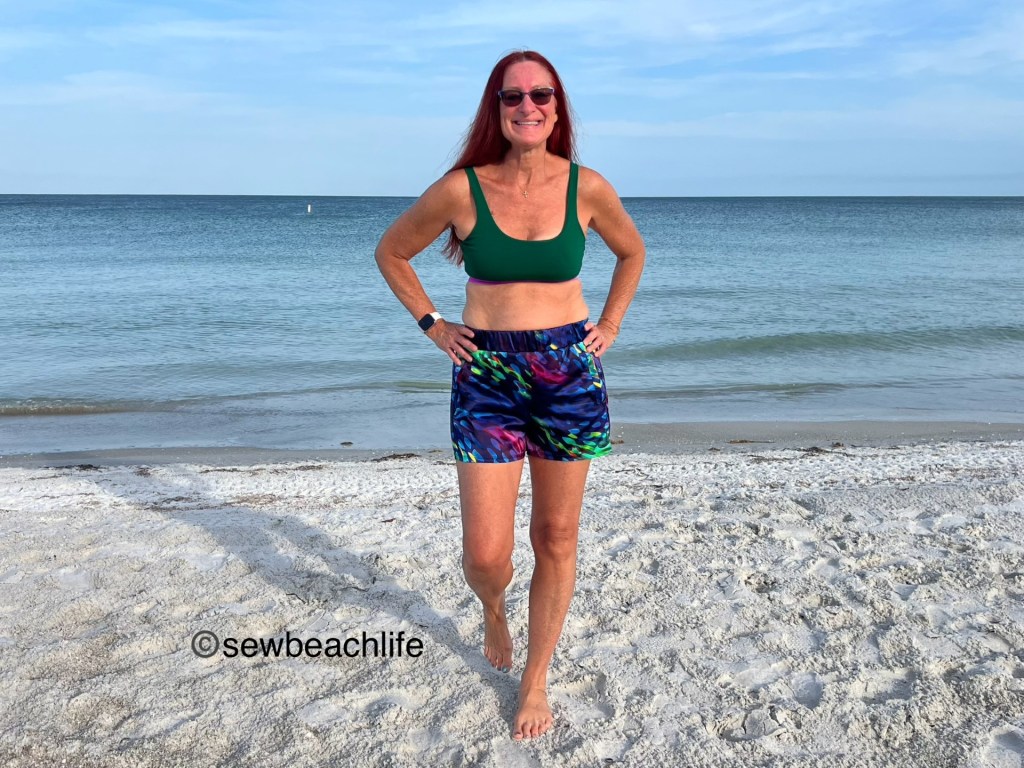
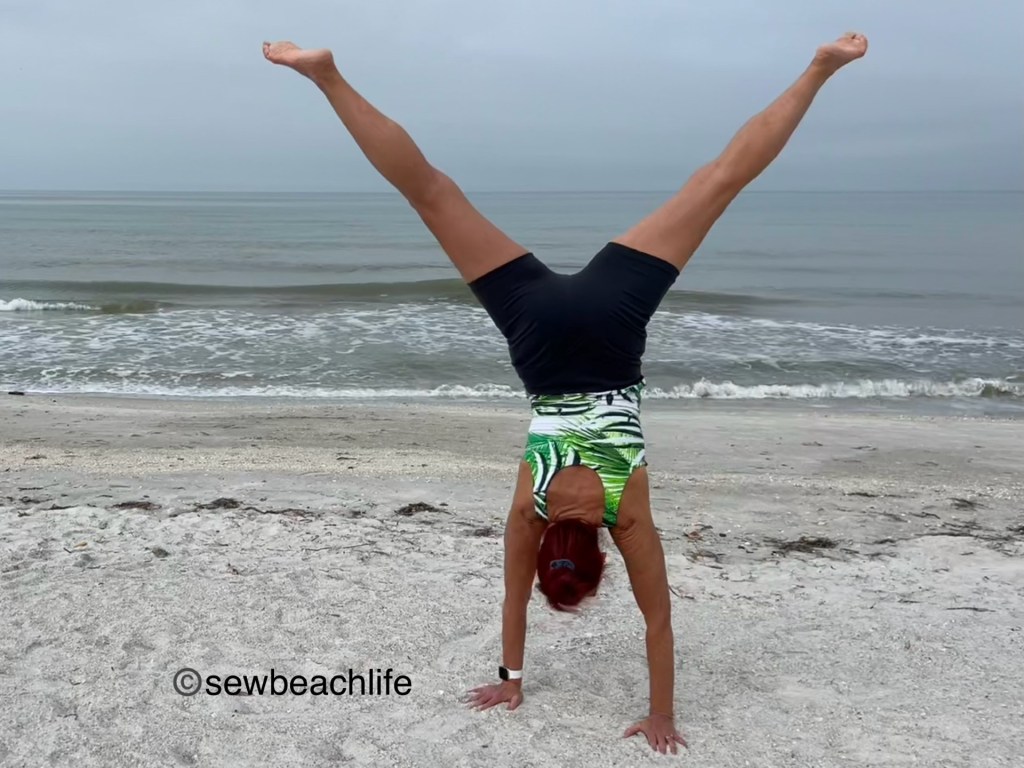
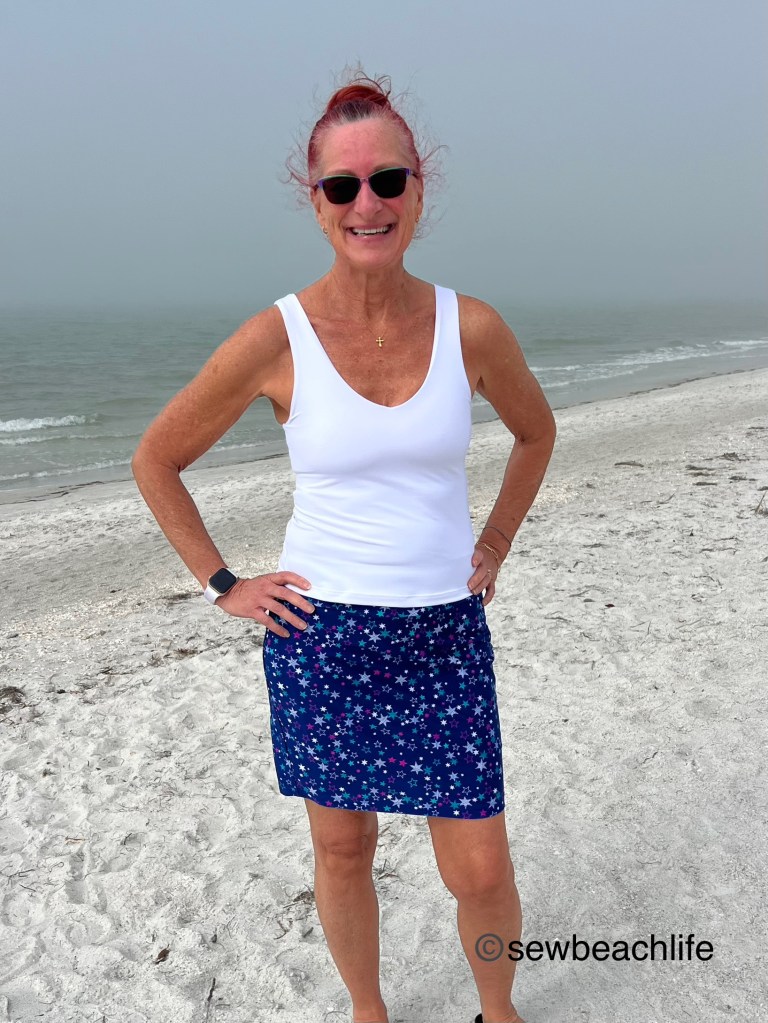
As much as I love rayon/spandex, I’m unlikely to wear it while doing a sweaty workout. On those 90 degree days, I’ll reach for the nylon/spandex athletic fabric tops, like my palm leaf print or solid white versions.
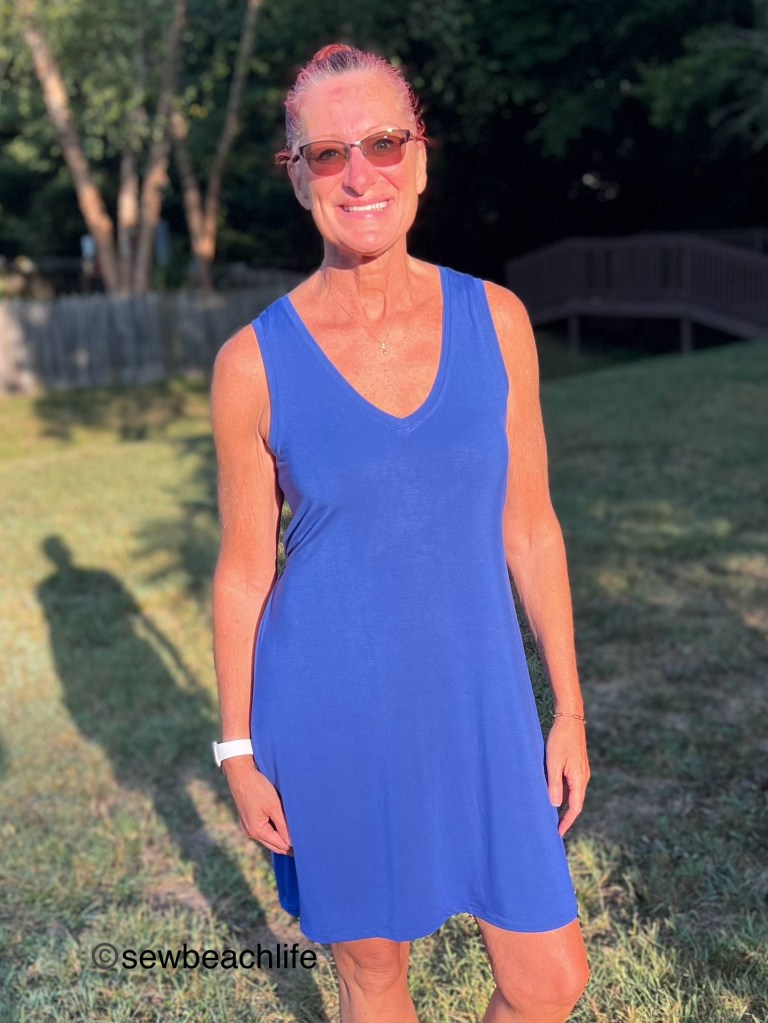
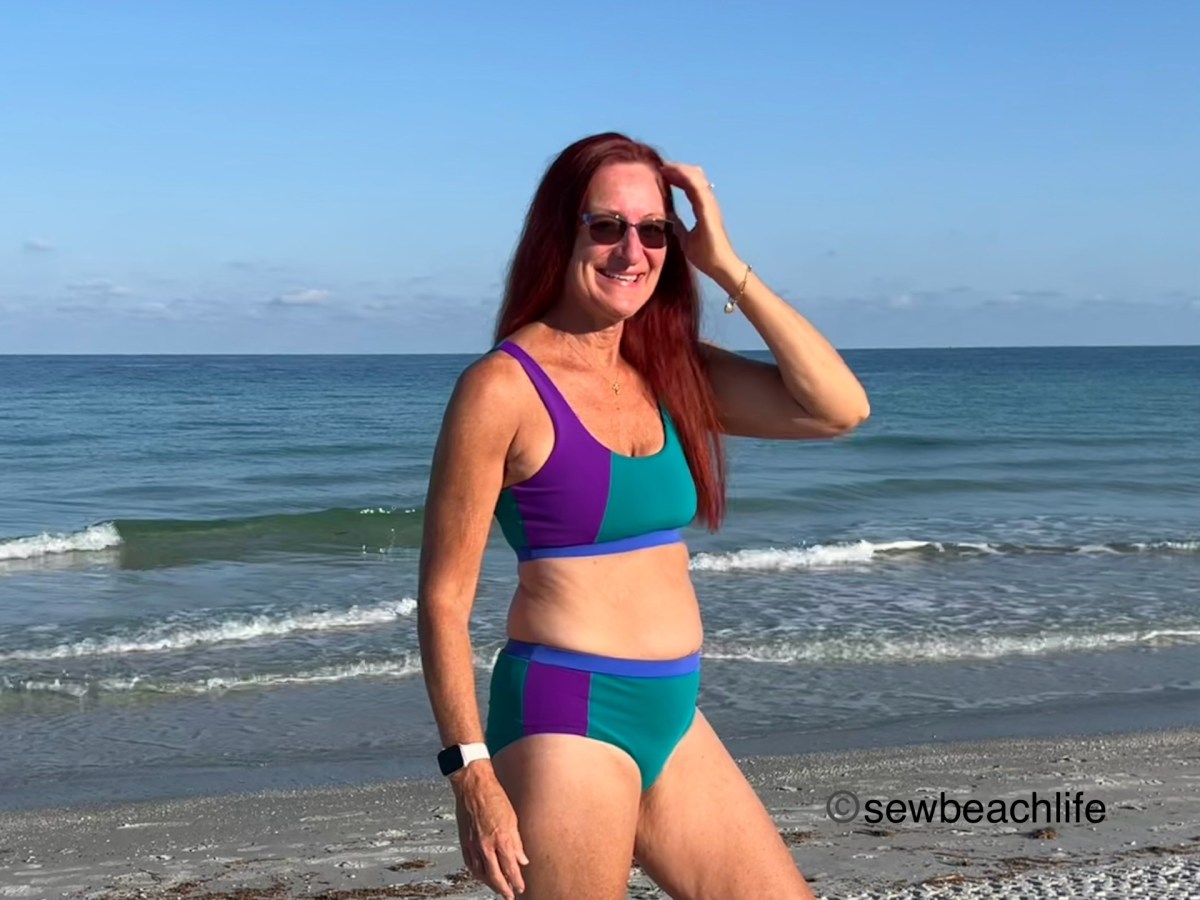
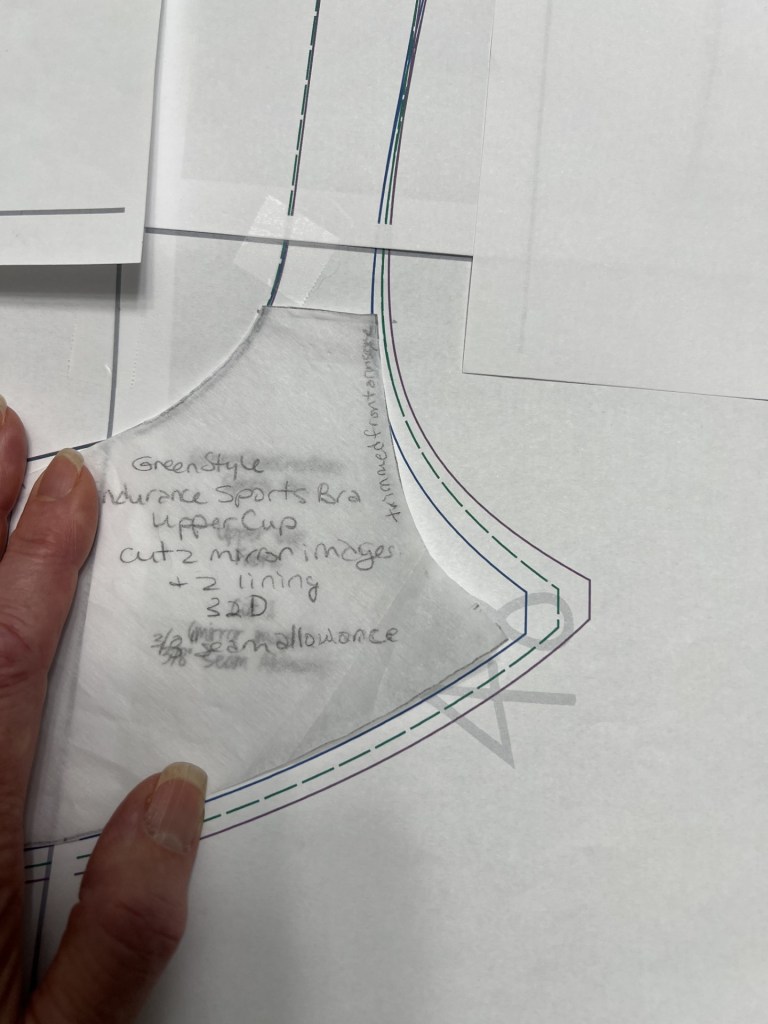
When pattern testing, I like to take fresh measurements just to make sure I’m choosing the correct size(s). Garments fit best when you start with your upper bust measurement to get a good fit at the shoulders. Then you can grade for the full bust, waist, and hips. My upper bust is a size D, and my full bust is on the outer edge of D. My waist and hips are size F. So my pattern is graded from D to F starting below the bust. After making the first test version, I realized that my bust projection made the front of my top a smidge too short. But I don’t measure into or need the +2″ or +4″ FBA front pattern pieces. What I do need is a little bit of extra length at the center front. So I reshaped the hem similar to the hem on the FBA front of the Azure top shared here. Adding 3/4″ at center front, gently curving up to nothing at the sides made a world of difference.
I upcycled the pretty palm leaf print fabric from a now too large tunic top (shared here) for my third Bobby Brami. Because it has a higher percentage of spandex and would be more form-fitting and less drapey, I experimented with adding 1/2″ to the length of both the (previously adjusted) front and back of the top. I’m super happy with the results!

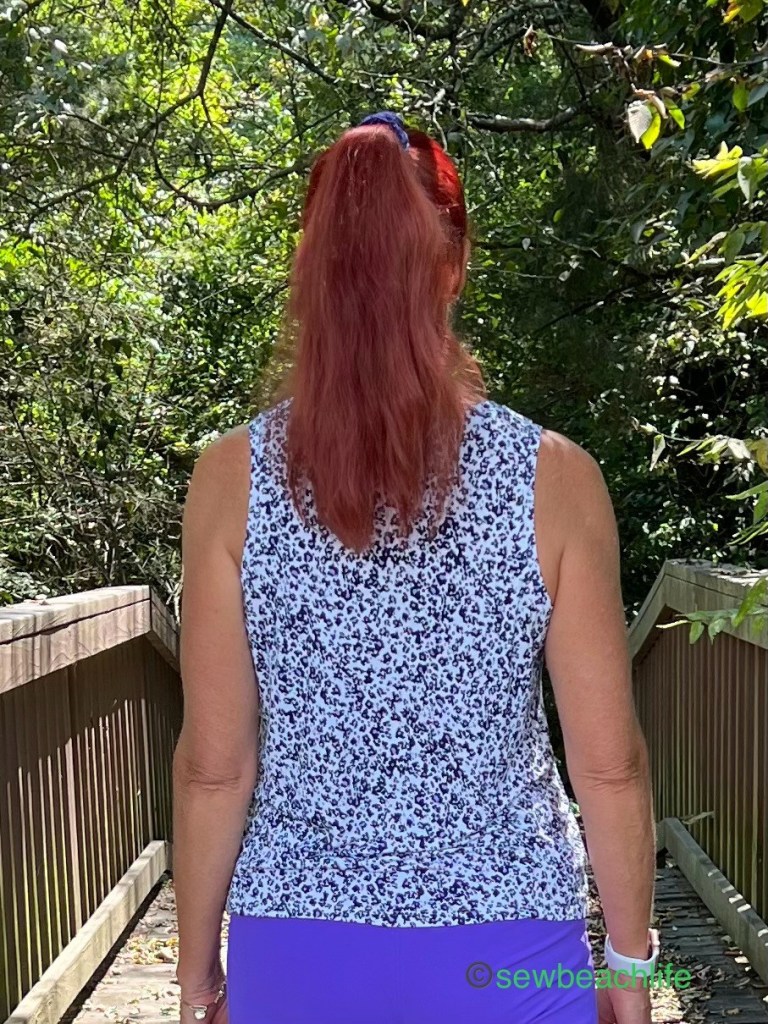
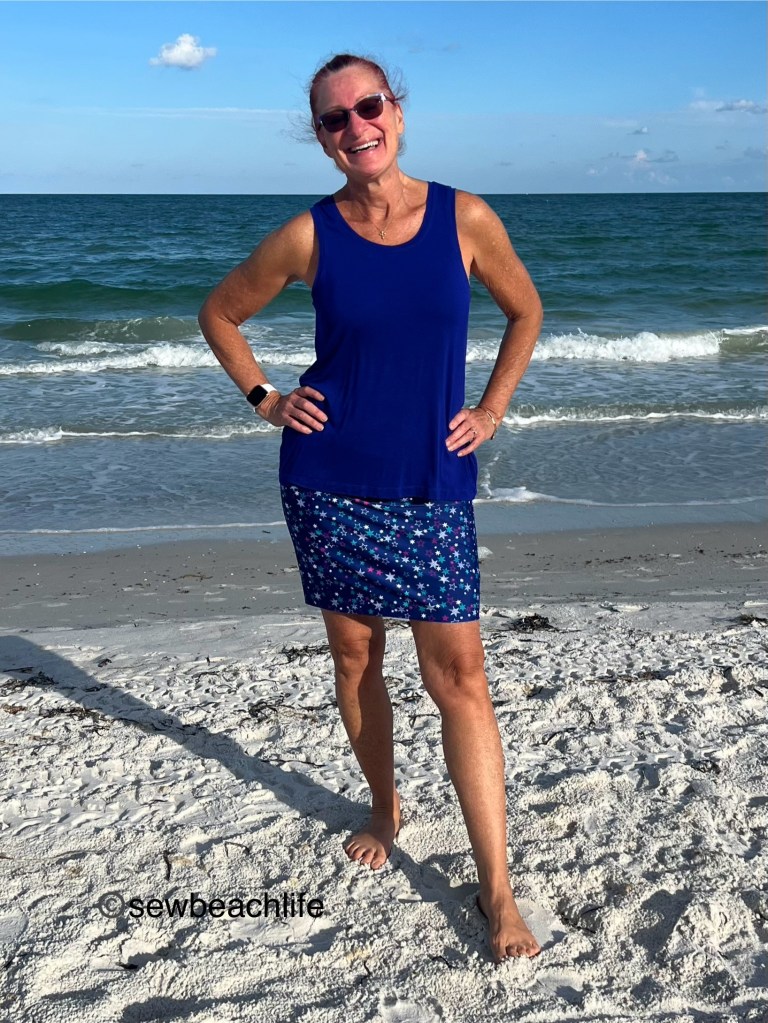
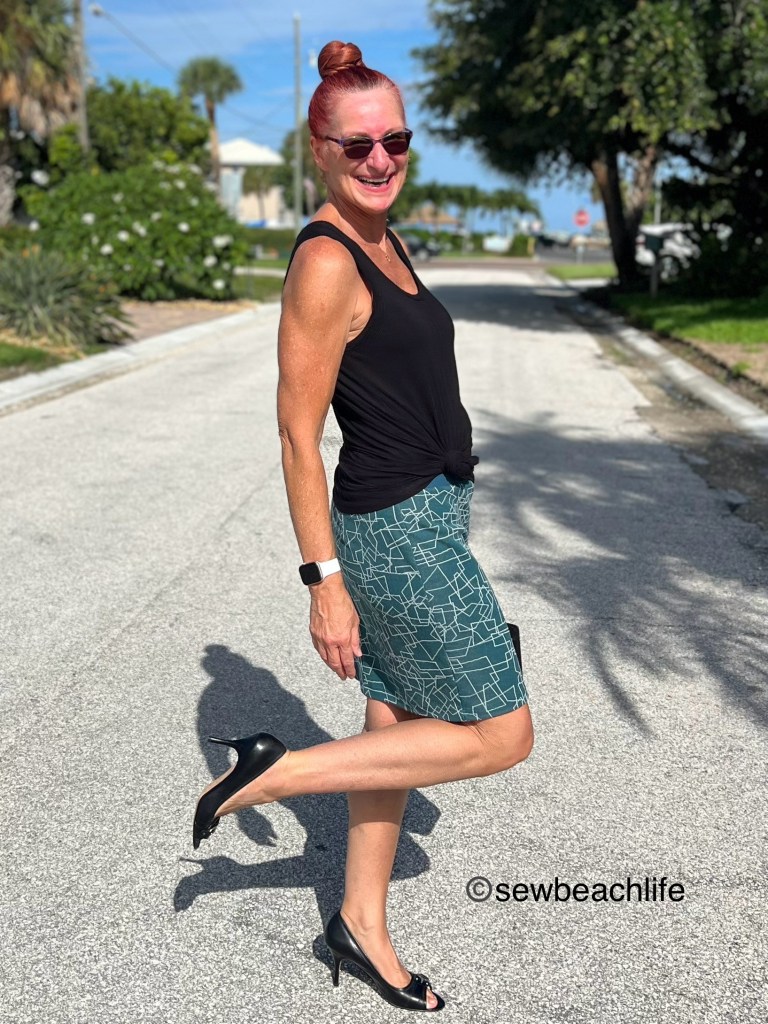
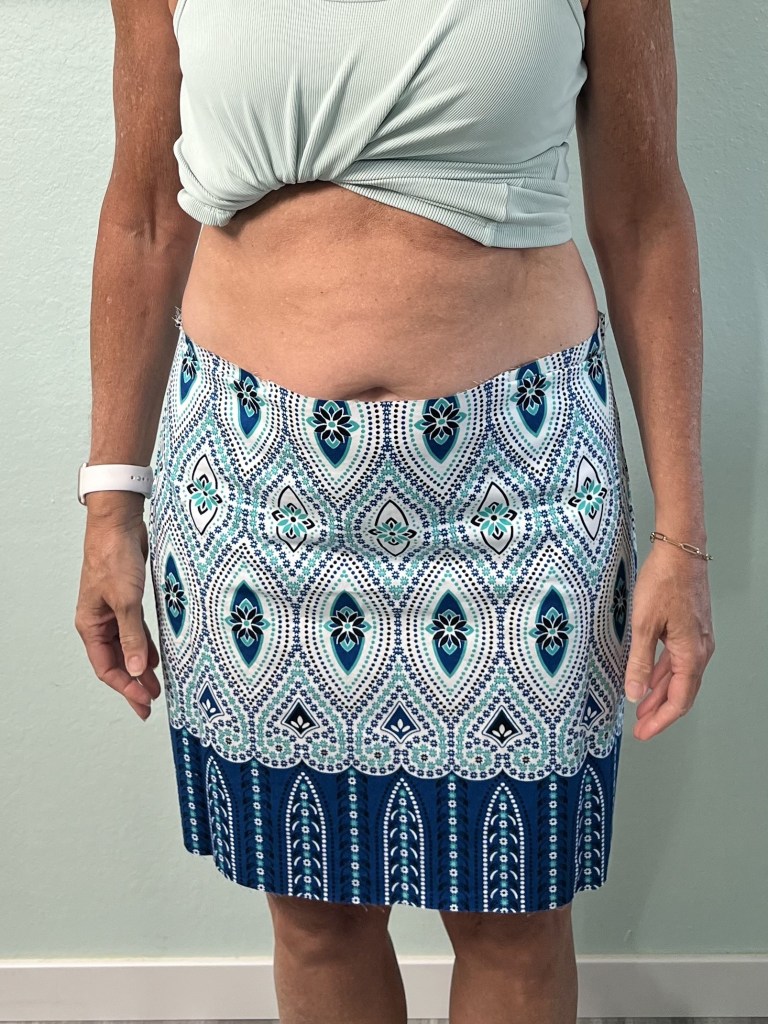
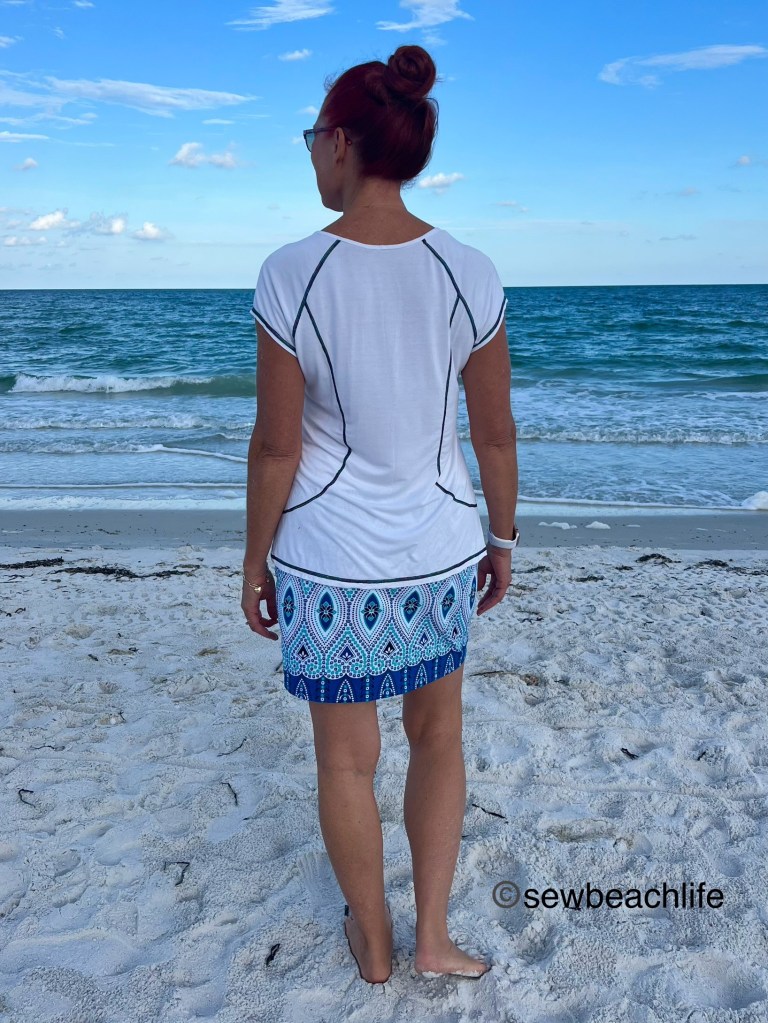
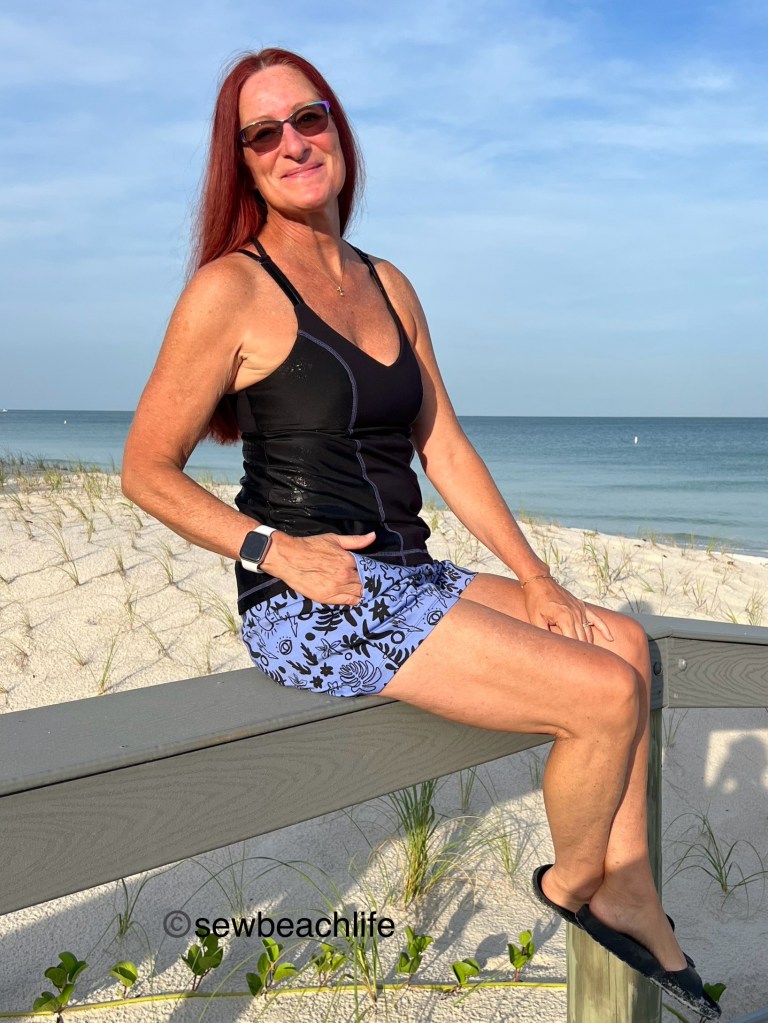
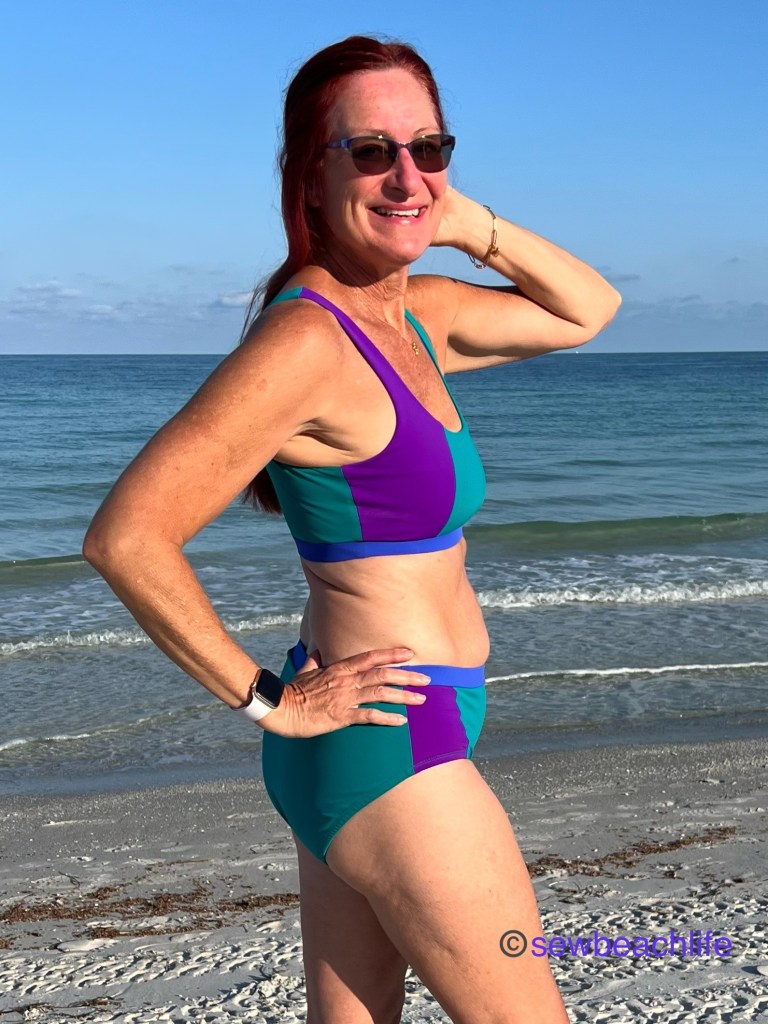
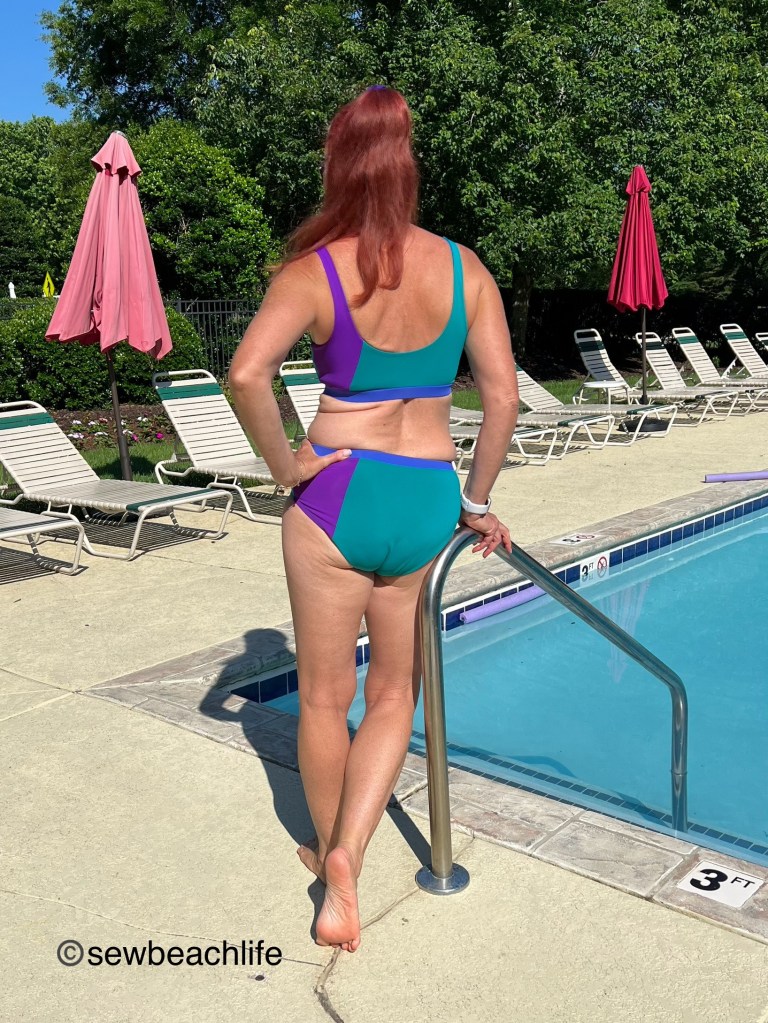
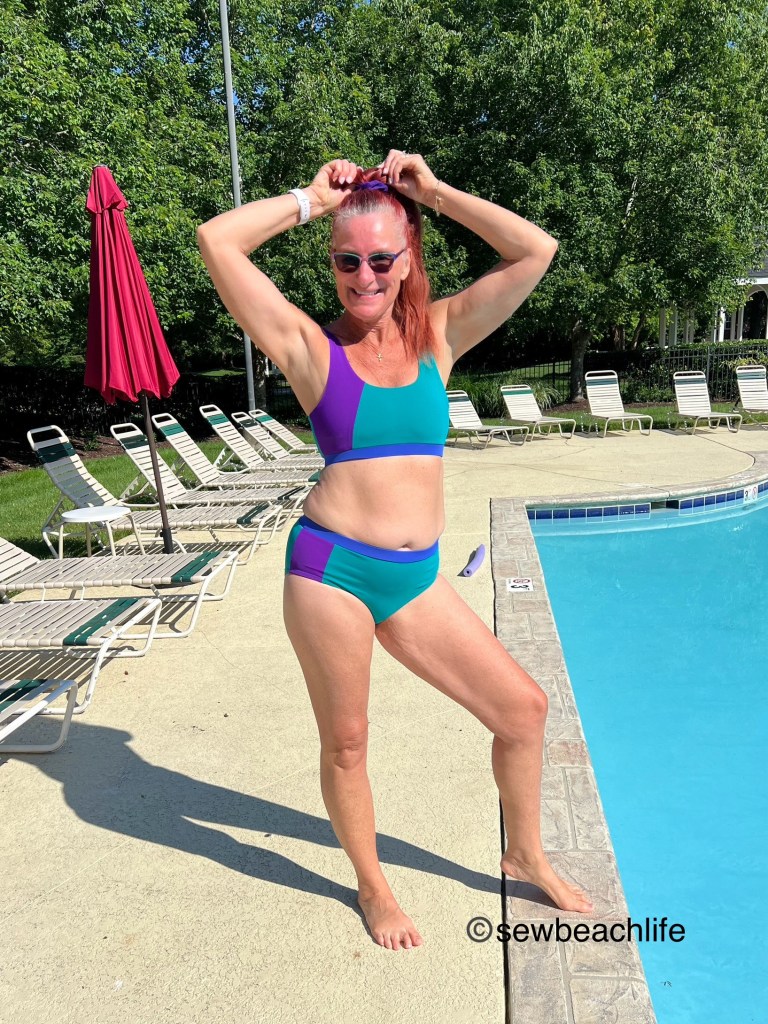
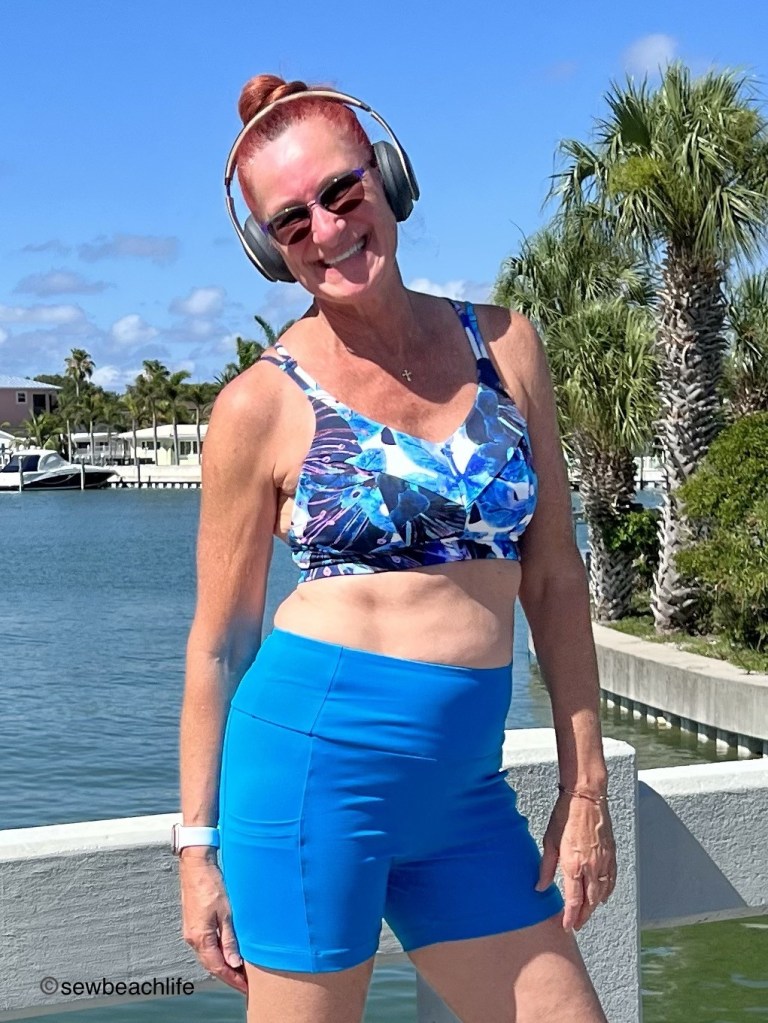
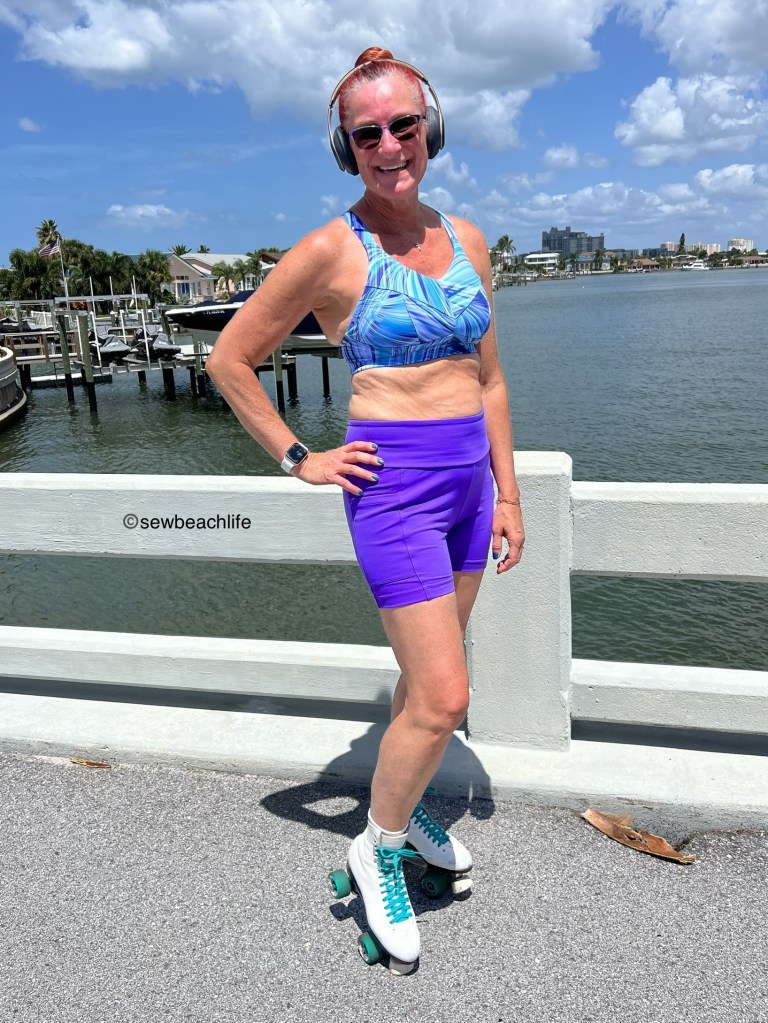
All four of my Bobby Brami’s have the V-neck front, U-back, and are the (longest) high hip length. Some may think that’s boring, but I like what I like! 😉 There are a lot of options: high neck, U-neck, and V-neck fronts; and high neck, U-neck, and V-neck backs, which can be mixed and matched; along with bra length, waist crop, and high hip lengths. They can be worn with shorts, leggings, and skirts, like the Paseo Skirt shared here.
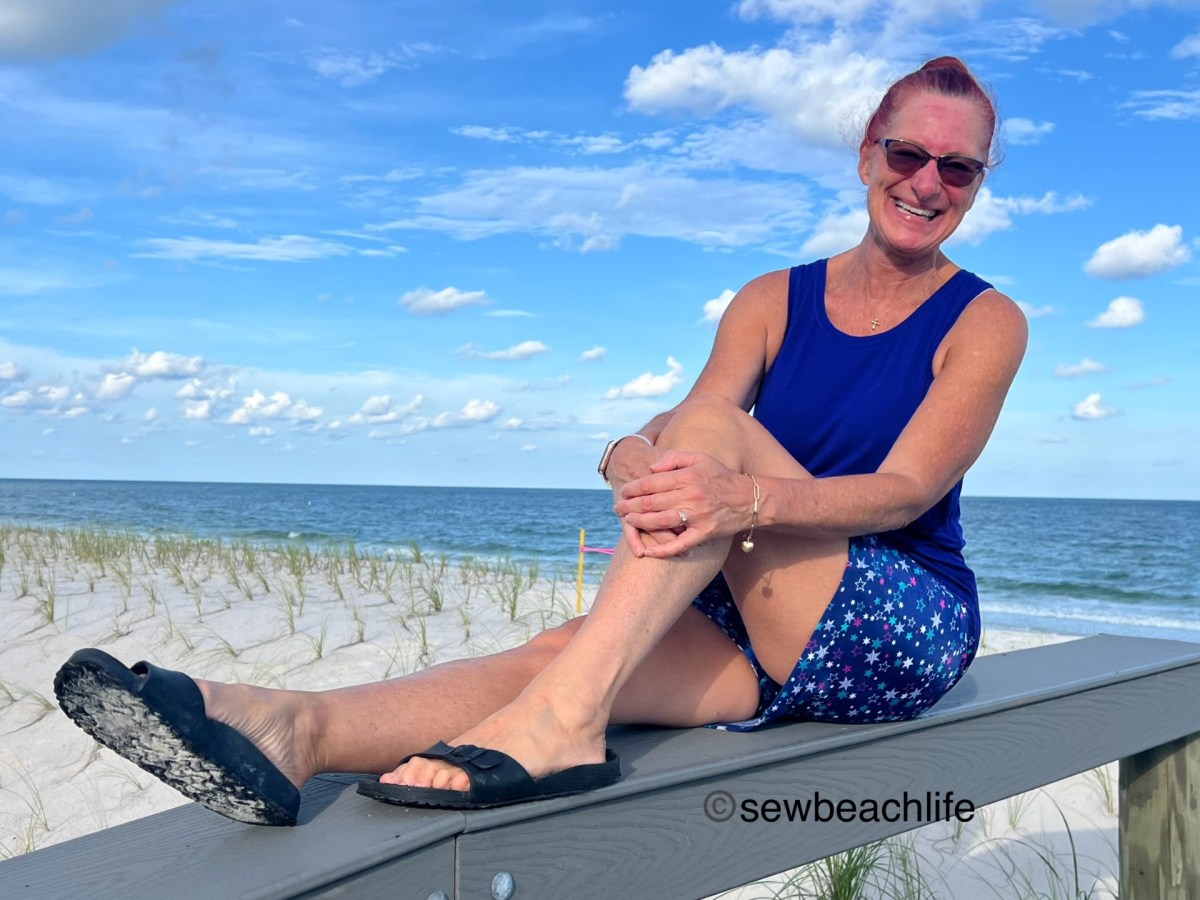
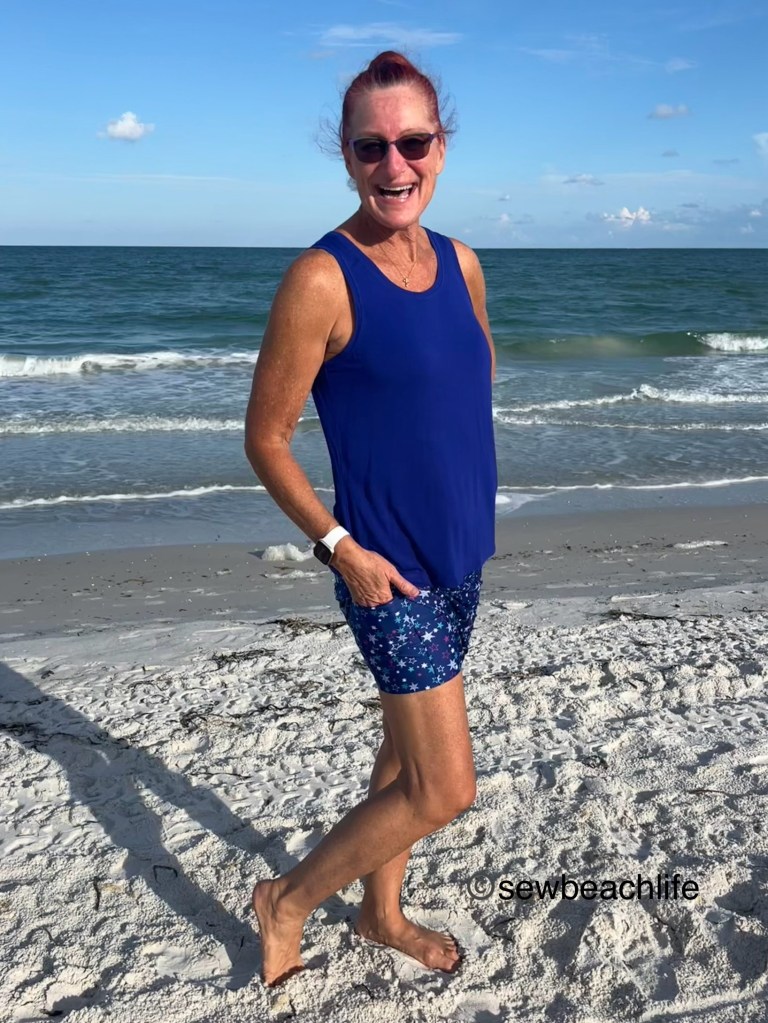
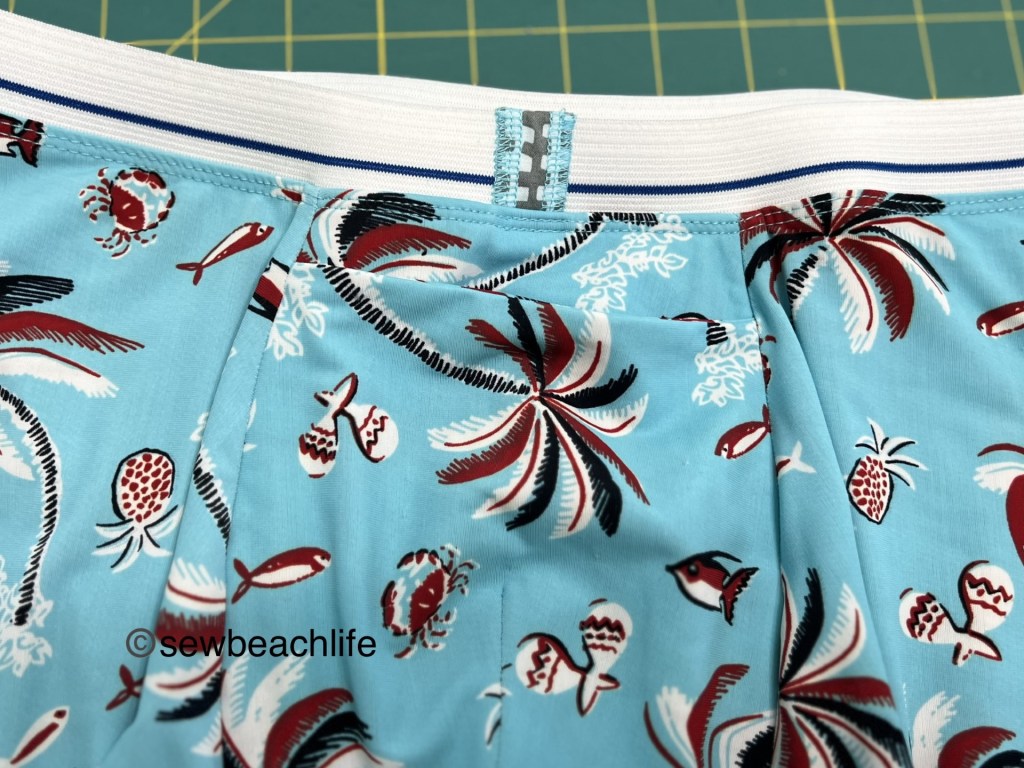
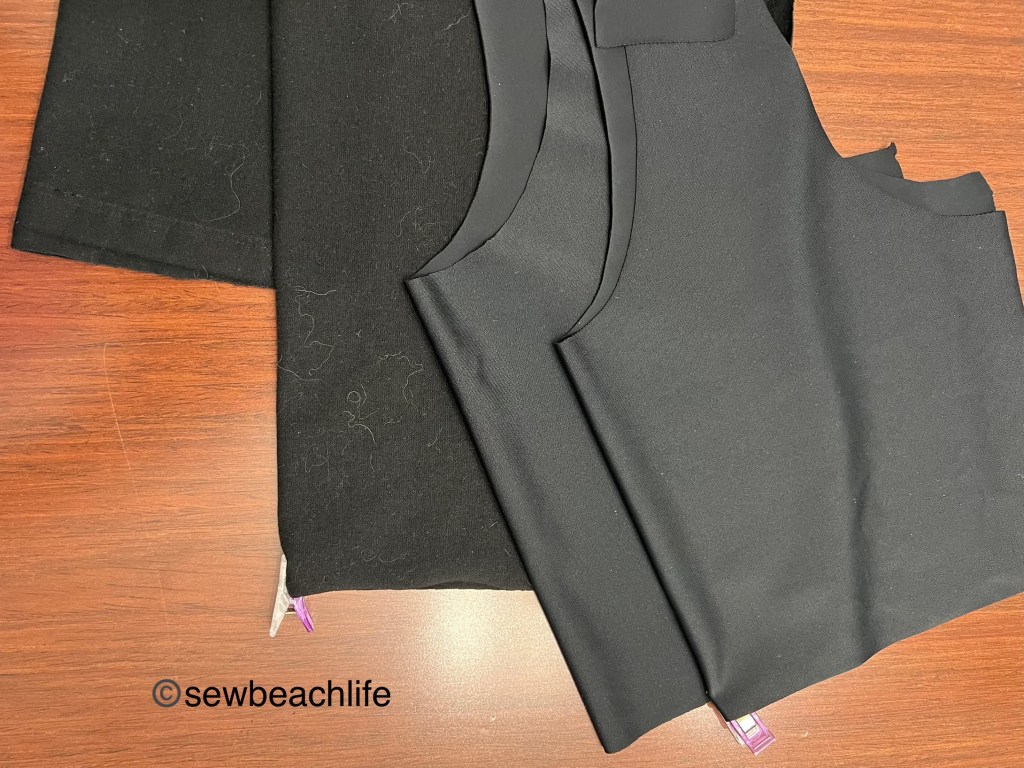
The Billie Shorts have three length options from boy shorts to the longest length, which is what I made. There’s also a lengthen/shorten line if you need to adjust the rise.

I like the longer length, and if you’re someone who experiences “chub rub”, I can foresee these being made in a nylon/spandex to be both smoothing and to protect the inner thighs. I know someone who would probably really appreciate if I made her a pair or two, as this is the style that she likes, and struggles to find in her size. Speaking of size, these patterns come in sizes B-M, which range from a full bust of 30″-61″ and a hip of 32″-62″.
If you choose to make Billie Shorts as a smoothing layer to wear under scrubs or clothes, you’ll be happy to note that there is a liner pattern piece that should be made out of cotton/spandex, bamboo/spandex, rayon/spandex or other breathable fiber. Alternatively, you could just cut a second center front piece so that the full center is lined.
One of the sewing techniques used on the Bobby Brami is the burrito roll. Don’t let the idea of it intimidate you. It really is just rolling from one side over to the other armscye, wrapping the right sides around the rolled up fabric, and pinning, then sewing them together. When you pull the fabric out after stitching, it’s amazing to see the clean finish of your garment.

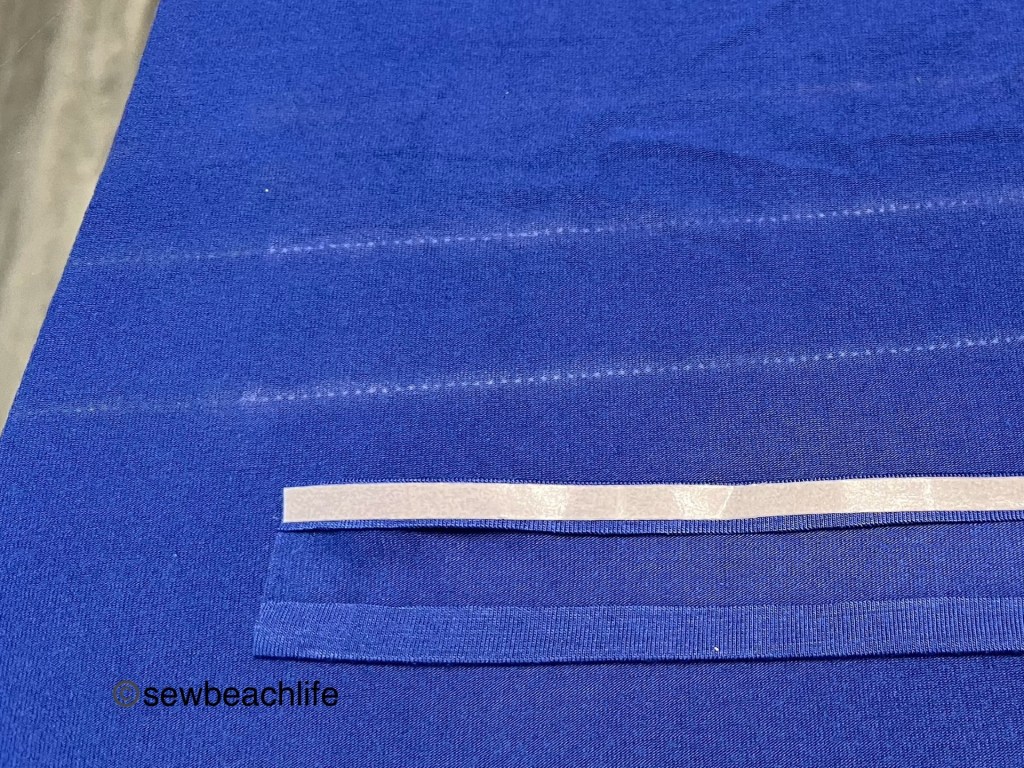
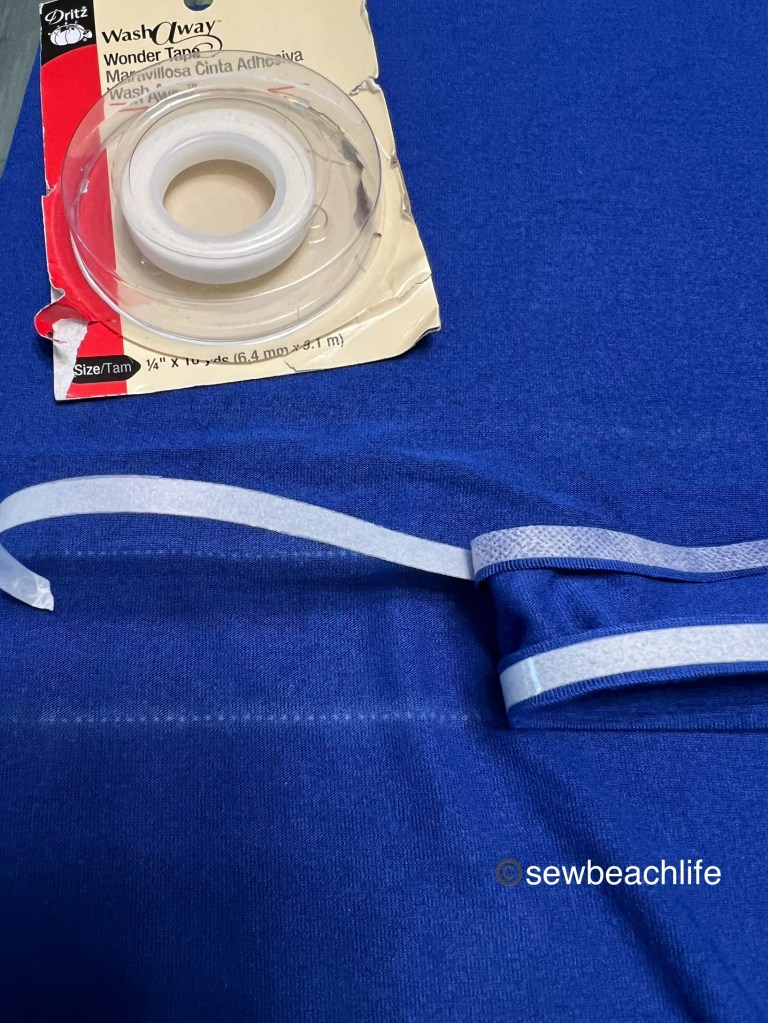
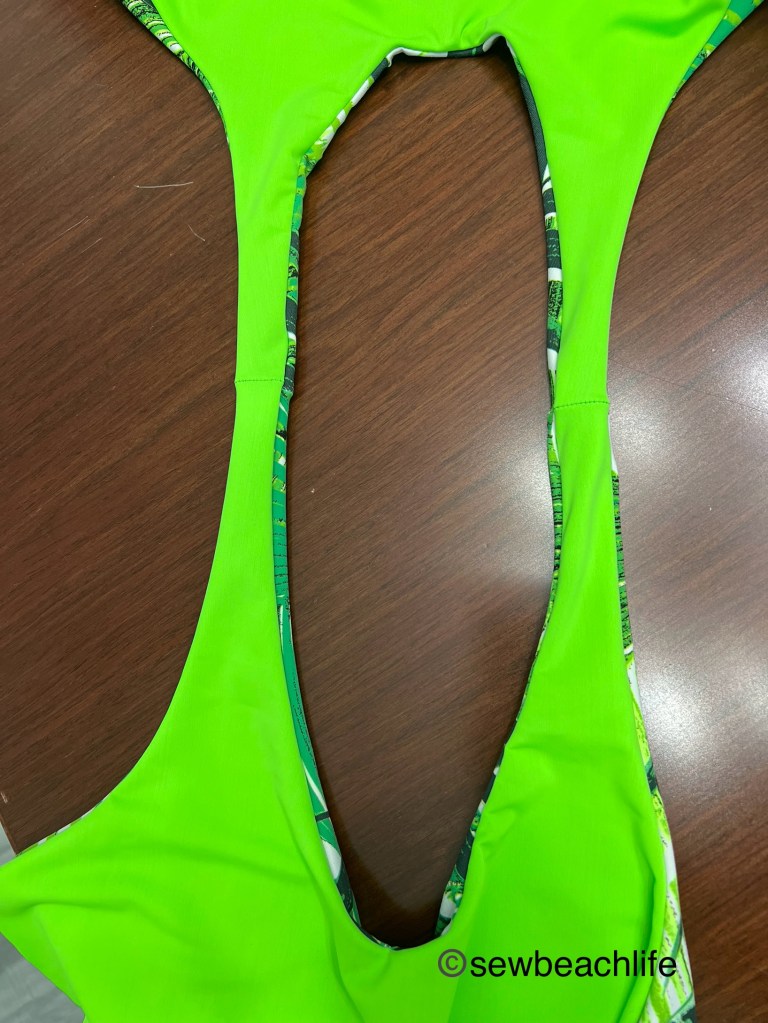
Though it is a rather soft V (due to the negative ease of the pattern) the V-neck does come to a point. It can be tricky to navigate exactly where to stop and pivot your fabric. I like to use a disappearing fabric marker to mark the center line of my V. Then I can stitch, keep the needle down, and pivot to stitch the other side of the V. I use a lightning bolt stitch for this, as this is a knit garment with a bit of compression. Once I’ve stitched the V, I clip down to but not through the stitching line. Then I can easily serge the neckline while adding the clear elastic to the seam. Once serged, I very carefully snip the elastic at the center of the V, trying not to snip any thread. This will help the fabric lay smoother at the V. I generally use my seam ripper to do this, as the tiny point can easily get in there to do the job.
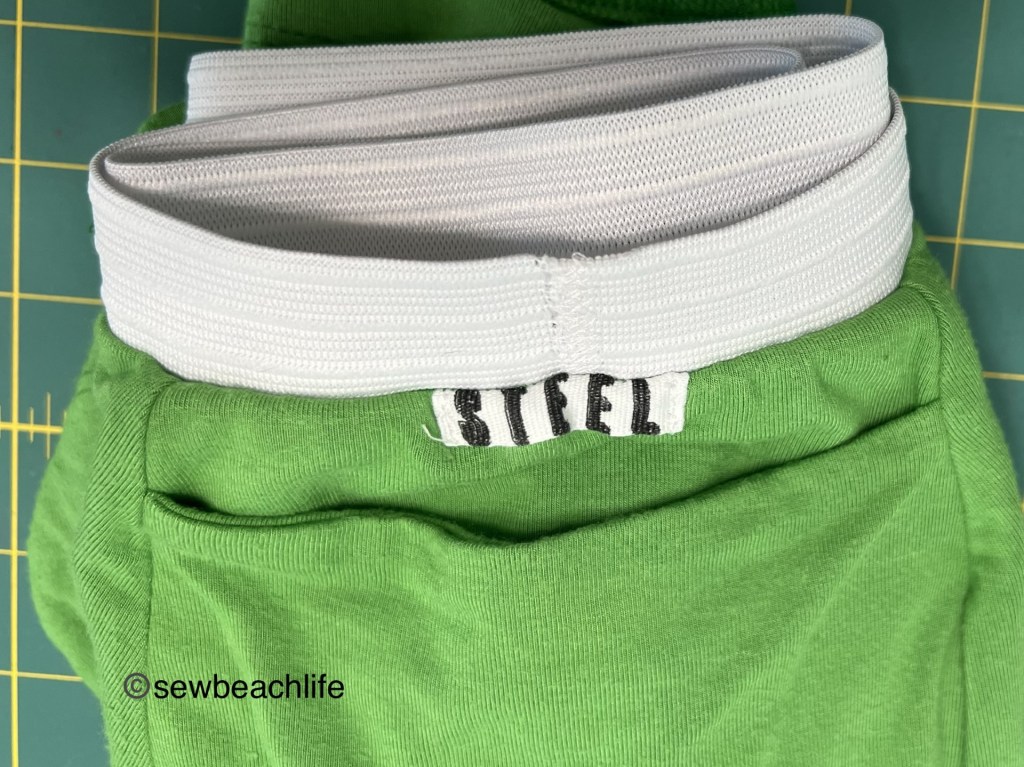
It was easy to tell the front from the back at a glance as I made V-front and U-backs on my Bobby Brami’s. But I’m making a U-back and front for my daughter, as she prefers a slightly higher cut at the bust. To make life easier, I put a clip at the center back of the main and shelf bra pieces. A simple tip that can make things faster, easier, and avoid confusion when sewing.
Although the tutorial calls for adding clear elastic at both the neck and armscyes, I cannot stand anything tight or constricting in any way in my armpits. So I used clear elastic only on the neckline seam, feel like I have great support, and don’t feel the need for it around the arms.
I’m super happy with my new makes and will continue to get so much use out of them! It was nice to wear a new top to yoga class on Saturday because I do seem to be running out of workout wear and get tired of wearing the same five outfits week after week. I’m in love with these new patterns!

The details: Greenstyle just released the Bobby Brami and Billie Shorts patterns.
The bright green rayon/spandex, and palm frond print nylon/spandex were from Phee Fabrics.
The coral floral rayon/spandex was given to me by my daughter, no clue where it came from.
The white nylon/spandex double brushed jersey athletic knit was from Porcelynne. As was some of the nylon/spandex swim type fabric used for the shelf bras.


The links to GreenStyle may be affiliate links (if I did them properly!) which means that I may earn a few pennies if you use my links without it costing you anything extra. Since this is my blog and represents me, I always give my honest opinion about any patterns, fabric, or supplies that I talk about. I hope that the time I spend writing posts and sharing sewing tips interests people enough that they take a look at the patterns I review. I write to share my love of sewing, patterns, and fabric, and hope that it encourages others to love sewing as much as I do! ❤