The timing of the new GreenStyle Briny Swim Top pattern test worked out perfectly with a scheduled trip to our daughter and son-in-law’s home. I make matching clothes for my granddaughters all the time, and they love it. They frequently ask to wear their matching dresses, tops, shorts, etc. But I very rarely get to match with my daughter because she lives so far away.
As soon as I saw the tester call, I sent a photo of the line drawing to my daughter and asked her if she wanted a cute new swim top. I knew that it was a style that she would look great in, and she loved the look. So matching swim tops it was!

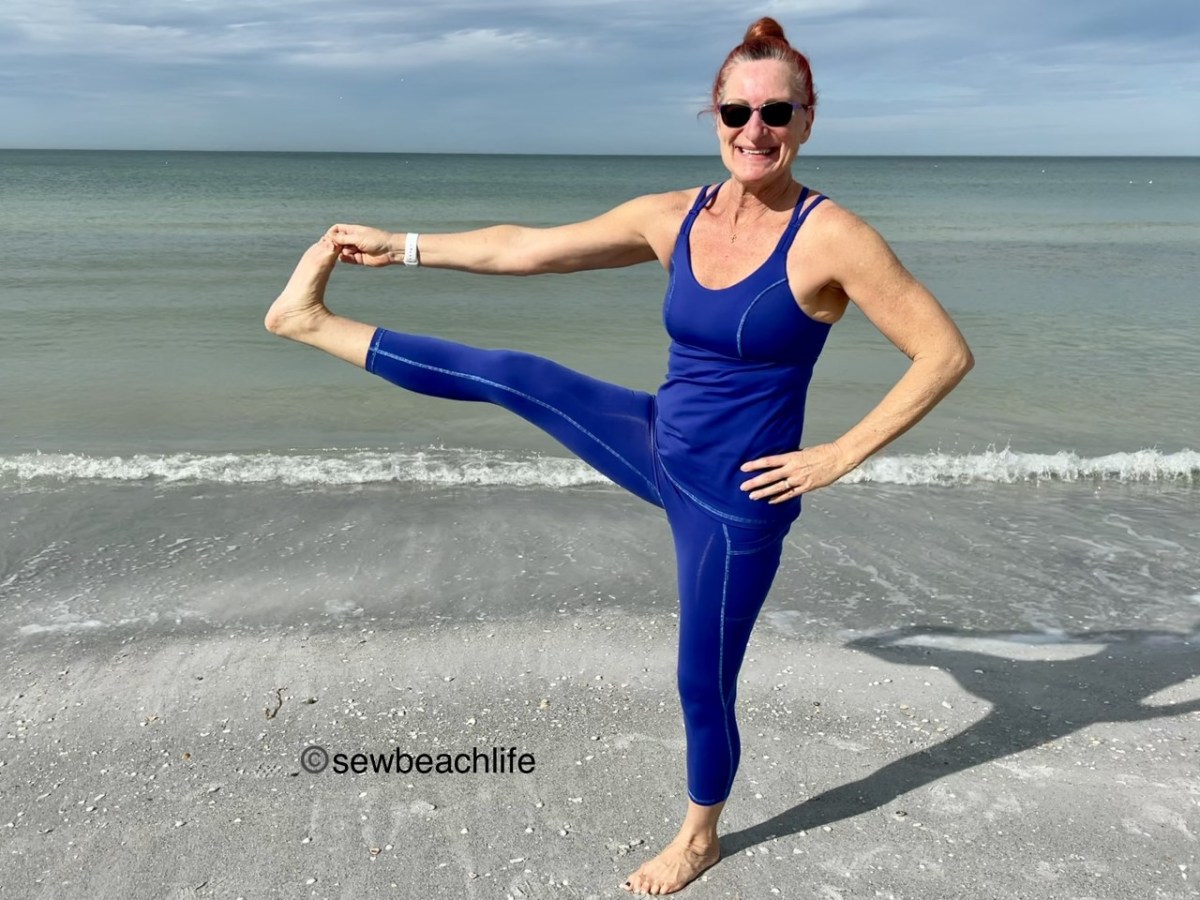
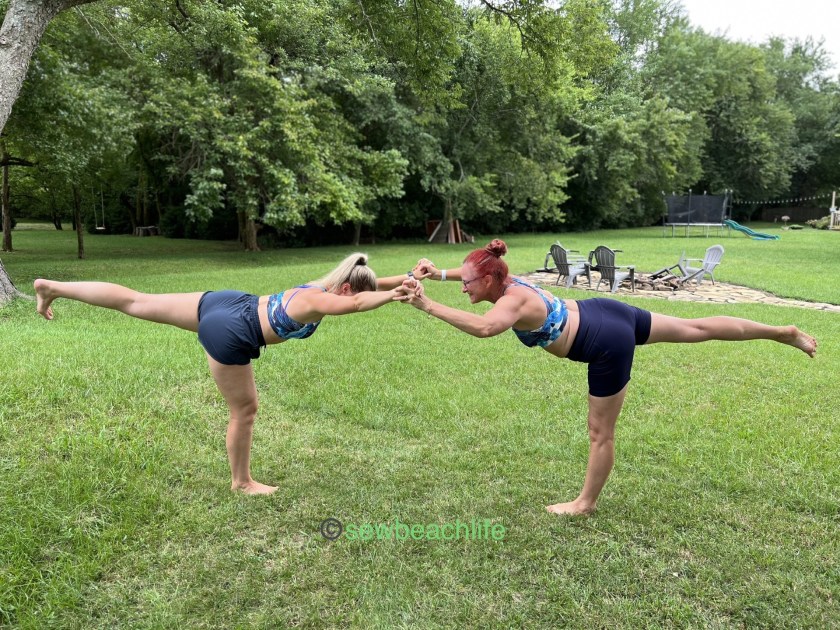
My daughter is a smaller size than me, and has a smaller cup size, and the size D fits her perfectly! She chose to have the optional skinny strap, and thought that the bright blue nylon/spandex swim that I used as the lining fabric would be a cute contrast against the GreenStyle Align 2 Paradise print main fabric.
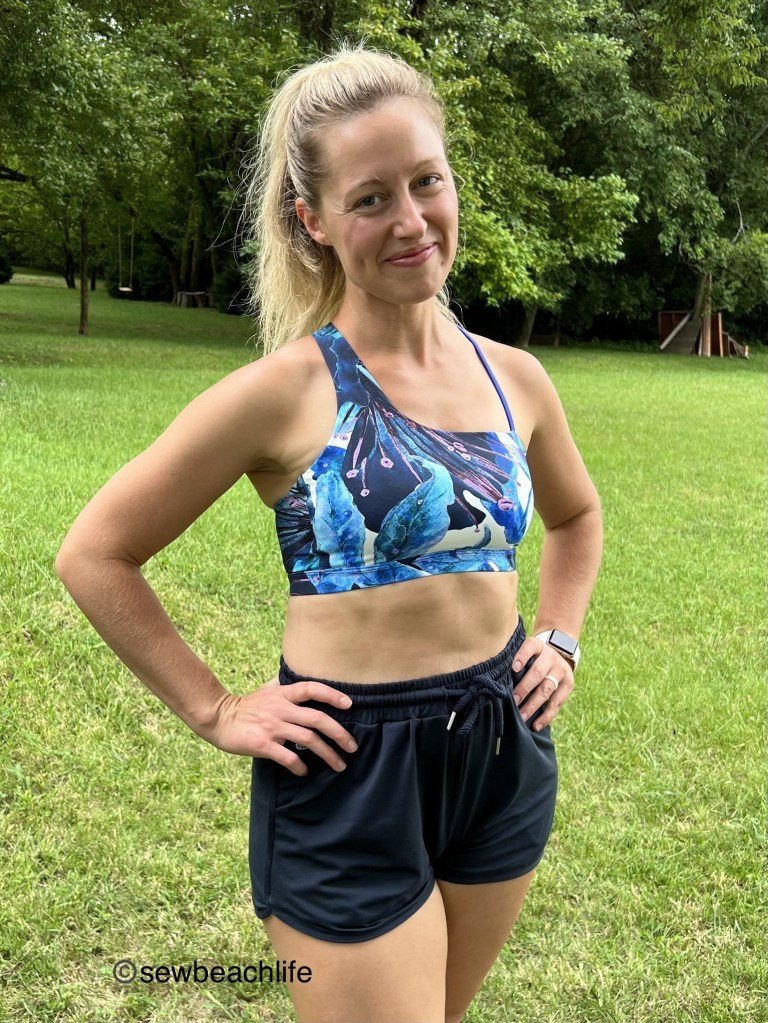
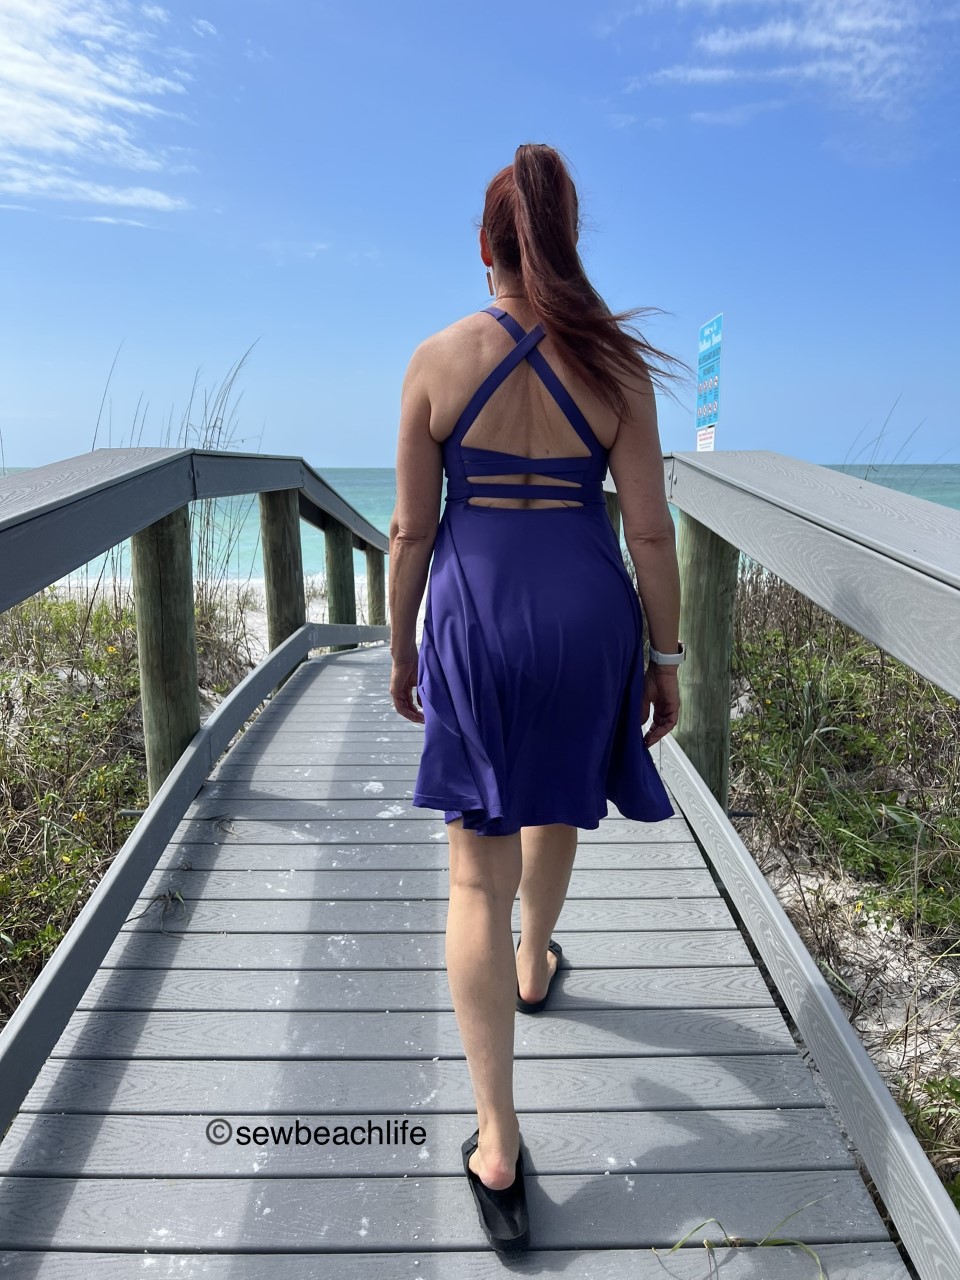
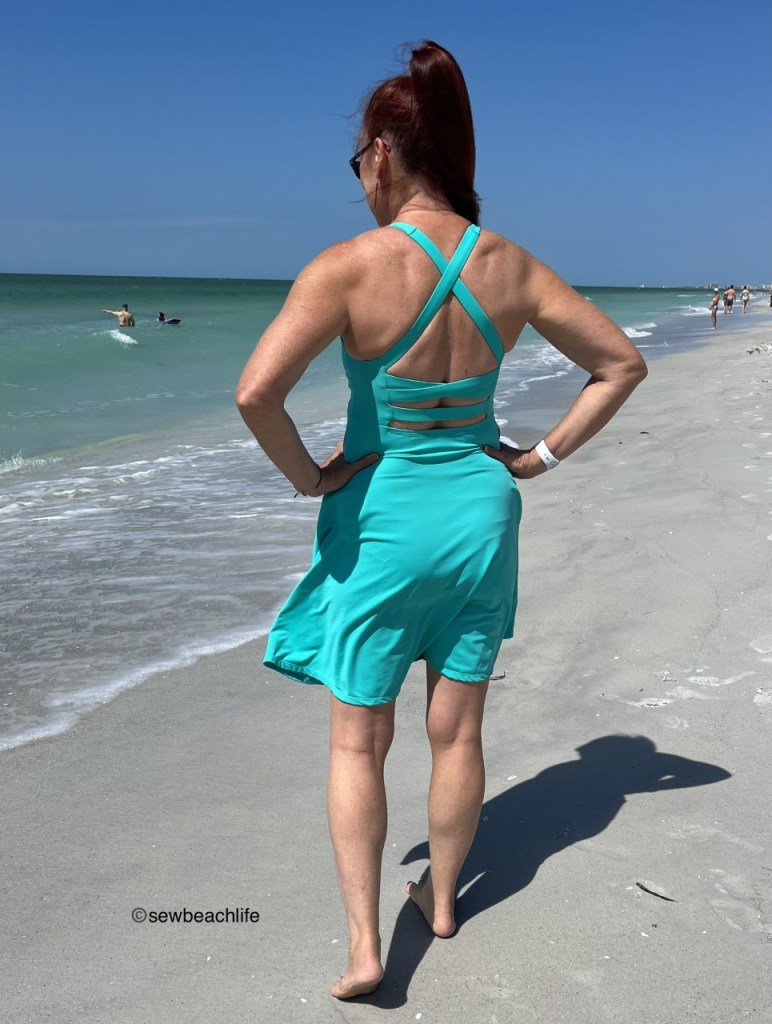
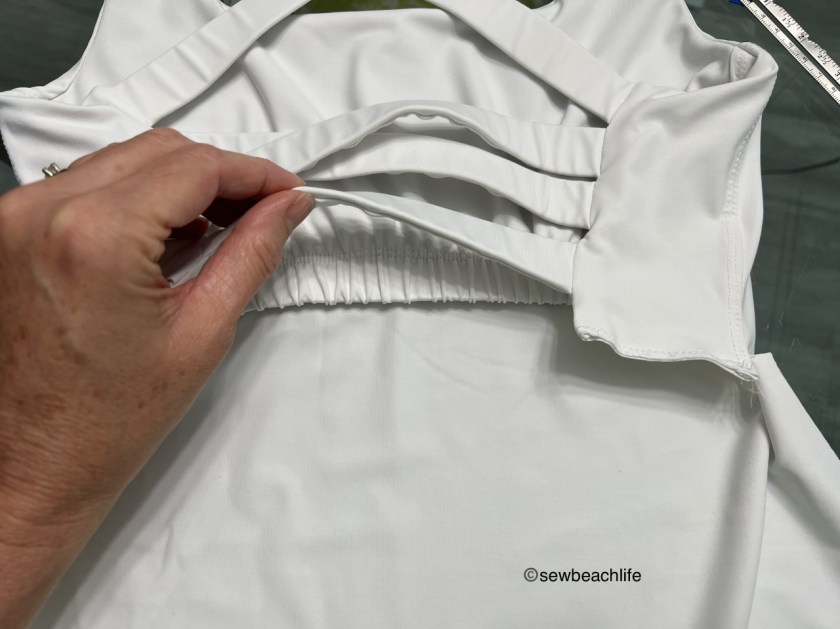
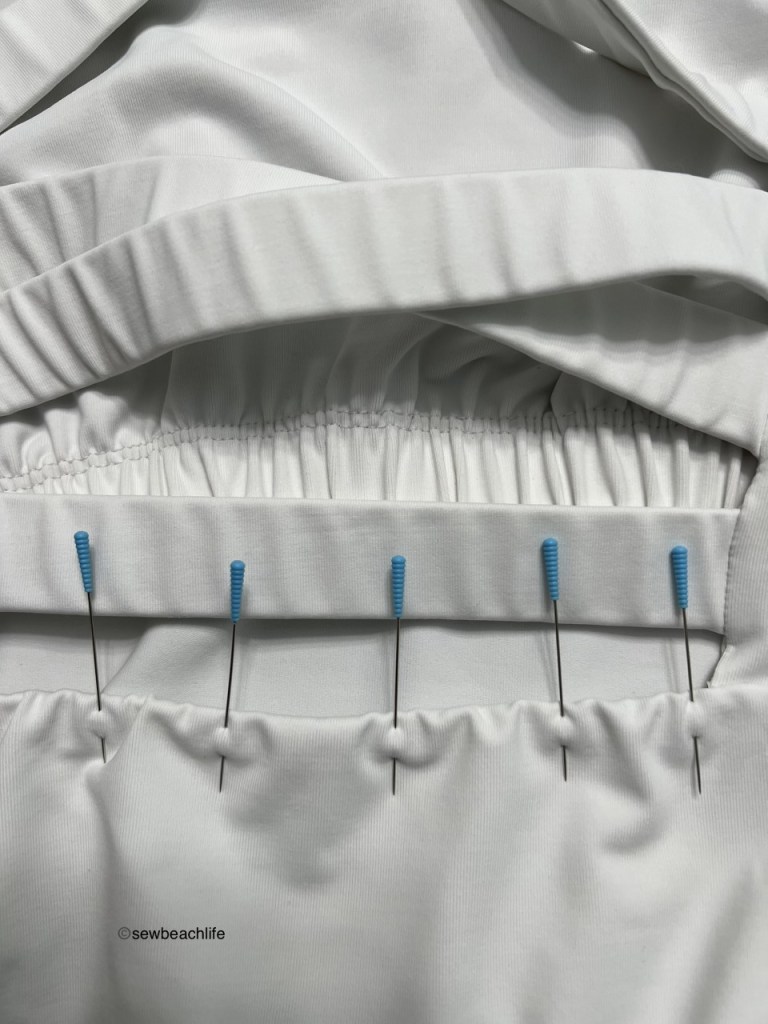
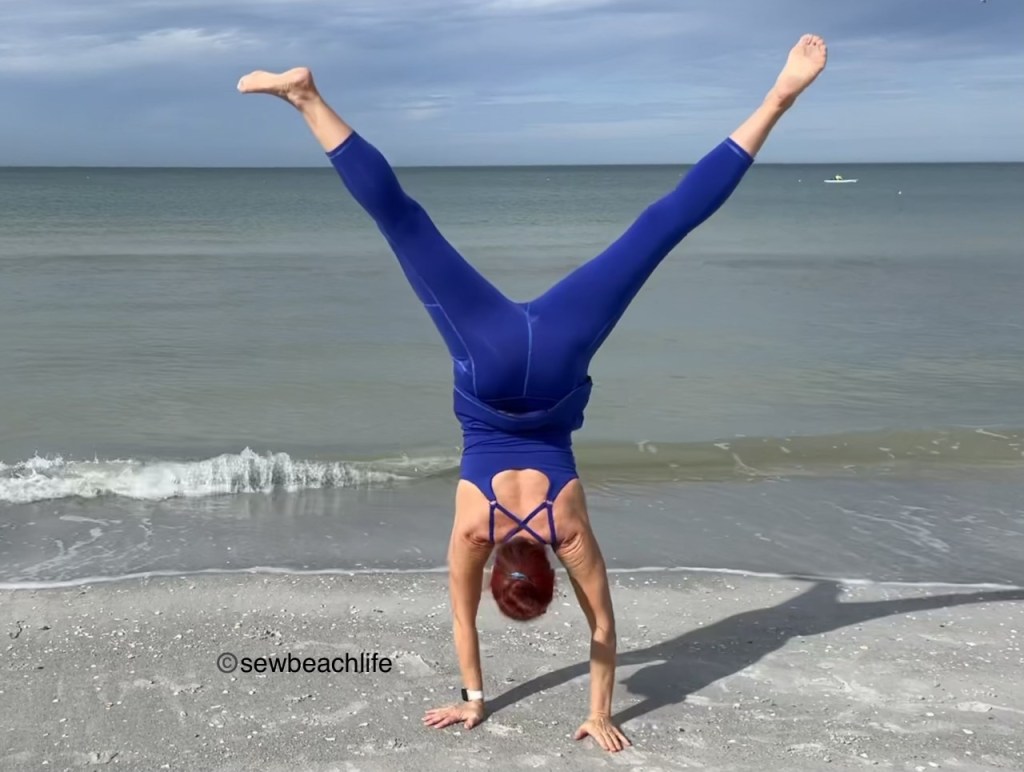
The crossed straps in the back highlights the fun contrast of the solid against the print, and the narrow versus wide fixed strap even better.

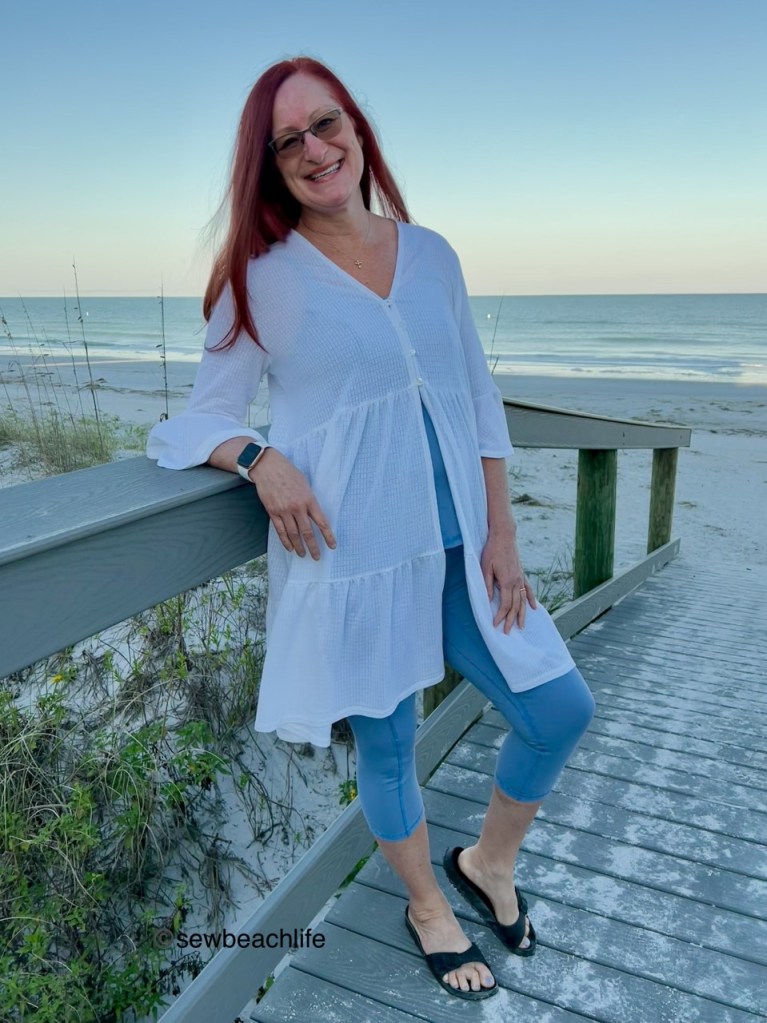
It’s such a cute pattern! Very on trend, and looks cute whether worn with swim bottoms or shorts. It’s so comfortable that she didn’t take it off after photos, and wore it for the rest of the day. She threw a white sheer mesh top over it, slid on a pair of pants, and wore it out for date night that evening. I should have grabbed a photo of her, but I was trying to give the girls their baths and ready for bed so that she and her husband could get out the door.

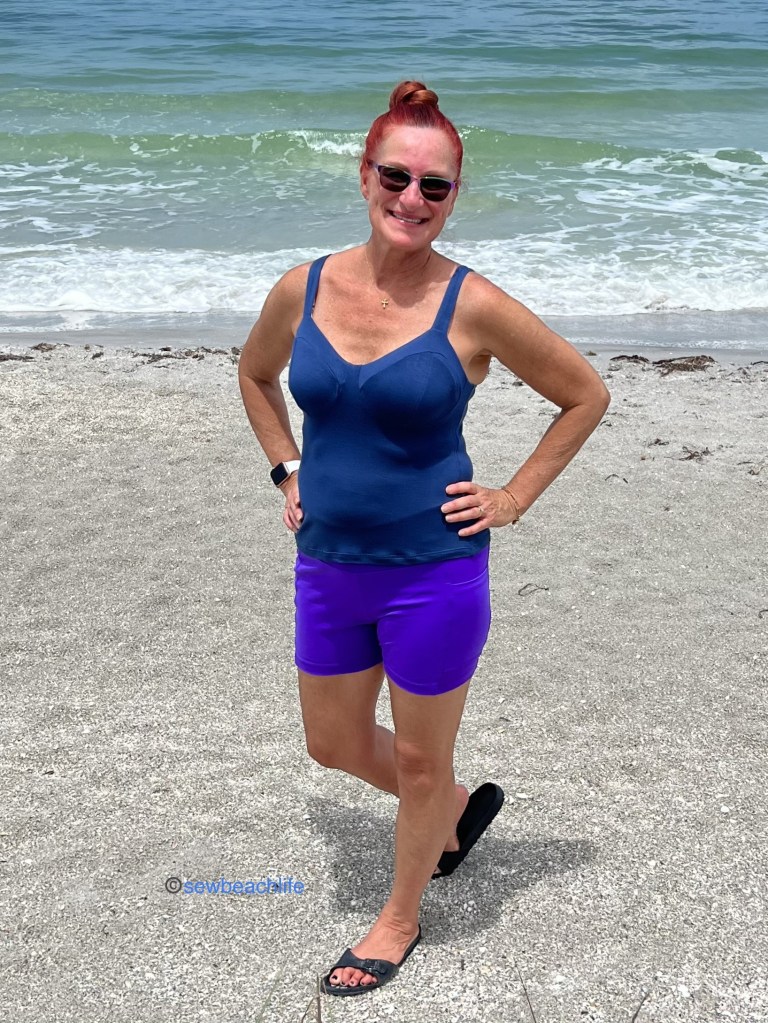
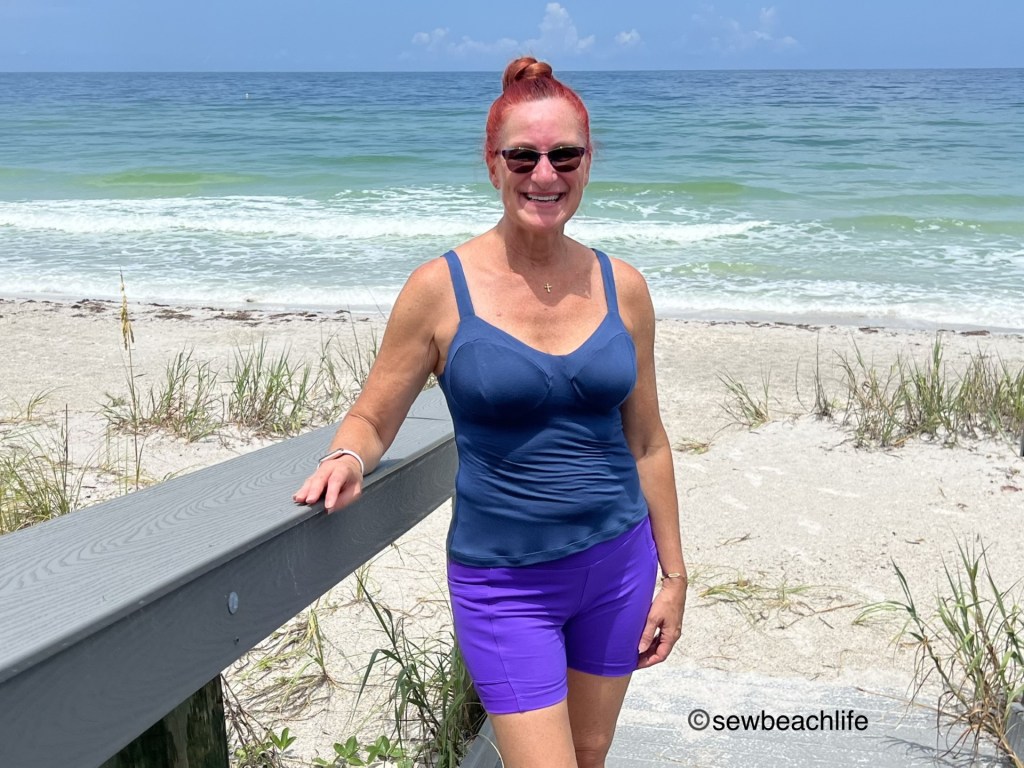
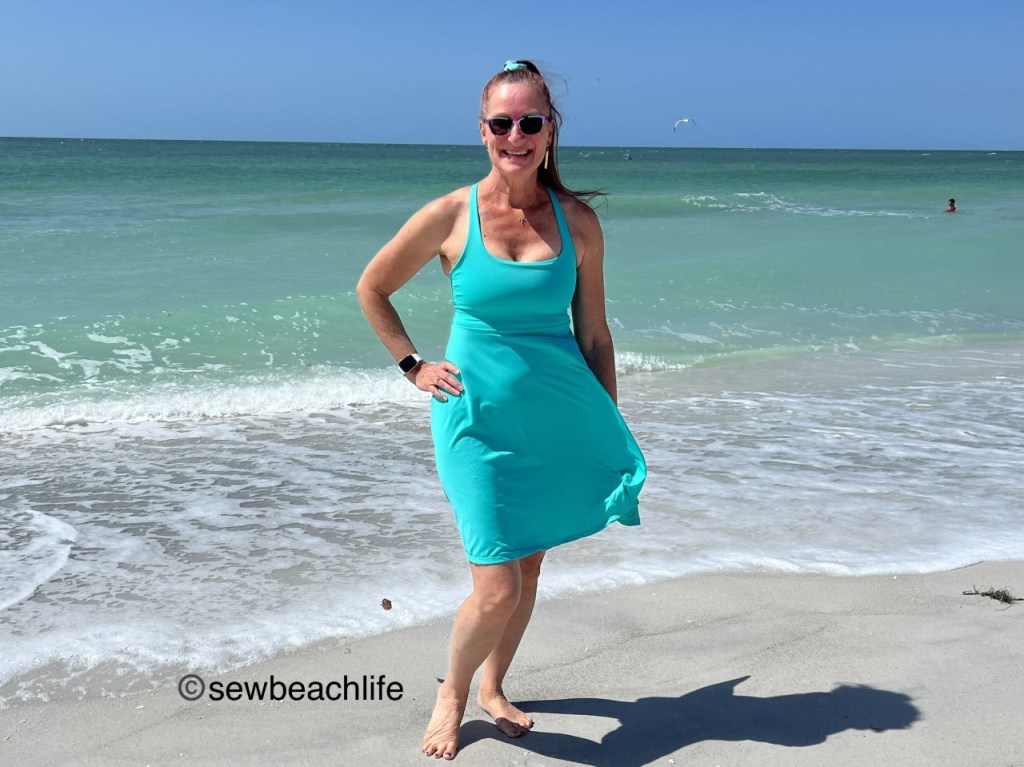
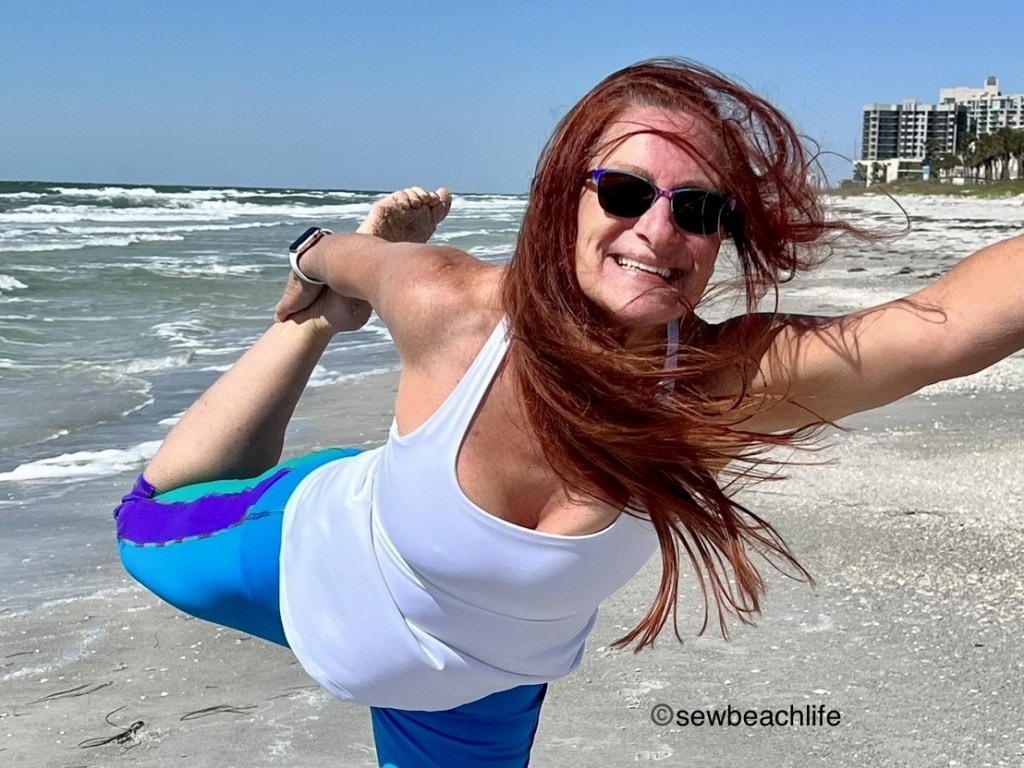
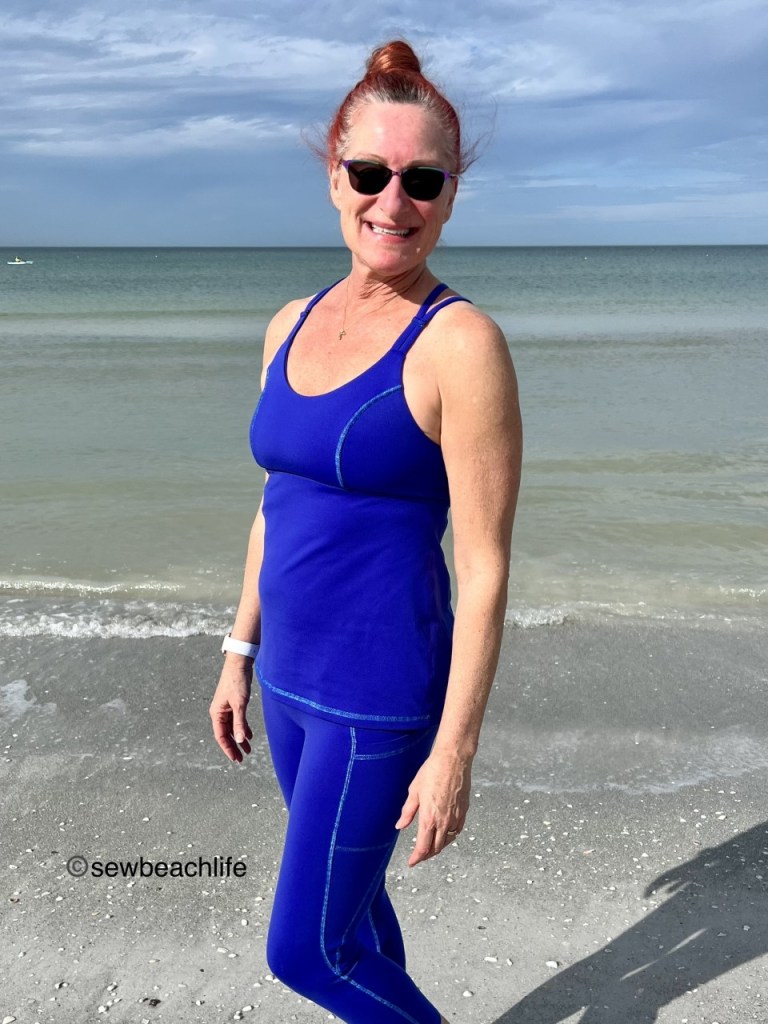
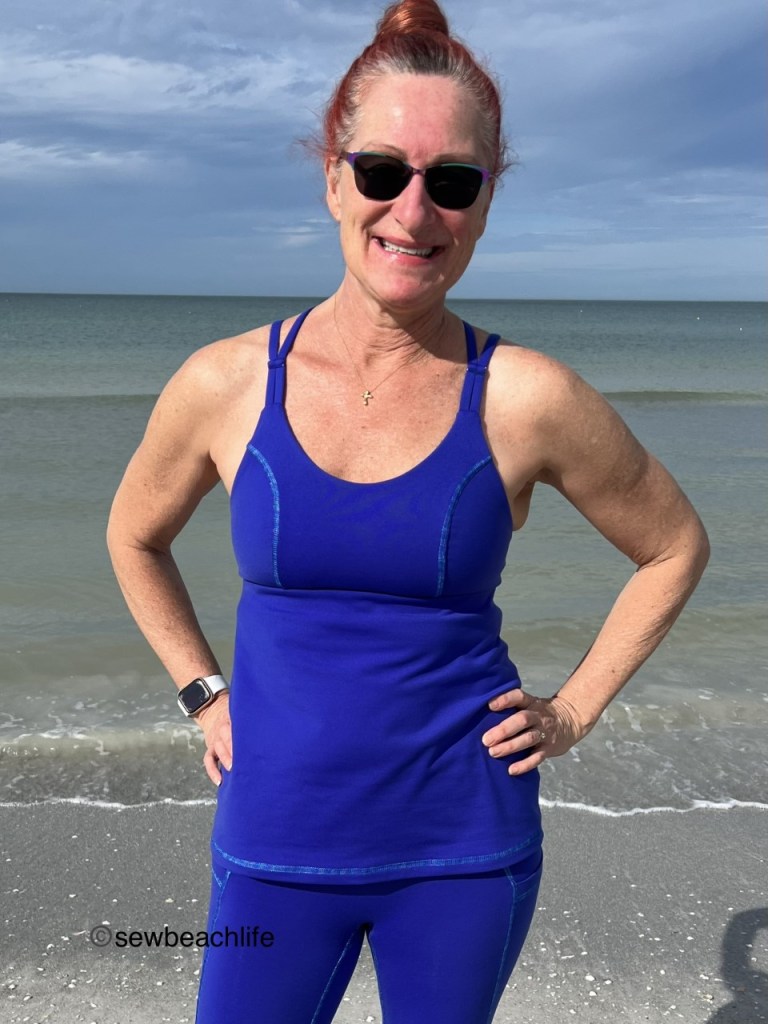
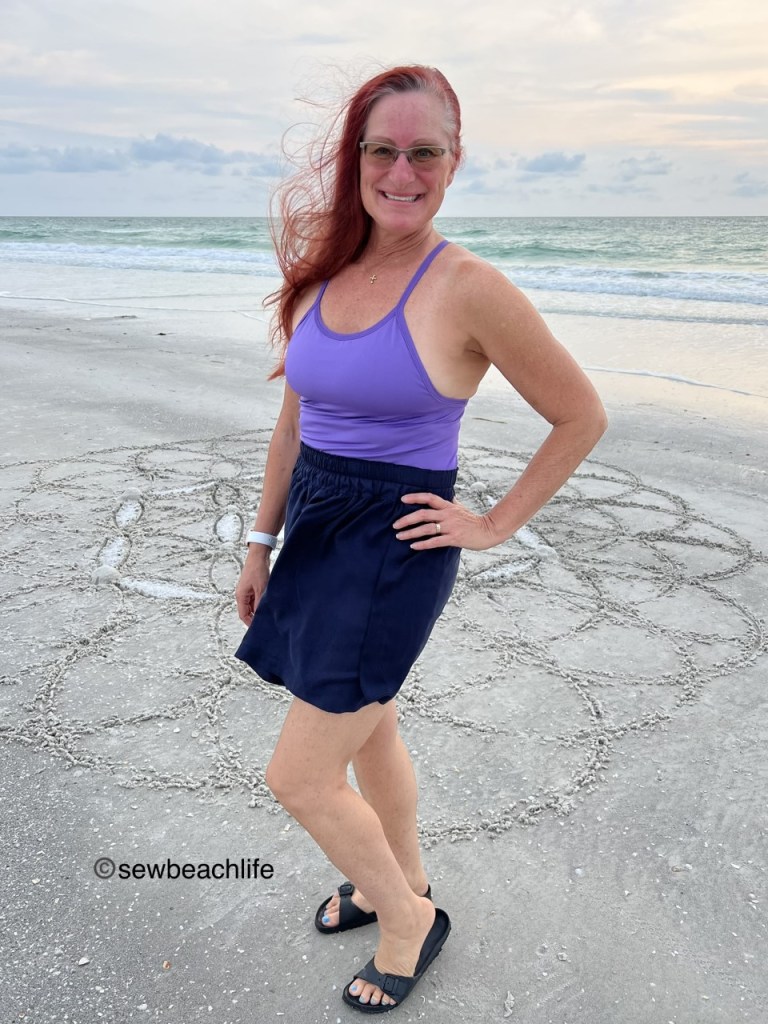
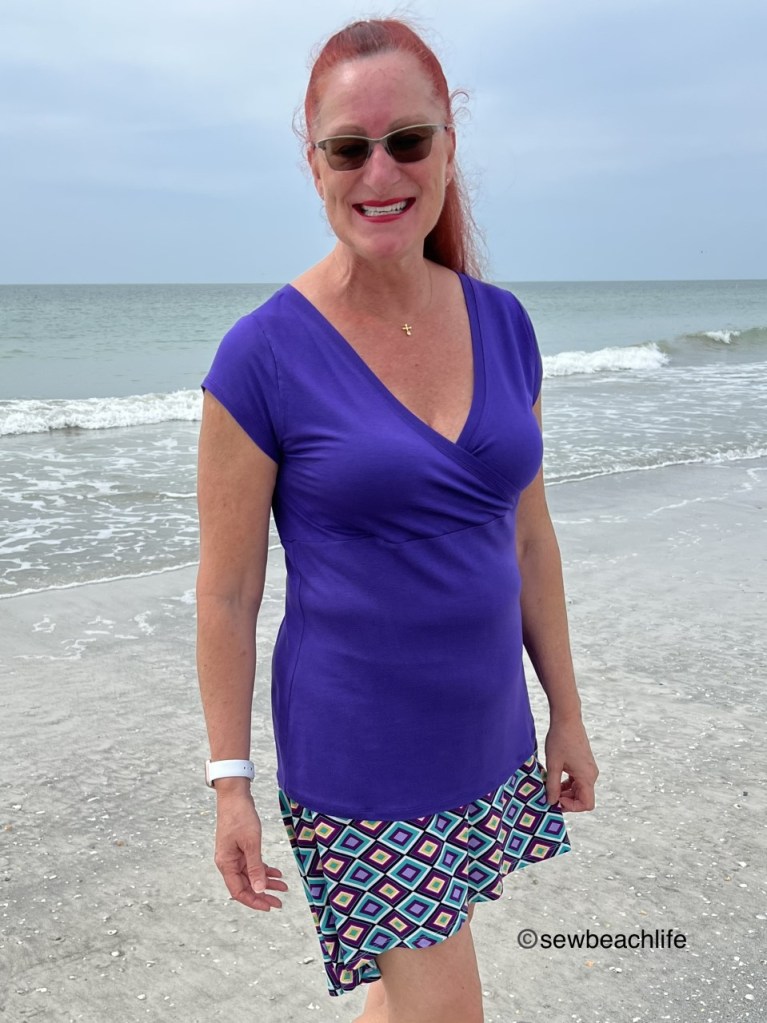
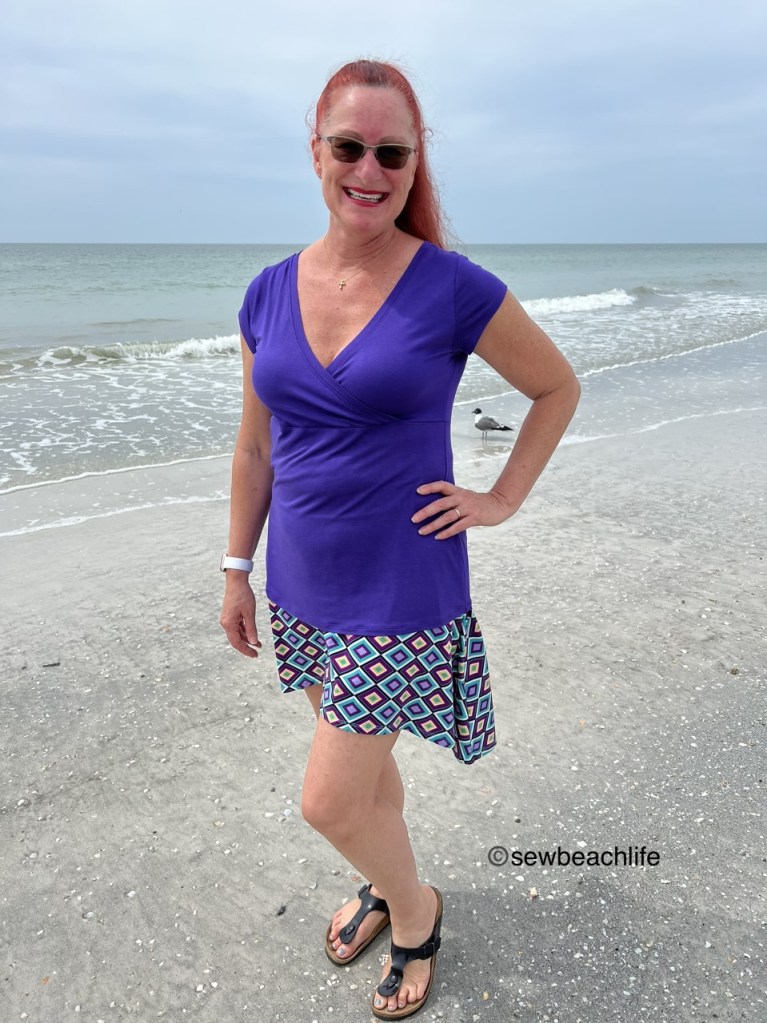
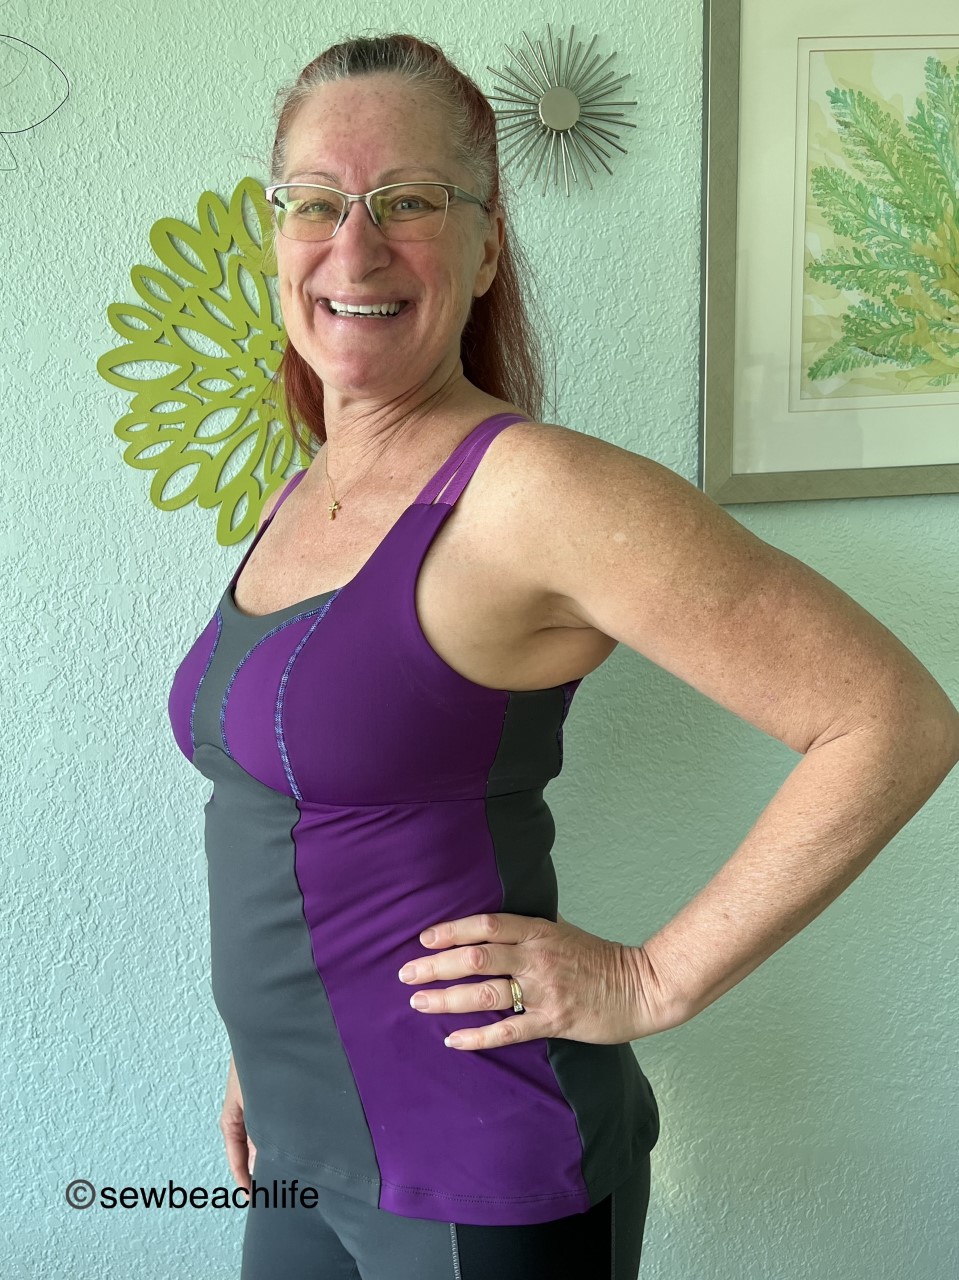
As I have a fuller bust, I made the size E with the darted bust option. Since I knew that I would be sewing while visiting, I had to pack up my serger and fabrics and attempt to sew during quiet times. Let me tell you, when you have very active three and five year old granddaughters who want to play all the time, (well, other than when they are asking for food :-)) there is no quiet time! Hahahahahaha! I don’t know how all you Mama’s with little ones do it.
I took the girls on lots of stroller strolls, visits to the playground and pool, played dress-up, built with magna-tiles, played with stuffies, played pet shop (where the girls pretended to be snow leopards, clouded leopards, cheetahs, pink kitties, puppies, etc. and I would “buy” them as my pets. They were super cheap, sometimes $3, and sometimes $5. It was hilarious! I had to pretend to pay for them (with a beep on the imaginary POS system), and could then open the imaginary cage doors (squeak) and go in and play with whatever animals they were being at the time.)

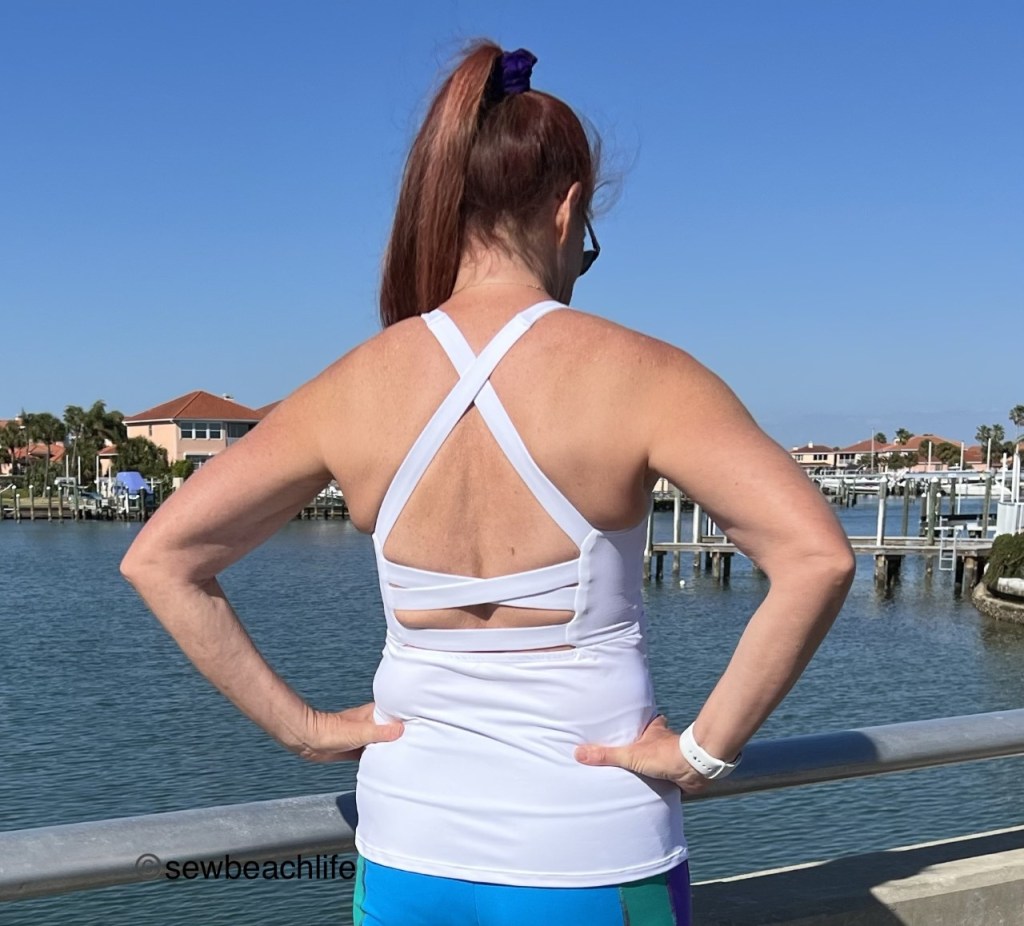
The darted front (FBA) bodice is the right choice for me size wise. Rather than just relying on compression and a bit of shaping, the dart gives more room, support and shaping for a fuller bust. I’d get even more support from the compression of powernet, which is something that I always use in sports bras, workout and swim tops. However, when packing for our road trip, I neglected to put it in my bag of fabric, notions, thread, and sewing supplies. 😦 whomp, whomp.
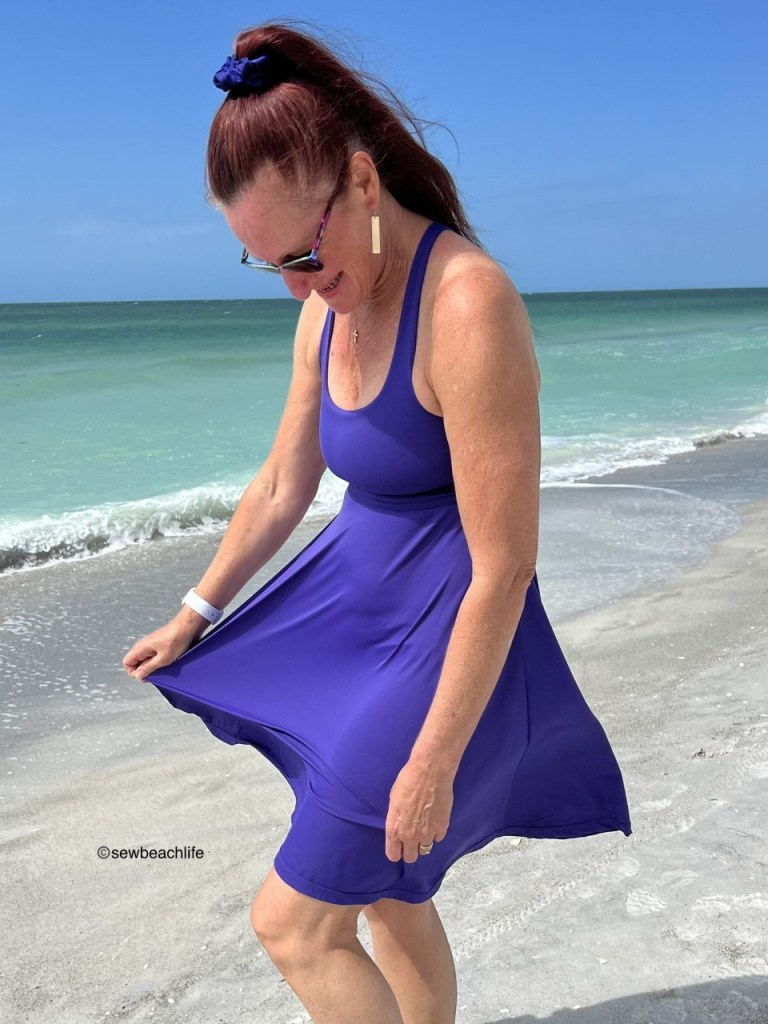
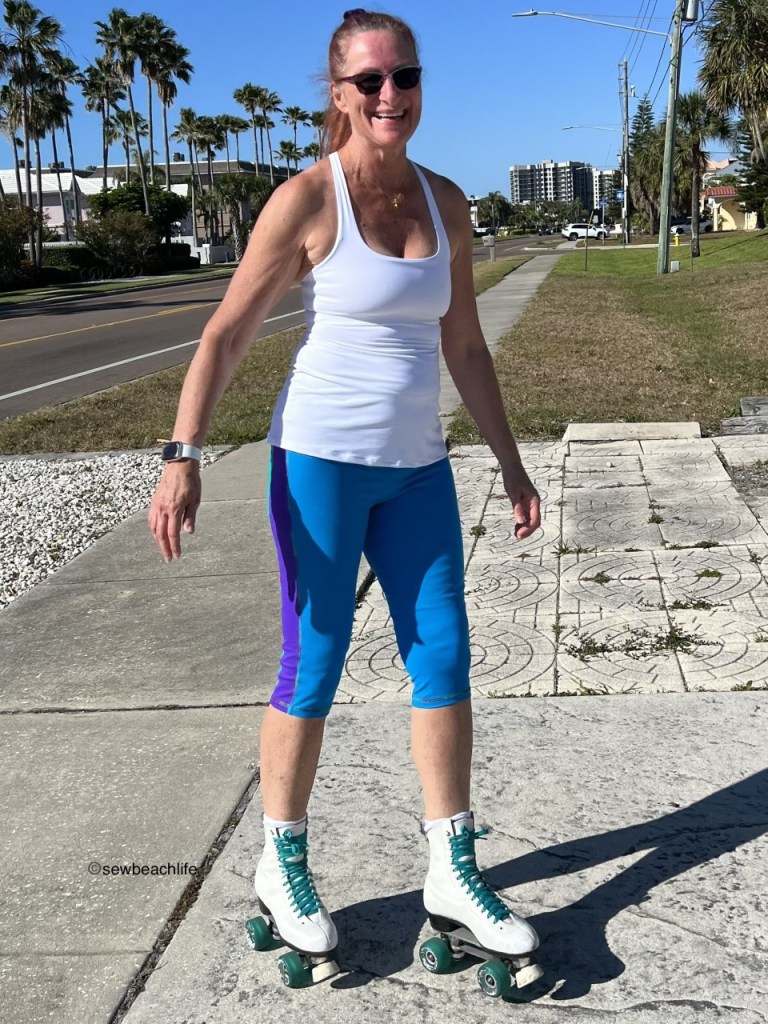
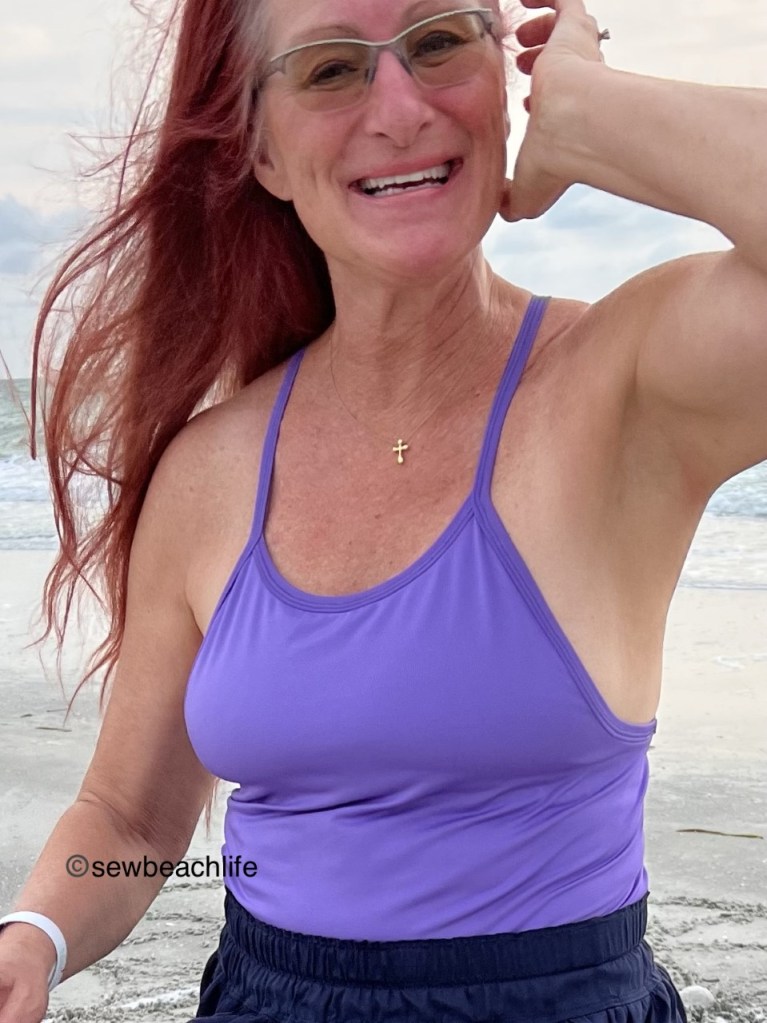
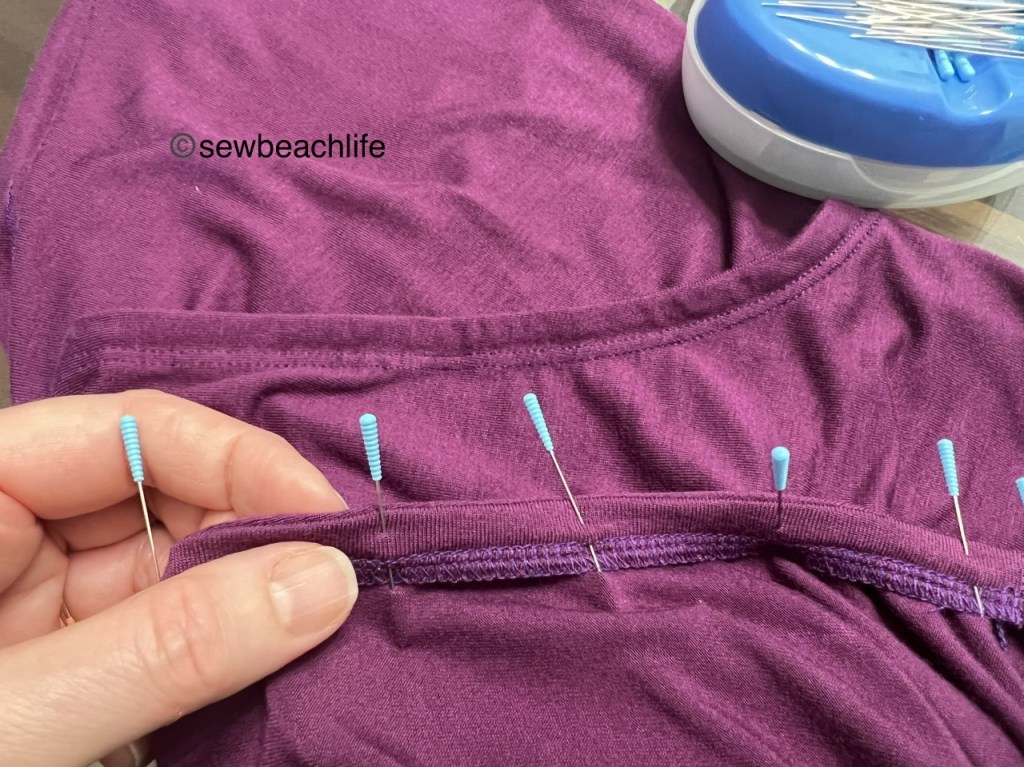
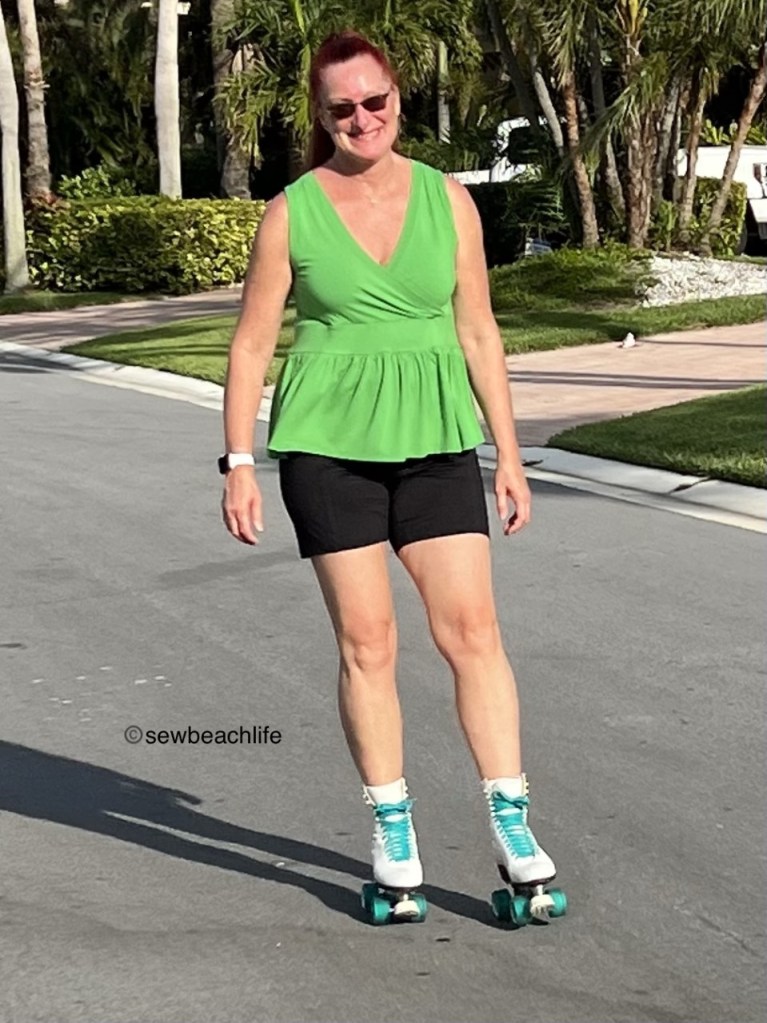
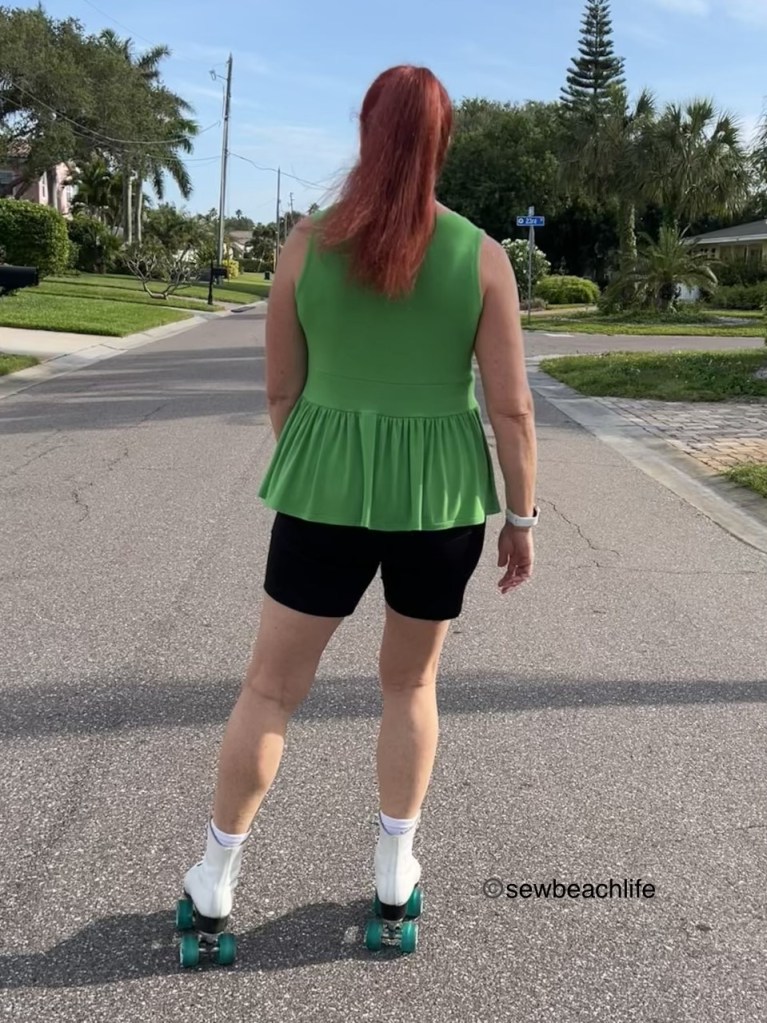
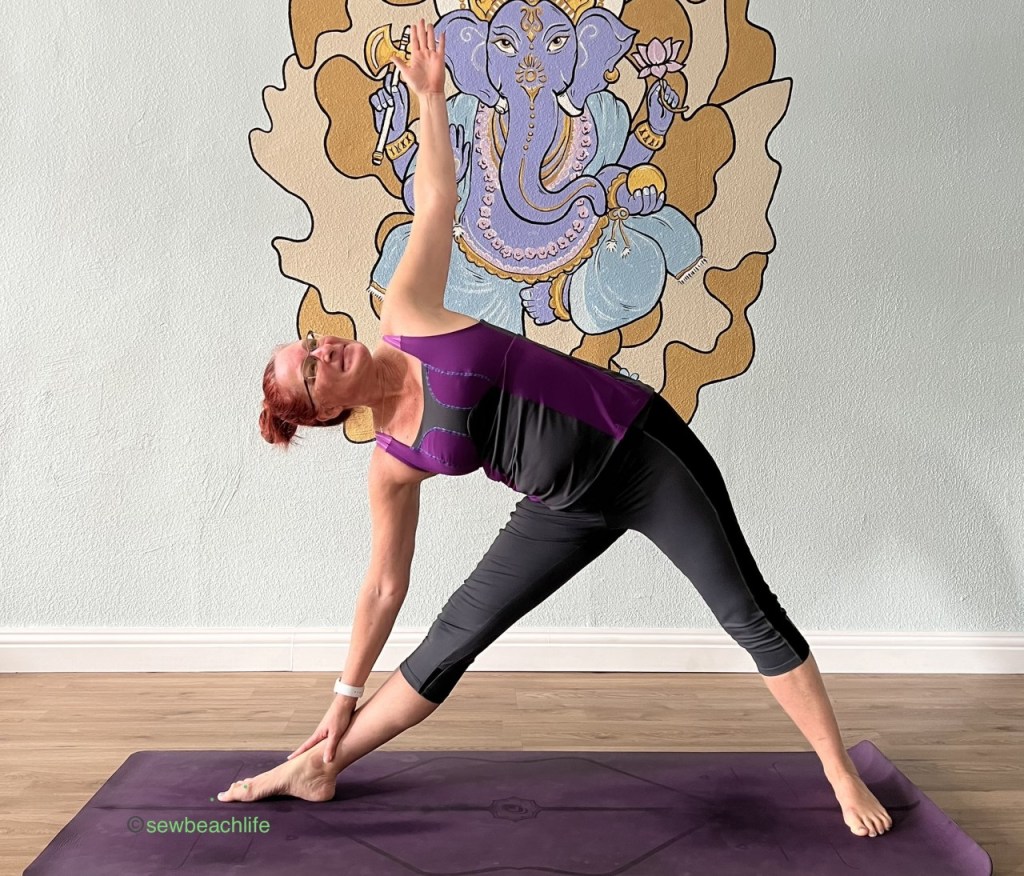
It’s such a cute top however, that I’ll likely go through the trouble of seam ripping it, and add a layer of powernet to the wrong side of the main fabric so that I can feel more supported when wearing my Briny as a sports bra for roller skating.
I added the optional strap to mine, and with a heavier bust, I chose to make my strap have a finished width of 5/8″, a little wider than than the pattern calls for. Surprisingly though, I think that if using powernet in the top, I would feel comfortable even without the extra strap. I guess I’ll just have to make another one, and check it out. 😉

If you ever have the opportunity to make matching clothes with your adult child(ren) and have a photo shoot, I highly recommend that you do it! It’s fun, you get the chance to be awkward and silly posing together, and you’re wrapping your child in a handmade hug. ❤

Since I’d never traveled with my sewing before, here are my best tips: pack your serger or sewing machine in it’s original box, so that it can be safely cushioned by the styrofoam and original packing materials. I brought my Babylock Triumph (combination serger and coverstitch machine) with me, and there is no way I would have done it without it being in the original box. Our car was completely full with not only suitcases, our cooler and bin of snacks, our pillows, and a small blanket, but a coffee maker, car seat, and our daughters order from Ikea as she doesn’t have one near her.
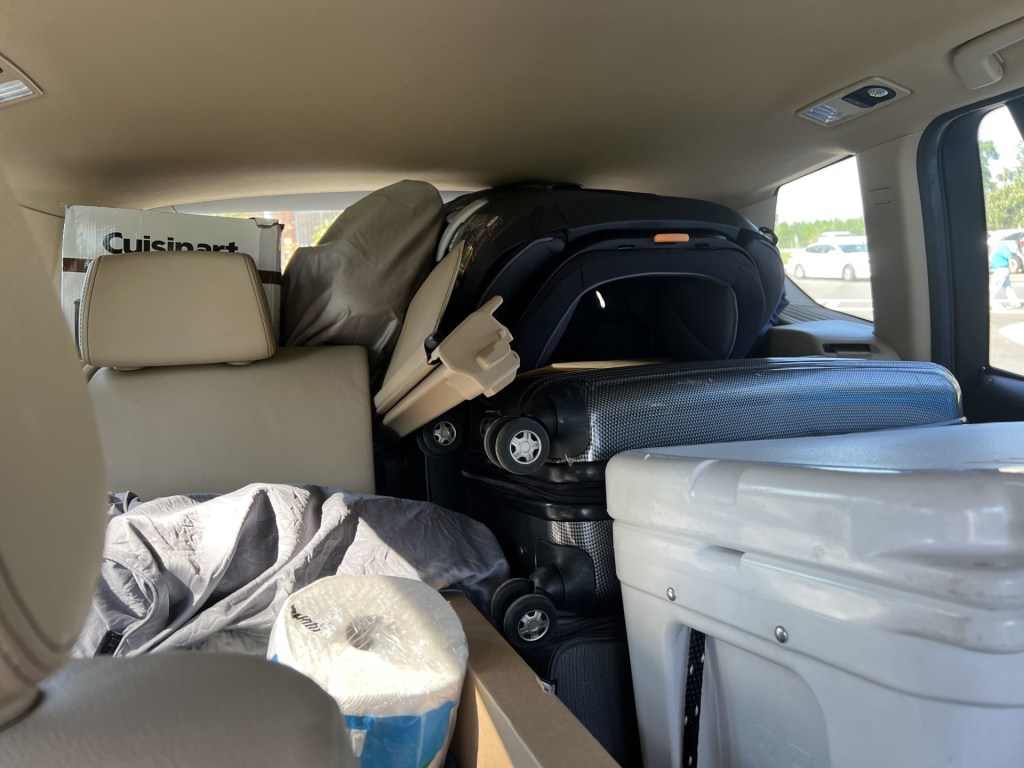
Bring all the fabric (double checking that you have powernet if you’re going to need it!), thread in matching colors, elastic, and any sewing notions you may need. You can’t count on whatever local sewing or big box stores to have what you want in stock. Try to have your patterns printed out, and traced in the needed sizes. When you’re doing a pattern test, that’s a little challenging because there is likely going to be an updated version of the pattern before finals. If where you’re staying doesn’t have a printer, check out the local options for printing your patterns. Other than that, just enjoy and go with the flow. Traveling and visiting people you love is fun. And while things may not always work out as planned, enjoy those little moments and memories, and listen for every “Grandma, I love you” and take every snuggle and hug that comes your way.

Thank you for reading and sharing my love of creating, sewing, serging, great patterns, fabric, and making beautiful, well-fitting garments! ❤
The links to Greenstyle may be affiliate links, which means that at no extra cost to you, I may receive a few pennies if you purchase through my link. As always, I only give my honest opinion. After all, it is my blog, which represents me!