I don’t often sew for my husband, and that’s unfortunate. Like most sewists, there are so many projects on my never-ending list, and so many patterns I’d like to try, that I don’t seem to get around to sewing for him very often. When I showed him the GreenStyle Hampton Shorts pattern, he said, “I’ve been thinking about buying a couple pairs of shorts like that!” So I knew that it was something that he wanted and would wear. Then came the more challenging part- convincing him to let me photograph him wearing the shorts. He knows that that is part of the deal. He’s taken enough photos of me in my makes to know that I like to share what I sew, whether in a Facebook sewing group or on my blog. Surprisingly, he agreed pretty quickly, so I knew he really wanted the shorts!
He wanted the shorts to fit like his favorite pair of RTW gym shorts. So I measured his waist to choose a pattern size, and grabbed the shorts to compare to the pattern. I noticed something interesting about the gym shorts- the back of the shorts was much larger than the front. Unlike some men with a flat butt, my husband has a booty. Hmmm… so perhaps that explains why he likes the fit of that particular pair of shorts. (That, and the fact that they are a little bit shorter than the rest of his workout shorts.) He also isn’t a fan of low rise pants or shorts.
Armed with this information, I traced out the pattern, with a few modifications. His measurements put him in a size Large. So I traced the back pattern piece in a size XL. I traced the front pattern piece in a size Medium, but used the rise of the XL to keep them from being too low in the front. Since this was an experiment, I used some old 2-way stretch cotton jersey that’s been in my stash forever. Since most knit patterns nowadays call for 4-way stretch, my old 2-way stretch fabric has just been stashed in a drawer.
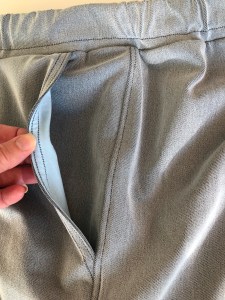
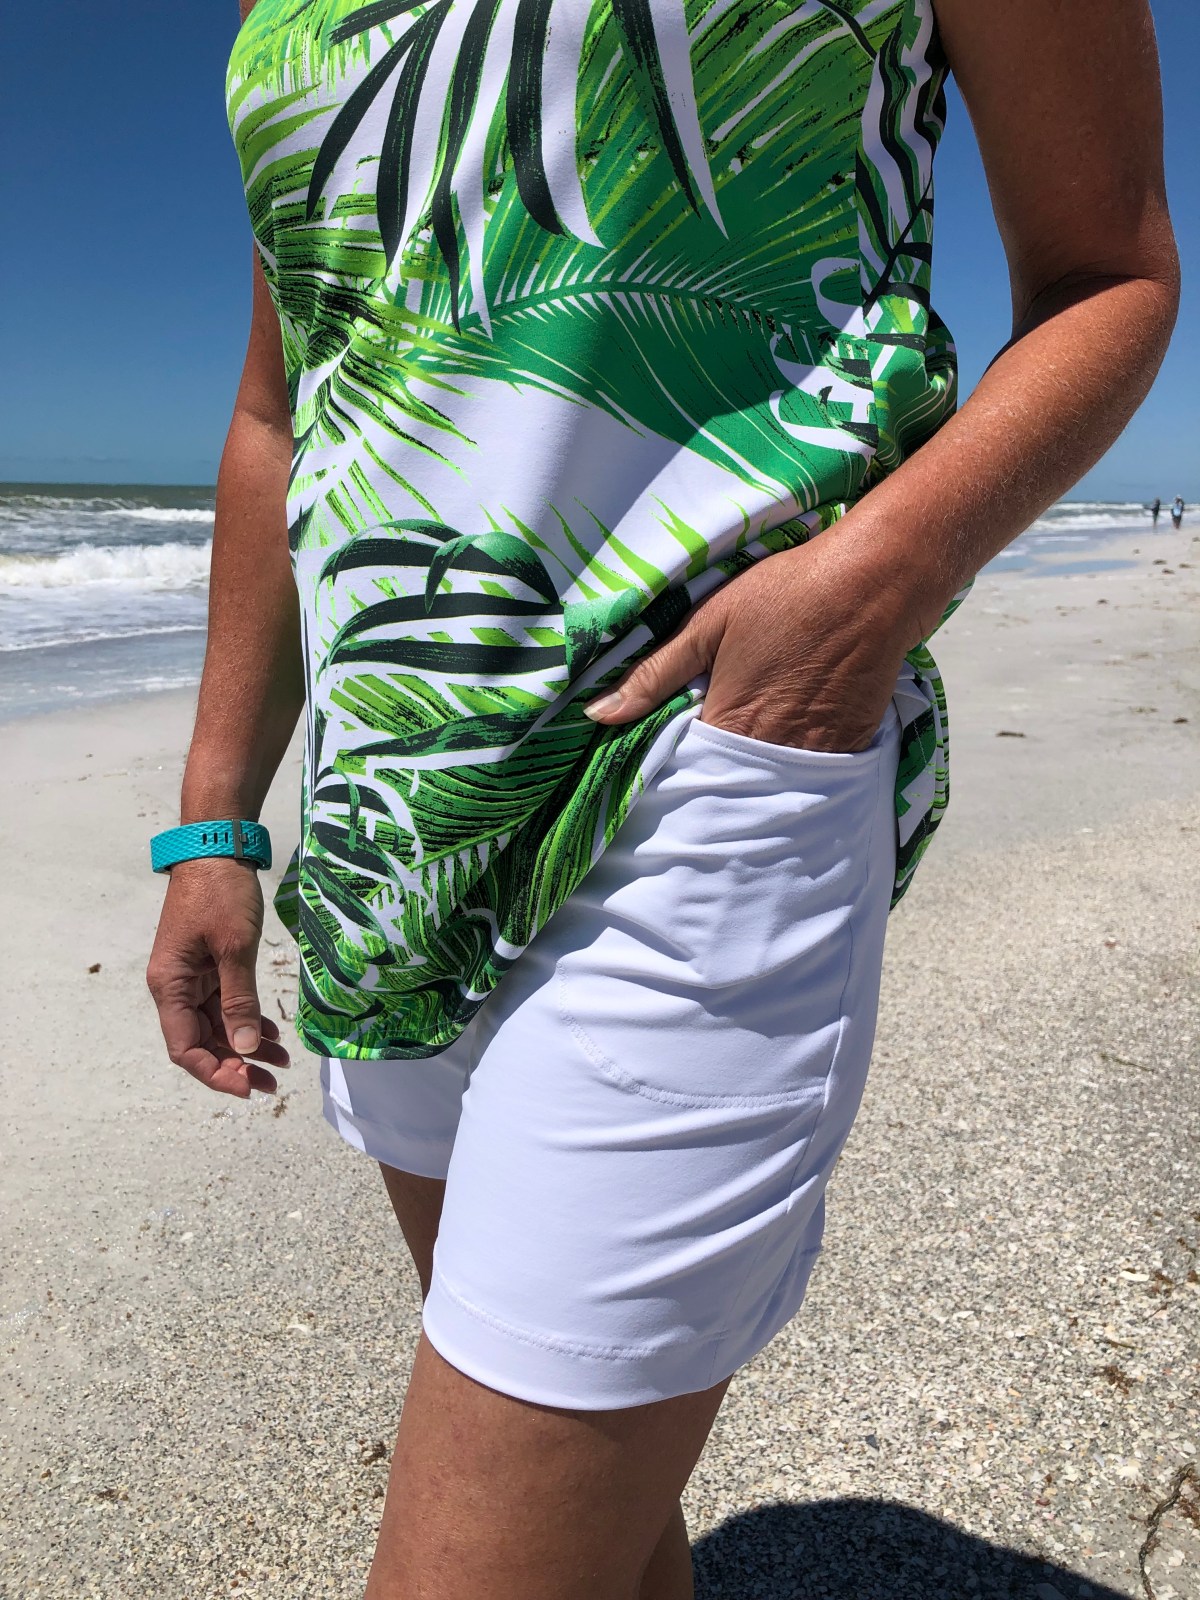
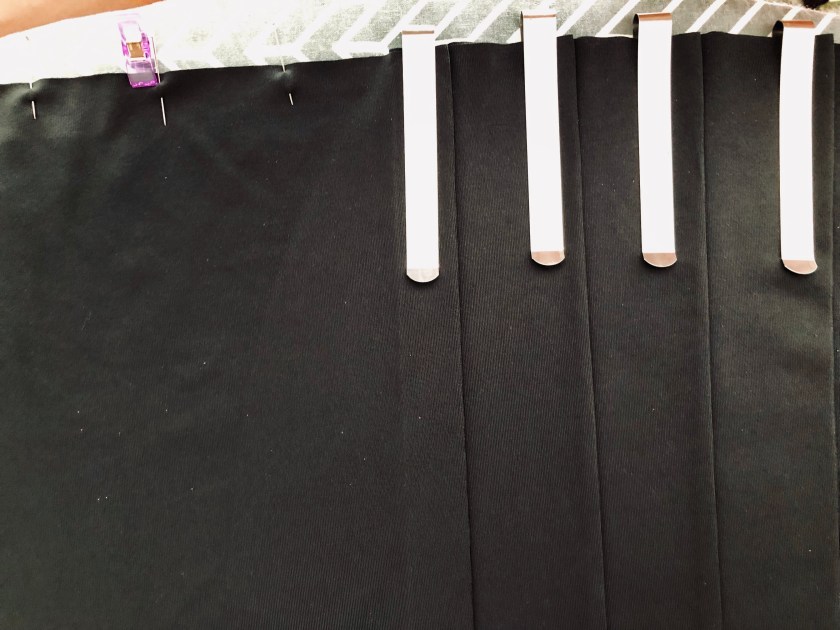
The pattern is easy, a front, a back, a waistband and pockets. What makes it look nice is the top-stitching. It always gives a garment a nice finished look. Since the old jersey fabric had questionable recovery, I wanted to make sure that the pocket openings didn’t get stretched out and floppy. So I cut a 1″ wide strip of interfacing and ironed it on to the edge of the pocket lining where the lining attaches to the shorts front. To avoid any stretching, I made sure to stitch with the interfaced pocket linings up when sewing them to the pants fronts. It worked perfectly, so I did a double row of topstitching to accent the pockets. As per pattern directions, I also topstitched the side seams, which gives them a stylish, finished look.
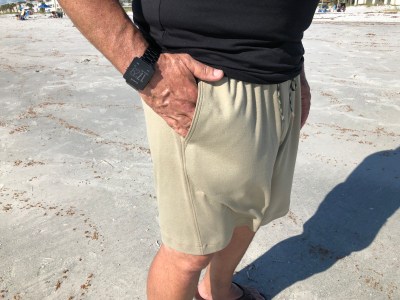
The shorts sewed up pretty quickly. I made buttonholes for the drawstring, sewed the elastic casing, and attached the waistband to the shorts. My husband picked out the fun camouflage looking paracord to use as the drawstring. I enlisted his help to melt the cut ends to keep them from fraying.

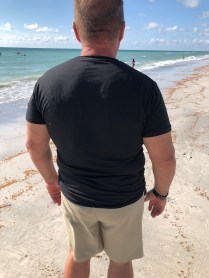
Since my husband is not tall, I had taken an inch off the length when cutting out my pattern pieces. They still ended up too long for his liking, so I cut off another inch and a half and hemmed them up. The shorts were a success and looked good from every angle, so I knew I was good to go on making another pair.
I had some Twill Polartec Powerstretch left over from the Patterns for Pirates SOS pants I made for our daughter, blogpost here. I knew it would give the shorts a dressier look, making them even more versatile. The fabric is thicker, with a nice 4-way stretch. To keep the pockets trim, I used a scrap piece of woven cotton for the pocket linings. The blue coordinates well with the gray twill. It is also my husbands favorite color, because, as he says, “It matches my eyes.” 😉
Since the cotton woven also stabilized the pocket, I didn’t bother with the interfacing at the pocket lining edge this time. The shorts sewed up just as quickly, and obviously my husband loves them and had fun modeling for me. 🙂

Having used two completely different fabric types and weights, with stretch at the opposite ends of the spectrum, and getting great results each time, this pattern is a winner. Having added to the rise, I would feel comfortable making it in a board short type fabric with only minimal stretch.
I really need to order some more Stretch Twill from Phee Fabrics and make him more Hampton Shorts. Should I get charcoal, black, or more of the navy like I used for my tunic dress? Father’s Day is right around the corner, and since he is a great Dad, he deserves some more cute and comfortable shorts!
*This post may contain affiliate links. This means that at no extra cost to you, I may receive a small commission if you purchase through my links. As always, I only give my honest opinion. After all, it is my blog, which represents me! Thank you for reading and sharing my love of sewing, patterns, and fabric. 🙂


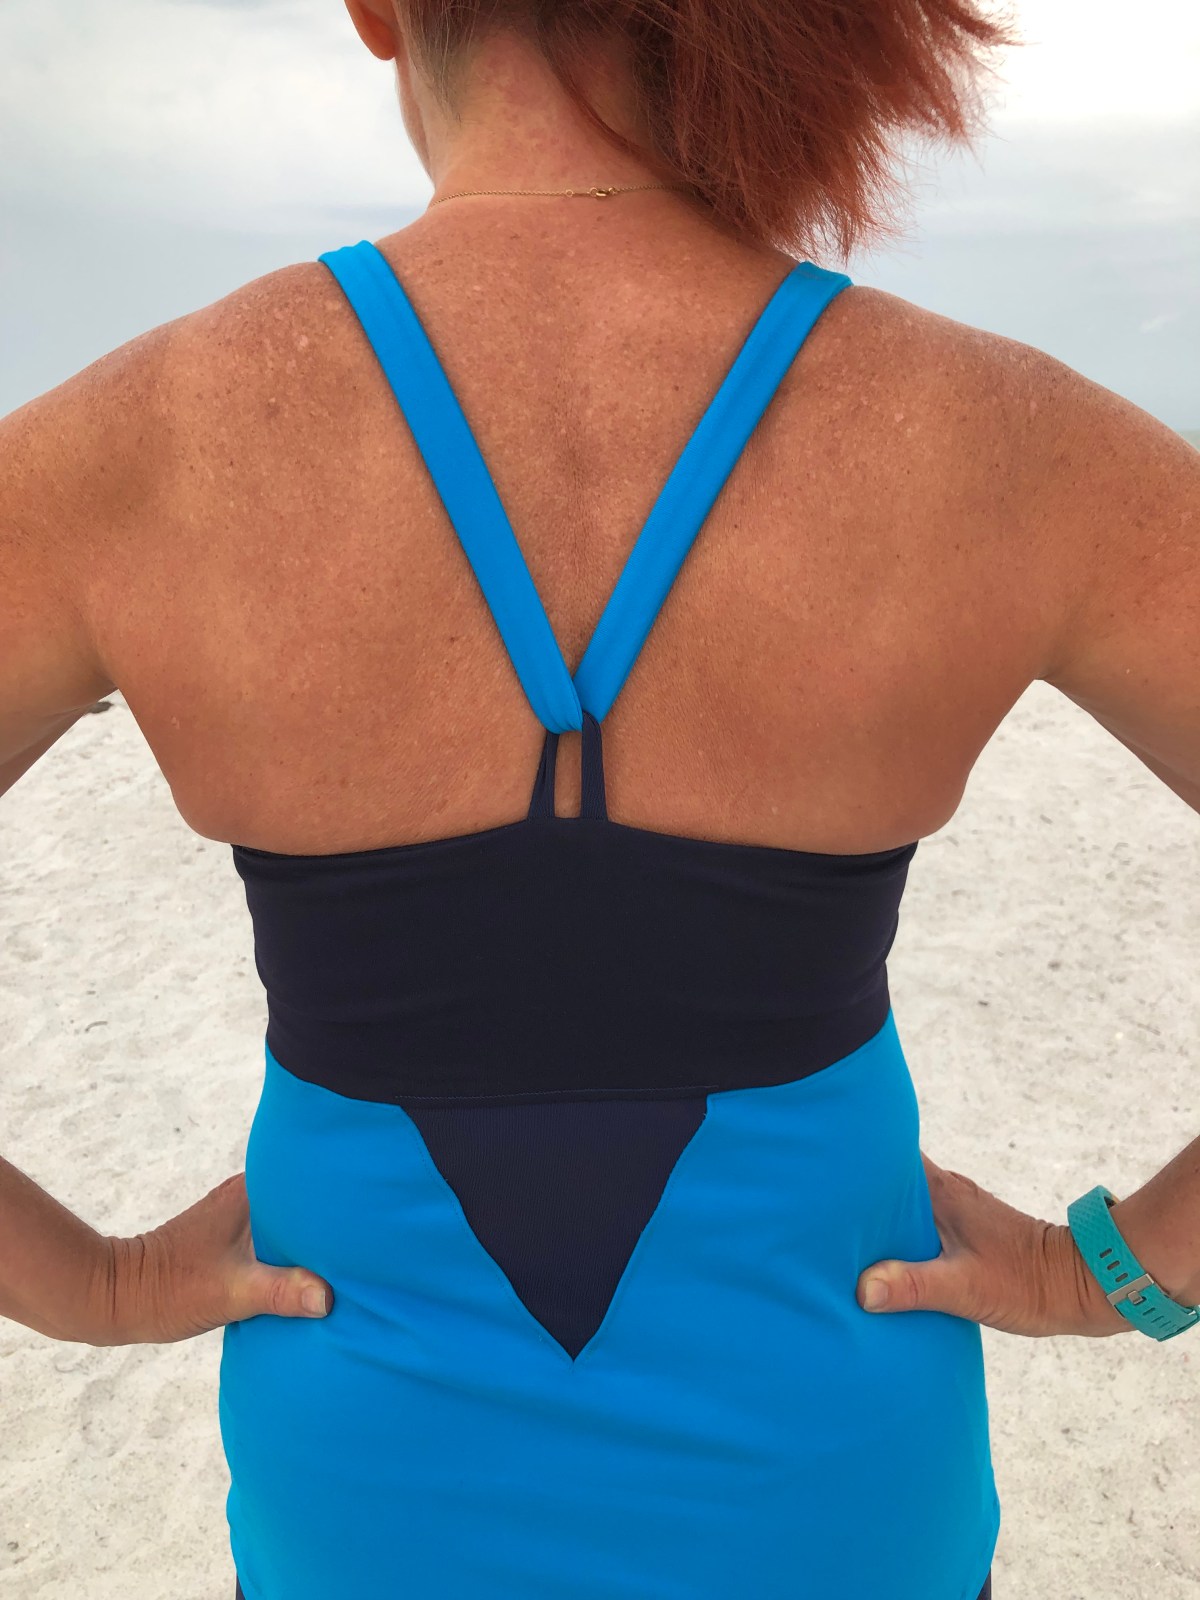

 I used a strip of powernet 1.5″ x 4″ to make my center back strap loop. I folded it in half lengthwise, and sewed it with a 3/8″ seam allowance. I turned it right side out, made a loop, slid it inside the center back opening I had left in the bra, and stitched it in place. Then I sewed 1/4″ clear elastic in the seam allowance along the top of the bra using a zig zag stitch. I stretched it slightly from the side seam up to the bra front points. I also stretched it slightly along the center front from point to point.
 Stitch one end of your strap in place at one of the bra front points, turn the bra right sides out, string the strap through the loop and try it on. Adjust the strap length to fit you comfortably, while still feeling supportive. Then turn it inside out again to stitch the strap at the appropriate length, and trim off the excess. I think I ended up cutting a couple of inches off of mine.
 Because I didn’t want the center front tie, I just made a gathering stitch down the center front of the bra top, and stitched my gathers in place with a zig zag, followed by a stretch stitch to ensure that my gathers stayed in place even with the frequent wearing and washing my workout tops get.
 Then I cut a 6″ triangle out of my powernet. You can use the triangle you cut out of the bodice, (adding 3/4″ on the two sides to give yourself a seam allowance) as a pattern.


 Since it’s not a capsule without at least three pieces, here’s my flat lay photo that includes my