
GreenStyle Super G Tights are my “go-to” workout pants pattern. I’ve sewn more than a half dozen pairs for myself and a pair for my daughter. I’ve perfected the pattern to suit me, and decided to really have fun with this pair. Since it’s hot year round in Florida, I prefer capri length (or an inch or two shorter). It’s easy to fit capri length on one yard of fabric, with enough left over to make a workout top. The G in Super G stands for the gusset. It’s one long piece that stretches from calf to calf, and gives your workout tights lots of stretch and movement.
Since the gusset pattern piece is longer than 36″, simply fold up the ends on the gusset pattern, and cut the ends (adding in seam allowances) out of the same or an accent fabric. It’s a fun way to add another little bit of accent to the inside of your leg.
Supplex is literally the best fabric for workout tights. I’ve used Tricot as the accent fabric on the side pocket panels of my Super G’s, but my favorite accent fabric is Powernet. It gives a little more ventilation, and adds a little bit of sexy sheerness. 
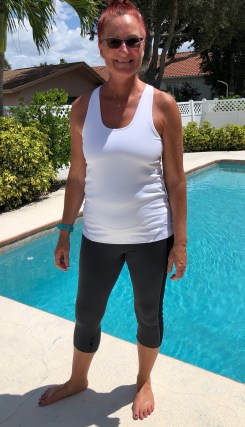
On the teal and navy pairs in the photo above, I used Powernet for the upper and lower pocket pieces. That makes the panels sheer all the way to the waistband. This doesn’t bother me, but if you’re looking for more coverage, use Supplex or Tricot for your upper pocket piece.
Normally, the lower pocket panel of the Super G’s gets stitched to the upper pocket, and the lower panel fabric gets folded under to form a pocket, effectively hiding the seam. Since I’ve made so many pairs of Super G’s, I thought it would be fun to give the pocket on this pair a different look. (It also means that you can use shorter pieces of powernet, 😉 in case you only bought a half yard.) The pocket can be moved down about an inch or so, and still be wide enough to hold a large iPhone. You may have noticed this hack on my Super G’s in this post, where the pocket is Supplex and the upper and lower panels are powernet.
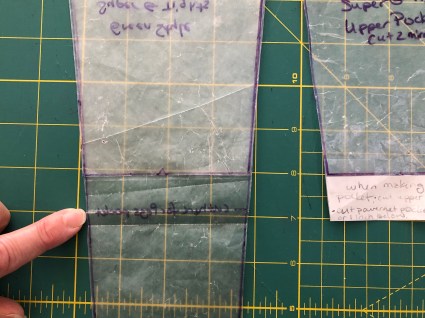
The fold in the lower pocket panel piece on the left shows where the pocket seam will be. I cut 3/8″ above that (where I am pointing) to give a seam allowance. I added an inch to the bottom of the upper pocket panel piece, (on the right in the photo above.) Now I just need a pocket piece which was made by tracing the folded over pocket section (the top portion of that left pattern piece.) And then the real fun began!
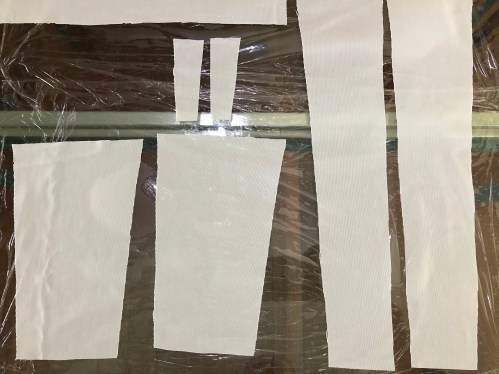
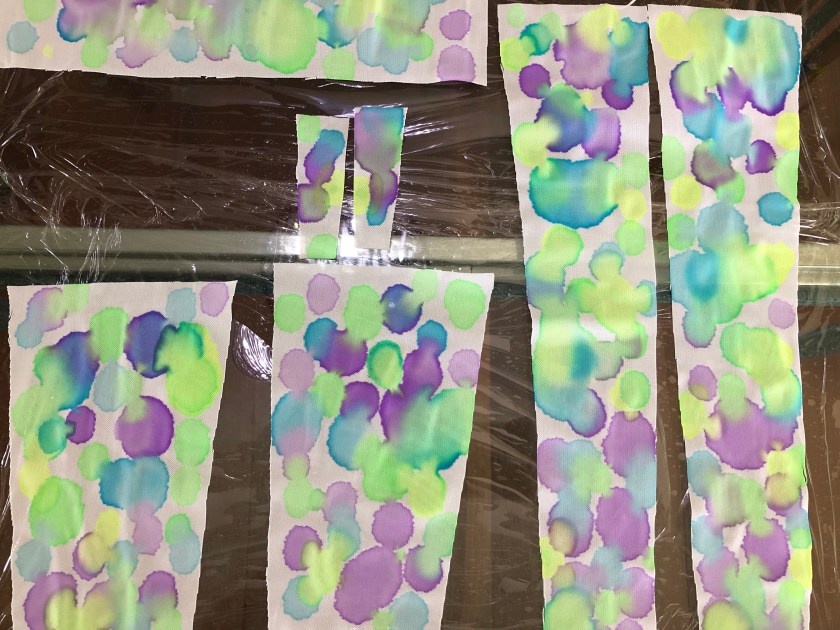
I placed several long strips of plastic wrap on my glass dining table to protect it, and laid the powernet pattern pieces I had cut out on it. The little bit showing at the top left corner was used for a workout top. The small triangular pieces are the gusset end pieces. The pockets are on the lower left, and the lower pocket side panels are on the right. (I used Supplex for the upper pocket panels.)
Art is often an experiment, no matter what media you choose. It is a wonderful way to play and express yourself. And you get to play with color, yay! Since the grape Supplex I was using for my Super G’s was such a fun color, I knew I wanted to do something fun on the side panels. Michaels Arts & Crafts stores often have 50% off coupons in their weekly email ads. Which I greatly appreciate, since the Marvy Uchida Fabri-Ink kit I wanted to try was $25.
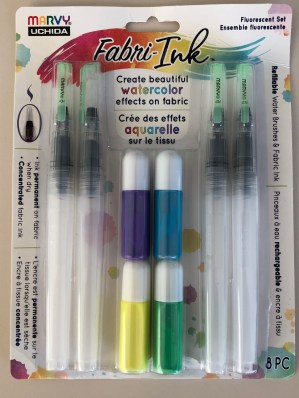
I chose the fluorescent set since the purple, turquoise, and green fit solidly in my little wedge of the color wheel. The set includes refillable brushes, but that didn’t sound as fun as randomly dropping splotches of diluted fabric ink with an eye dropper! The darker splotches were diluted 50/50 with water, and the lighter ones are about 25% ink and 75% water.
Things to keep in mind: I always pre-wash my fabric before it gets folded and put in my stash for use. Never, ever, ever skip this step. This removes any dust, dirt, or chemicals that may have gotten on your fabric from the manufacturing process or during freight. You do not want that on your skin, cutting mat, or machine. It also gets any possible shrinkage out of the way. Ink is permanent, so protect your work surface, hands, and clothes. I let the ink dry overnight (although it dries in a matter of minutes) then pressed it with an iron to heat set it.
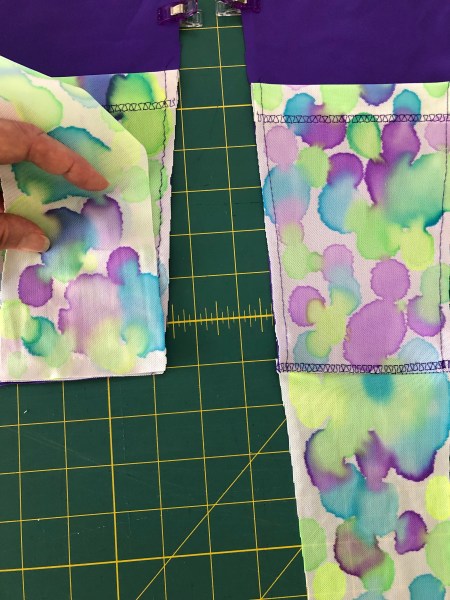
Mark the back edge of each side pocket panel pattern piece with a clip to avoid confusion later. To assemble the panels, fold the top edge of the pocket under 1″, press, and topstitch with a decorative stitch. Lay the pockets on the upper pocket panels, right sides up, aligning the bottom edges, and baste along the sides. Then lay the lower panel on top of the pockets, right sides together, and stitch. Press the seam up (so it won’t be visible through the lower panel), and topstitch with a decorative stitch.
With the side pocket panels done, you can simply follow the pattern tutorial to finish up your super fun Super G’s.
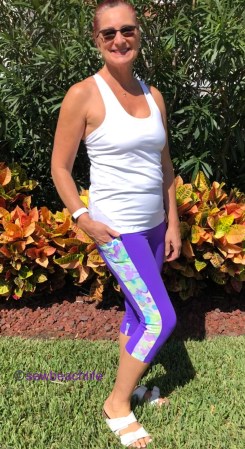
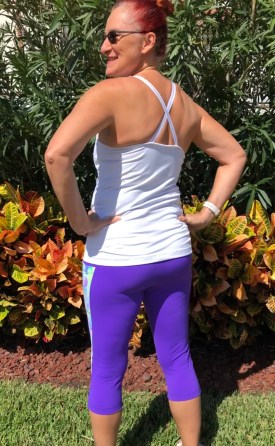
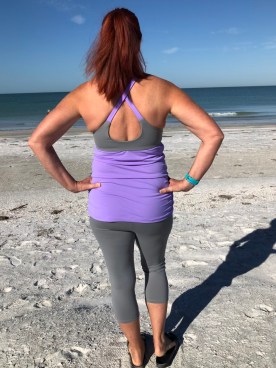
I’ll tell you a funny story about taking these photos. This pretty foliage is along a rather busy road. It can be kind of awkward posing for photos with cars driving by. While posing so my husband could take a photo of the back of my Super G’s, I asked him if my booty looked good. Right then a truck drove by and the young man in the passenger seat leaned out the window and whistled at me. Straight-faced, my husband answered, “I think you have your answer!” 🙂 Hahahahahahaha!
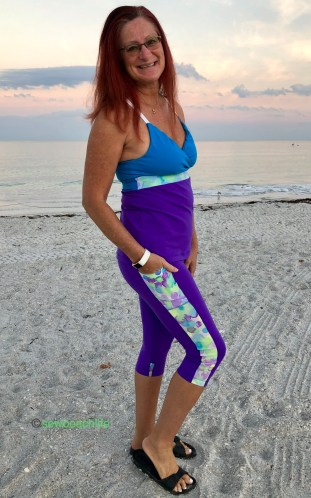
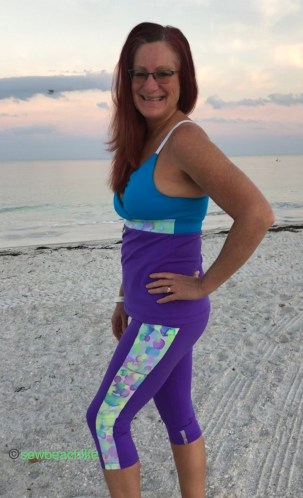
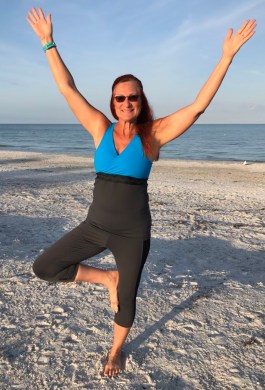
I love these early morning photos because the colorful sky is a pretty backdrop for my super fun and colorful Super G’s. And who doesn’t love the sound of the ocean as background music?
Sewing is an art, so don’t be afraid to experiment with it, and with other forms of art to make your own fun projects.
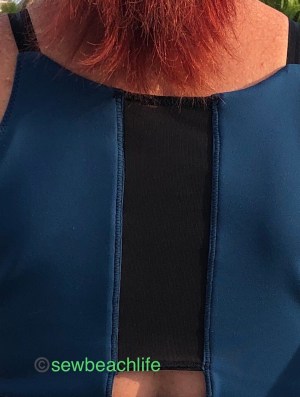
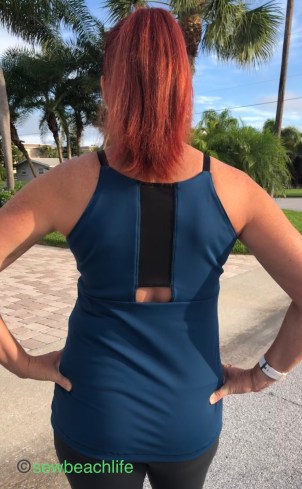
All fabric was purchased from Phee Fabrics. The white Supplex workout top is the GreenStyle Jillian I hacked to have powernet inserts and a pocket, blogged here. The teal and grape Supplex workout top is another fun hack I’ll be posting soon.
This post may contain affiliate links. This means that at no extra cost to you, I may receive a small commission/credit if you purchase through my links. As always, I only give my honest opinion. After all, it is my blog, which represents me! 🙂 Thank you for reading and sharing my love of sewing, patterns, fabric, art, and pattern hacking. ❤







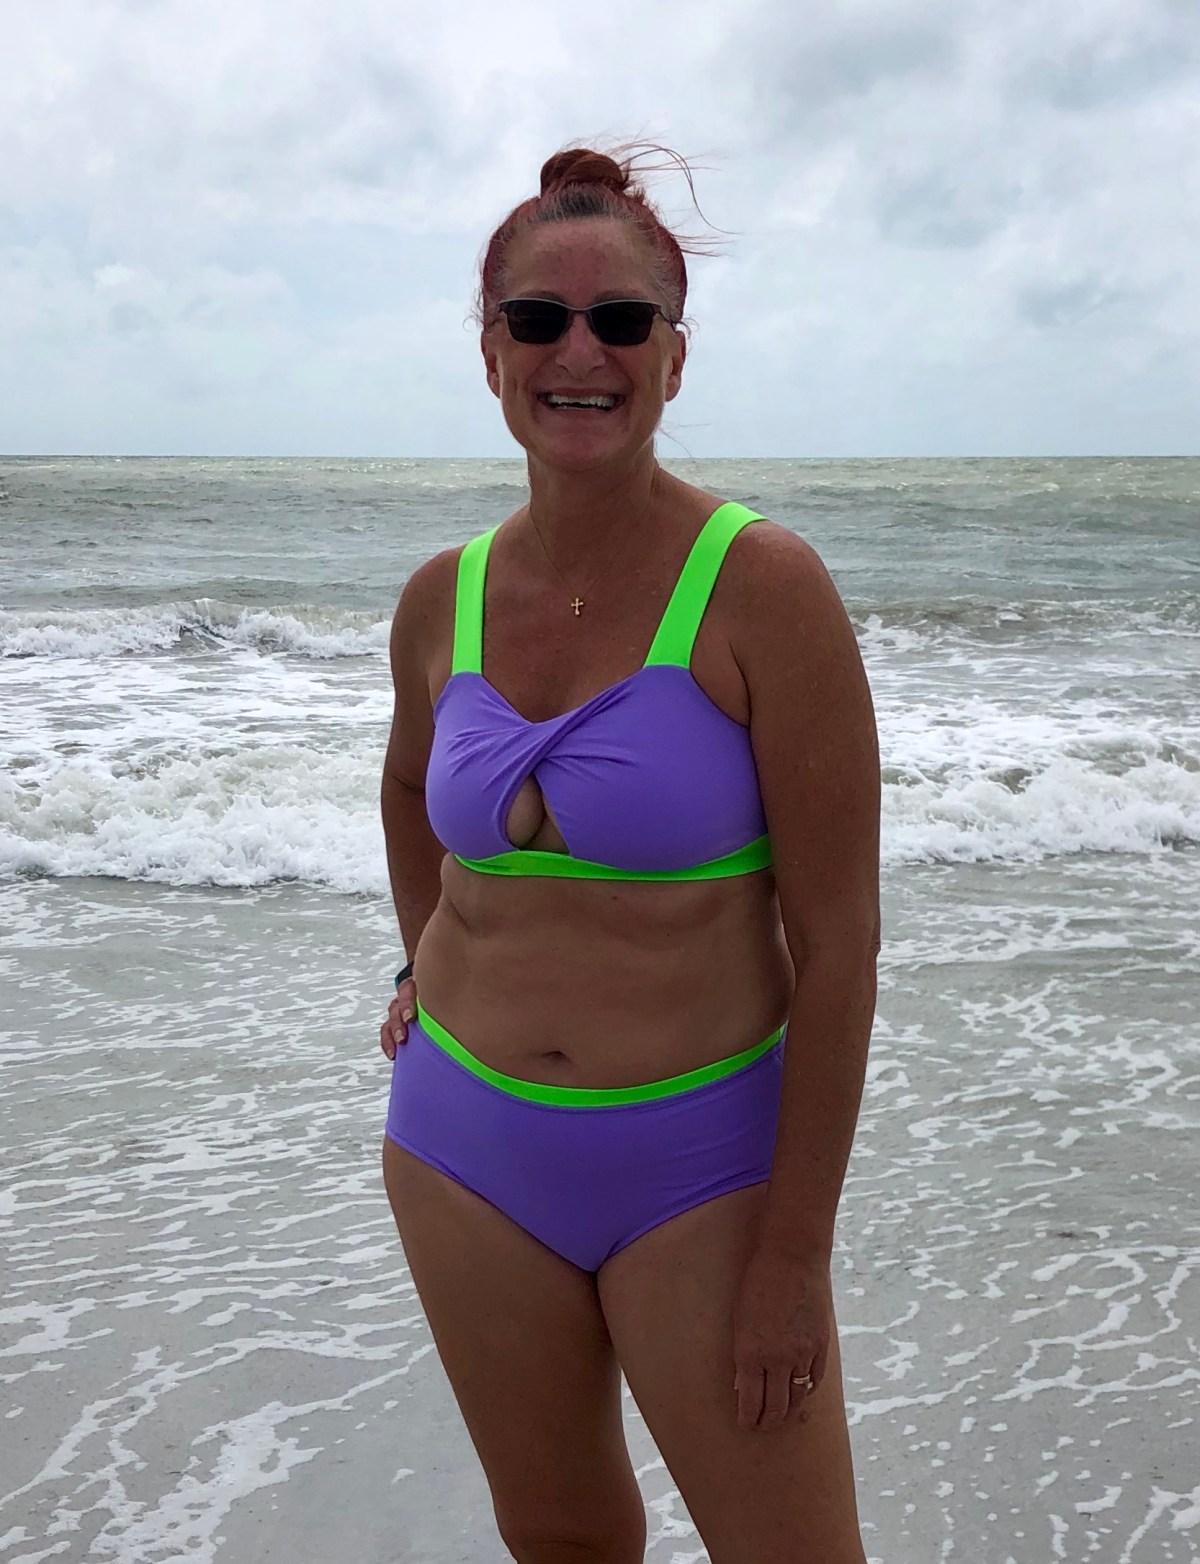




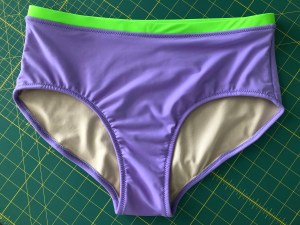 My Scrundie swim bottoms were a success, and I have a cute new swimsuit! I love that it’s modest enough, while still being sexy. My husband definitely approves of my creation!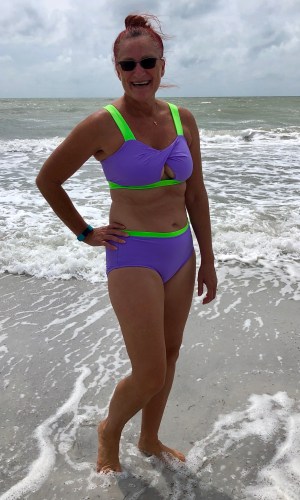

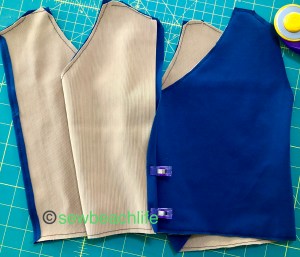
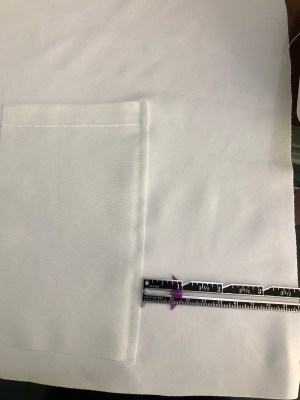
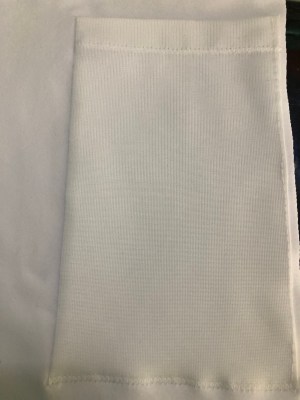
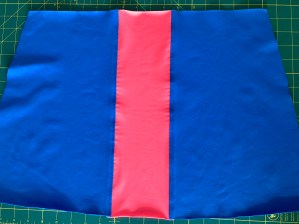 I cut out two 4-3/4″ x 7-1/2″ rectangles for my front pockets. I wanted them to be hidden seam pockets like the one I did on the
  I flipped the pockets back to the outside edges after stitching and basted them in place.
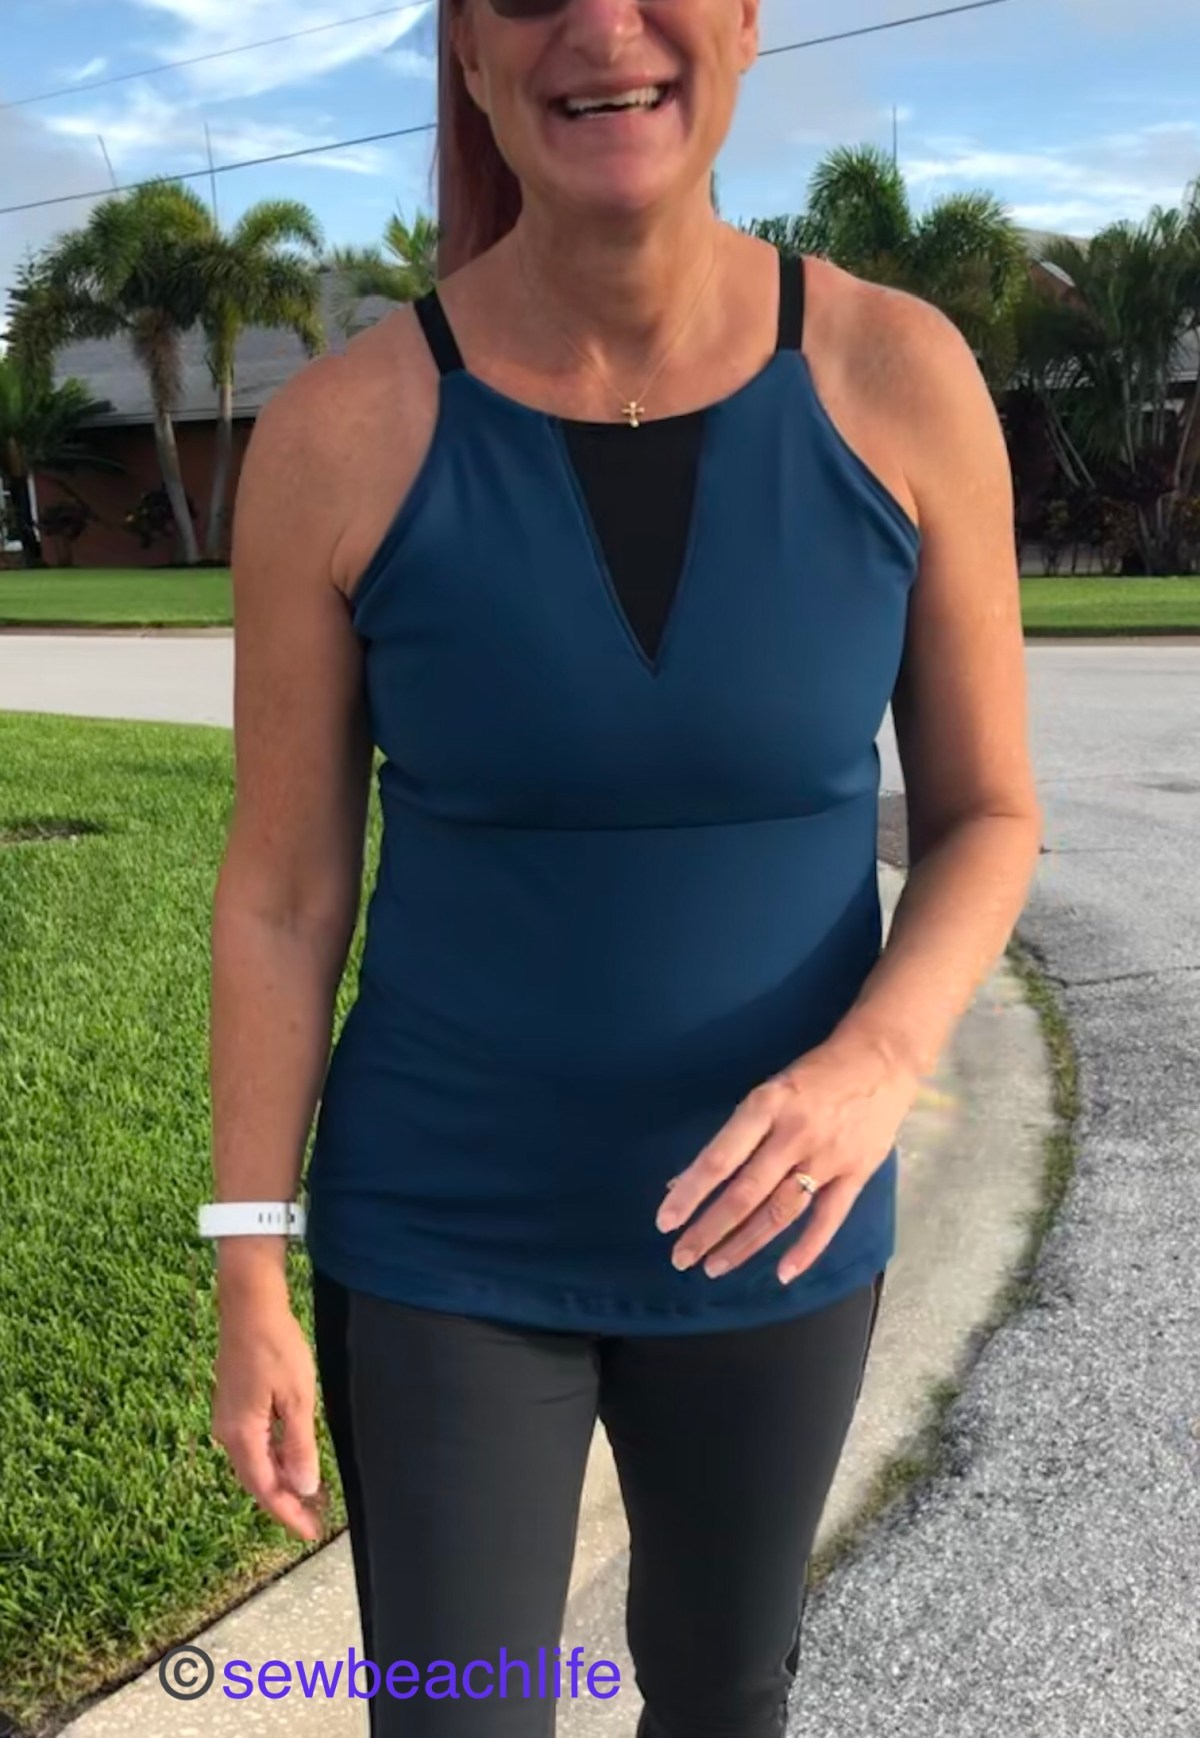
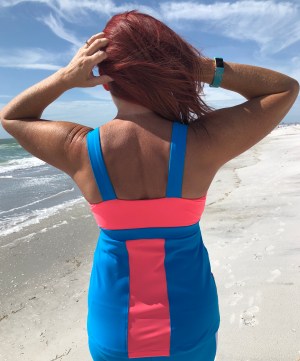
 At this point, I should have been able to sew the tank front and back together, and sewn the bodice to the tank. But I had made a couple of rookie errors. 😦 The first was that I had made the tank too wide at the top. This was easily remedied by angling the tank in at the top so that it was the same width as the bodice (and the original tankini pattern piece.) The second error was not considering the fact that I am tall, and should have added an inch to the length of the tank. The problem was remedied easily enough by adding a band. I cut out the band pieces, and sewed them onto the bodice per the pattern tutorial, except using a 3/8″ seam allowance, and spacing my bodice front center V only 1/2″ apart. I don’t want to show too much skin at yoga class!
 I brought the outer band down and basted it in place before attaching the tank portion. I sewed on the tank, hemmed the bottom, and I’ve got a cute new workout top!




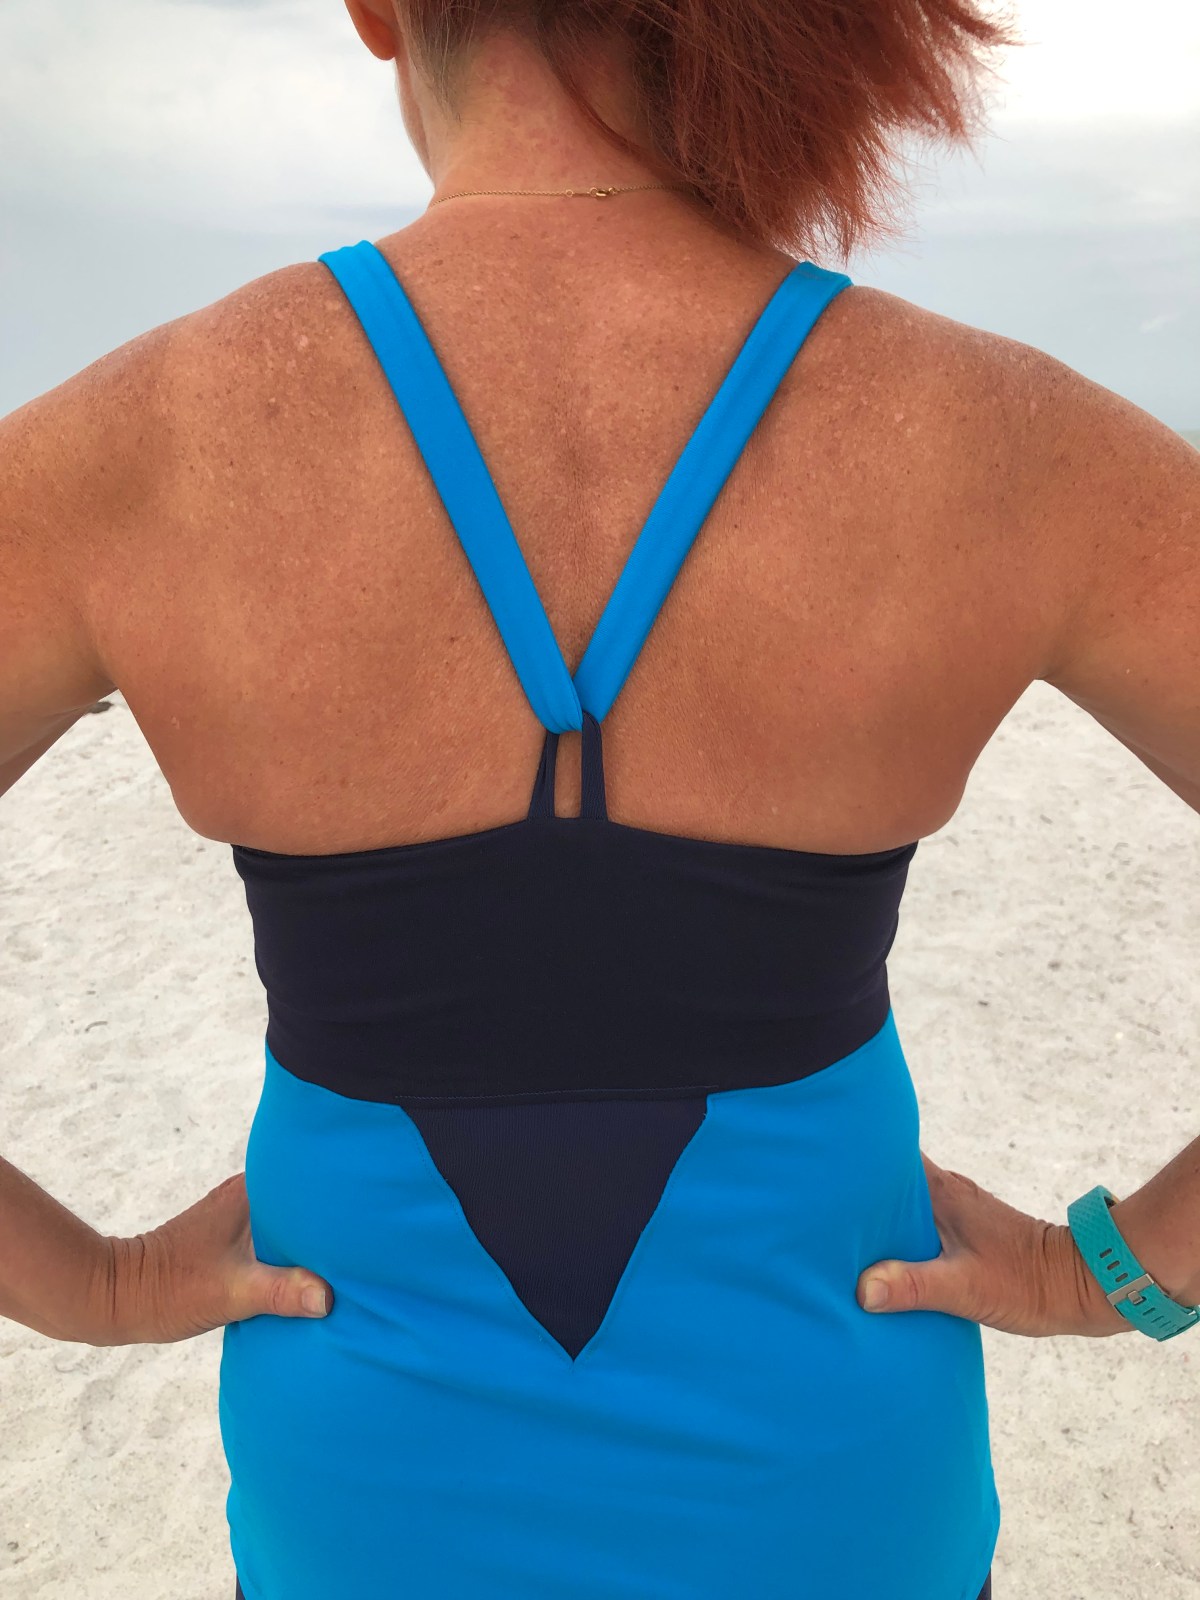
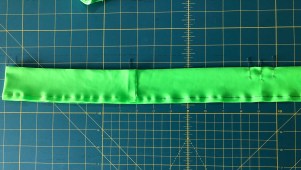
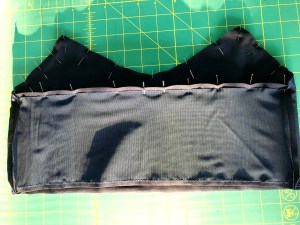 I used a strip of powernet 1.5″ x 4″ to make my center back strap loop. I folded it in half lengthwise, and sewed it with a 3/8″ seam allowance. I turned it right side out, made a loop, slid it inside the center back opening I had left in the bra, and stitched it in place. Then I sewed 1/4″ clear elastic in the seam allowance along the top of the bra using a zig zag stitch. I stretched it slightly from the side seam up to the bra front points. I also stretched it slightly along the center front from point to point.
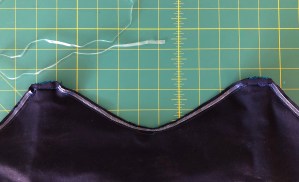 Stitch one end of your strap in place at one of the bra front points, turn the bra right sides out, string the strap through the loop and try it on. Adjust the strap length to fit you comfortably, while still feeling supportive. Then turn it inside out again to stitch the strap at the appropriate length, and trim off the excess. I think I ended up cutting a couple of inches off of mine.
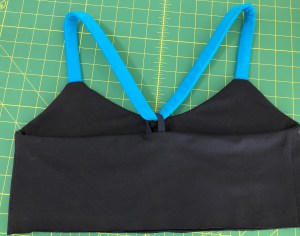 Because I didn’t want the center front tie, I just made a gathering stitch down the center front of the bra top, and stitched my gathers in place with a zig zag, followed by a stretch stitch to ensure that my gathers stayed in place even with the frequent wearing and washing my workout tops get.
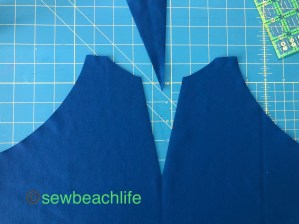
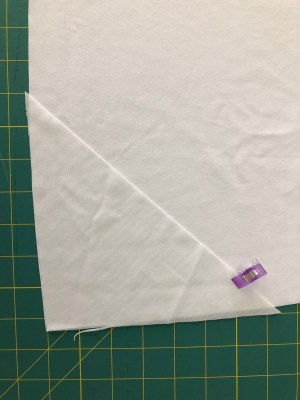
 Then I cut a 6″ triangle out of my powernet. You can use the triangle you cut out of the bodice, (adding 3/4″ on the two sides to give yourself a seam allowance) as a pattern.
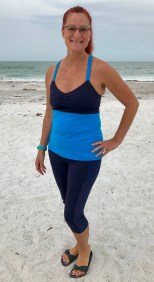



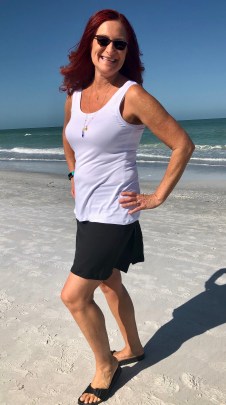


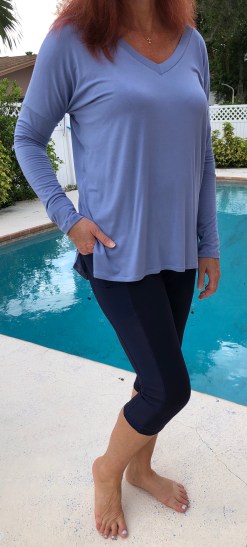 Since it’s not a capsule without at least three pieces, here’s my flat lay photo that includes my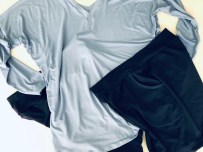


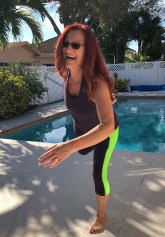

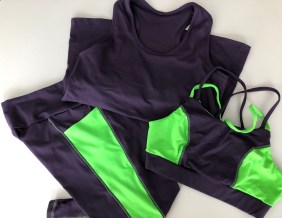


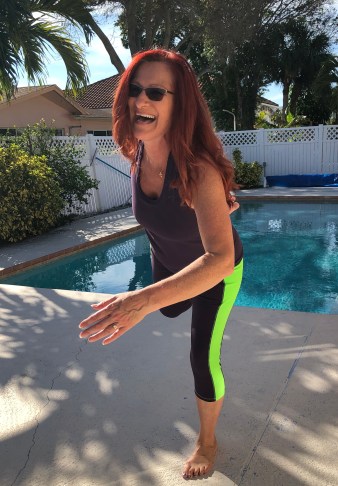

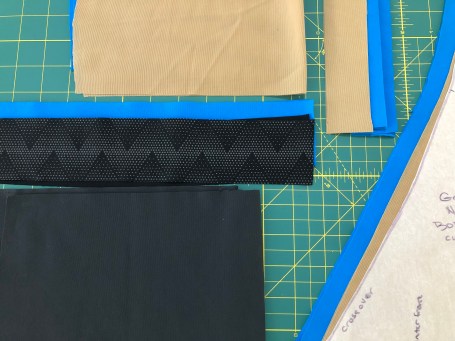



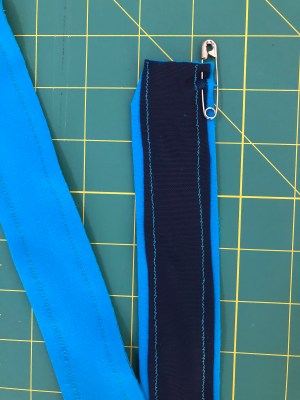
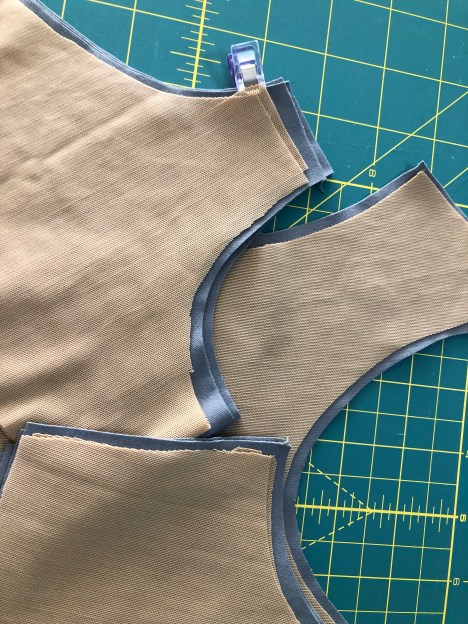 Other than the straps, I sewed the bra together per pattern instructions. While I love the look of the double straps, they are more time consuming to construct. So I still cut out four strap pieces, but used them flat (as main fabric and lining fabric) rather than as double straps sewn to each shoulder. I used powernet in my straps rather than adding elastic.
 Once you’ve sewn your main and lining pieces together along the top, try the bra on, adjust the straps to length, then push the straps through the openings and stitch.
 To avoid bulk, be sure to trim the seam allowances at the back strap openings on an angle before turning the bra right side out. It’s important to press as you sew. It helps everything lay more smoothly, and gives your projects a more professional finish. See the difference pressing makes between the left and right straps in the photo below?
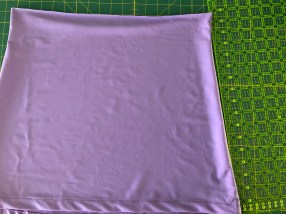 The Lille body was wider than my bra. If I were making the body out of Supplex, and wanted it more fitted, I would have slimmed the top of the body a bit. Since I was going for a drapier fit with ruching, I just matched up my quarter points and eased the body to fit the bra.
 I could have added a band with elastic on the inside at this point, but wanted to try something else. I used 3/8″ swim elastic cut to fit me at the snug yet comfortable length (just like you would trial fit the wider elastic in the band). I overlapped the elastic and stitched it together making a circle. Then I matched up my quarter points, and zig zagged the elastic to the seam allowance. After that, I flipped the seam allowance toward the bra, and top-stitched it in place.
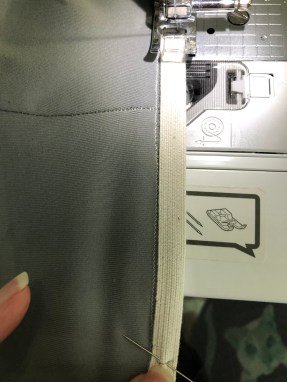 To ruche the sides, I cut two pieces of swim elastic a couple of inches shorter than my side seams. I zig-zagged the elastic to the side seams and ta-dah, instant ruching!
 When I go to the beach to get photographs in my makes, sometimes silliness overtakes me. But we’ll just say I was jump testing the workout top to ensure that everything stays in place!


